
Here is not so hard, but very interesting tutorial how to make an artistic photo.
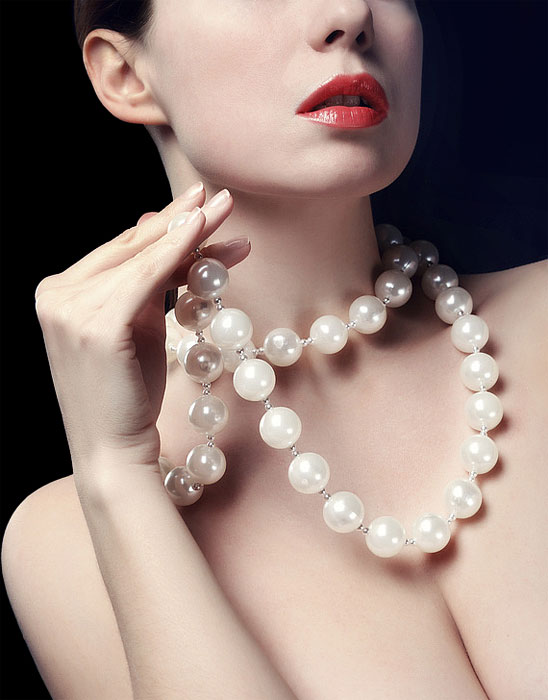
So, let’s begin! Get started by finding a nice, suitable photo to work with. For this you’ll want to use Google Images or some stock photo websites. I found this one picture. Open this picture. Then we need to increase the space around the photo. Use Image > Canvas Size and set up width about 700 pixels.

Create a new layer below the current layer and fill it with black color.

Go back to the layer with photo and duplicate it with Ctrl+J, after that desaturate this layer with Image > Adjustments > Desaturate (or press Crtl+Shift+U)

Set opacity up to 72% for this layer. Then select the Eraser Tool and hard round brush about 10 pixels and make clear work on the lips to retrieve the red color.

Ok, merge two of these layers with photo in one and duplicate new layer again. Apply Filter > Blur > Gaussian Blur to copied layer:

Now, change layer mode to Overlay and set up opacity to 70%.

After that, select the Gradient Tool, create new layer and fill it with black to transparent gradient as shown on my picture below.

Time to make a little accent on the beads. Temporary change opacity to 70%, then select the Eraser Tool (Brush: 40 px, Hardness: 100%, Opacity: 10%) and make a little dots on baeds on the gradient layer.

Change opacity to 100% again. After that use the Blur Tool (Brush: 150 px, Strength: 30%) to blur the space around the beads a little bit.

Well, we’re done for the tutorial! I hope you enjoyed it, even just a little.
