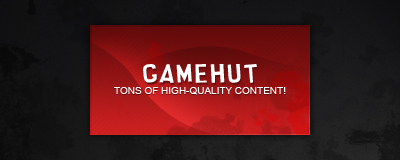
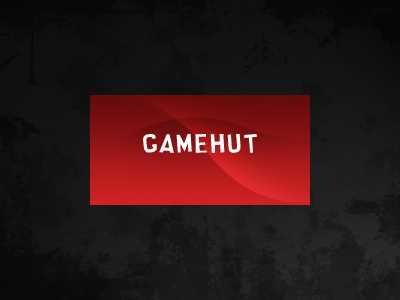
Welcome! In this easy tutorial I’m going to be showing you how to make a sort-of-gaming-style banner, a lot like the one shown in the below image:
1. Create a New Background
Well, first of all, start by making a new document in Photoshop! I used a small document size of 400 x 400 pixels for this tutorial, but you can feel free to use whatever size you want. After creating a new document, fill the background with a very dark grey color, or a very dark gradient. Finish the background off by adding in some sexy grunge, or a few random filters to add some interesting detail. Some good examples of effective filters: Filter > Noise > Add Noise, Filter > Brush Strokes > Spatter, Filter > Render > Lighting Effects.

Colors used in the above image: #222222, and #131416.
2. Creating the Banner Shape
Create a new layer (Layer > New > Layer…) then make a selection on your canvas using the Rectangular Marquee Tool. You can use whatever size you want here, but I used a small size of 220 x 110 pixels.
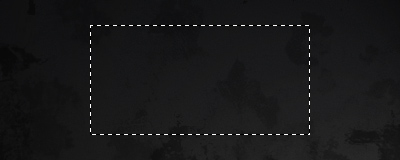
Now fill your selection with a nice, red gradient (or any color gradient for tat matter)
![]()
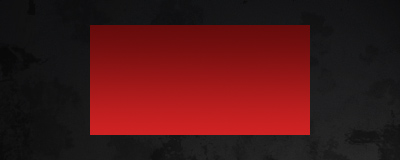
The colors I’ve used here are #d02223 to #650b0b.
3. Adding Highlights
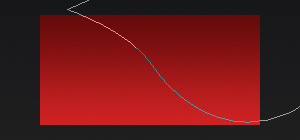
Create a new layer then find and get out the Pen Tool. After getting out the pen tool, make a path on your canvas similar to mine shown below. With the Pen Tool still active, right-click your path and go to “Make Selection,” use the default settings. Now you’ve got an actual selection rather than a path.
![]()
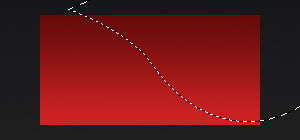
Using a large, soft brush, on a new layer brush a little bit inside of your selection so that you have something like this:

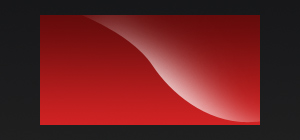
In the above image I have deleted the outside parts of the brushing that went off of the edges, then finished off by using a large, soft brush to erase the edges a little bit. To blend your brushing layer in with the background gradient, change the layer mode for the brushing layer to either Soft Light or Overlay, lower the opacity if necessary.
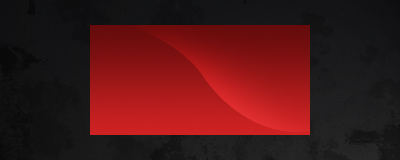
Using the same methods as above, make a dark version of the gradient highlight thing. This is what I’ve come up with:
3. Adding Some Text/Logo
Time to add some text. Start by getting the Horizontal Type Tool out, click your canvas and write out some text.
In the above image I’ve used the font called “South Park,” which you can download from here: Free Download from DaFont. Finish this text off by adding this drop shadow.

Add in some smaller text underneath your main text, use a regular font and a much smaller size. Apply the same drop shadow to the smaller text layer as used before.
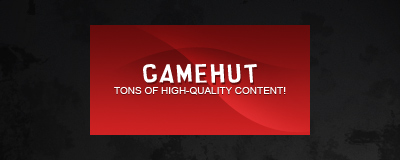
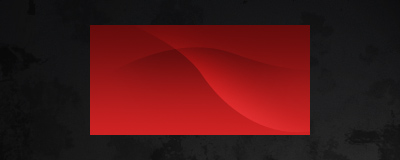
And that’s pretty much it for thistutorial! I finished off by adding a few simple effects (scanlines, grunge) and this is what I’ve come up with using this tutorial:
Well, I hope you’ve enjoyed this tutorial, even just a little bit!