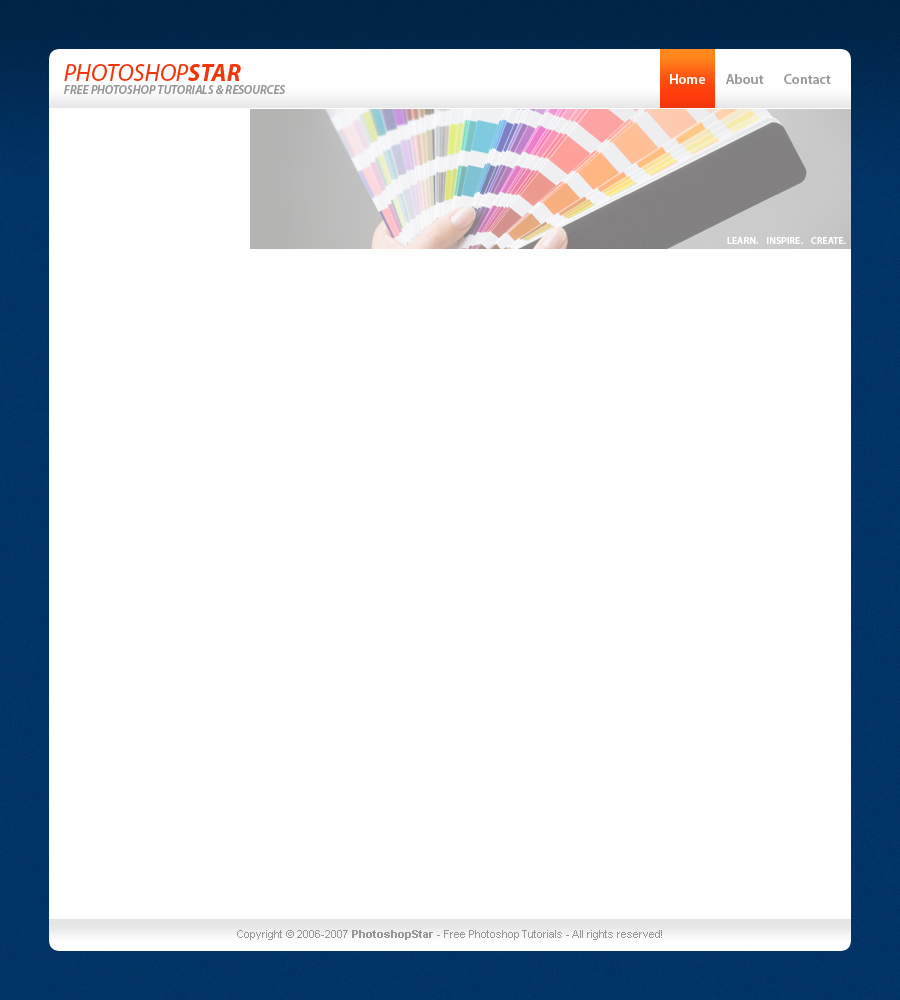
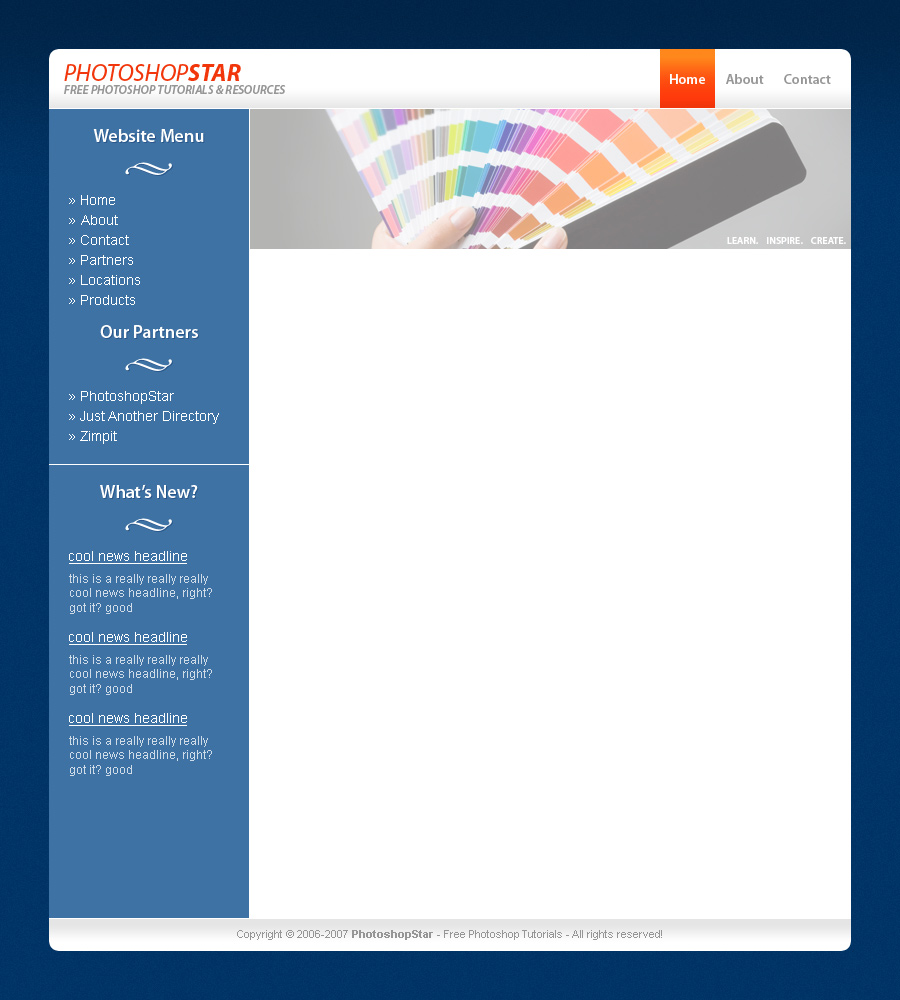
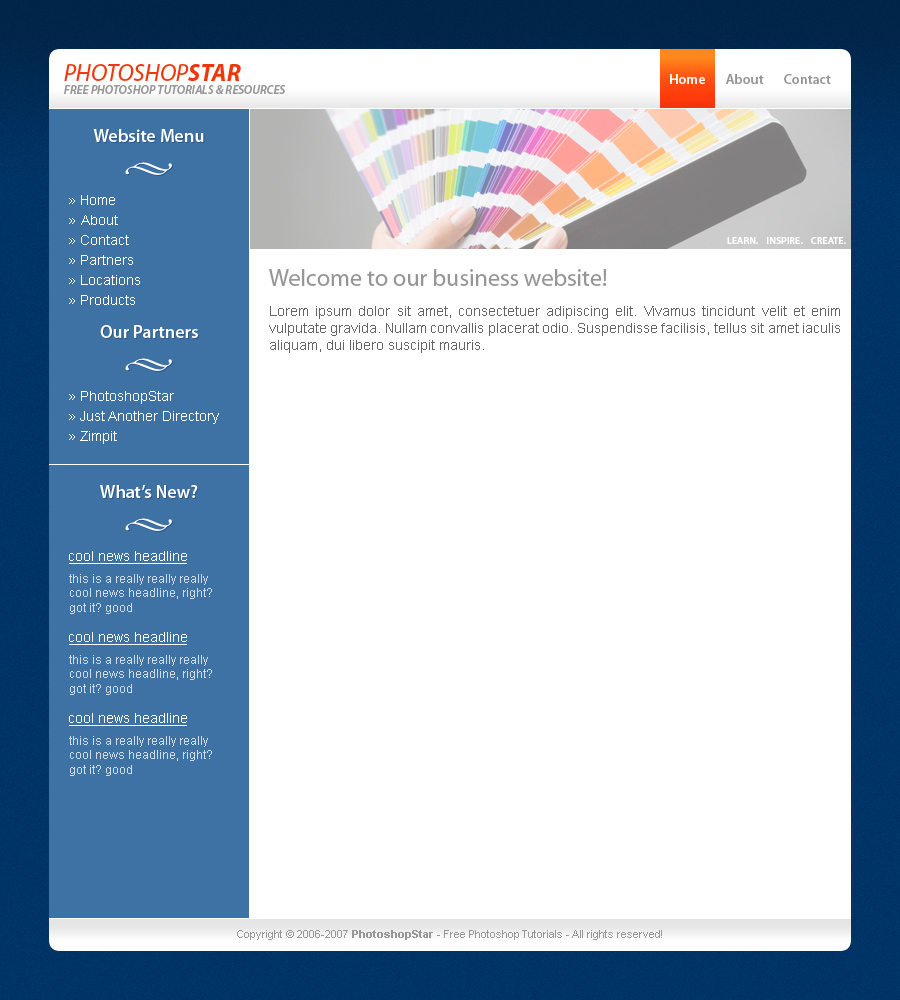
Well, in this easy Photoshop tutorial I’m going to be teaching you how to make a nice website design, a professional (business-style) website design, that is. You can see the website design I’ve made using this tutorial below.
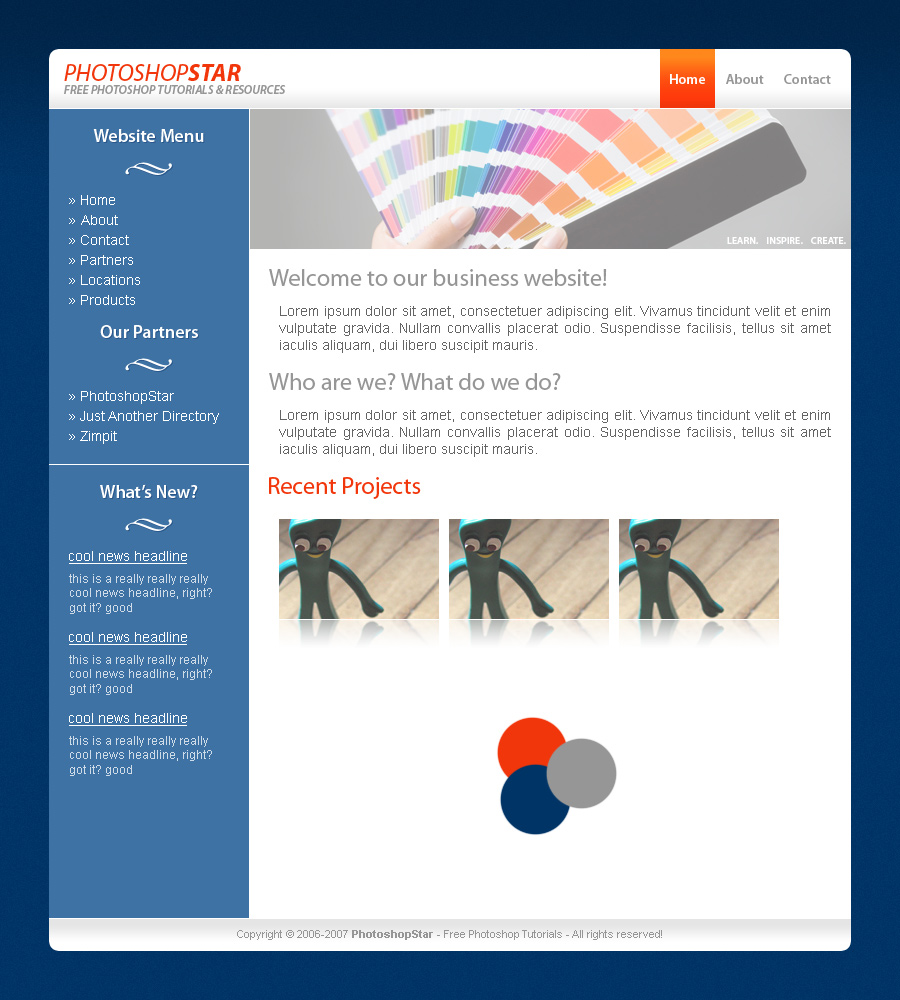
(tutorial result. click for larger image)
1. New Document/Canvas
Alright, let’s start off by creating a new document in which we can design our template. For this tutorial I’ve used a document size of 900 x 1000 pixels, but you can use whatever size you want really, just keep it around the general template size.
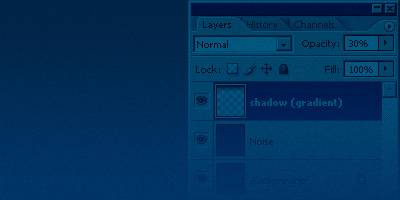
After creating a new document, you’ll want to set up a nice background for your website design. For this I’ve used a background color of #003466. After filling your background with a solid color, you can give it more detail by applying Filter > Noise > Add Noise with an amount of about 0.5-1.5 (one of the current trends in web design is applying noise to the background), and you can also add detail to the background by adding a dark gradient at the top, then lowering the opacity. For this you can either use a black to transparent gradient, or a black to white gradient, although if you use the latter option, you’ll need to change your layer mode to Multiply and lower the opacity!
Now you’ve created your background, move onto the next step and create a container area for the rest of the template.
2. Template Container Area
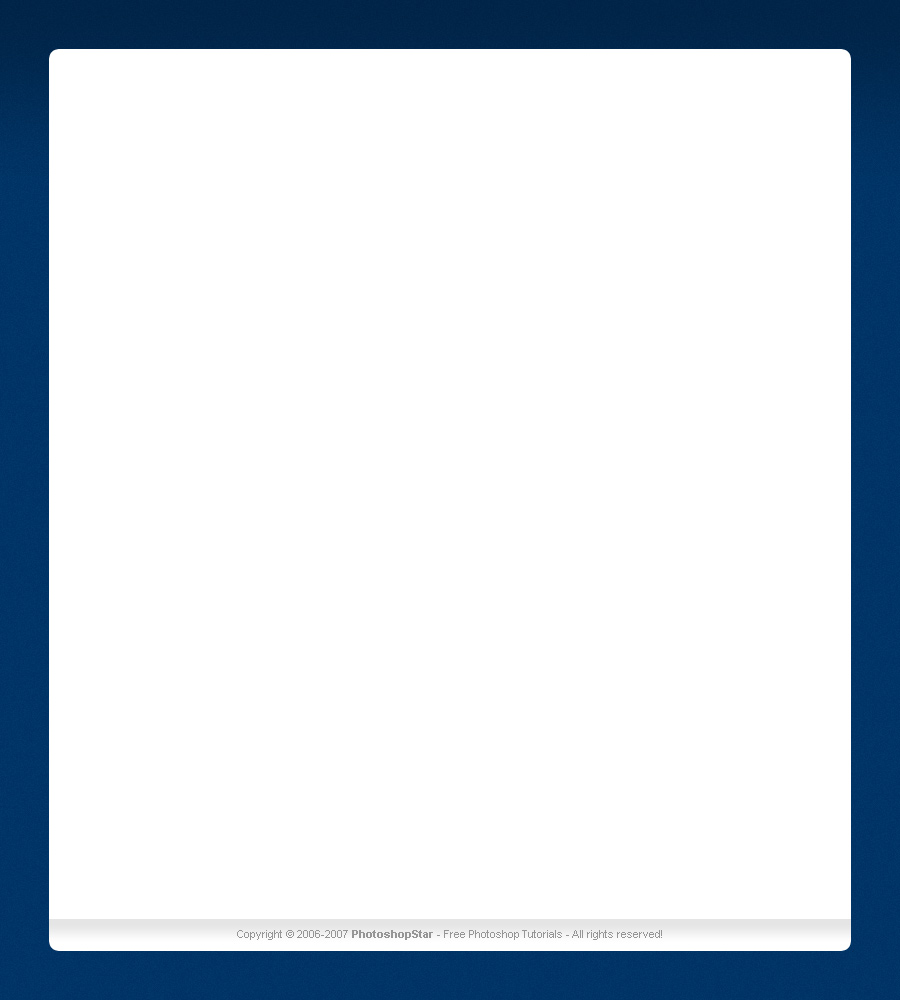
You’ll need a simple container area for your website design for all of your content and such to go into. You can make a really simple one by simply making a white rectangle in the middle of your template, or you can go a little bit more complex and make a nice, round-edged container. You can make a round-edged rectangle by either using the Rounded Rectangle Tool or using the channels, you’ll probably just want to get the rounded rectangle tool and create one though.
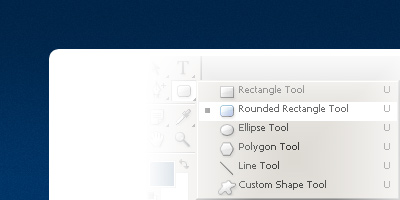
You’ll want to make sure you set up your settings for the rounded rectangle tool aswell – similar to mine if you want.
![]()
Finished the container area, unless there’s something more you want to do? For more detail (might not be the most efficient) you can add an outer glow (shadow) to the container area, view my Outer Glow settings if you want to add a shadow to the outside of the container.
3. Footer Section
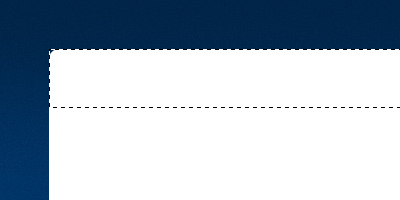
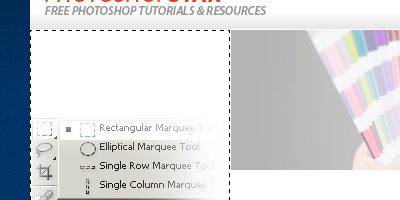
Normally you’d wait till last to add in a footer, but in this case we’re not, I think it’s best we add it in now. Firstly, start by making a selection, containing all of the width of your container area, but only about 30-40 pixels of the height, as shown in the screenshot below.
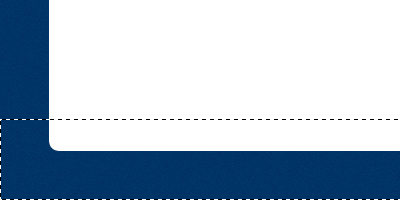
Simple enough. After creating your selection, similar to mine shown above, right-click your selection (with your selection tool still active) then click Layer via Cut, after doing this, your selected area will be on a separate layer. After making your footer section separate, right-click your layer and go into the Blending Options, click Gradient Overlay and apply these settings.

Now, finish your footer area off by simply adding in your copyright notice, and some links if you’re into adding links into your footer. Some people also make an extra-large footer area and add in things like Recent Posts, Archives, Blogroll even. But I’m not really into that kind of thing. So, you’re done for the footer area!
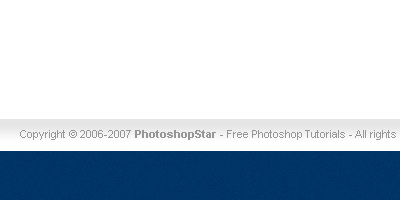
If you’re wondering how my design is going so far, you can view the design so far here.
4. Header/Logo/Navigation Area
Now we’re going to create the header area where the logo, and sometimes some navigation buttons go. Start by making a rectangular selection all the width of your container area, but only about 50-100 pixels in height, make this selection at the top of your container area.
My selection was 802 x 59 pixels to be exact. After making your selection, get out the gradient tool and make a black to transparent gradient from the bottom of the selection to the around middle area, like mine.

After making your gradient, change the layer opacity to around 10-20%. Now you should add in your website name/slogan/description into the left corner, if it doesn’t fit, you’ll want to move the gradient layer down a little bit. I managed to come up with this:
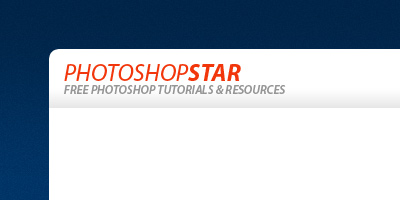
The font I’ve used above is called Myriad Pro, but I’m quite sure it’s a commercial font, so you might have to use something different. A good alternative to this font would be Arial, which is a free font that should come with Windows 🙂 The colors I’ve used in my text logo are #f1360b (orange) and #969696 (grey).
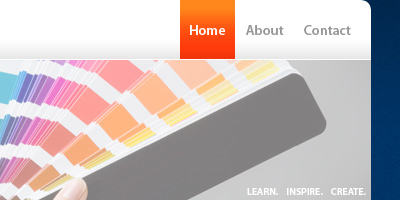
Now, create some navigation links/buttons over in the right corner of your header section. I used the same font as before (Myriad Pro) with the color #969696.
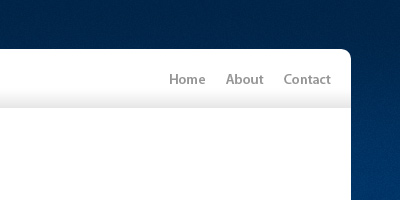
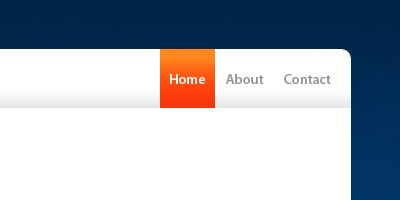
You’ll also need to space each of the texts apart a little bit, you can easily do this by just pressing the space bar key more than the usual once 😉 After making your links, you can make things more interesting by adding in a rollover effect. Start by making a selection (all of the height of the bar, from the top of the container to where the gradient stops) and half of the space between the links.

Now fill your selection with a color – I used the bright orange that I did before for the text logo (#f1360b), after filling your selection, you may want to apply this Gradient Overlay to give more of an interesting effect! Finish off by changing the ‘Home’ text to white (#ffffff)
Alright, not bad! I think we’re done for this section aswell.
5. Website Banner
This is a pretty easy step, all you have to do is add in a banner graphic underneath our header. Firstly, you’ll need a stock photo of some sort, willing to pay? Then I recommend iStockPhoto or DreamsTime. Not able to pay? Not a problem, try stock.xchng, or YotoPhoto! After you’ve got the photo you want to use in your banner, copy/paste the image to your template document. Create a selection underneath your header then crop your image to the selection (image > crop)
I added the lame ‘learn. inspire. create.’ part, although I didn’t come up with that slogan. The size of my banner when I finished with it was 601 x 140 pixels, and I also lowered the opacity for the stock photo layer to 50% to give it a little bit of extra effect … sort of. Click here to view the full design so far.
Alright… well, we’re pretty much done for this part, did you do alright? It’s pretty easy, just get a photo you like and turn it into a little banner! Preferably something related to your website, by the way.
7. Navigation/Sidebar Section
So, let’s make a sidebar. Start by making a selection down the left side of your design, using the Rectangular Marquee Tool. My selection ended up being 200 x 809 pixels in size, leaving one pixel spaces where necessary (near footer, and near header, you should leave one pixel spaces)
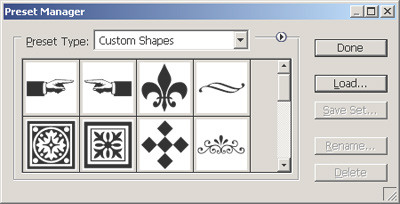
After making your selection, fill it with a nice, soft-blue color, the hex code for the color I used was #3e72a4. After filling your sidebar container with the suitable color, start adding some text! I started by adding the text ‘Website Menu’ in Myriad Pro near the top of the sidebar, then I added in a nice ornament underneath.

You can find the above shape in the ‘Ornaments’ set that comes with Photoshop. I also added in this Drop Shadow to both of the layers.
Now add in some navigation links! I used the font Arial, with a size of 14 pt/px, also using the color white (#ffffff)
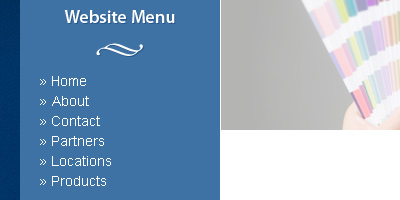
Repeat this step for and ‘Our Partners’ section in the sidebar, cut a one pixel line after the our partners section, then make a ‘What’s New?’ section. See what I’ve done here:
Alright, not bad so far, there’s not much more we can do for the sidebar though. If you’re a little bit lost, you can click the above image for a larger preview.
8. Content/News Updates Area
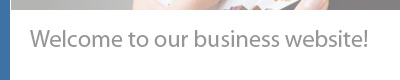
Alright, the most important part now, the content/news area. Start by writing out a headline in your large blank area, similar to mine:
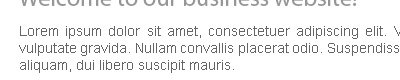
Now some random text underneath, a good place to get filler text is the official Lorem Ipsum website.
View our website design so far.
Now you can add whatever you want to the content area, you can add another heading like ‘Who are we, what are we about?’, whatever. It all depends on what website the design is for really, what theme you’re going for. Add in a Google Ad maybe? 😉 That probably won’t look very professional actually.
(click for larger)
Anyway, I hope that you enjoyed this Photoshop tutorial! Thanks very much for reading, and I hope you were able to follow this tutorial through easily.