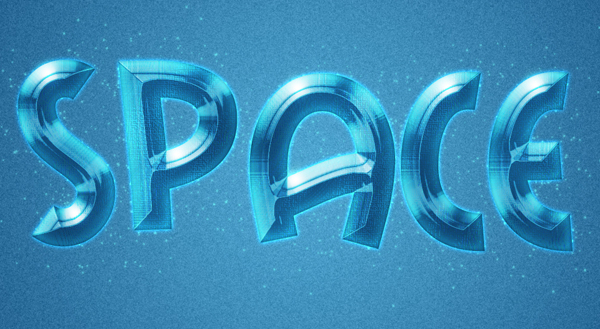
In this Photoshop tutorial, you will learn how to create a futuristic space-style text effect, using Photoshop layer styles and a couple of filters.
Final Image
Resources
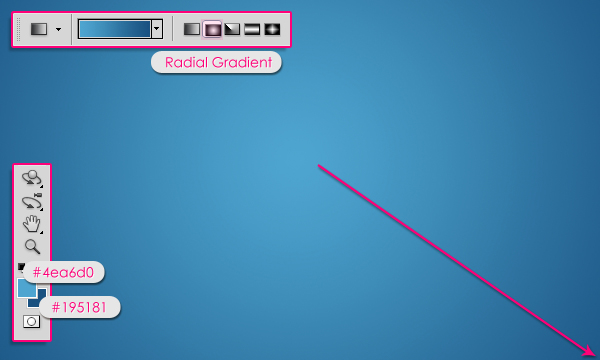
Step 1
Create a new document that is 1350 x 1000 px. Set the Foreground color to #4ea6d0, and the Background color to #195081. Create a Radial Gradient from the center of the document to one of it corners.
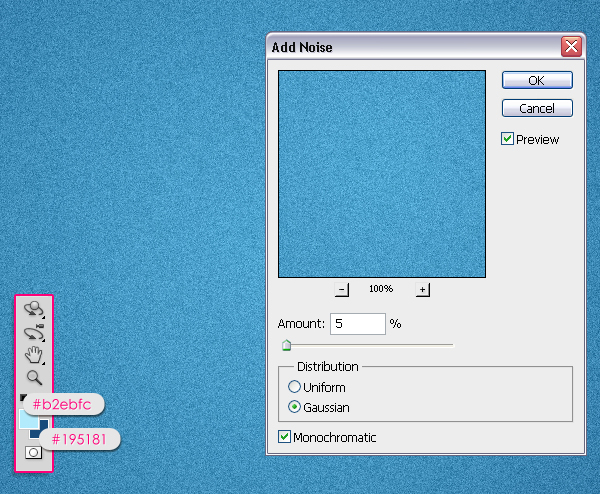
Step 2
Set the Foreground color to #b2ebfc. Go to Filter > Noise > Add Noise. Change the Amount to 5, the Distribution to Gaussian, and check the Monochromatic box.
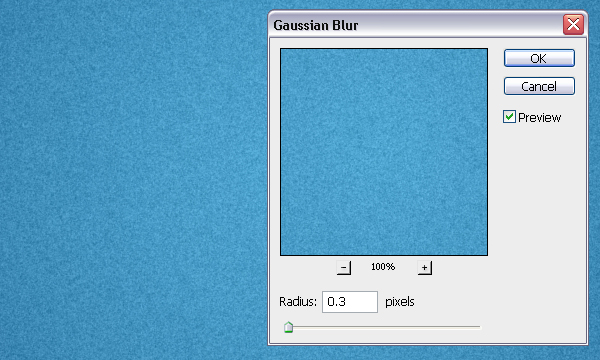
Step 3
Go to Filter > Blur > Gaussian Blur, and change the Radius to 0.3.
Step 4
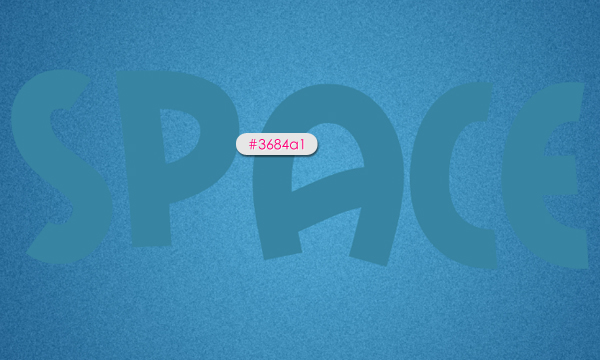
Create the text using the color #3684a1, the font used is Mail Ray Stuff, and the size is 450 px.
Step 5
Double Click on the text layer to apply the following styles:
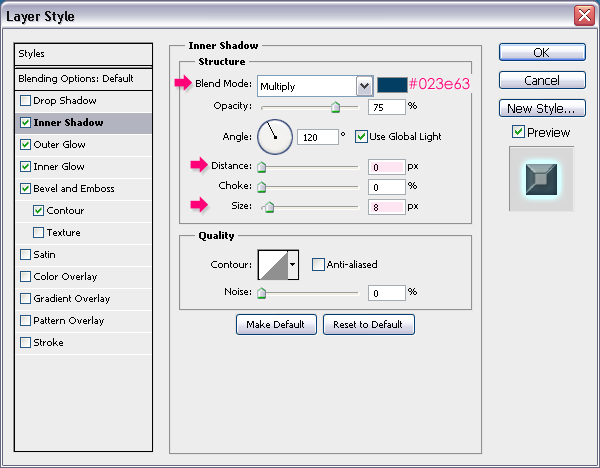
– Inner Shadow: Change the color to #023e63, the Distance to 0, and the Size to 8.
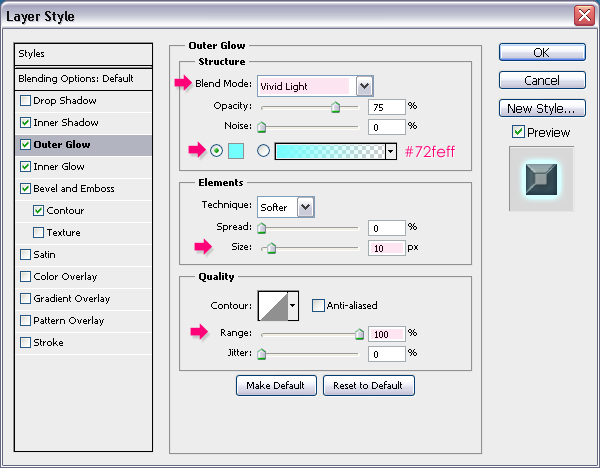
– Outer Glow: Change the Blend Mode to Vivid Light, the color to #72feff, the Size to 10, and the Range to 100%.
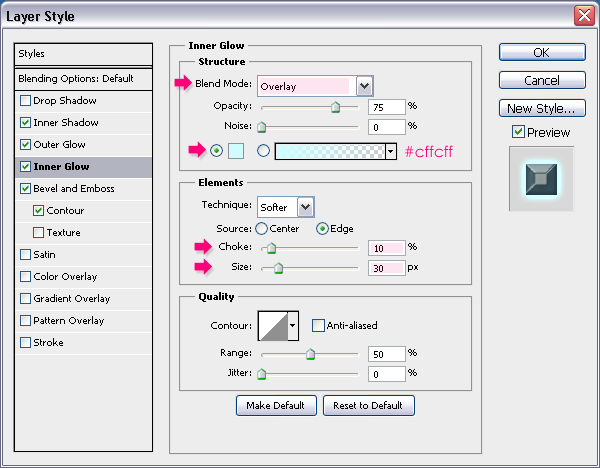
– Inner Glow: Change the Blend Mode to Overlay, the color to #cffcff, the Choke to 10, and the Size to 30.
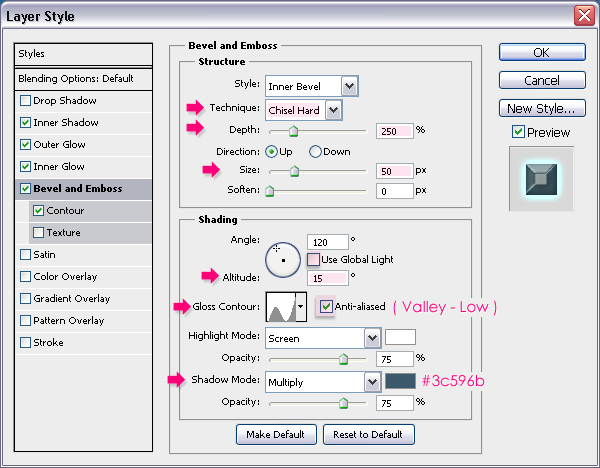
– Bevel and Emboss: Change the Technique to Chisel Hard, the Depth to 250, and the Size to 50. Remove the check next to Use Global Light. Change the Altitude to 15, the Gloss Contour to Valley – Low, and check the Anti-aliased box. Finally, change the Shadow Mode color to #3c596b.
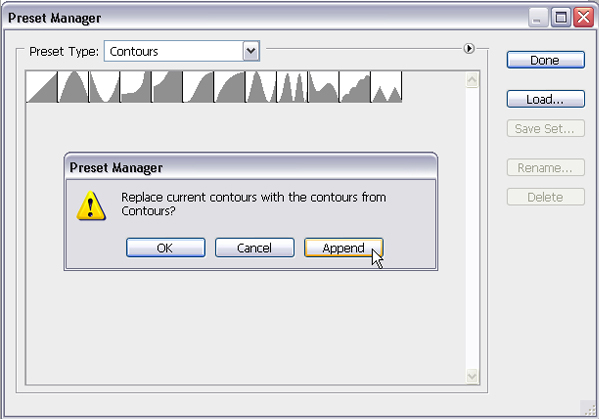
If you don’t have Valley – Low Contour then you need to:
1 – Go to Edit > Preset Manager. Choose Contours from the drop-down menu.
2 – Click on the pop-up menu arrow, and choose Contours.
3 – Click Append to add the new contours to the original ones.
4 – The contours are now loaded.
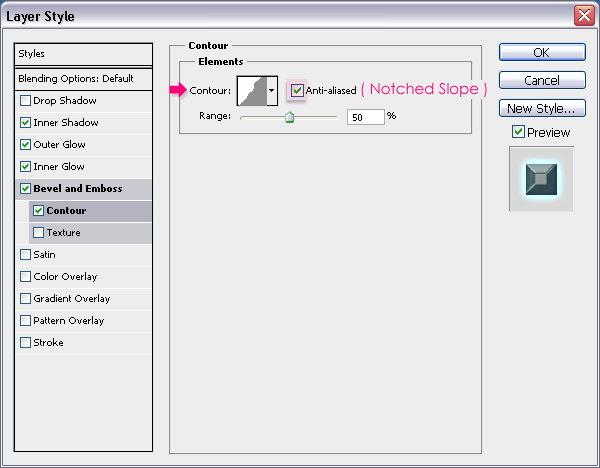
– Contour: Choose Notched Slope, and check the Anti-aliased box as well.
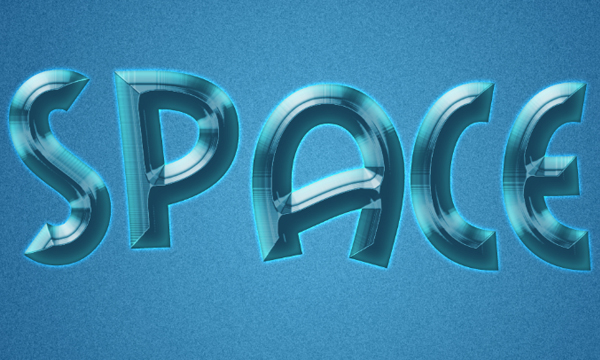
The text should look like this:
Step 6
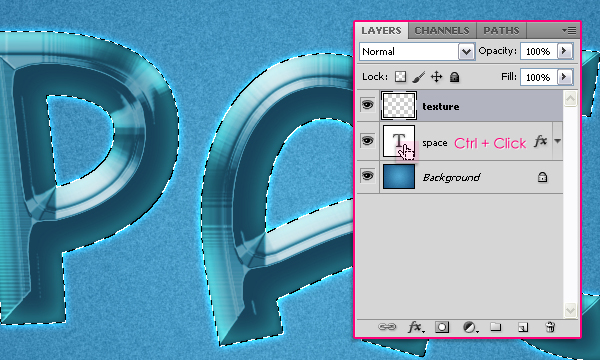
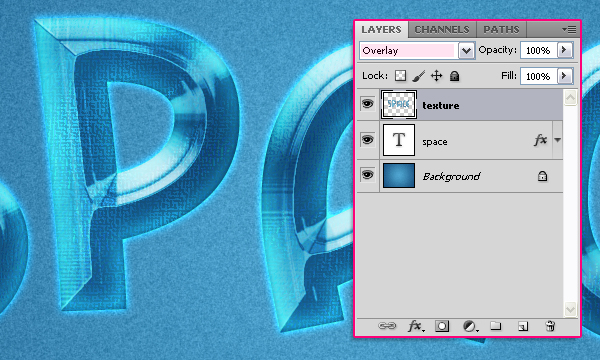
Press the Ctrl/Command key, and while it’s still pressed, click on the text layer’s thumbnail to create a selection. Create a new layer on top of the text layer and call it “texture“.
Step 7
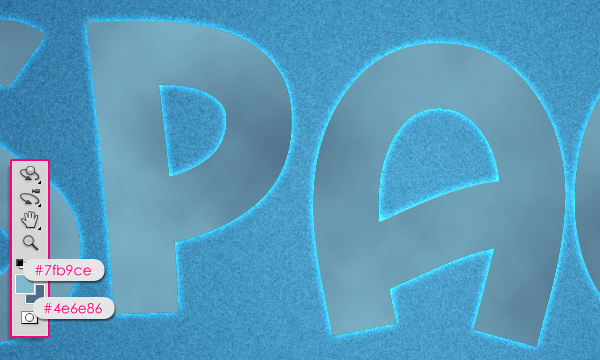
Set the Foreground color to #7fb9ce and the Background color to #4e6e86, then go to Filter > Render > Clouds. Press Ctrl + D to get rid of the selection afterwards.
Step 8
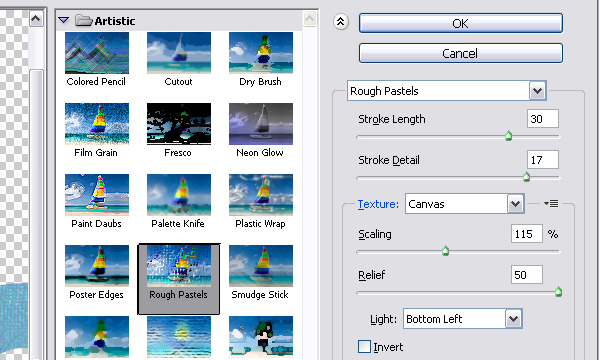
Go to Filter > Artistic > Rough Pastels. Change the Stroke Length to 30, the Stroke Detail to 17, the Texture to Canvas, the Scaling to 115, the Relief to 50, and the Light to Bottom Left.
This is what you should get.
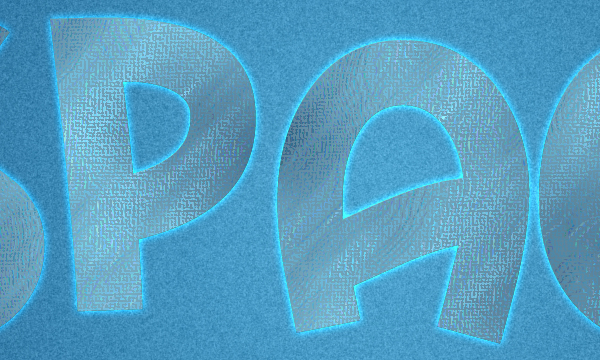
Change the “texture” layer’s Blend Mode to Overlay. That’s it for the texture.
Step 9
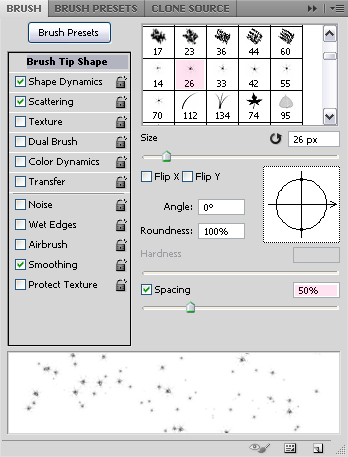
Open the Brush panel (Window > Brush), and choose the Star 26 pixels brush. Change the Spacing to 50%.
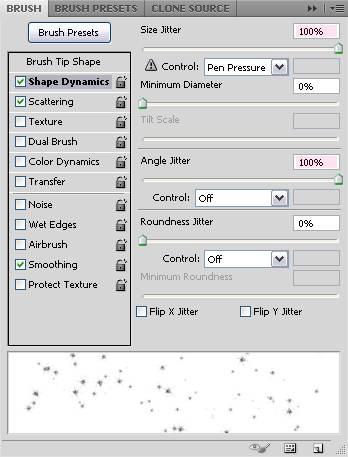
Under Shape Dynamics, change both the Size Jitter and the Angle Jitter to 100%.
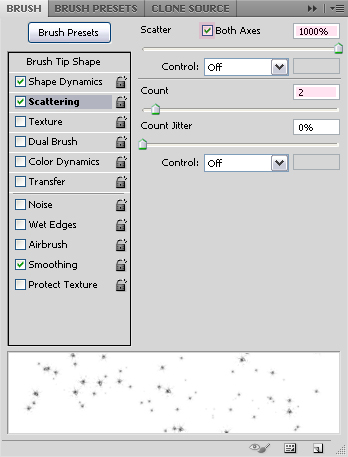
Under Scattering, change the Scatter value to 1000%, and check Both Axes box. Change the Count to 2, or whatever value you like (A higher value gives more sparkles).
Step 10
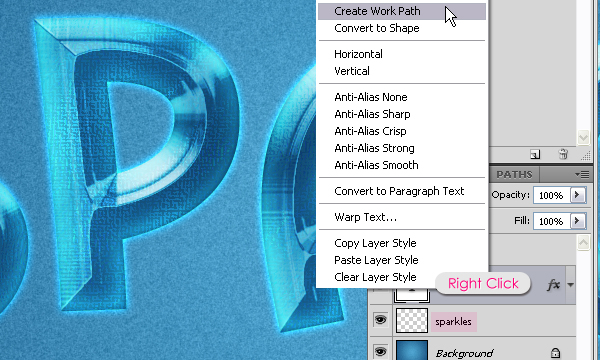
Create a new layer on top of the Background layer and under the text layer, call it “sparkles“. Right click on the text layer and choose to Create Work Path.
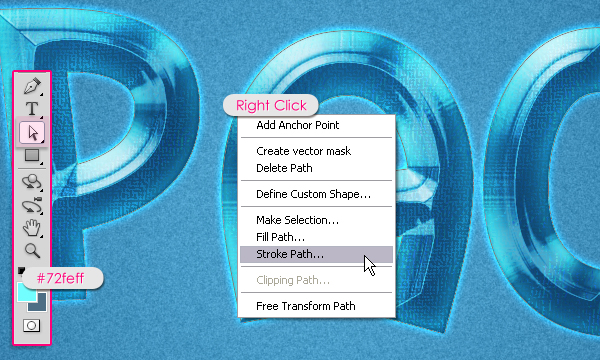
Select the “sparkles” layer so that it is the active layer. Set the Foreground color #72feff, and grab the Direct Selection Tool. Right click on the path and choose Stroke Path.
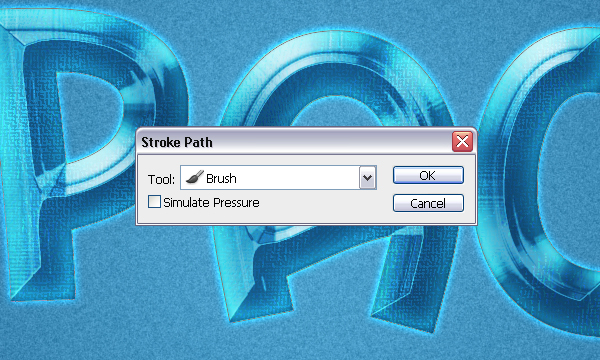
Choose Brush from the Tool drop down menu, and make sure that the Simulate Pressure box is unchecked.
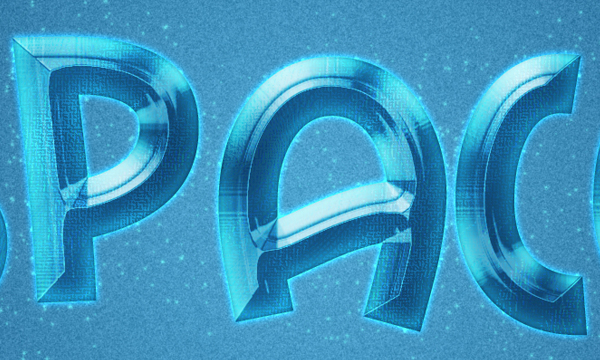
The Path will be stroked with the sparkles brush. Hit Enter/Return to get rid of the path.
Step 11
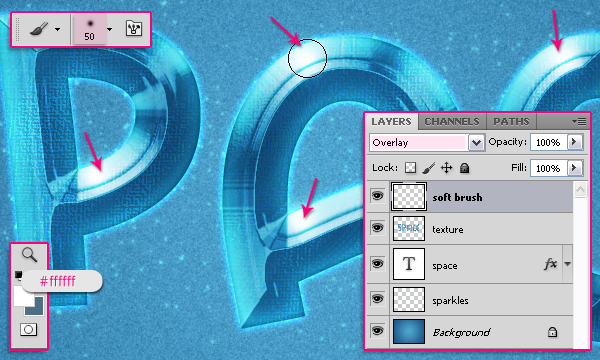
Choose a soft round brush, the size should be something around 50px and set the Foreground color to #ffffff (White). Create a new layer on top of all layers and call it “soft brush“, then, change its Blend Mode to Overlay.
With the soft brush, start clicking where there are bright areas on the text, this will make those highlights look even brighter. You can change the size of the brush as you like.
Final Image
And this is the final effect.