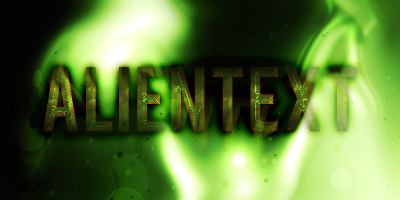
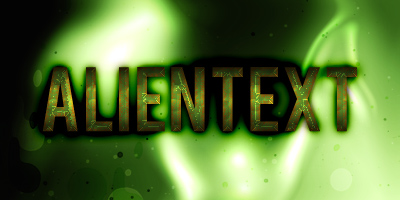
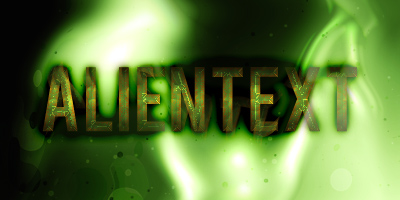
In this easy tutorial I’m going to show you how to make a really cool, high-tech, alien-like text effect (wow, long name!) Mostly just using layer styles, but also some filters to finish it off nicely. You can see my result image below, which you’re going to be making something very similar to!
1. Creating a Background
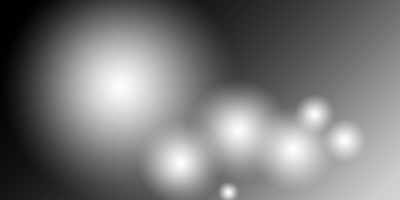
First thing’s first, create a new document in which you can make your text, use a size of about 400 x 200 pixels. Now make a background that will suit the theme. I started the background by first making a few white gradients on a black background.
(With the gradient tool, using a black and white gradient, change the gradient tool mode to Lighten)
Next, apply Filter > Distort > Wave with any old random setting.
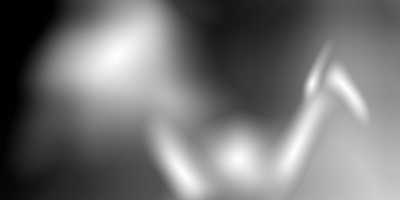
(settings do not matter here, you just want to get a random effect for the background)
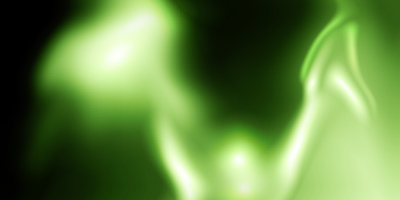
Now, create a new layer and fill it with #47711f (green) or a similar color – change the layer mode for your new layer to Color and lower the opacity to around 80%.

Merge the background layers together then duplicate the remaining layer, apply Filter > Disort > Wave with another random setting, change the layer mode to Overlay and lower the opacity to around 80%.
(this will make the background seem more vivid!)
Now, lastly for the background layer, I added in some blood splat brushes and changed the layer mode to Soft Light. You can download the blood-splat brushes that I used from here: Download Blood Splat Brushes.
This is what I gave after adding some brushes to my canvas:
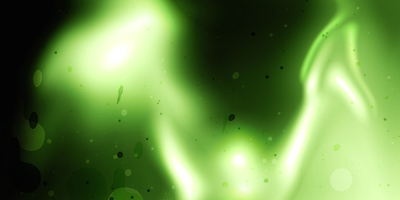
Looking pretty cool so far, huh? 🙂
2. Create Your Text
First thing, change your foreground color to a darkish-green color, then write out your text.

The font that I’ve used in the above screenshot is called Bebas, the font size was 72 pt, and the color used is #3c5516.
3. Style your Text (Layer Styles)
Now it’s time to give your text a really cool effect using layer styles! Right-click the text layer and go into the Blending Options, choose the following settings:
- Drop Shadow
- Outer Glow
- Inner Glow
- Bevel and Emboss
- Gradient Overlay
- Pattern Overlay (this pattern comes with Photoshop)
And now your text should now look something like this:
Well at the moment it doesn’t look all that brilliant, but after the additional filter effects, I think it looks much better! Don’t worry if it’s not exact, it doesn’t really matter.
4. Additional Filter Effects
Firstly, create a new layer then Apply the Image (Image > Apply Image…) this will have made everything visible in the new layer. Now apply Filter > Distort > Wave with a random setting. Change the layer mode for this distorted layer to Lighten and lower the opacity to about 35-50%.
Duplicate that distorted layer, then apply Filter > Blur > Gaussian Blur with any old amount, change the layer mode to Overlay and have the opacity at about 40-50%.
Looks pretty cool, don’t you think? 🙂
You could finish this off by applying any of the cool filters, I especially like Filter > Noise > Add Noise.
Thanks very much for reading the tutorial! I hope you enjoyed it. If you would like to receive updates from PhotoshopStar, please consider subscribing today.