This tutorial will show you how to use a couple of Photoshop’s layer styles, along with some flare photos, gradient fills, and a simple pattern, to create a shiny textured chrome text effect. Let’s get started!
Final Image
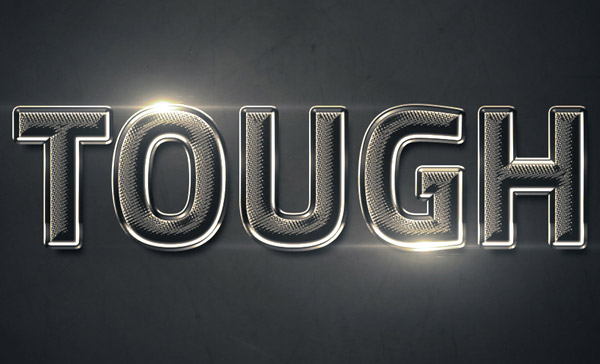
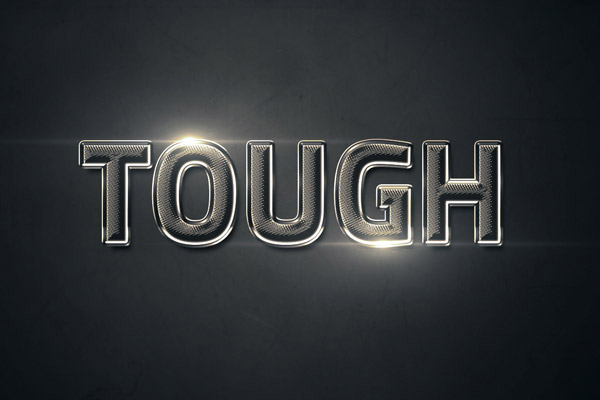
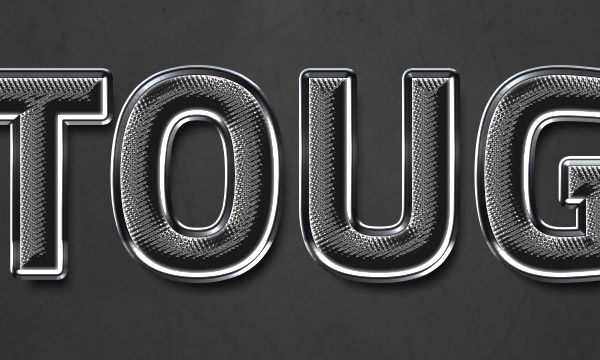
As always, this is the final image that we’ll be creating:
Tutorial Details
- Program: Adobe Photoshop CC 2015
- Estimated Completion Time: 20 minutes
- Difficulty: Beginner
Resources
- TitilliumMaps26L-999wt font.
- metal texture by Lwsypher.
- OF Flare // Conspiracy 8 by Vascan.
- Small crossesby Ian Dmitry.
- Free Pack 6000 photoshop gradients by Supertuts007 (Load the CHROMES.grd and the CSP True Sky Gradients.grd files).
Step 1
Create a new 1200 x 800px document, and change the Resolution value to 200.
Set the Foreground color to #6c6c6c and the Background color to #414141. Pick the Gradient Tool, choose the Foreground to Background, Radial Gradient, in the Options bar. Then click and drag from the center of the document to one of the corners to create the gradient.

Step 2
Place the metal texture image on top of the Background layer, resize it as needed, then change its layer Blend Mode to Multiply.

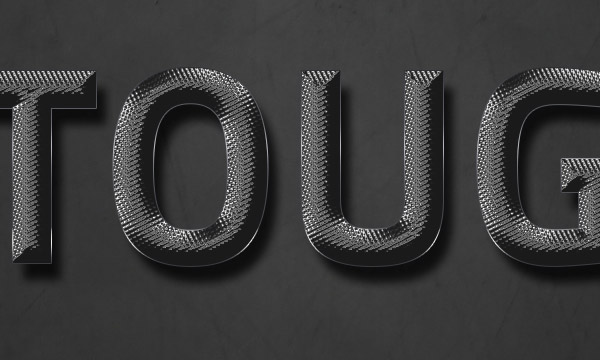
Step 3
Create the text in All Caps using the font TitilliumMaps26L-999wt, the Color #666666, and the font Size 100pt.
Duplicate the text layer, and change the copy’s Fill value to 0.
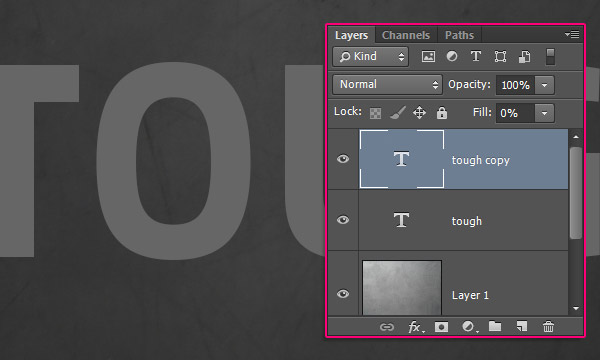
Double click the original text layer and apply the following layer style:
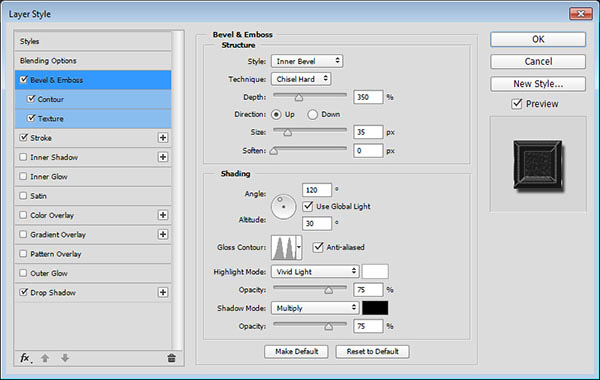
Step 4
Bevel and Emboss
- Technique: Chisel Hard
- Depth: 350
- Size: 35
- Gloss Contour: Ring – Double
- Check the Anti-aliased box
- Highlight Mode: Vivid Light
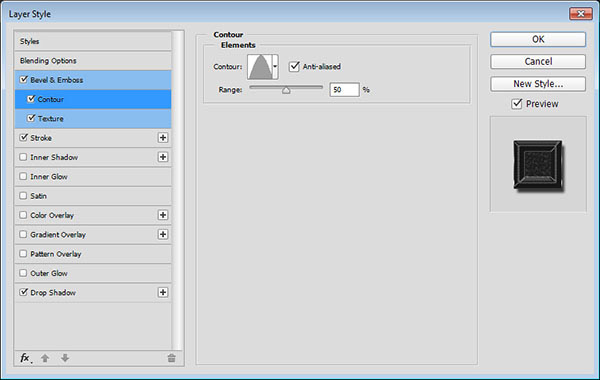
Step 5
Contour
- Contour: Cone
- Check the Anti-aliased box.
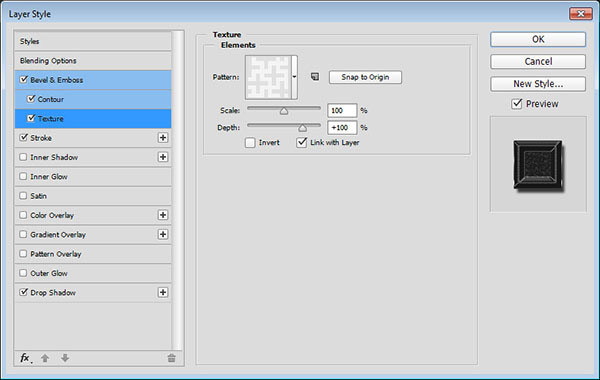
Step 6
Texture
- Pattern: Small crosses
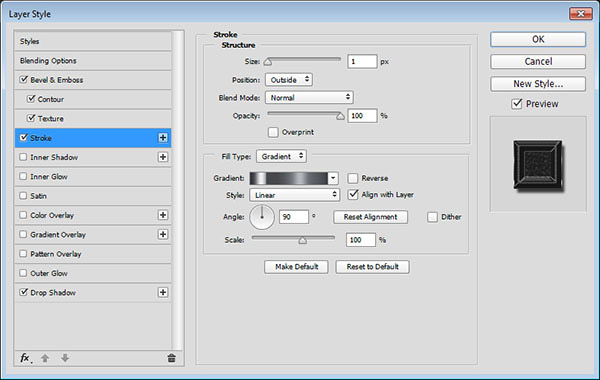
Step 7
Stroke
- Size: 1
- Fill Type: Gradient
- Use the Stainless Steel 30pot gradient
Step 8
Drop Shadow
- Distance: 20
- Size: 10

Step 9
This will style the textured part of the text.
Double click the copy text layer to apply the following layer style:
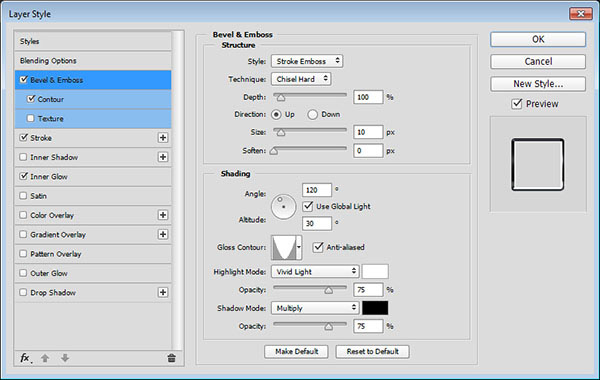
Step 10
Bevel and Emboss
- Style: Stroke Emboss
- Technique: Chisel Hard
- Size: 10
- Gloss Contour: Cone – Inverted
- Check the Anti-aliased box
- Highlight Mode: Vivid Light
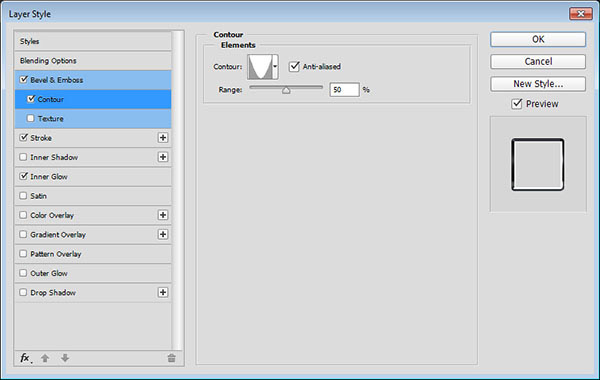
Step 11
Contour
- Contour: Cone – Inverted
- Check the Anti-aliased box.
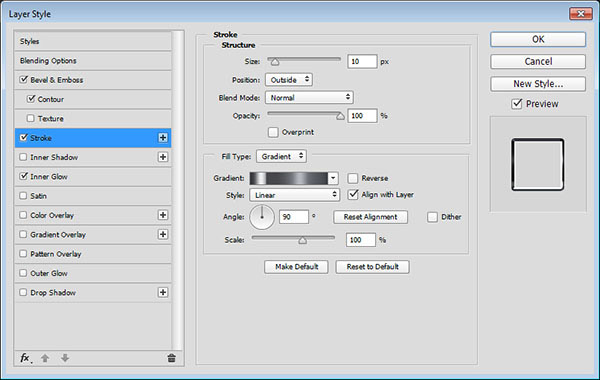
Step 12
Stroke
- Size: 10
- Fill Type: Gradient
- Use the Stainless Steel 30pot gradient
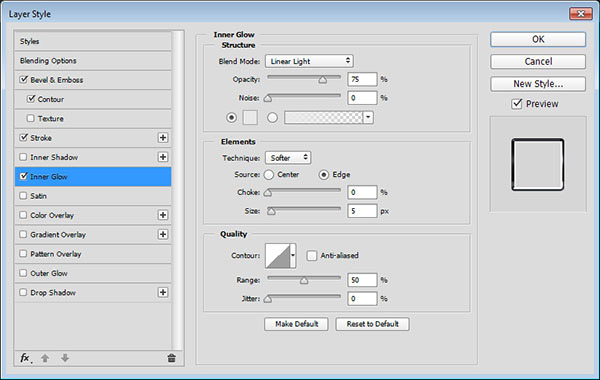
Step 13
Add an Inner Glow
- Blend Mode: Linear Ligh
- Color:
#e8e8e8 - Size: 5
Step 14
This will style the outer stroke.
Step 15
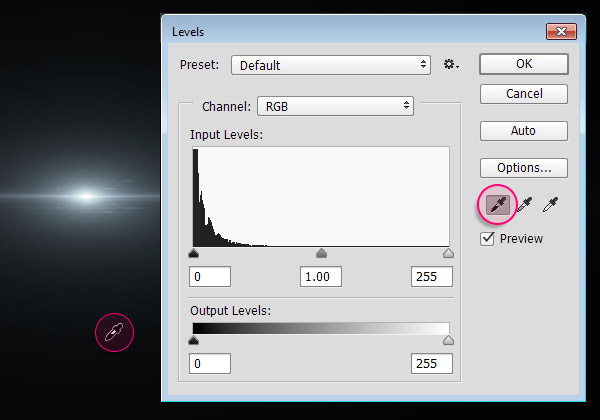
Place the OF Flare // Conspiracy 8 image on top of all layers, and resize it as you like.
Go to Image > Adjustments > Levels. Click the Sample in image to set black point icon, and click the dark part of the image. This will turn that area, along with all the darker ones, into black.
Step 16
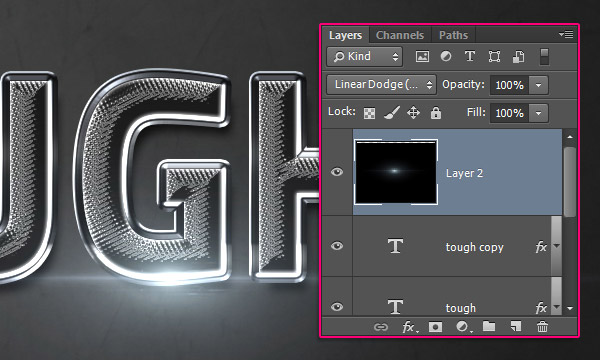
Change the flare image layer’s Blend Mode to Linear Dodge (Add), and place it somewhere at the bottom of the text. You can resize it again if needed.
Step 17
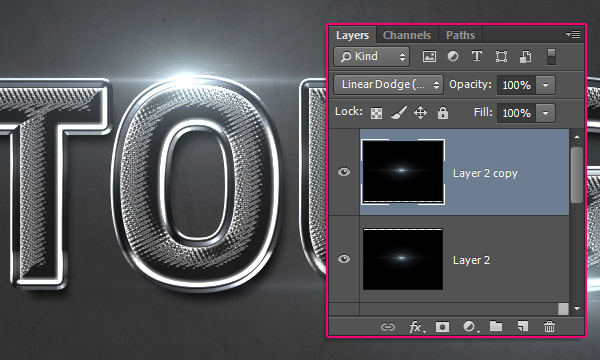
Duplicate the flare layer, and place the copy at the top of the text.
Step 18
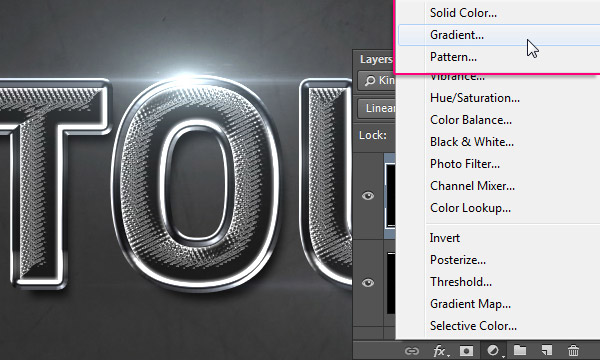
Click the Create new fill or adjustment layer icon at the bottom of the Layers panel and choose Gradient.
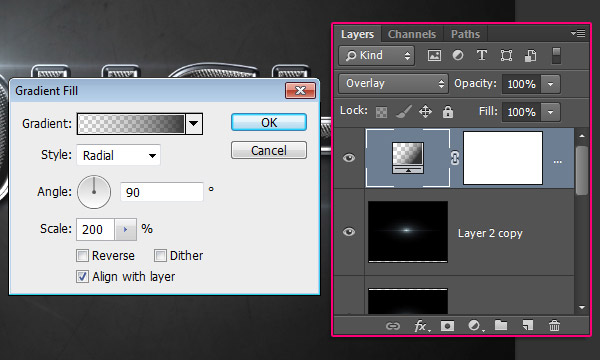
Step 19
Create a Transparent to Fill Color gradient using the colors #6d6d6d to the left and #333333 to the right. Change the Style to Radial and the Scale to 200.
Make sure to place the Gradient adjustment layer on top of all layers, then change its Blend Mode to Overlay.
Step 20
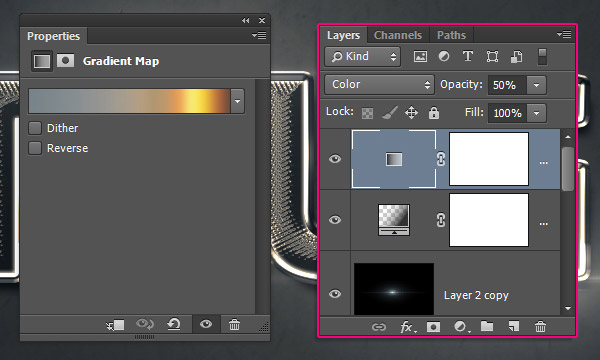
Click the Create new fill or adjustment layer icon again and choose Gradient Map.
Use the gradient shown below, and change the adjustment layer’s Blend Mode to Color and its Opacity to 50%.
And We’re Done!