This Photoshop tutorial will show a simple way to create a nice text effect using Layer Styles, then modify some brush settings to add stars to the background.
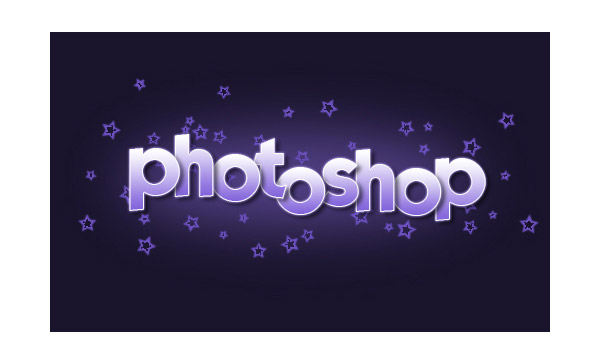
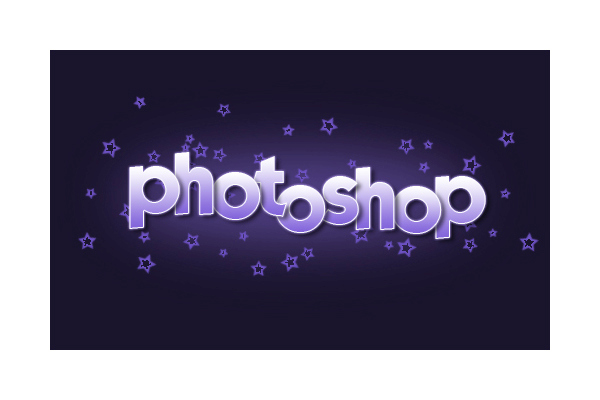
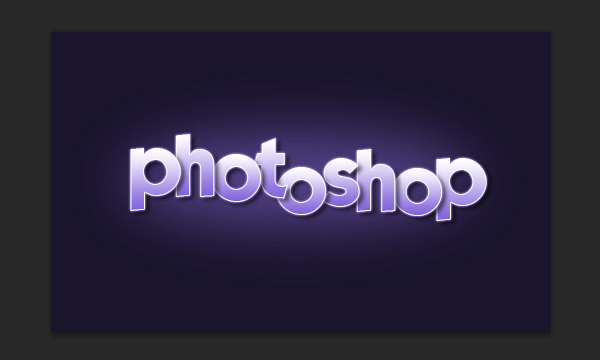
Final Image
Tutorial Details
- Program: Adobe Photoshop CS6 (CS2+ versions will work as well)
- Estimated Completion Time: 30 minutes
- Difficulty: Beginner
Resources
- Kabel Bd Normal font.
- Star Brushes by KenshinJennings.
Step 1
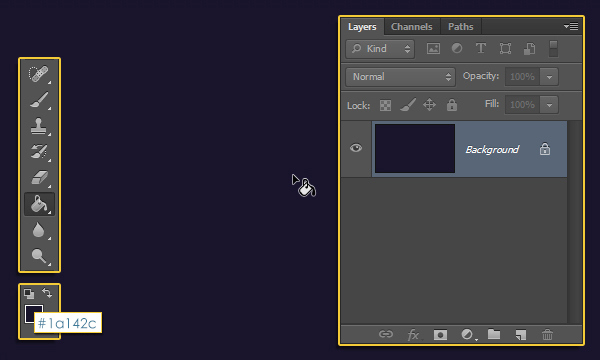
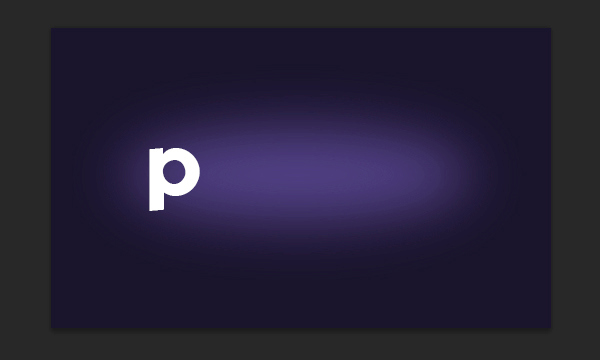
Created a new 500 x 300 px document with all the default settings, then fill the Background with the color #1a142c.
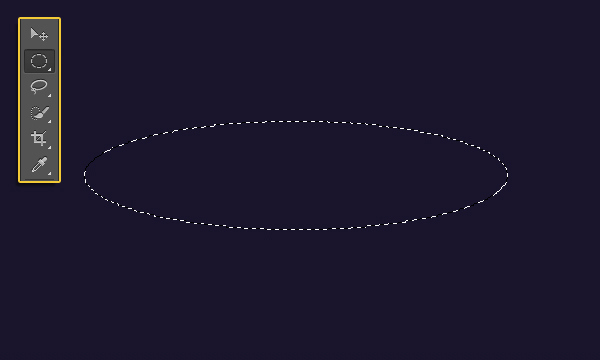
Create a new layer and call it “Center Glow”.
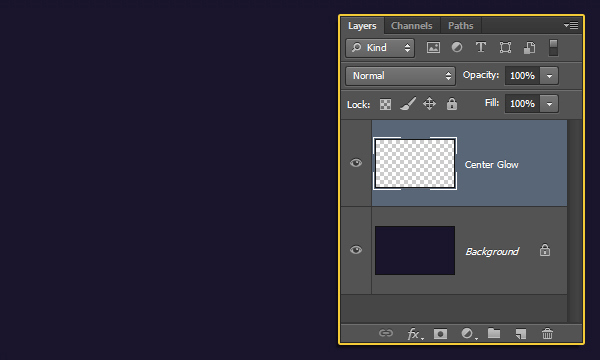
Pick the Elliptical Marquee Tool, then click and drag to create an ellipse in the center of the document as shown below.
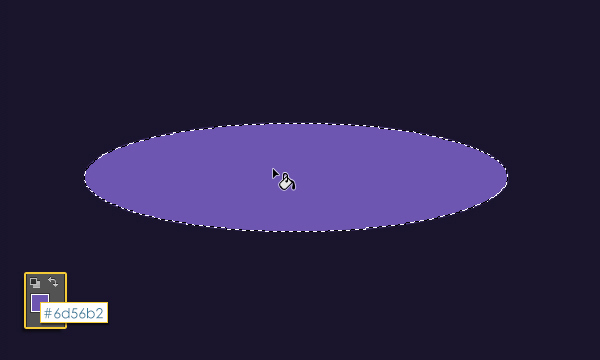
Fill the ellipse with the color #6d56b2.
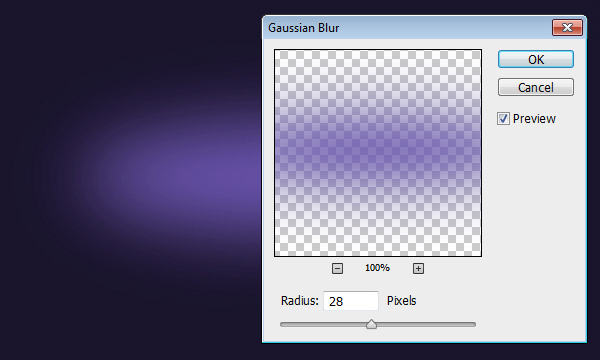
Go to Select -> Deselect (Ctrl/Cmd + D) to remove the selection. Then, go to Filter -> Blur -> Gaussian Blur, and set the Radius to 28. This will feather the edges of the ellipse.
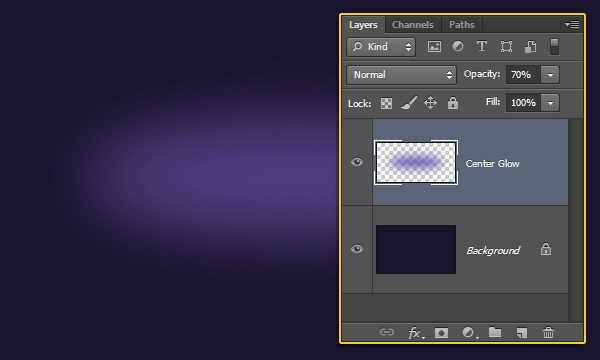
Change the “Center Glow” layer’s Opacity to 70%.
Step 2
Pick the Horizontal Type Tool, then type the first letter of the word you will be creating. The font used is KabelBd, the color is White, and the font Size is 75 pt.
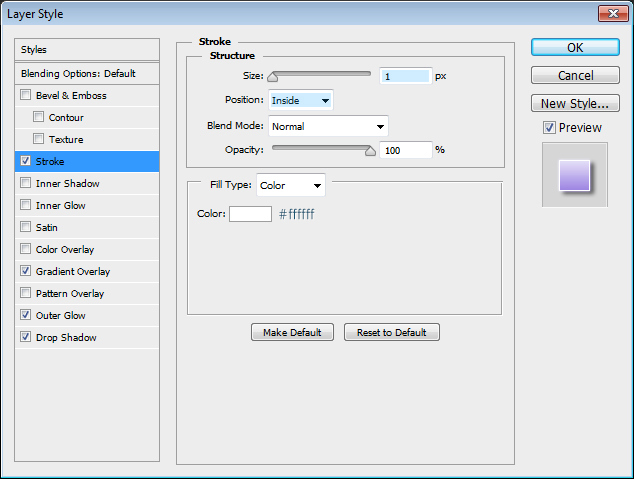
Double click the text layer to apply the following Layer Style.
– Stroke: Change the Size to 1, the Position to Inside, and the Color to White.
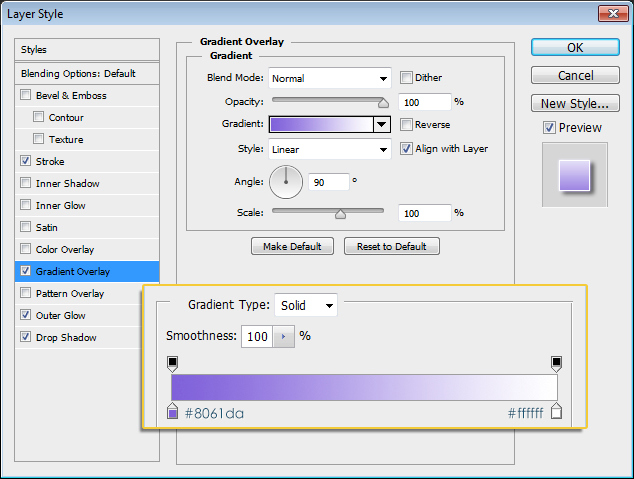
– Gradient Overlay: Click the Gradient box to create the gradient.
The gradient uses two colors: #8061da to the left, and #ffffff to the right.
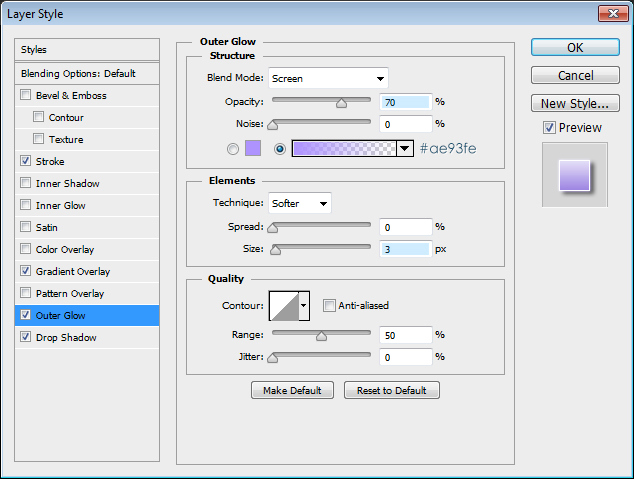
– Outer Glow: Change the Opacity to 70%, the color to #ae93fe, and the Size to 3.
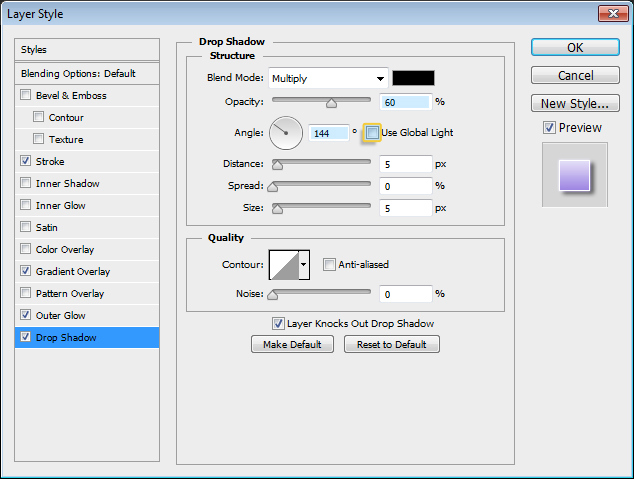
– Drop Shadow: Change the Opacity to 60%, uncheck the Use Global Light box, and change the Angle to 144.
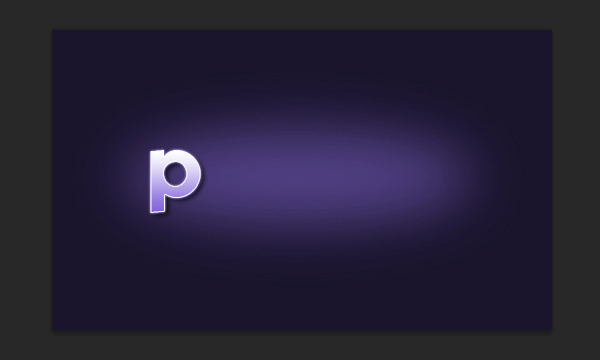
This is what the text should look like.
Step 3
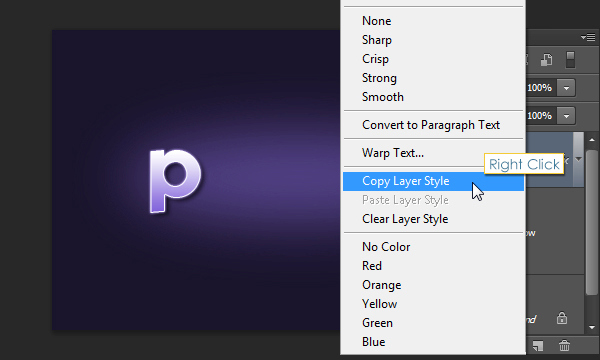
Right click the text layer and choose Copy Layer Style.
Create a new layer below the text layer you have, then add the next letter.
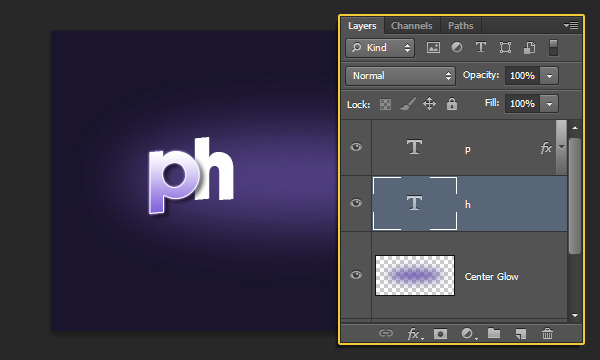
Right click the secone letter’s text layer, and choose Paste Layer Style. This will apply the same layer style to the new text layer.
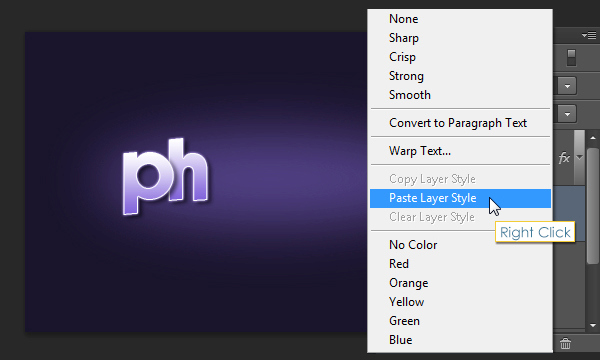
Keep on adding the rest of the letters, and paste the layer style to each one you create. You can place them on top of and below each other as you like.
Step 4
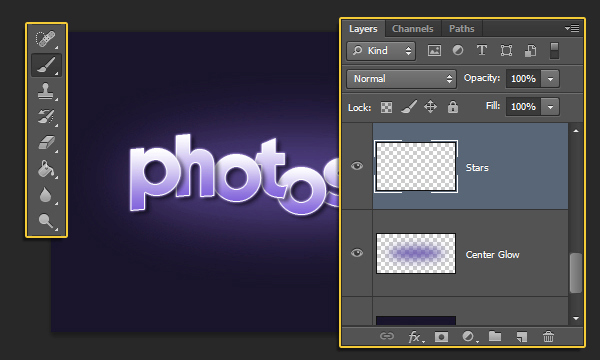
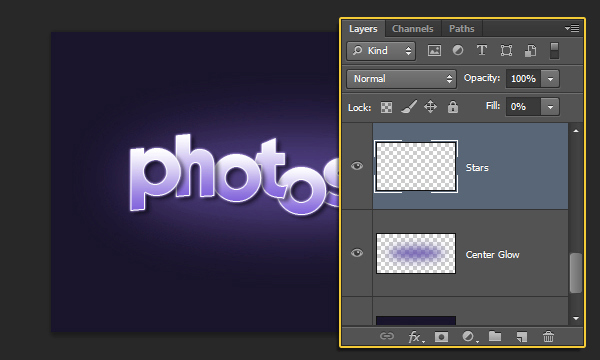
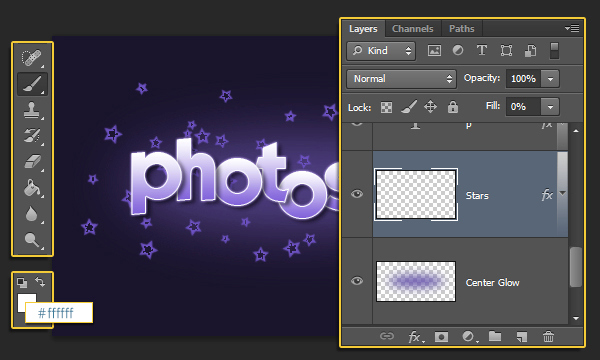
Create a new layer below all text layers and call it “Stars”. Pick the Brush Tool, then choose the “5” star brush from the brush pack.
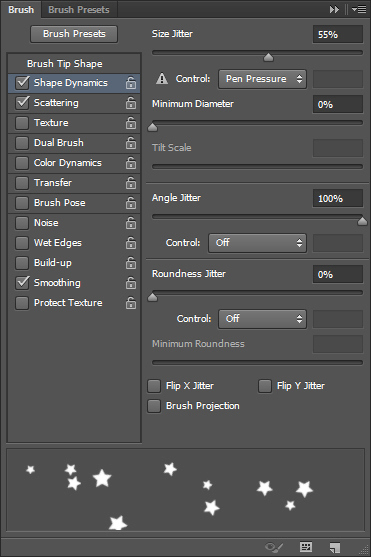
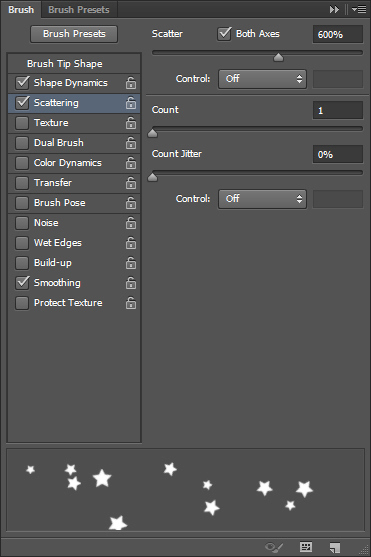
Open the Brush panel (Window -> Brush), and modify the brush settings as shown below:
Brush Tip Shape:
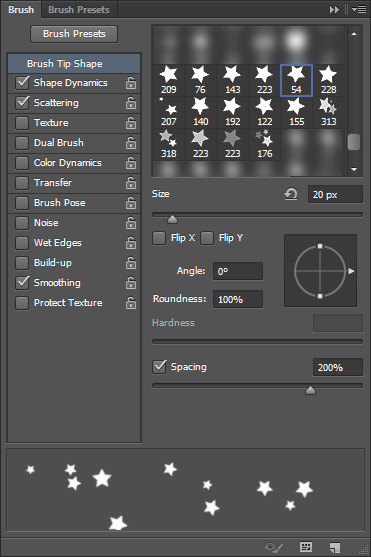
Shape Dynamics:
Scattering:
Step 5
Change the “Stars” layer’s Fill value to 0.
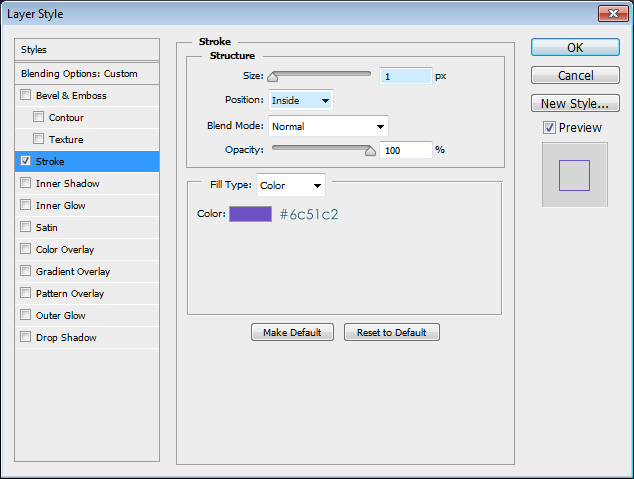
Double click the “Stars” layer to apply a Stroke effect, by changing the Size to 1, the Position to Inside, and the color to #6c51c2.
Click and drag slightly to add stars around the text. The settings will help you create stars with different sizes and angles.
You can use the Eraser Tool to remove any unwanted parts, then recreate them, until you like the final result.

And that’s it!
Hope you enjoyed the tutorial and found it helpful.