
In this Photoshop tutorial you’ll learn how to create a nice simple stuffed text effect, using Photoshop layers, styles and filters.
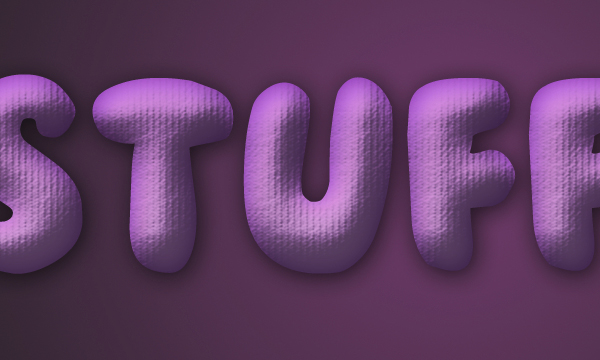
Final Image Preview

Resources
Step 1
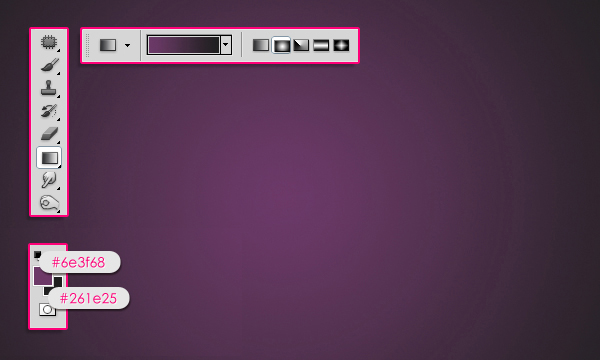
Create a new document, 1024x768px, set foreground color to #6e3f68 and background color to #261e25. Then create a radial gradient from the center of the document to one of the corners.
Step 2
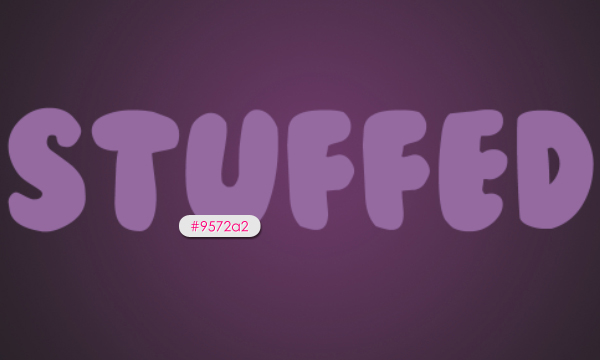
Create the text using the color #9572a2, the font used is BubbleGum, and the size is 250 px.
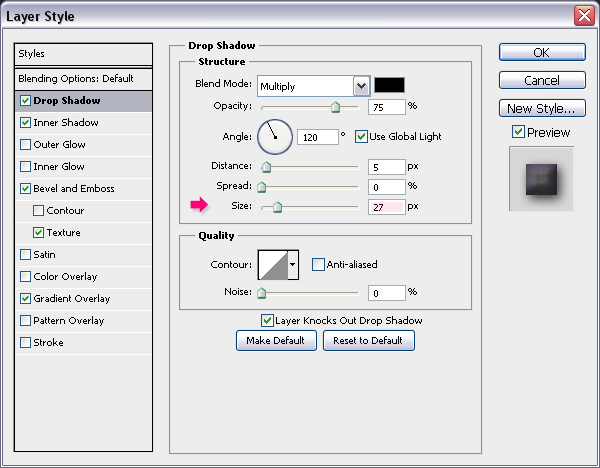
Double click the text layer to apply the following styles:
– Drop Shadow: Just change the Size to 27.
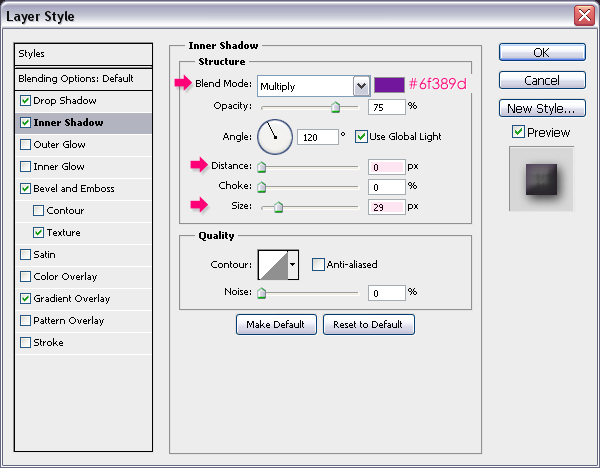
– Inner Shadow: Change the color to #6f389d, the Distance to 0, and the Size to 29.
– Bevel and Emboss: Change the Size to 40, the Gloss Contour to Gaussian and check the Anti-aliased box, the Highlight Mode to Overlay, and the Shadow Mode color to #7d7d7d. (You might need to adjust the Size value if you are using a different font family of size.)
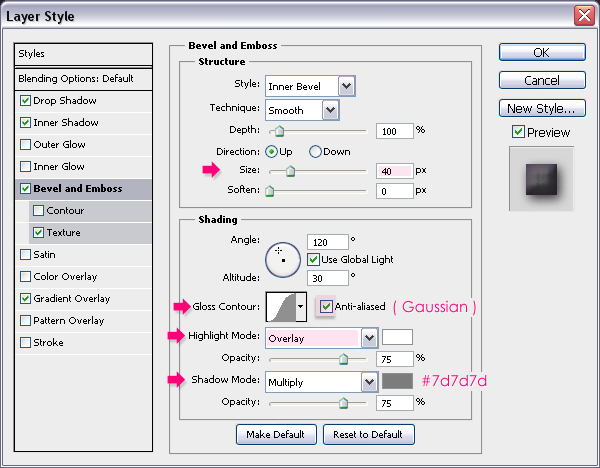
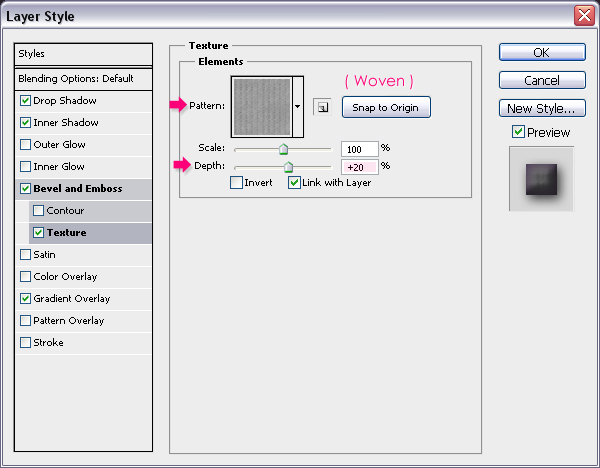
– Texture: Choose the Woven Pattern (this Pattern is located on Patterns group), and set the Depth to 20.
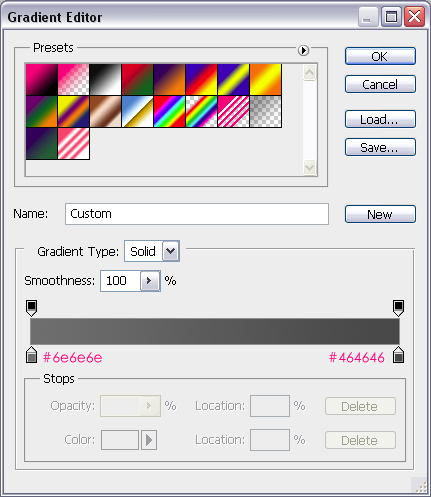
– Gradient Overlay: Change the Blend Mode to Soft Light, and click the Gradient box to modify the colors.
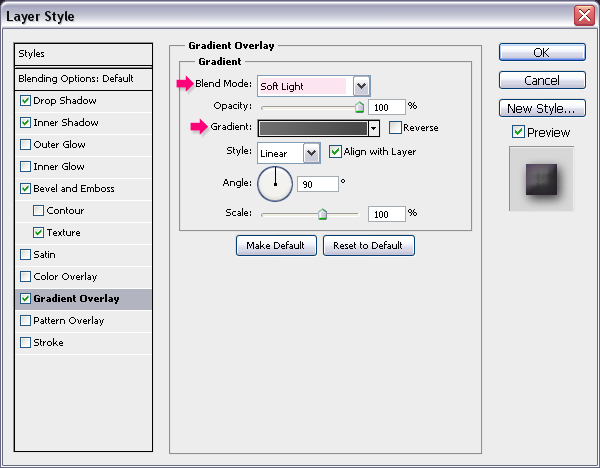
The Gradient is created using two colors, #6e6e6e and #464646.
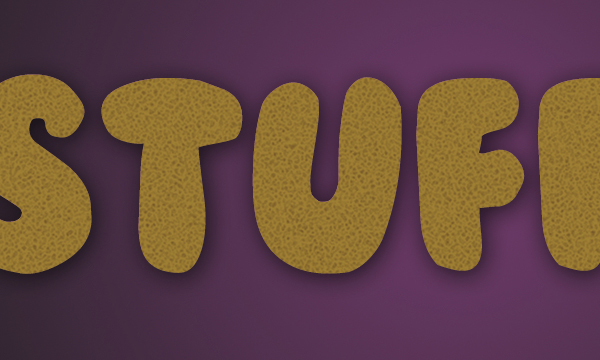
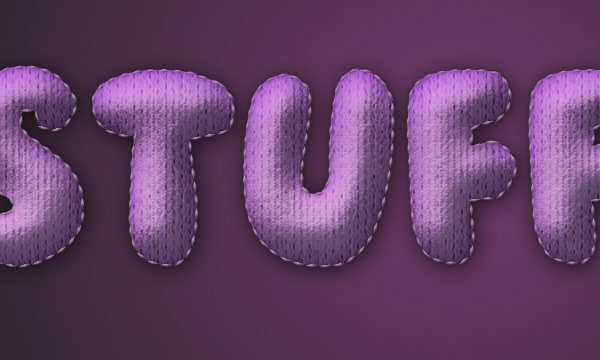
This is what you should get after applying the styles above:
Step 3
The text is starting to get the “stuffed” look, but it still needs more defining and textutring. So create a new layer on top of all layers and call it “texture”.
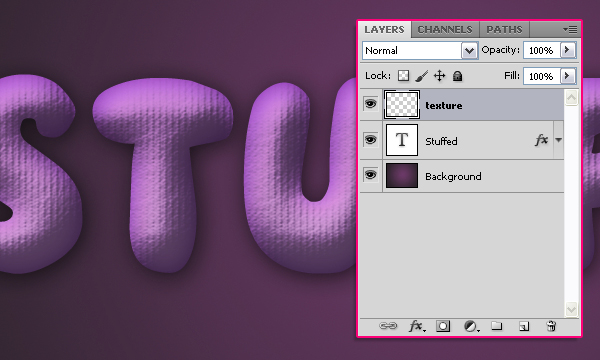
Press the Ctrl key, and click the text layer’s thumbnail (icon) to create a selection.

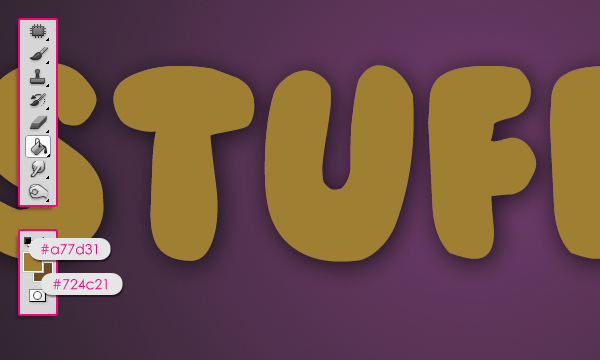
Set the Foreground color to #a77d31 and the Background color to #724c21, fill the selection with the Foreground color, and press Ctrl + D (Select -> Deselect) to get rid of the selection.
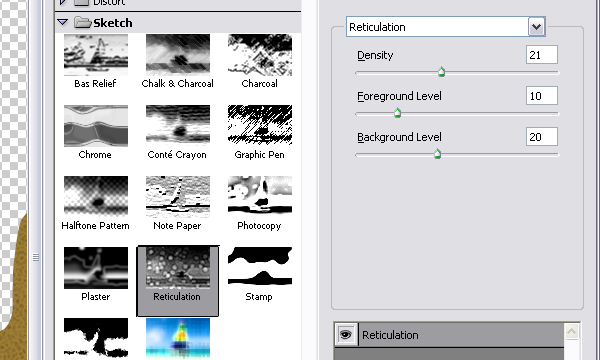
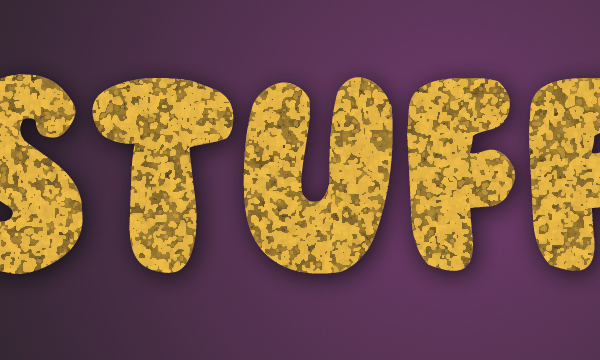
We’re going to apply a couple of filters, so change the values as shown in the images below for each filter. Start by going to Filter > Sketch > Reticulation:
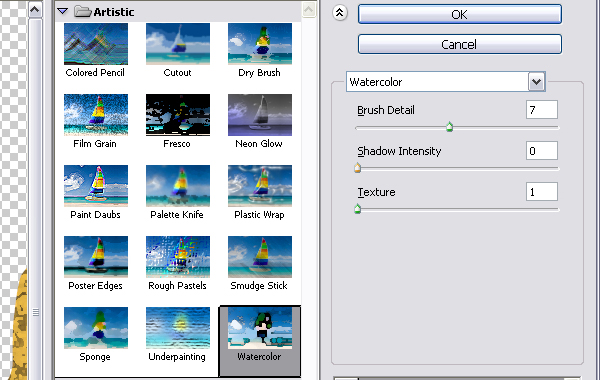
Next, go to Filter > Artistic > Watercolor:
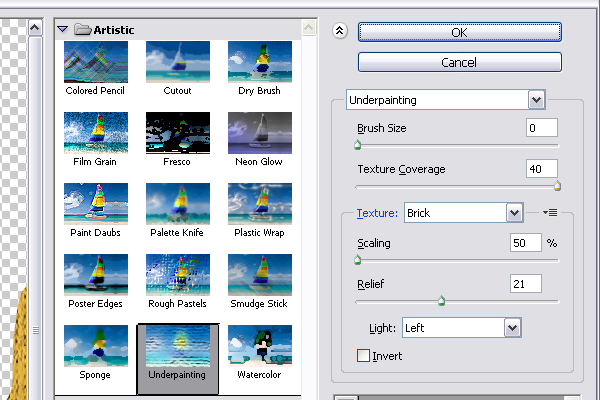
Finally, go to Filter > Artistic > Underpainting:

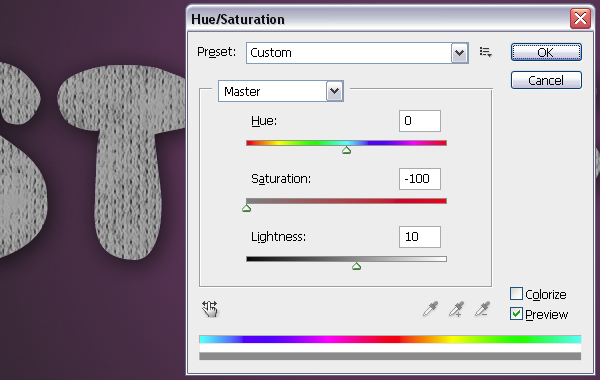
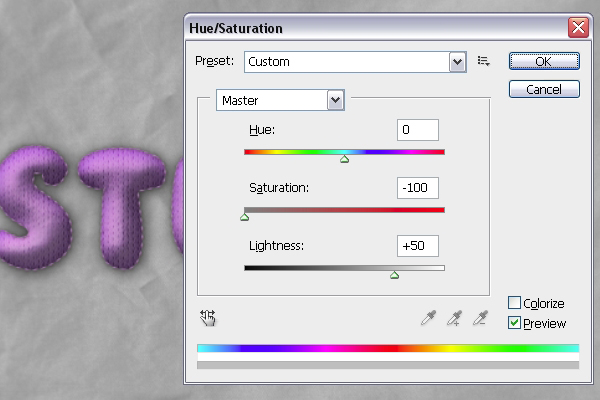
Once you’re done, go to Image > Adjustments > Hue/Saturation, change the Saturation value to -100 and the Lightness to +10.
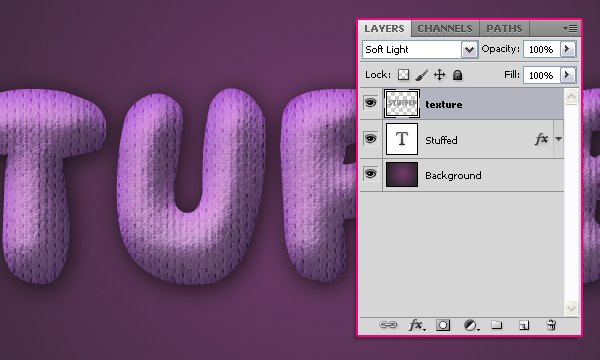
Change the “texture” layer’s Blend Mode to Soft Light.
Step 4
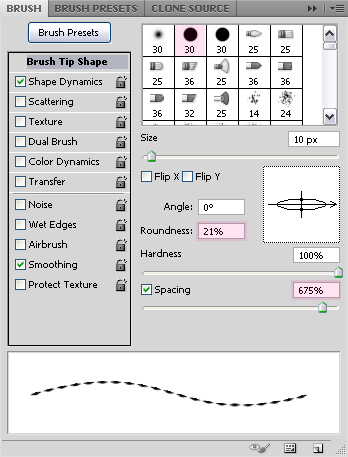
It’s time to add some stitches. Open your Brush panel (Window > Brush or F5). Choose a hard round brush, change its size to 10 px, the Roundness to something around 21%, and the Spacing to 675%.
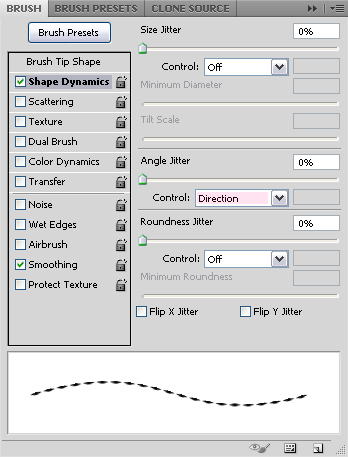
Under Shape Dynamics make sure to choose Direction from the Angle Jitter drop down menu, this will make the stitches follow the direction of the text path.
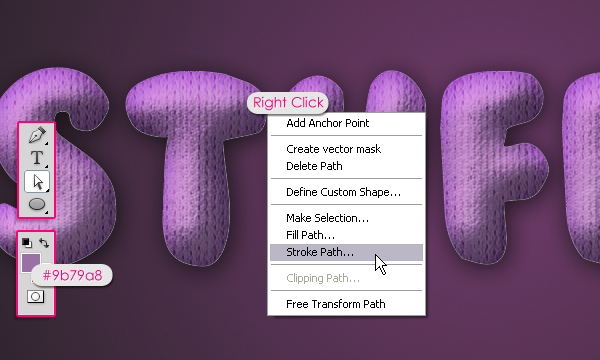
Create a new layer on top of all layers, call it “stitches”, and set the Foreground color to #9b79a8.

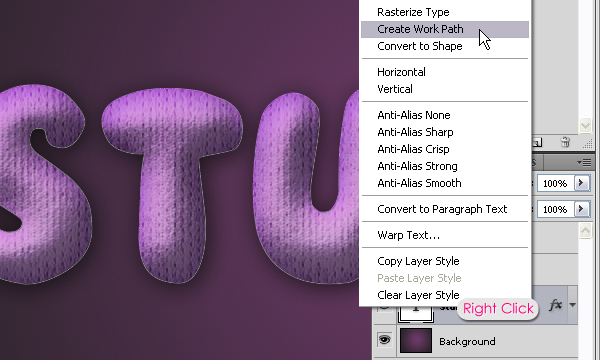
Right click on the text layer and choose Create Work Path. Then select the “stitches” layer again so that it is the active layer.
Pick the Direct Selection Tool, right click the path you’ve just created, and choose Stroke Path.
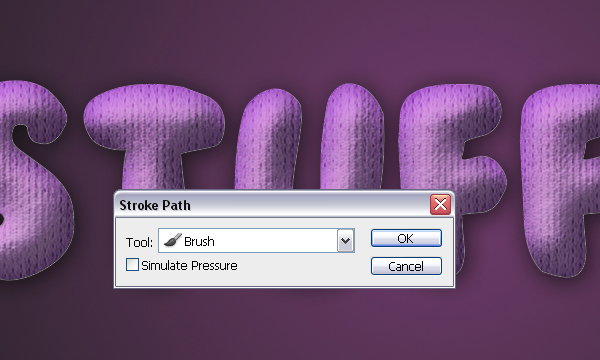
The text should be stroked with the stitches brush.

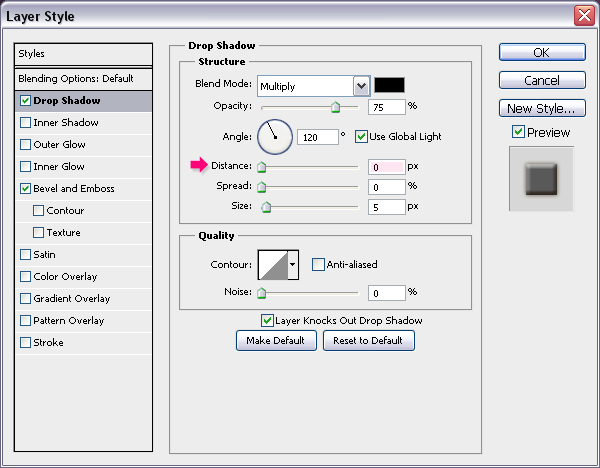
Double click the “stitches” layer to add the two following layer styles:
– Drop Shadow: Just change the Distance to 0.
– Bevel and Emboss: Change the Shadow Mode color #60371d.
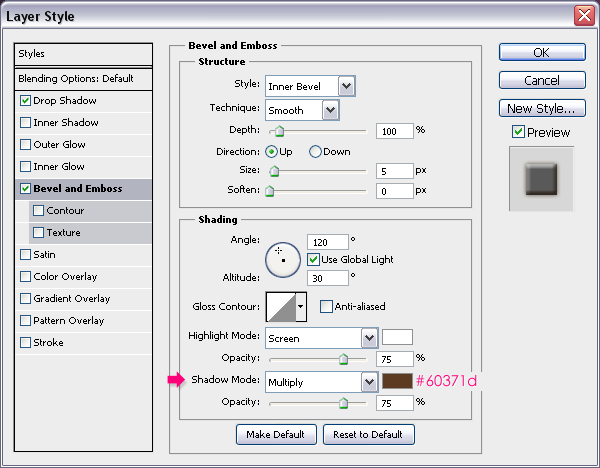
This will add more depth and dimension to the stitches.
Step 5
Finally, we are going to add a simple Background. Open the Plain Fabric Texture 06 (full size) and place it right on top of the Gradient Background. Resize the image so that it fits in your document, then go to Image > Adjustments > Hue/Saturation, change the Saturation to -100 and the Lightness to +50.
Change the image layer’s Blend Mode to Soft Light.
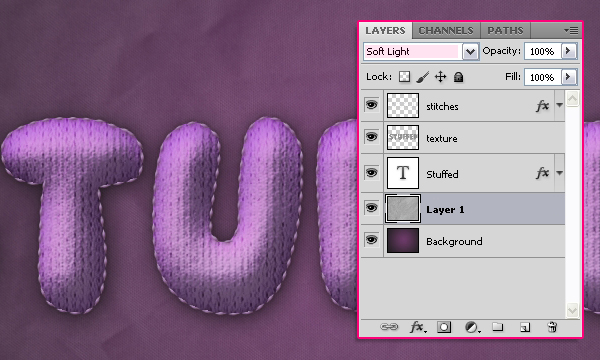
And We’re Done!