In the following tutorial I will show you how to create an island text effect in Adobe Photoshop using a font as a foundation.
Final Image
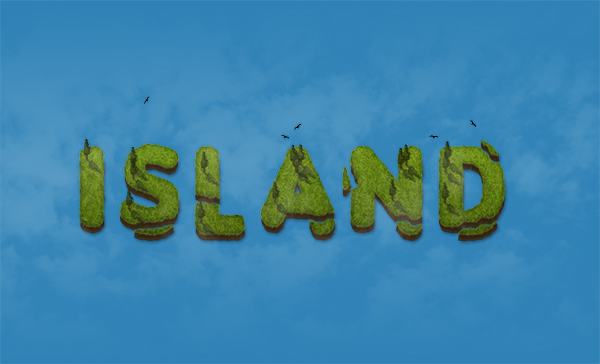
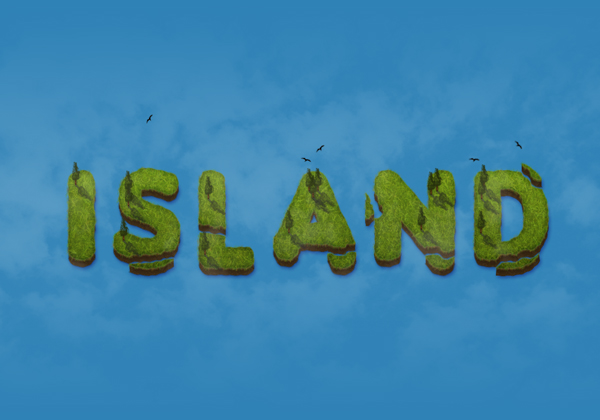
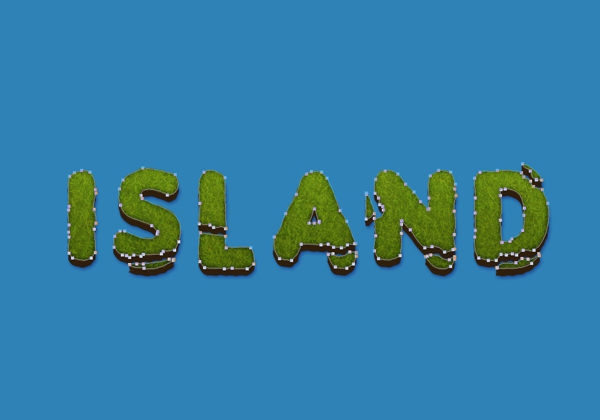
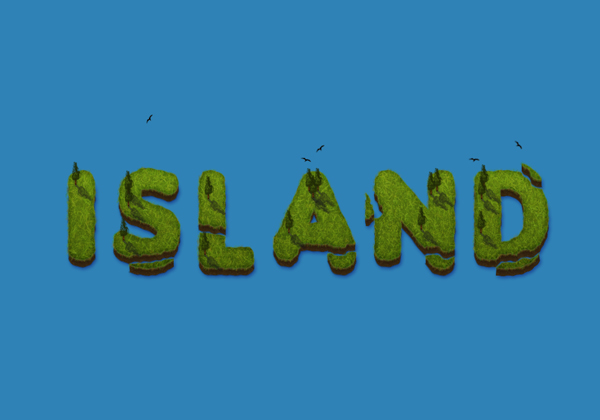
As always, this is the final image that we’ll be creating:
Tutorial Details
- Program: Adobe Photoshop CC
- Estimated Completion Time: 40 minutes
- Difficulty: Beginner-Intermediate
Resources
- Insaniburger Font by Insanitype
- Cloud Brush by grenouille-enchantee
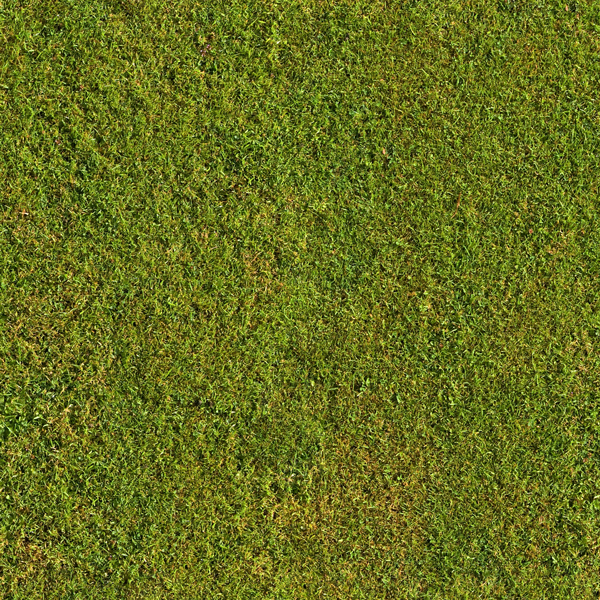
- Seamless Green Grass Textures by Goodtextures
- Seabird by Unsplash
Step 1
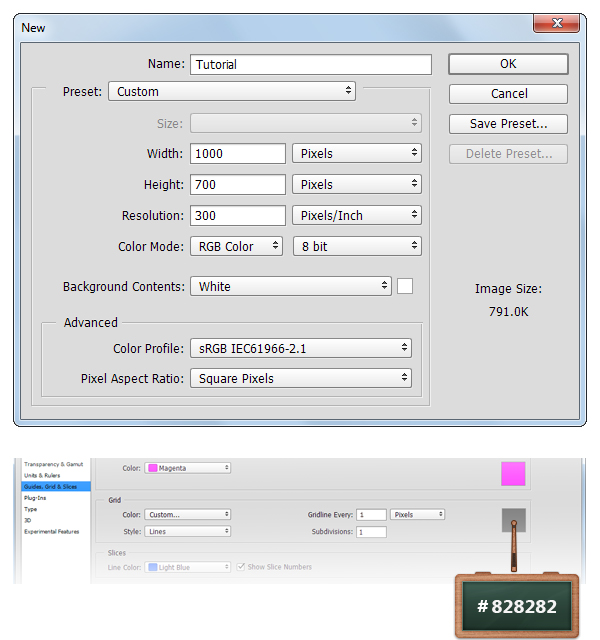
Create a 1000x 700px document, go to View > Show > Grid to enable the Grid and then go to View > Snap To > Grid to enable the Snap to Grid. Hit Control + K to open the Preferences window, go to Guides, Grid & Slices and enter the settings mentioned in the next image. Along the tutorial I turned off the grid ( Control + ‘ ) for you to have a better view. The grid will make it easier for you to create/edit the shapes.
Step 2
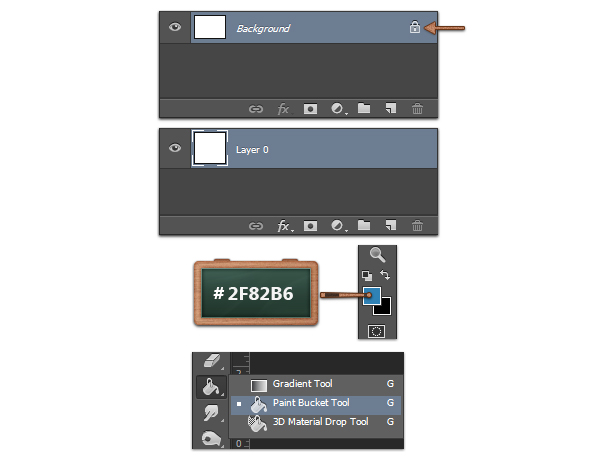
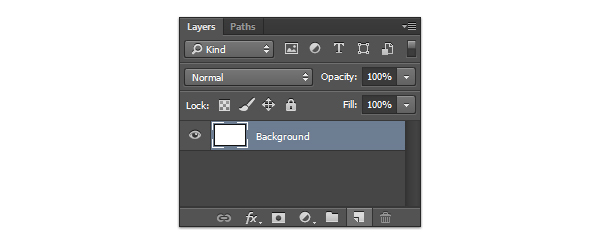
Focus on the Layers panel, select the Background layer and click on the padlock icon to unlock the layer.
Move to your Toolbar, set the foreground color to #2F82B6, grab the Paint Bucket Tool and fill the canvas with the new color.

Step 3
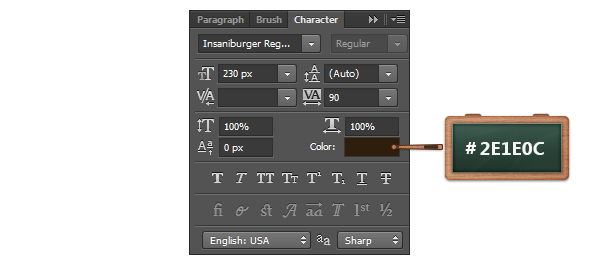
Pick the Horizontal Type Tool and use the Insaniburger font.
Move to your canvas, add the “ISLAND” text with the size at 230px and the color #2E1E0C.

Step 4
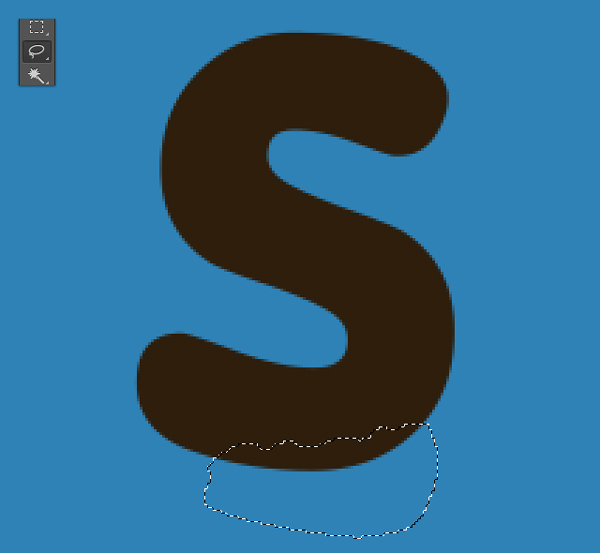
Concentrate on the Layers panel, make sure that the text is selected, right click on it and go to Rasterize Type.
Pick the Lasso Tool, focus on the “S” letter and create a selection as shown in the first image.
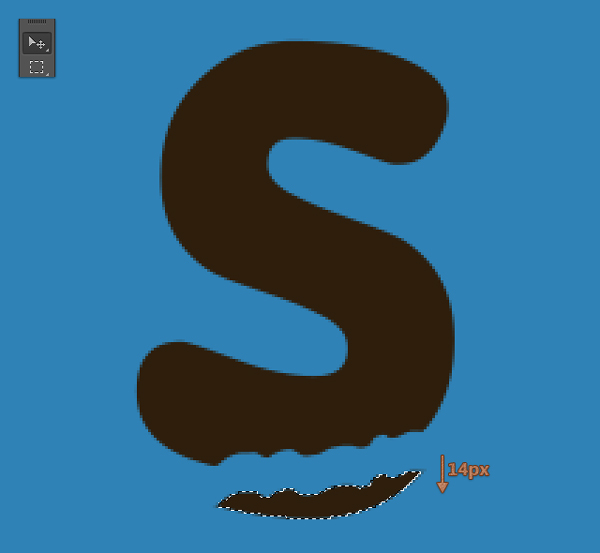
Grab the Move Tool and move the selected zone, 14px to down, using the down arrow button from your keyboard.
Step 5
Now, simply repeat the procedure made in the previous step with the Lasso Tool and the Move Tool for the other letters as shown below.

Step 6
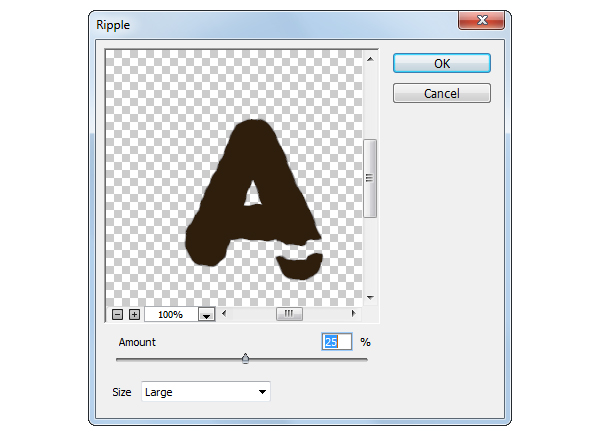
Focus on the Layers panel, make sure that the layer with your text is selected, right click on it and go to Convert to Smart Object.
Go to Filter > Disort > Ripple and enter the settings shown in the next image.

Step 7
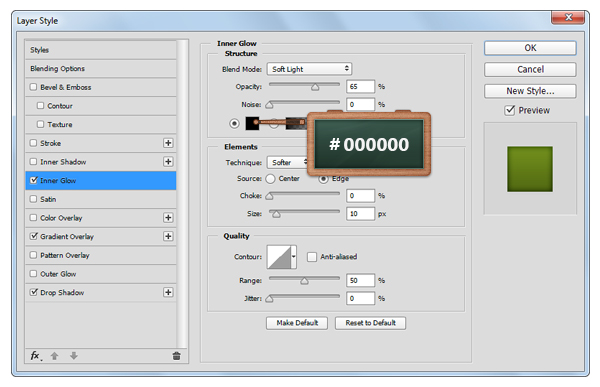
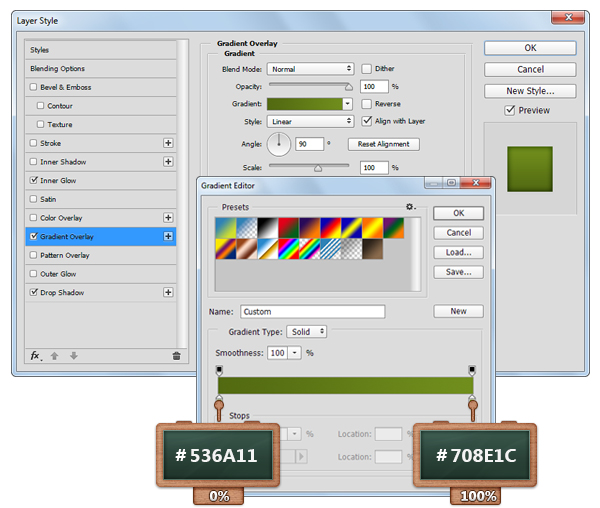
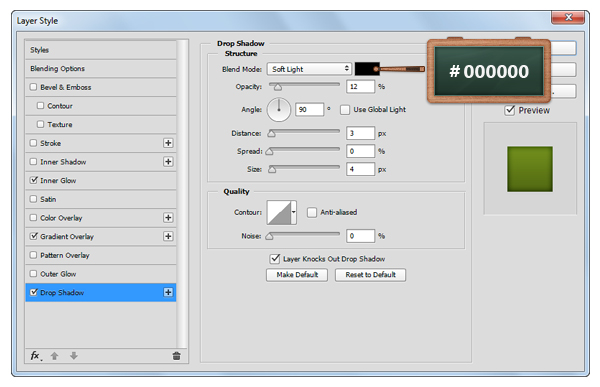
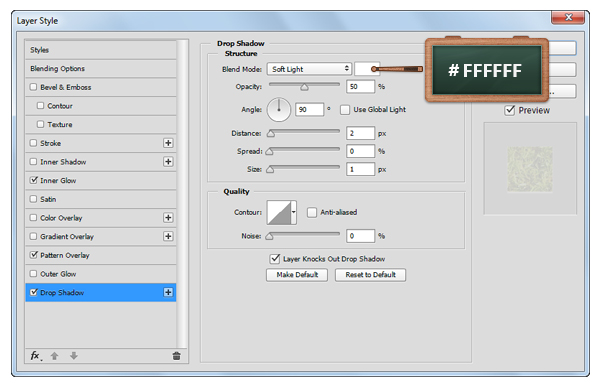
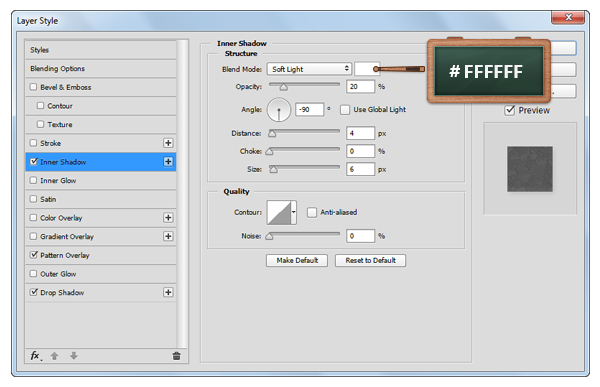
Open the Layer Style window for the text and enter the settings shown in the next images.
Step 8
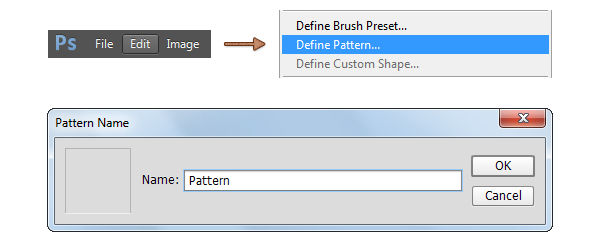
Now, we will prepare the pattern for the next step.
Open the “GrassGreenTexture0004” in Photoshop, from this pack and then save the pattern by going to Edit > Define Pattern and click OK.
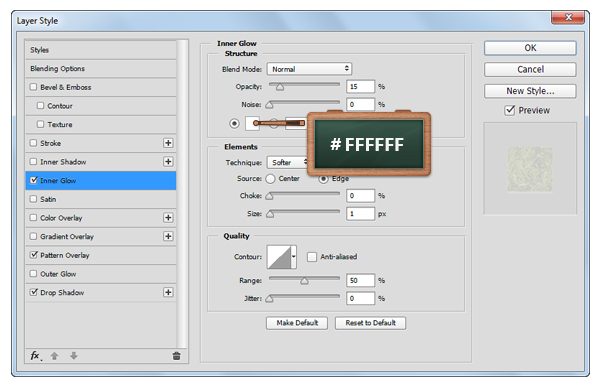
Step 9
Return to your main document, focus on the Layers panel, make sure that the Smart Object is still selected and duplicate it using the Control + J keyboard shortcut.
Select this fresh copy, right click on it, go to Clear Layer Style and then lower the Fill to 0%.
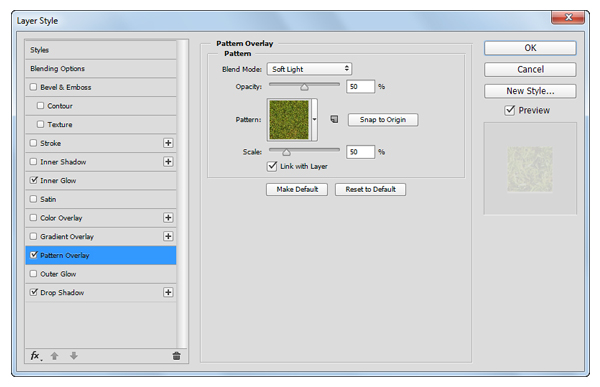
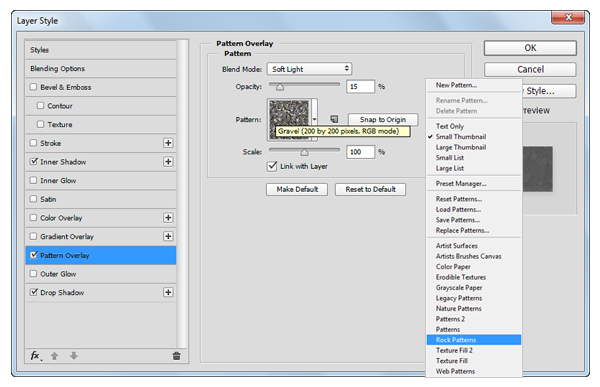
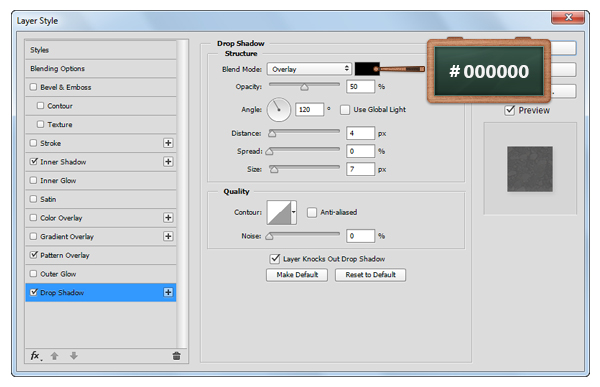
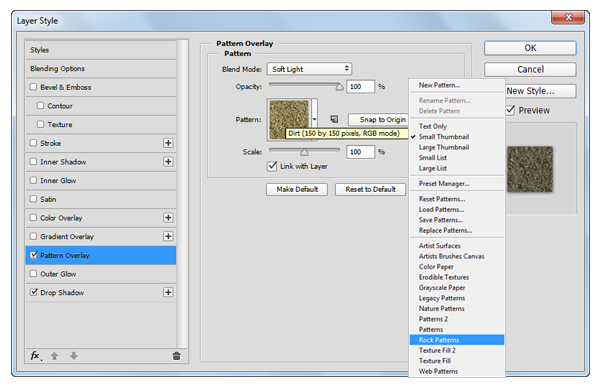
Open the Layer Style window for this copy and enter the settings shown below. For the Pattern Overlay section use the pattern made in the previous step.

Step 10
Select the text that lies in front and make a new copy ( Control + J ). Select the fresh copy, right click on it and go to Clear Layer Style.
Now, send this copy under the text by pressing twice the Control + [ keyboard shortcut and then move it 12px down using the down arrow button from your keyboard.

Step 11
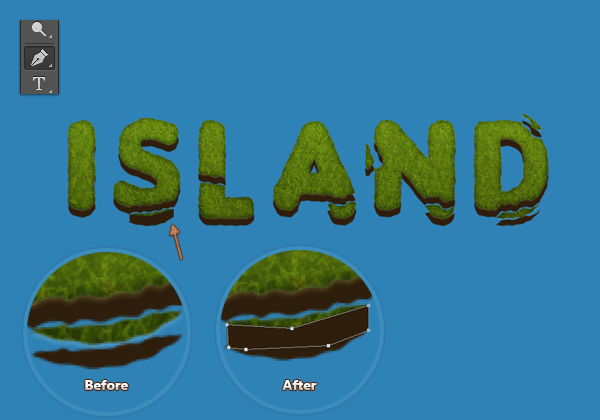
Change the foreground color to #2E1E0C, pick the Pen Tool and make sure that the Tool Mode is set to Shape on the top bar.
Move to your text, focus on the zones where the green text and the brown text are not perfectly connected and then create a vector shape to make a connection between those two texts as shown in the first image.
Focus on the Layers panel, select all the vector shapes made in this step along with the brown text, right click on one of them and click on Merge Layers.
Make sure that this new layer lies under the green text (Control + [ ).

Step 12
Open the Layer Style window for the brown text and enter the settings shown below.
Step 13
Focus on the Layers panel, hold the Control button on your keyboard and then click on the thumbnail icon that represents the green text to load a simple selection around it.
Move to the Paths panel ( Window > Paths ), click on the small button in the right corner, go to Make Work Path, set the Tolerance to 1px and click ok.

Step 14
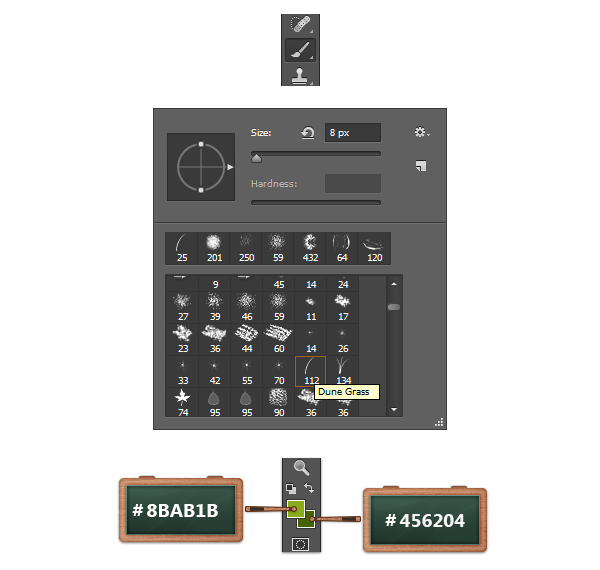
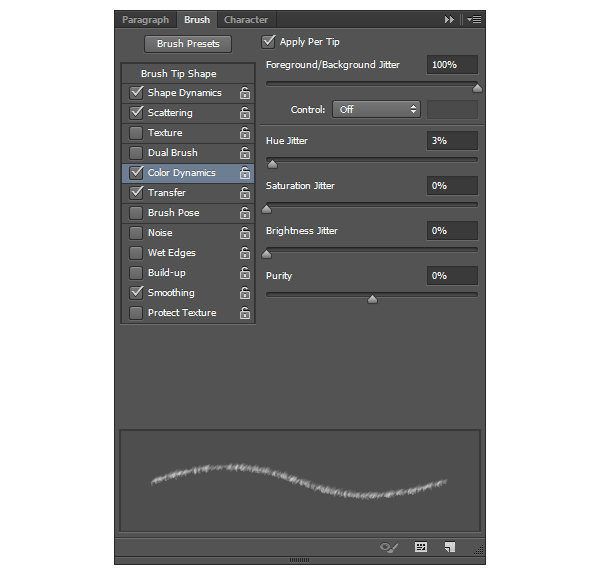
Set the foreground color to #8BAB1B and the background color to #456204.
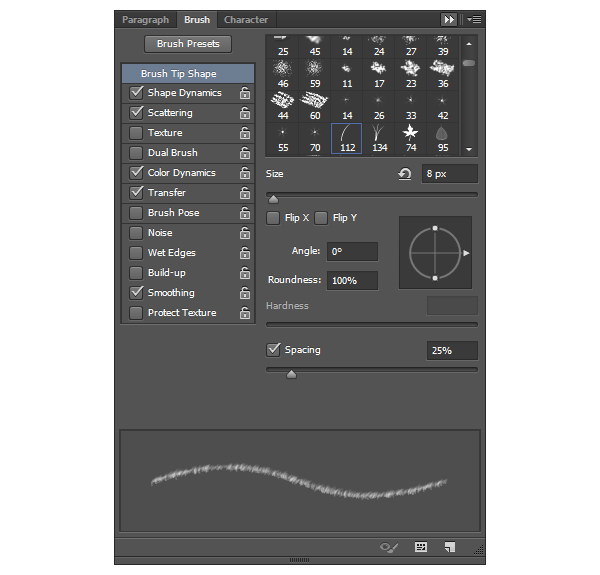
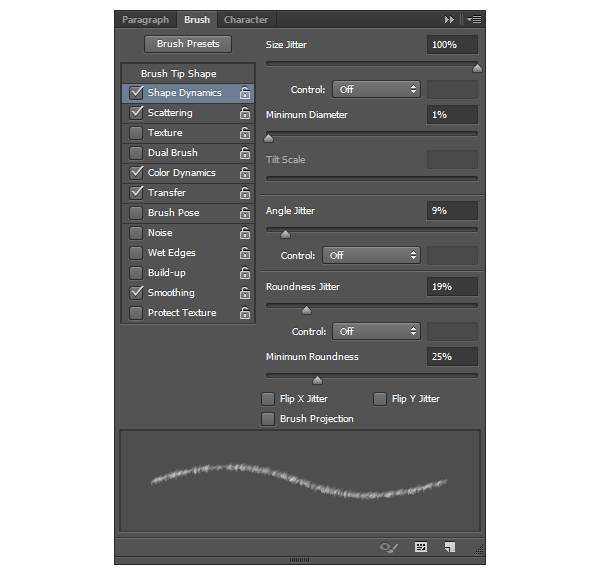
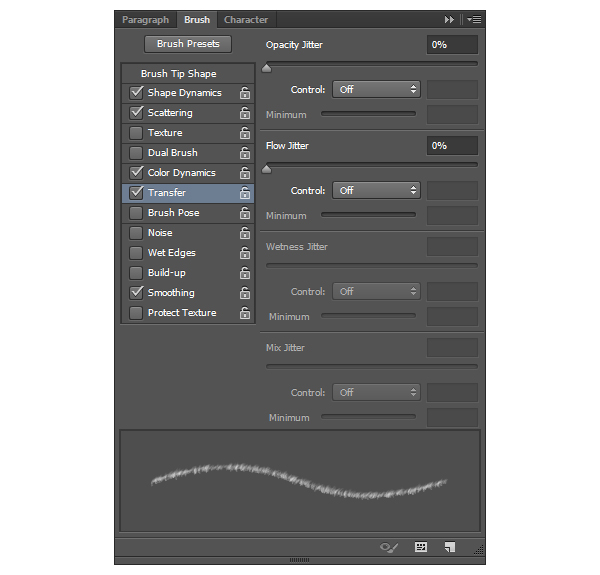
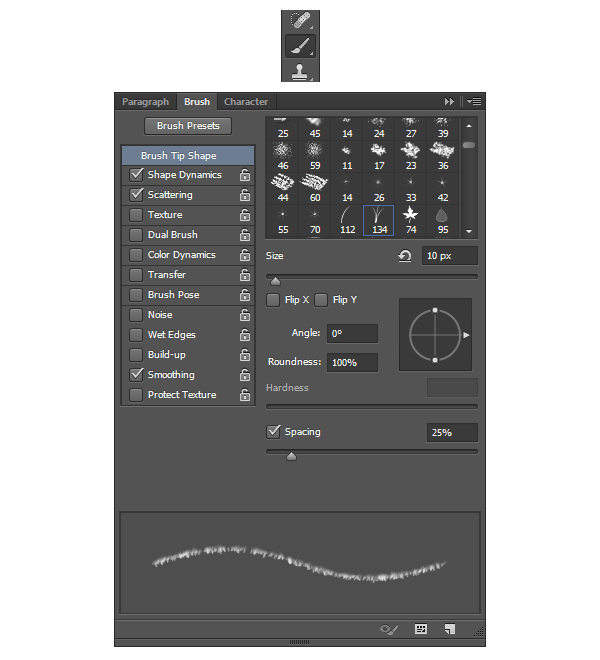
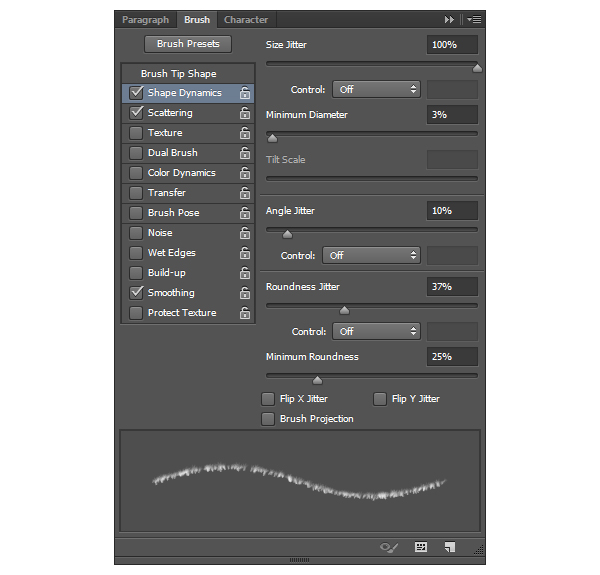
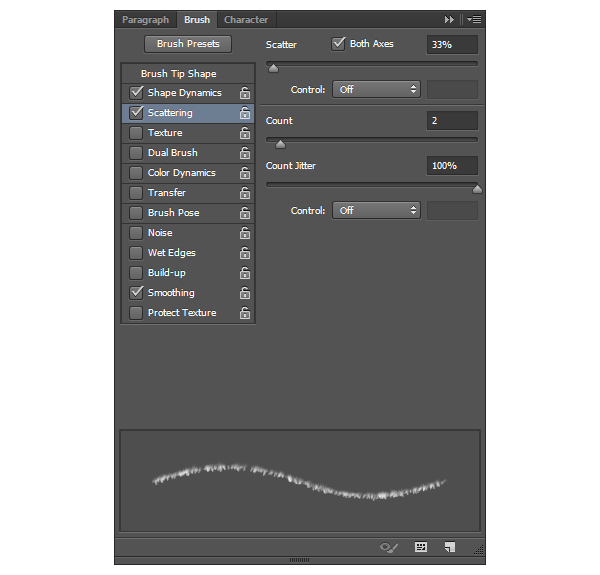
Pick the Brush Tool, set the size to 8px and then select the Dune Grass brush type. Go to Window > Brush and enter the settings shown below.

Step 15
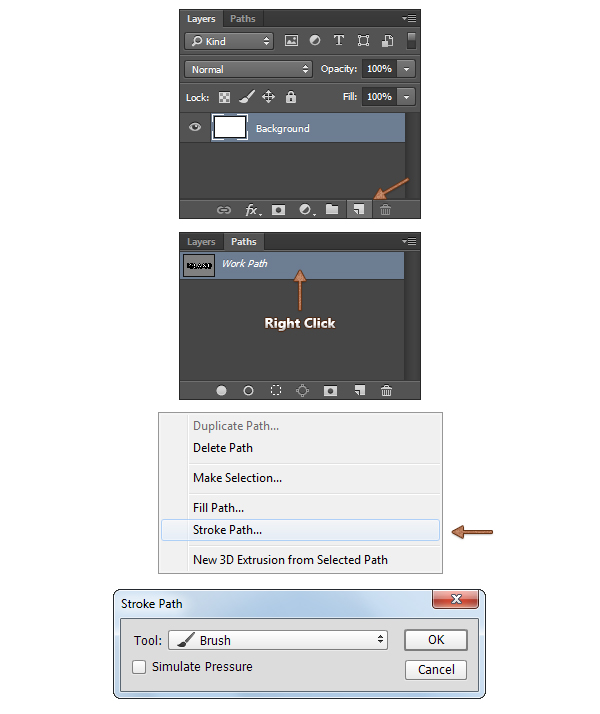
Focus on the bottom side of the Layers panel and click the Create a new layer button.
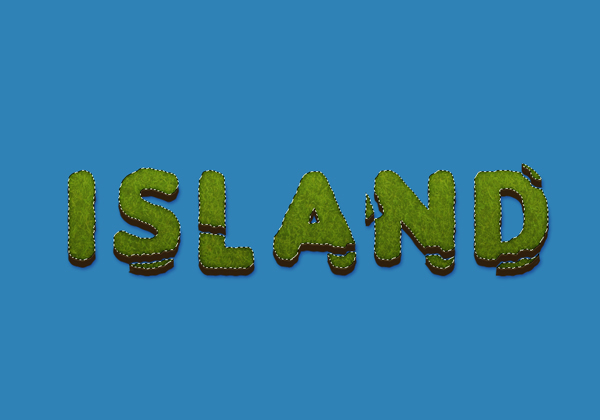
Make sure that the new layer is selected, move to the Paths panel, select the Work Path, right click on it, go to Stroke Path, select the Brush Tool from the drop down menu and click ok.
Step 16
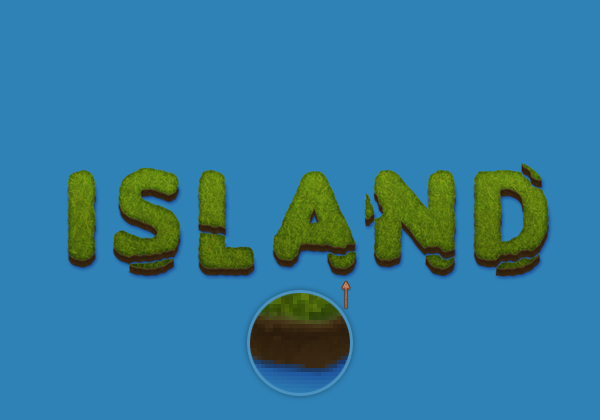
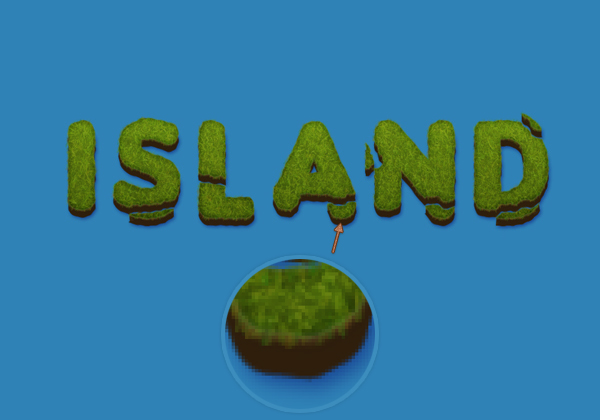
Set the foreground color to #442B13, pick the Rounded Rectangle Tool and set the Radius to 1px from the top bar.
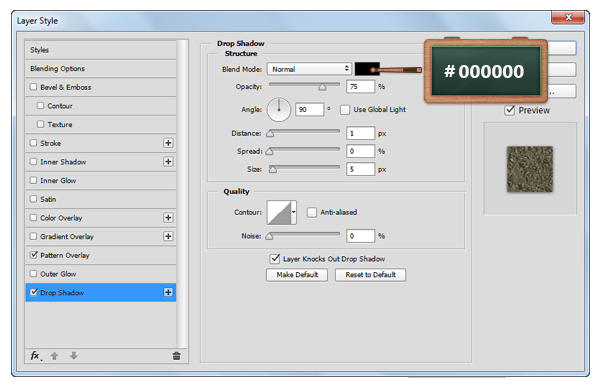
Move to your canvas, create a 3x 12px vector shape, open the Layer Style window for it and enter the settings shown below.
Step 17
Change the foreground color to #202F11, create a new layer and select it.
Open the Brush window, pick the “Grass” brush, set the size to 10px and then enter the settings shown below.
Step 18
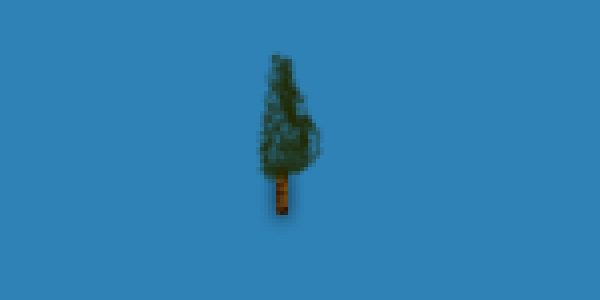
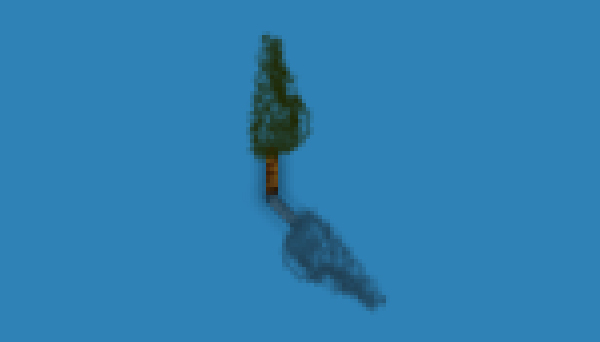
Pick the Brush Tool and make sure that the layer made in the previous step is selected. Focus on the brown vector shape, click and drag as you can see below to create the top part of the tree.

Step 19
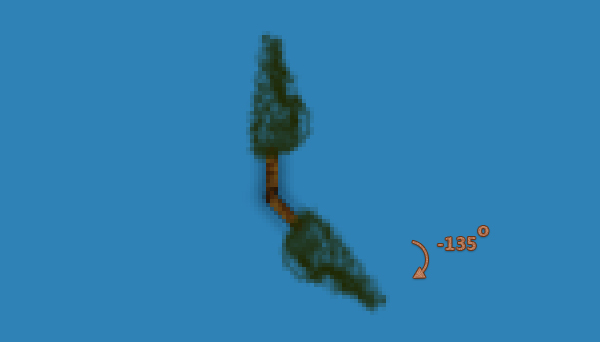
Focus on the Layers panel, select all the forms that make up the tree, right click on one of them and select Merge Layers.
Duplicate ( Control + J ) the layer made in this step, select the copy, go to Image > Adjustments > Desaturare and then lower the Opacity to 60%.
Hit Control + T, rotate to -135 degrees and place it as you can see in the second image.
Now, simply duplicate all the layers that make up the tree and spread them as you can see in the last image.

Step 20
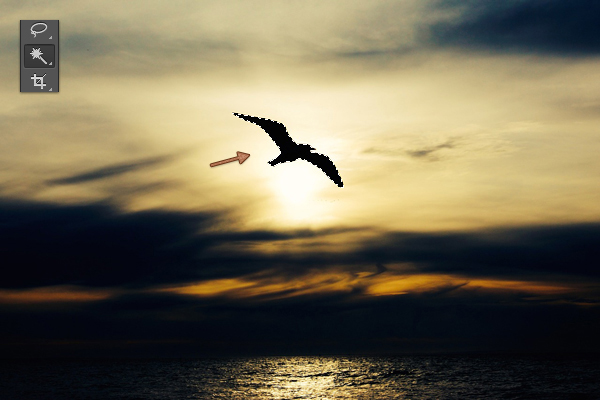
In this step we are cutting the bird silhouette from an image and then we will use it for the text.
Open this image with Photoshop, pick the Magic Wand Tool, click inside of the bird silhouette to make a selection around it and then hit Control + C (Copy) from your keyboard.
Step 21
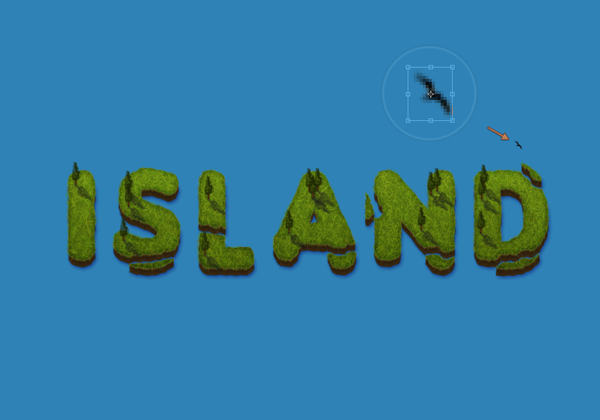
Return to your main document and hit Control + V to paste the bird silhouette.
Make sure that the bird silhouette is selected, hit Control + T and resize it roughly to 15x 15px.
Now, multiply( Control + J ) the bird shape as many times as you want, rotate them randomly using the Free Transform Tool( Control + T ) and then spread the copies over the text as shown in the last image.
Step 22
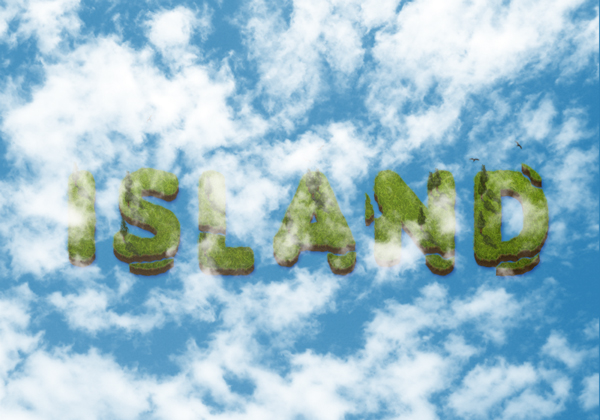
Finally, we are adding the cloud effect for the text.
Change the foreground color to white #FFFFFF, pick the Brush Tool, set the size to 1000px and select the “Clouds 20” from this brush set.
Create a new layer, click once on the canvas and then lower the Opacity to 20%.


Step 23
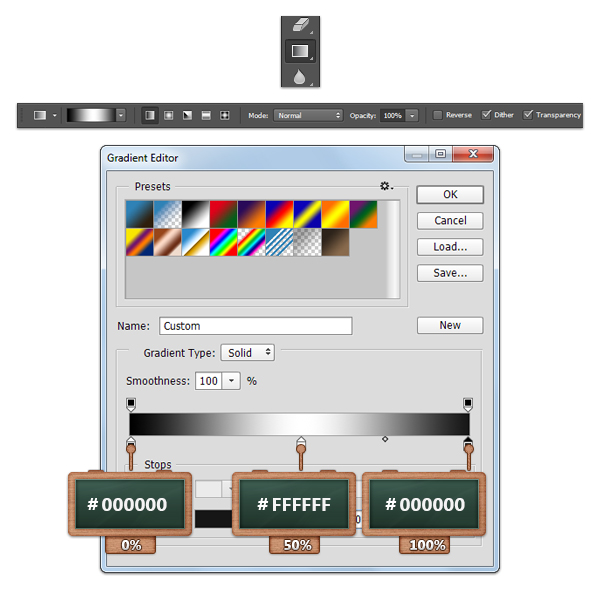
Pick the Gradient Tool, set it to Linear Gradient and use the settings as shown in the first image.
Focus on the Layers panel, make sure that the layer made in the previous step is selected and then go the Add Layer Mask button.
Move to your canvas, click and drag as you can see in the second image.

And We’re Done!
Here is how your final result should look.