
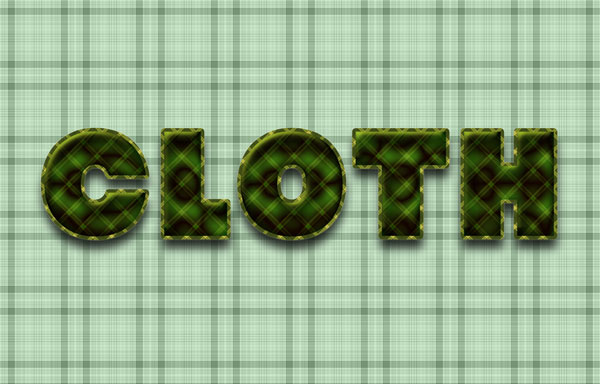
This Photoshop tutorial explains how to use Layer Styles and two patterns to create a nice looking fabric text effect.
Final Image Preview
Resources
- Seamless Plaid 0024 by AvanteGardeArt
- Seamless Plaid 0033 by AvanteGardeArt
- Strenuous font
Step 1
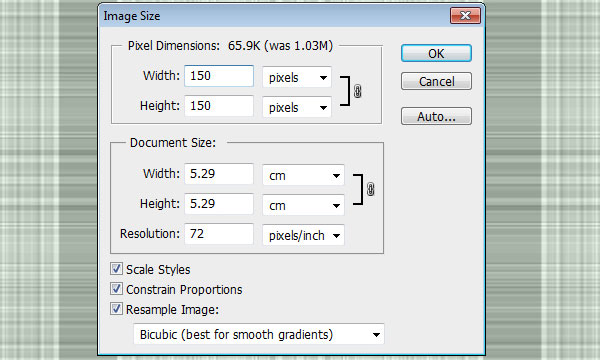
Open the Seamless Plaid 0024 image, then go to Image -> Image Size, and type 150 in the Width (and Height) fields then click OK.
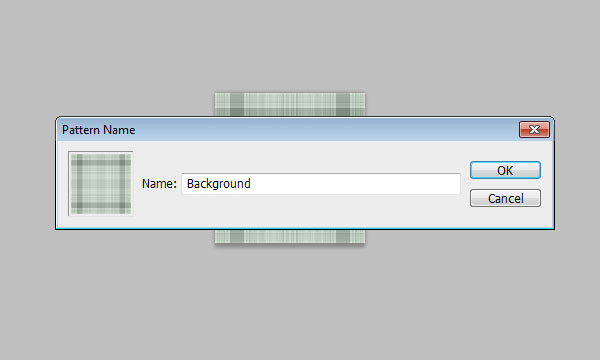
Go to Edit -> Define Pattern, and type in a name for the pattern. Here, it is “Background”.
Step 2
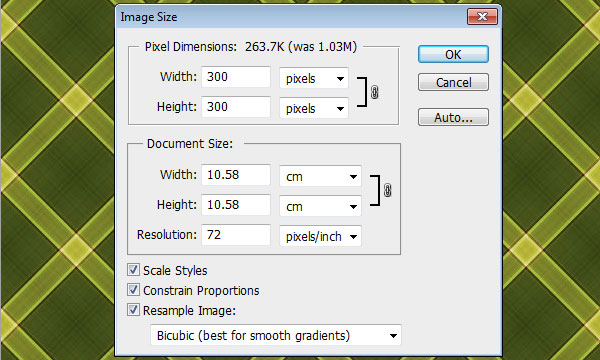
Open the Seamless Plaid 0033 image, then go to Image -> Image Size, and type 300 in the Width (and Height) fields then click OK..
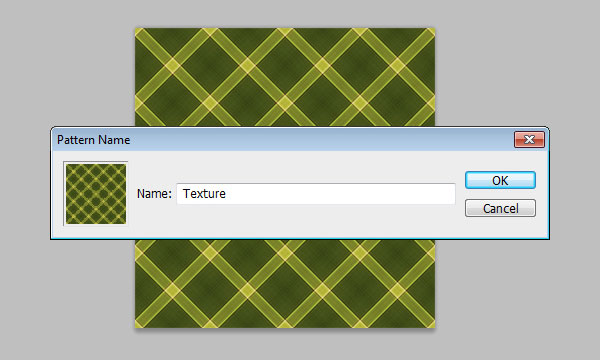
Go to Edit -> Define Pattern, and type in a name for the pattern. Here, it is “Texture”.
Step 3
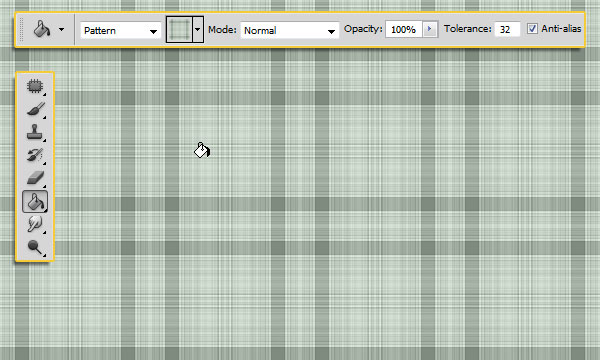
Create a new 1200 x 768 px document. Pick the Paint Bucket Tool, and choose Pattern from the Fill dropdown menu in the Options bar. Next, choose the pattern you’ve just defined (Background pattern) from the patterns menu and fill the background with it.
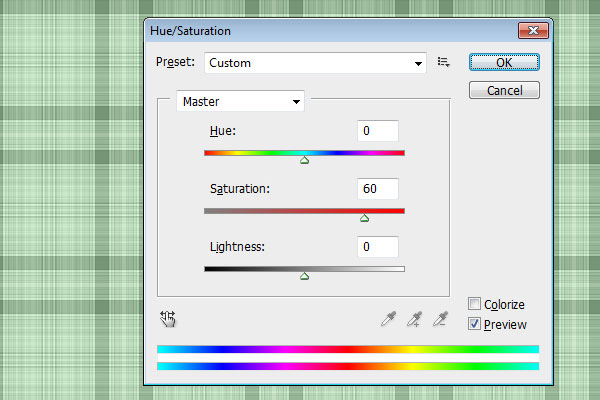
Go to Image -> Adjustments -> Hue/Saturation, and change the Saturation value to 60. This will brighten up the pattern color.
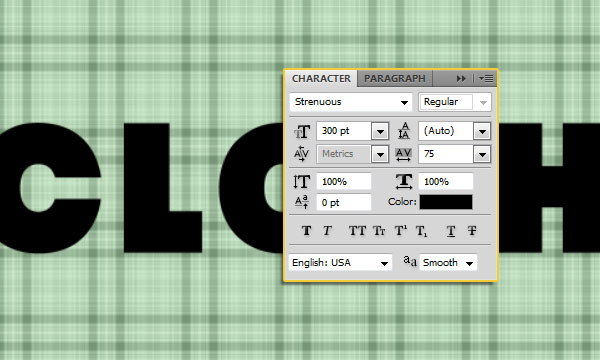
Create the text in black. The font used is Strenuous, the Size is 300pt, and the Tracking value is set to 75 to increase the space between the letters.
Step 4
Double click the text layer to apply the following Layer Style:
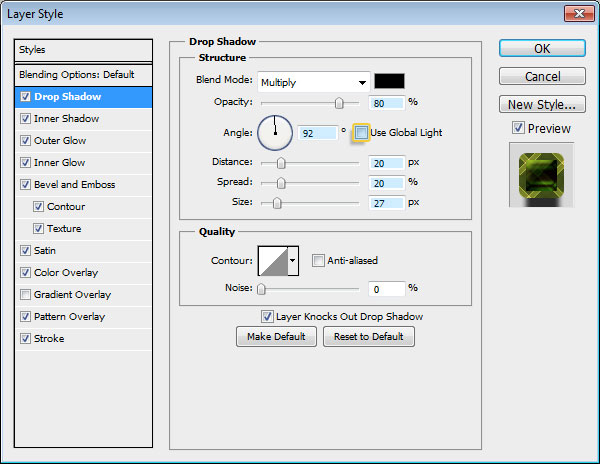
– Drop Shadow: Un-check the Use Global Light box, change the Angle to 92, the Opacity to 80%, the Distance to 20, the Spread to 20, and the Size to 27.
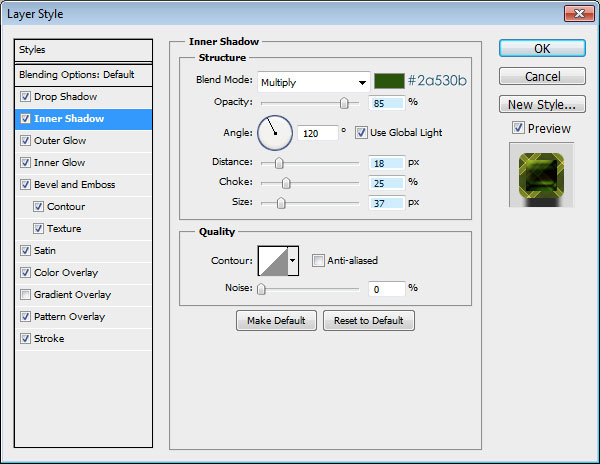
– Inner Shadow: Change the color to #2a530b, the Opacity to 85%, the Distance to 18, the Spread to 25, and the Size to 37.
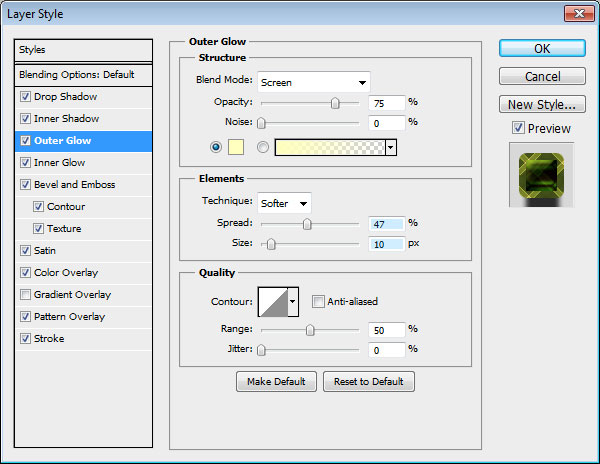
– Outer Glow: Change the Spread to 47 and the Size to 10.
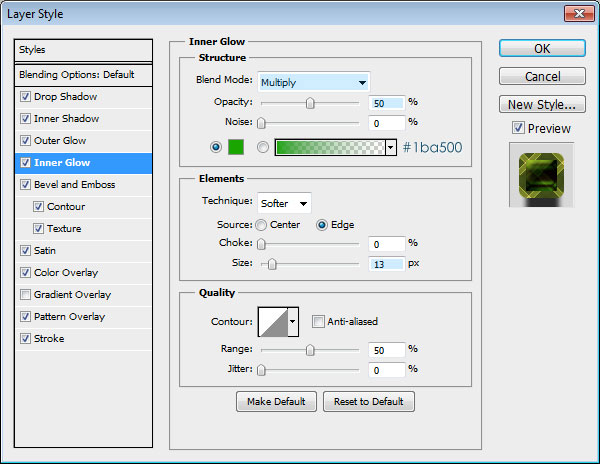
– Inner Glow: Change the Blend Mode to Multiply, the color to #1ba500, and the Size to 13.
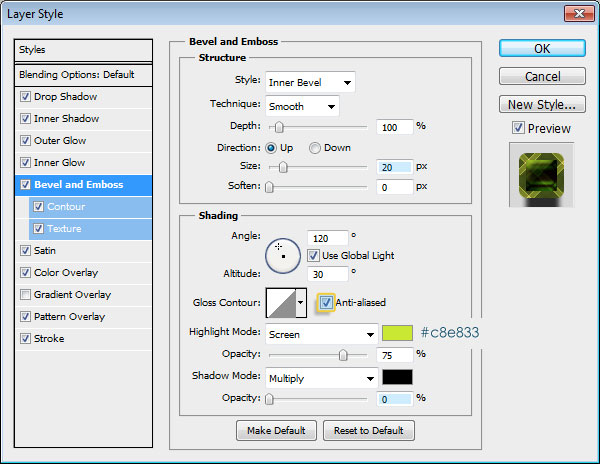
– Bevel and Emboss: Change the Size to 20, check the Anti-aliased box, change the color to #c8e833, and set the Shadow Mode Opacity to 0%.
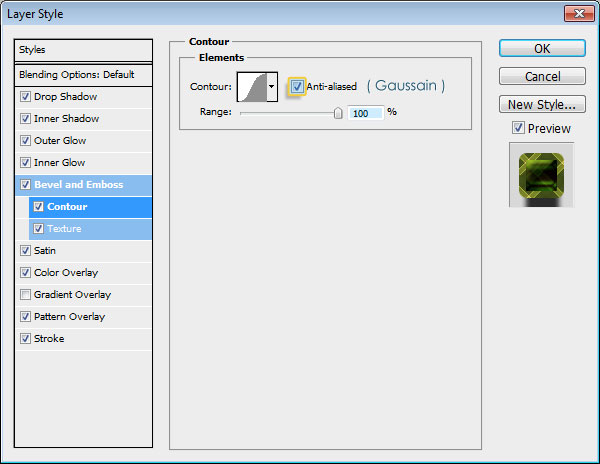
– Contour: Choose the Gaussian contour, check the Anti-aliased box, and set the Range to 100.
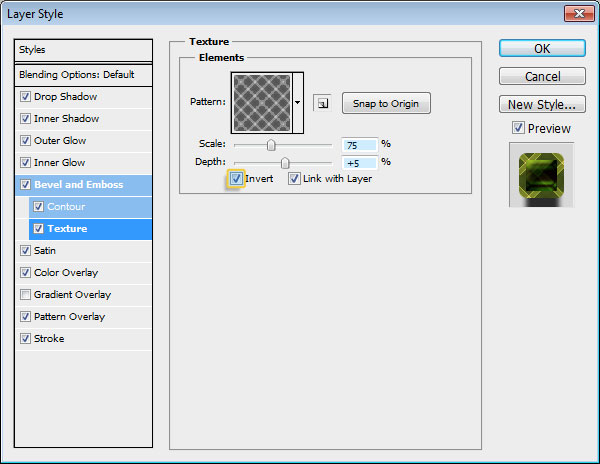
– Texture: Choose the “Texture” pattern, change the Scale to 75%, the Depth to 5%, and check the Invert box.
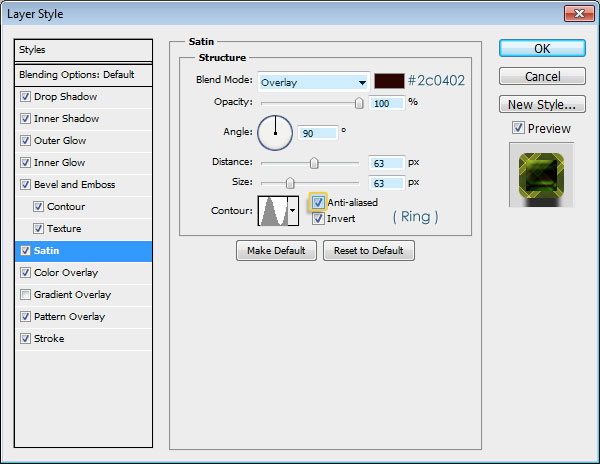
– Satin: Change the Blend Mode to Overlay, the color to #2c0402, the Opacity to 100%, the Angle to 90, the Distance to 63, the Size to 63 as well, choose the Ring contour, and check the Anti-aliased box.
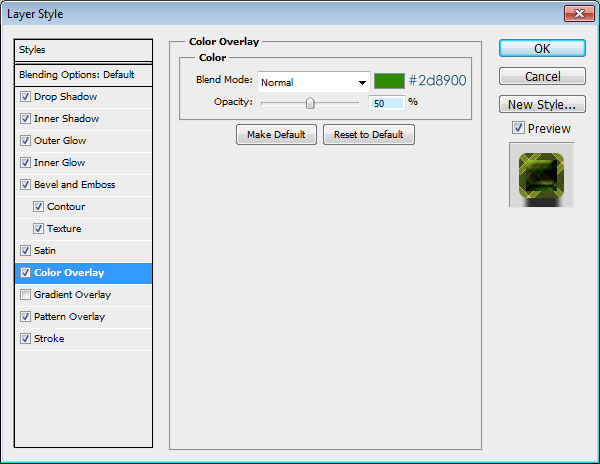
– Color Overlay: Change the color to #2d8900, and the Opacity to 50%.
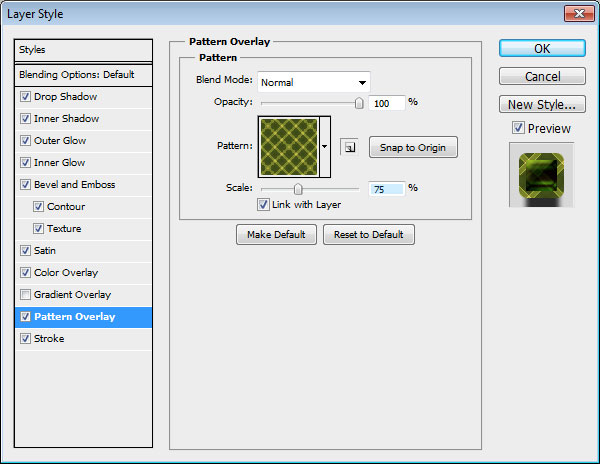
– Pattern Overlay: Choose the “Texture” pattern, and change its Scale value to 75% (this should match the Bevel and Emboss Texture Scale value).
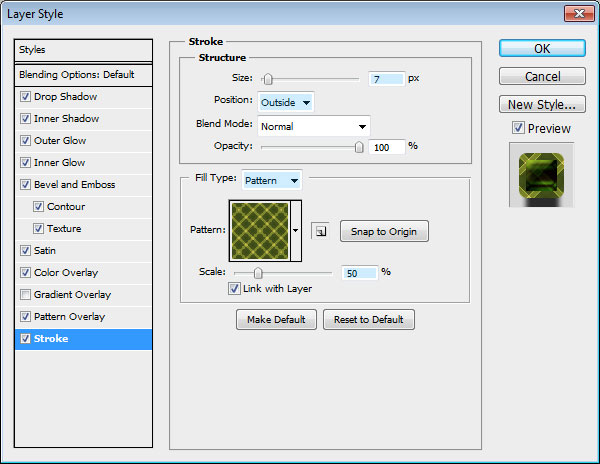
– Stroke: Change the Size to 7, make sure the Position is set to Outside, change the Fill Type to Pattern, and choose the “Texture” pattern, then change the Scale value to 50% (a value less than the original Pattern Overlay Scale value).
And you’re done! You have a nice fabric text effect that uses only two patterns and a couple of Layer Effects.
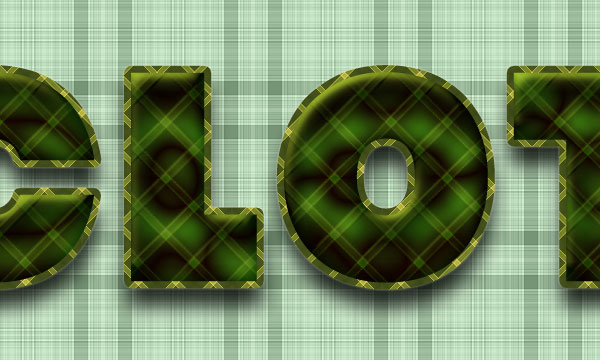
Final Image
Hope you enjoyed the tutorial.