This Photoshop tutorial will show you a very simple way to create a bright colorful rainbow text effect, using simple gradients and a blur filter.
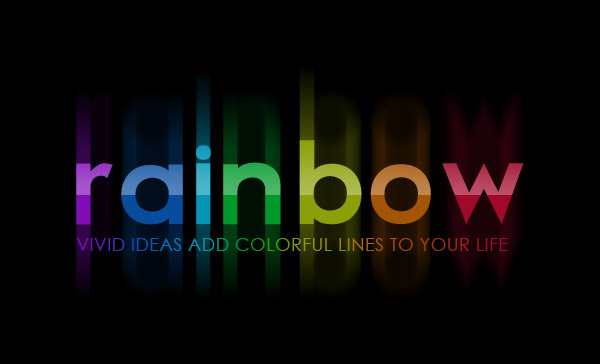
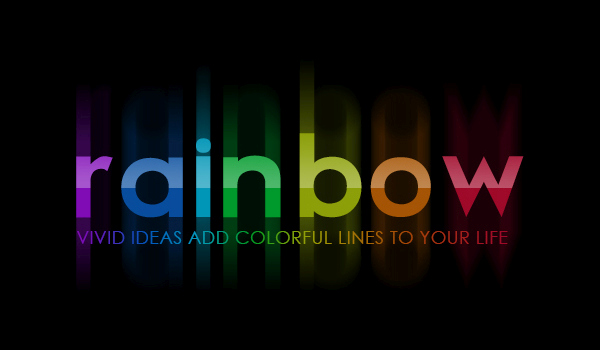
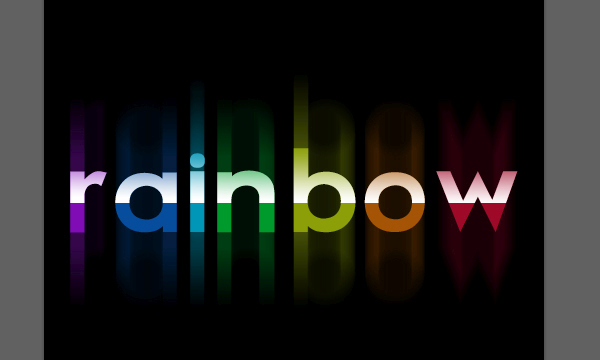
Final Image
Tutorial Details
- Program: Adobe Photoshop CS6 (CS3+ versions will work as well)
- Estimated Completion Time: 30 minutes
- Difficulty: Beginner
Resources
- Futurama font.
Step 1
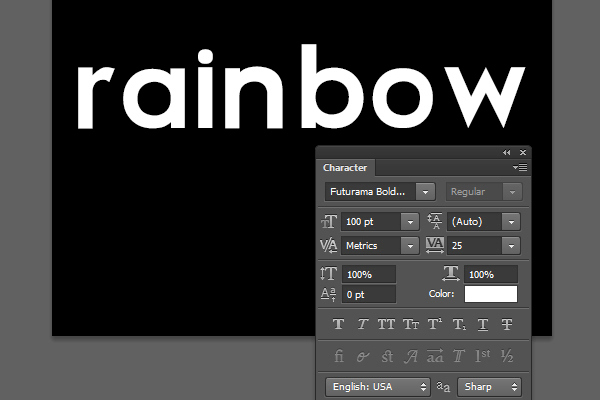
Create a new 500 x 500 px document with all the default settings, then fill the Background with Black.
Create the text in White using the font Futurama. The letters are all created in Small Caps, the font Size is 100 pt, and the Tracking value is set to 25 px.
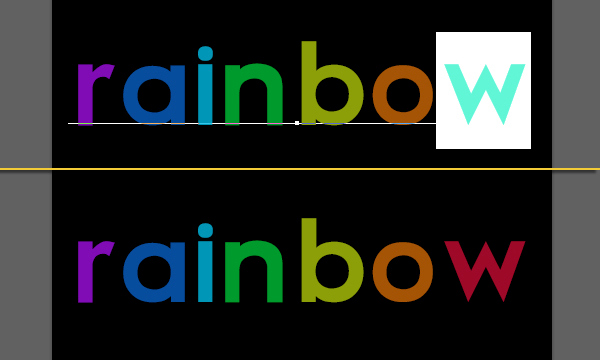
What you’ll need to do next, is click and drag using the Type Tool to select (highlight) each letter separately, then change its color.
The colors used here (from left to right) are: #800cb6, #074d9d, #0496b7, #00992b, #8c9f09, #a55405 and #9f0929.
Step 2
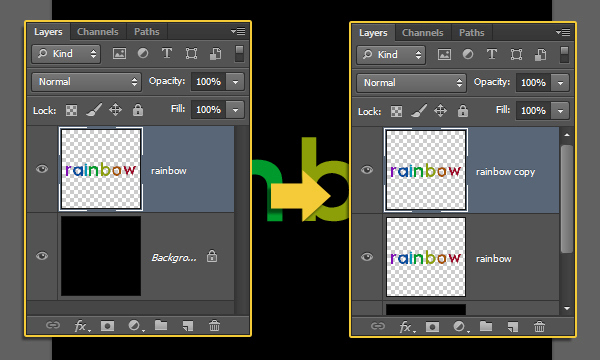
Once you’re done coloring the letters, right click the text layer and choose Rasterize Type. This will rasterize the type layer, so it will no longer be editable as a text layer. Duplicate the rasterized layer.
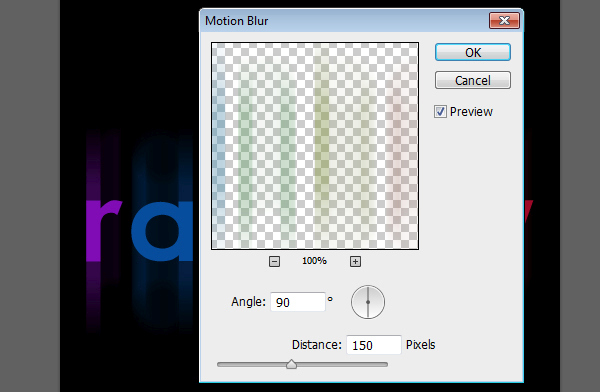
Select the original rasterized layer, then go to Filter -> Blur -> Motion Blur. Change the Angle to 90 and the Distance to 150. This will create a vertical blur effect.
Step 3
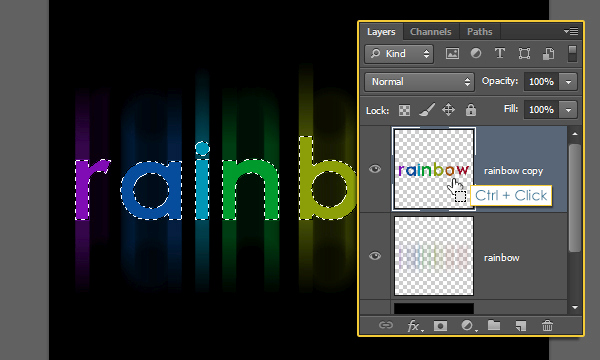
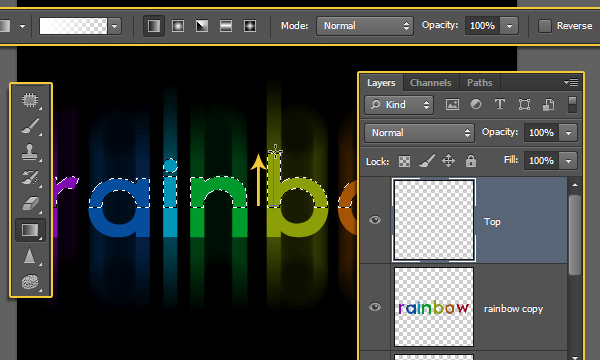
Ctrl + click the copy layer’s thumbnail to create a selection.
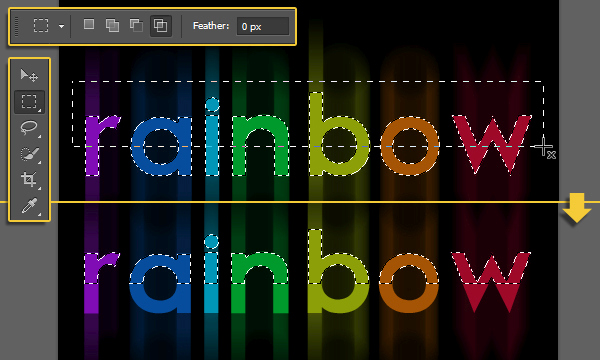
Pick the Rectangular Marquee Tool and click the ‘Intersect with selection’ icon in the Options bar. Click and drag to draw a rectangle that covers the upper half of the selected text. Once you release the mouse button, the lower half won’t be selected anymore.
Create a new layer on top of all layers, call it “Top”, set the Foreground color to White, and pick the Gradient Tool. In the Options bar, choose the Foreground to Transparent gradient Fill, and click the Linear Gradient icon.
Then, press and hold the Shift key, and click and drag vertically from the lowest point to the highest point of the selection, and release all.
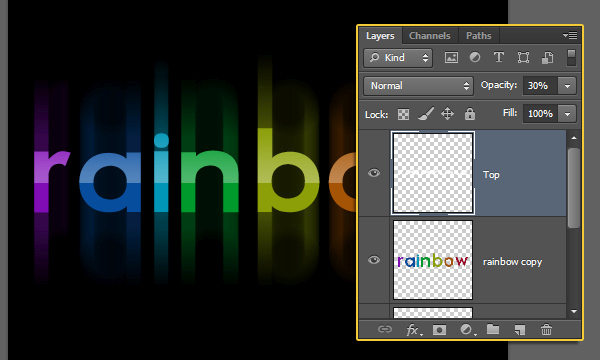
This will fill the selection with the gradient. Go to Select -> Deselect to get rid of the selection.
You can change the Opacity value if you prefer a more subtle gradient fill. Here, the “Top” layer’s Opacity value is set to 30%.
Step 4
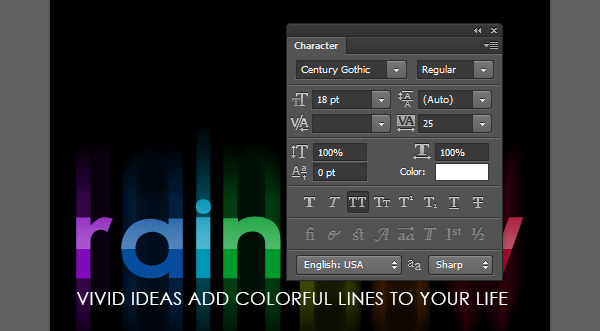
Now, it’s time to add the text underneath. So go ahead and create whatever text you like in white. The font used here is Century Gothic (All Caps), the Font Size is 18 pt, and the Tracking value is still 25. You might need to use different values depending on the length of the text you have.
Double click the text layer to apply a Gradient Overlay effect, and start by changing the Angle to 0, then click the Gradient fill box to create the gradient used.
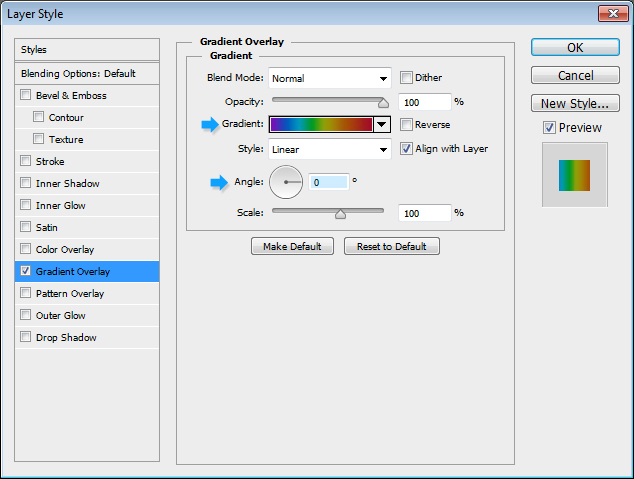
To add color stops, you need to click once below the gradient bar for each color you want to add. And when you create or select a color stop, you get access to its settings. We’ll be changing the Color and Location values, from left to right.
Color – Location
#800bb6 – 0
#025abc – 17
#0596b7 – 28
#00992b – 40
#8c9f09 – 52
#a55405 – 72
#9f0929 – 100
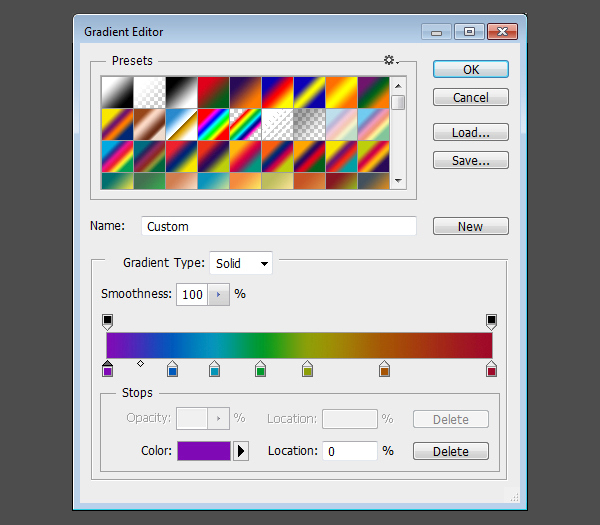
This will fill the text with a gradient that flows with the upper (main) text’s coloring.
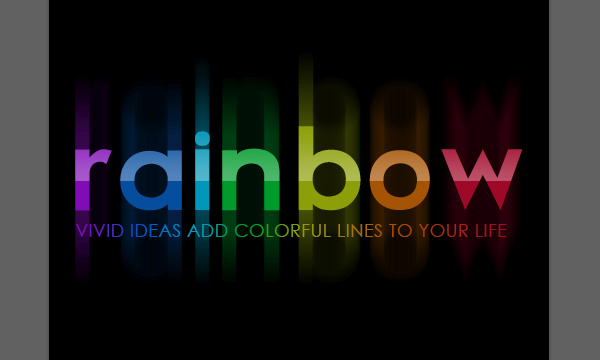
And We’re Done!
Hope you enjoyed this super easy, but really bright and fun tutorial, and found it helpful.