
In this Photoshop tutorial we are going to add warm colors to one photo playing with color settings and layer blending modes.
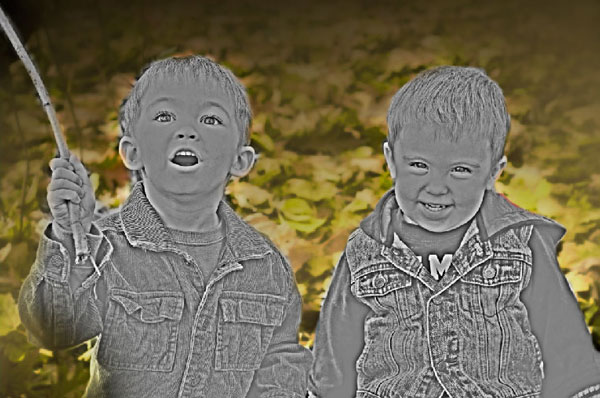
Final Image Preview

Resources
Step 1
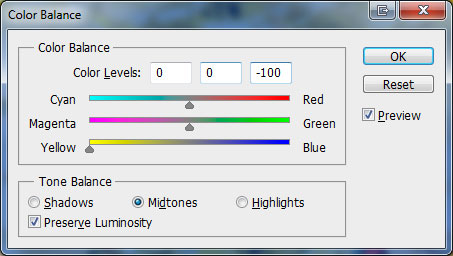
Open photo in Photoshop. Resize photo to 1000×664 pixels by going to Image > Image Size. Duplicate photo using Ctrl+J. On duplicated layer apply Image > Adjustments > Color Balance.


Update layer blending mode to Multiply.

Step 2
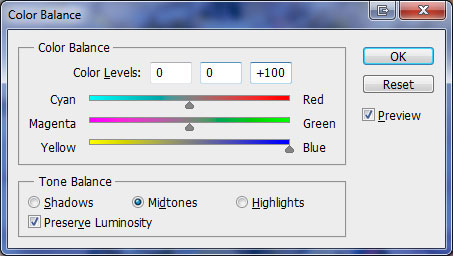
Duplicate background photo using Ctrl+J. Place layer above all other layers. On duplicated layer apply Image > Adjustments > Color Balance.

Update layer blending mode to Lighten.

Step 3
Duplicate background photo using Ctrl+J. Place layer above all other layers. On duplicated layer apply Image > Adjustments > Color Balance.

Update layer blending mode to Darken.

Step 4
Duplicate background photo using Ctrl+J. Place layer above all other layers. On duplicated layer apply Image > Adjustments > Desaturate.

Go to Image > Adjustments > Brightness/Contrast.
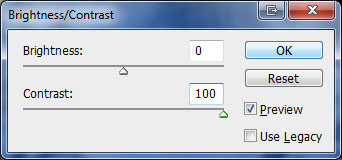

Update layer blending mode to Darken.

Step 5
Duplicate background photo using Ctrl+J. Place layer above all other layers. On duplicated layer apply Image > Adjustments > Desaturate.

Apply Filter > Other > High Pass.
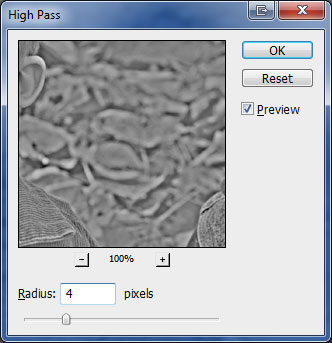
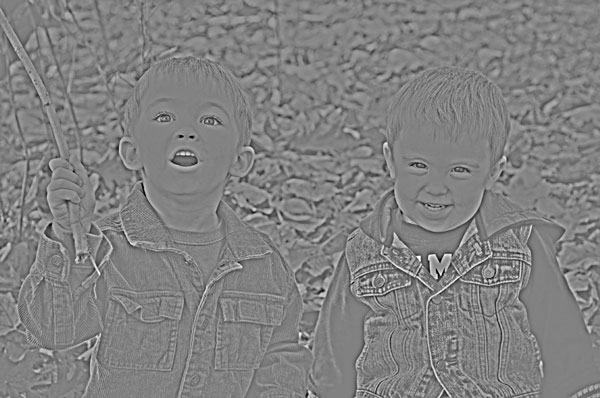
Update layer blending mode to Overlay.

Merge all layers into one layer by going to Layer > Merge Layers or pressing Ctrl+E and rename layer to “Background”.
Step 6
Duplicate “Background” layer with Ctrl+J and apply Filter > Blur > Smart Blur to duplicated layer.
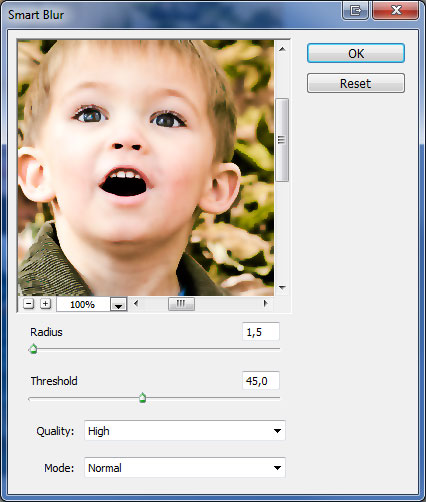

Select Eraser Tool and a soft round brush. Erase boys from this layer and with that we will have a clear picture of boys and blurred image around them.

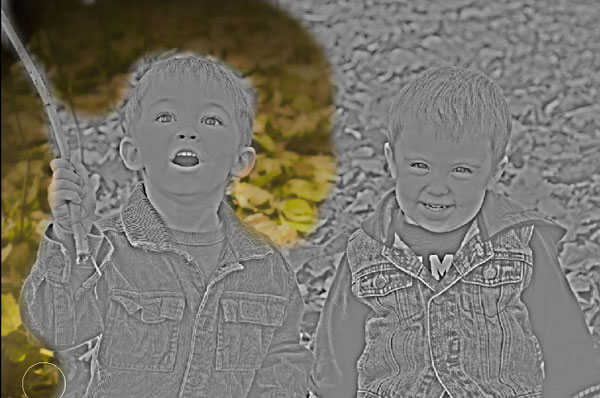
Step 7
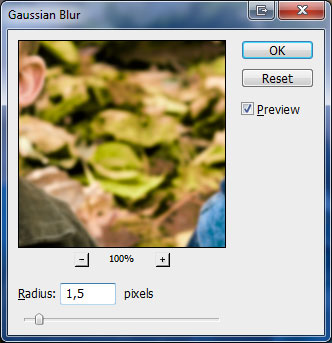
Duplicate “Background” layer again and move it above all layers. Apply Filter > Blur > Gaussian Blur to duplicated layer. With Eraser Tool repeat process done in Step 6 but leaving more blurred areas on the image bottom.

Step 8
Create a new layer on top of all layers. Fill layer with color #987f3f.

Select Eraser Tool one more time to erase light brown color in a way similar to mine to get same effect as you can see below.

Step 9
Create a new layer on top of all layers. Press D to set foregound color to black and background color to white. Drag a linear gradient using Gradient Tool.

Update layer blending mode to Overlay.

Step 10
Duplicate “Background” layer again and move it above all layers. Desaturate duplicated layer by going to Image > Adjustments > Desaturate.

Apply Filter > Other > High Pass.


Erase layer background area with Eraser Tool (soft round brush with 400px).
Change layer blending mode to Overlay.

Reduce layer opacity to 60% and we are done.
Final Image