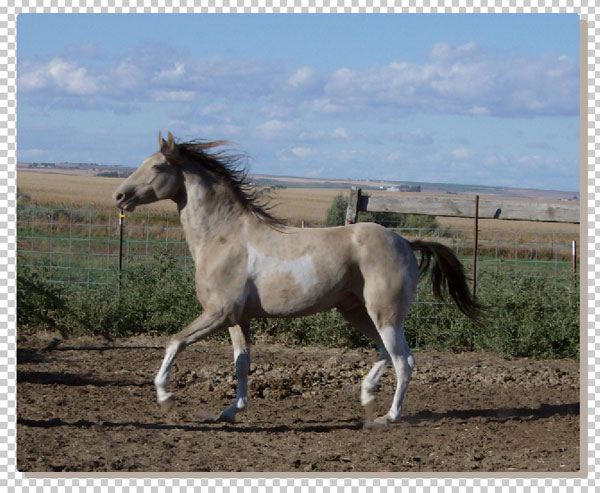
One interesting tutorial is how to turn photos into oil painting and that is what you will learn using Photoshop.
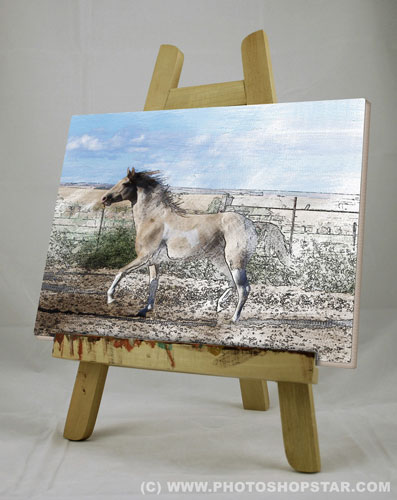
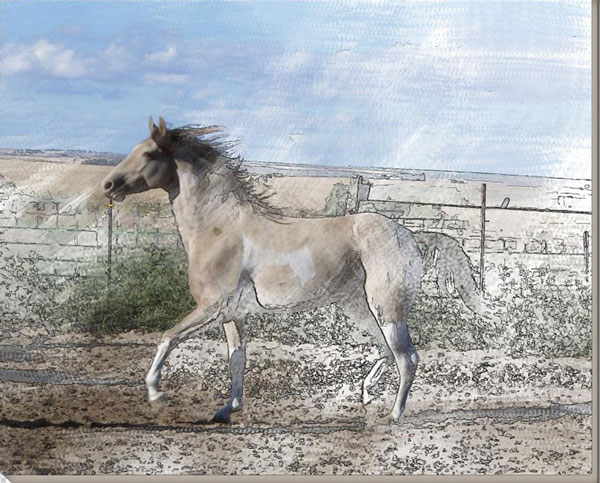
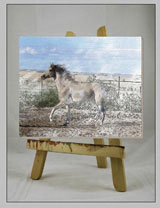
Final Image
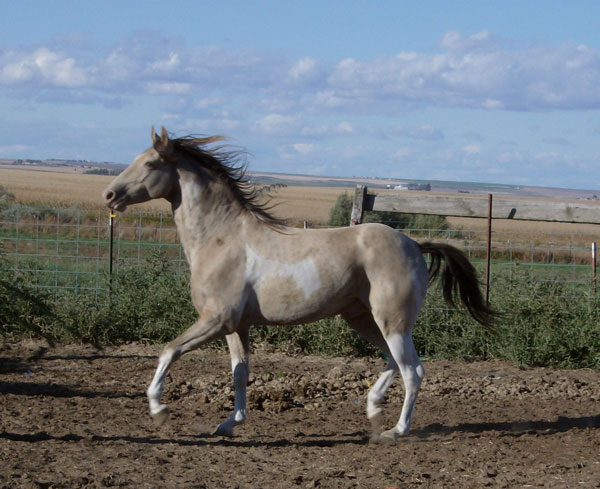
Resources
Step 1
Open photo on Photoshop. First thing which you need to do is to unlock the background layer. To do this, double click on the “Background” layer and name it “Horse”.
Step 2
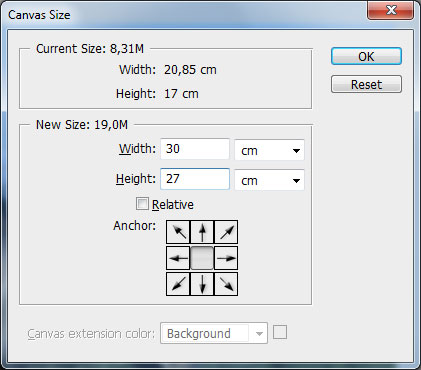
We now need to increase canvas size. To do this go to Image > Canvas Size with similar settings to these:
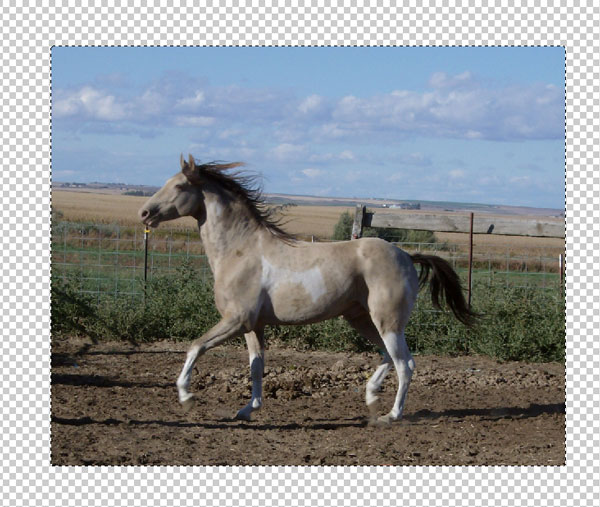
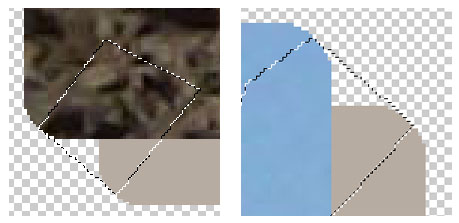
Load selection of this frame with Select > Load Selection. Now we got something like you can see on the picture below.
Step 3
After that use Select > Modify > Smooth to made photo corners round about 10 pixels. Invert selection with Ctrl+Shift+I and press Delete button to clear selected area. Now inverse selection back, then create a new layer, name it “Background” and place it below “Horse” layer. Fill selected area of new layer with color #b7aca1. Remove selection with Select > Deselect (Ctrl+D) and move layer a little bit down and right.
Step 4
Use the Polygonal Lasso Tool on “Background” layer to connect bottom left and top right olf photo with backgound. Fill selection with color of #cdaf89. Press Ctrl+D to remove selection.

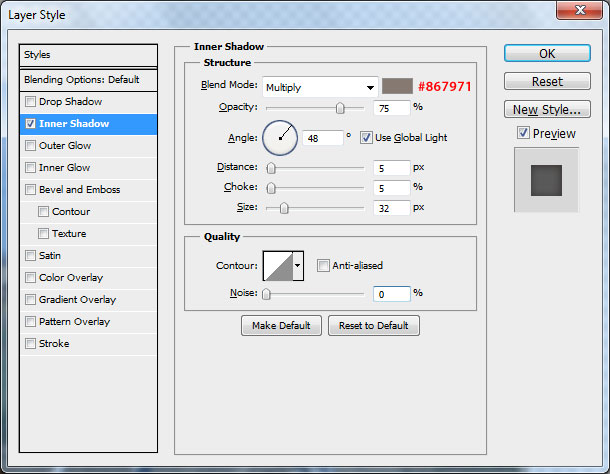
Step 5
Go to Layer > Layer Styler and apply the Inner Shadow style for this layer.
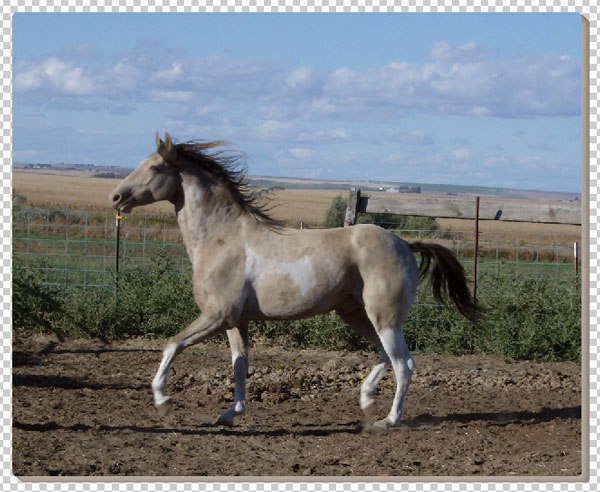
The result should be something similar to this:
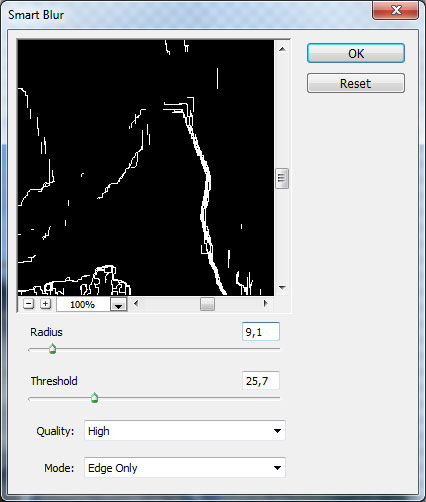
Step 6
Go back to the “Horse” layer and continue with it. Duplicate this layer with Layer > Duplicate Layer, after that apply Filter > Blur > Smart Blur with similar settings to these:
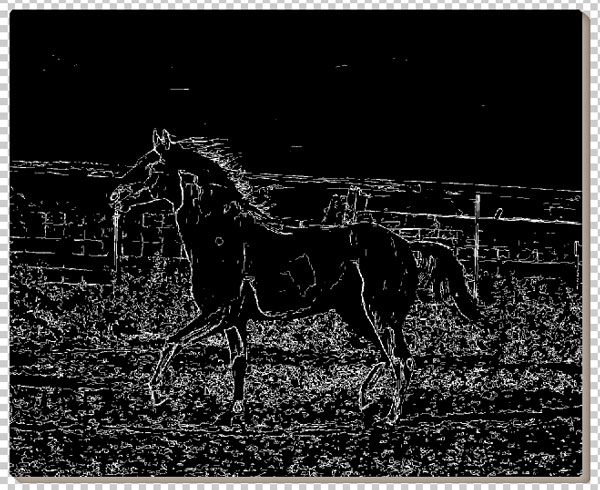
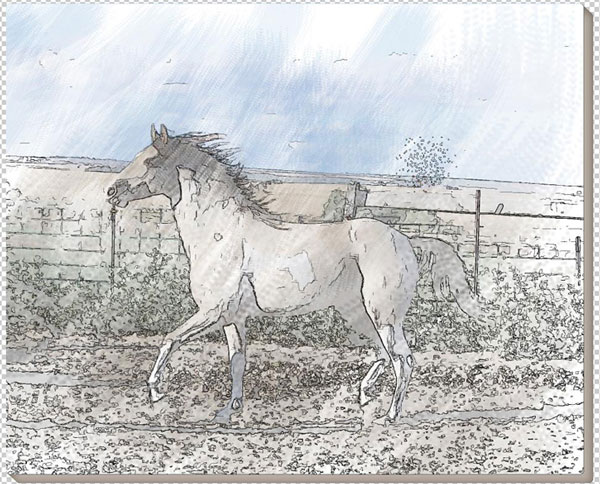
Step 7
Now use Image > Adjustments > Invert to invert colors on the photo and you will have something similar to image below.
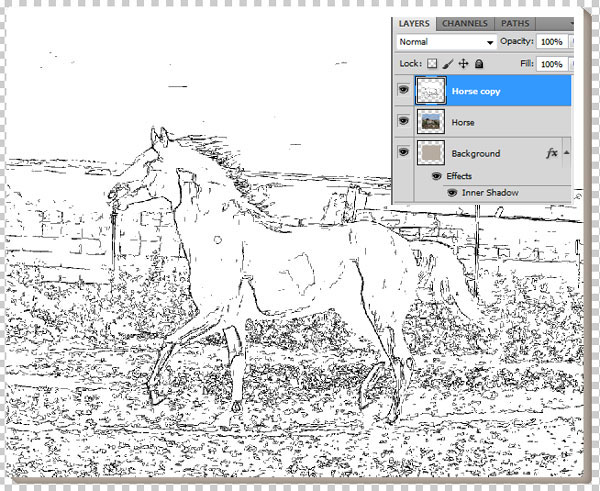
Step 8
After that we have to create vector mask for this layer. Use Select > Load Selection to select current layer content and apply Layer > Layer Mask > Reveal Selection to create mask.
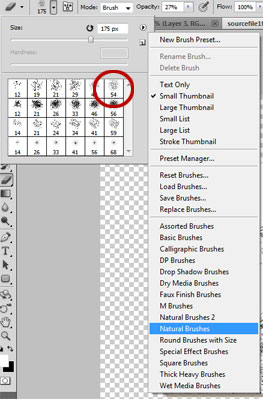
Select the Eraser Tool and load Natural Brushes Palette (this is one of standard Photoshop brush palettes). Choose brush from Natural Brushes Palette and set brush size to 175px and change opacity to 27%. Press D to set up foreground and background colors black and white, then apply the Eraser Tool to layer.
Step 9
In case you want to enhance the effect, just apply again the Eraser Tool with the same presets.
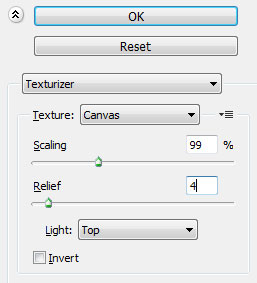
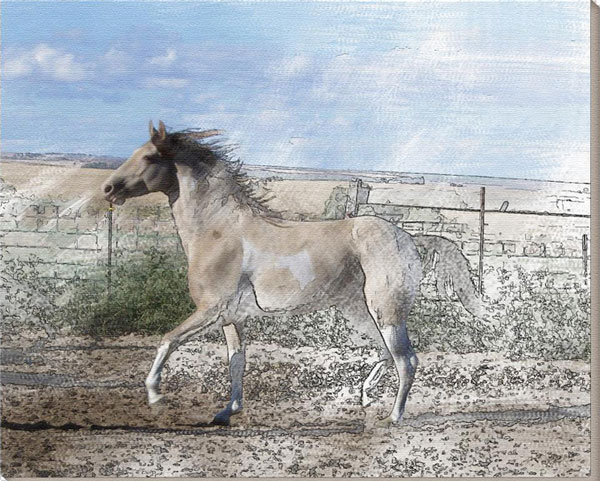
Step 10
Looks good now, but it seems that something is missing, so I would like to create a texture of an oil canvas. Go to layer “Horse” and apply Filter > Texture > Texturizer for this layer.
Step 11
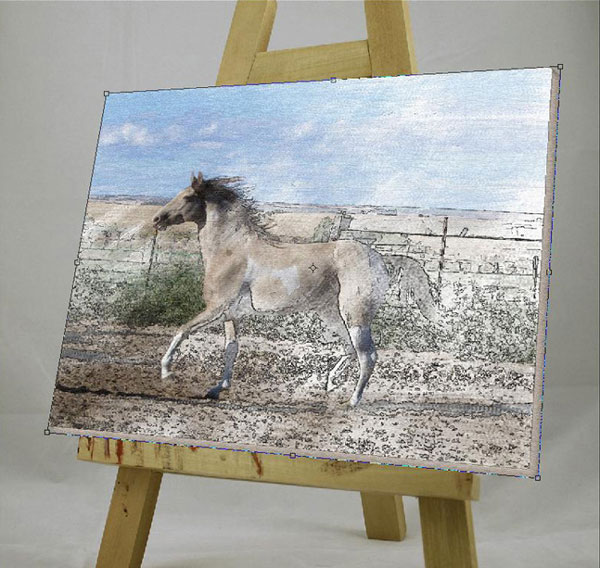
Merge all the layers in one by using Shift+Ctrl+E. Now we have to put our oil painting on easel. Open up the picture of easel and duplicate oil painting to the canvas with easel. With oil painting layer selected, go to Edit > Transform > Scale and resize image.
Step 12
Now it´s time to add perspective to the canvas with horse. Put our picture to the perspective similar to easel perspective. Use Edit > Free Transform and hold Ctrl button to put into the perspective like on the picture below:
Step 13
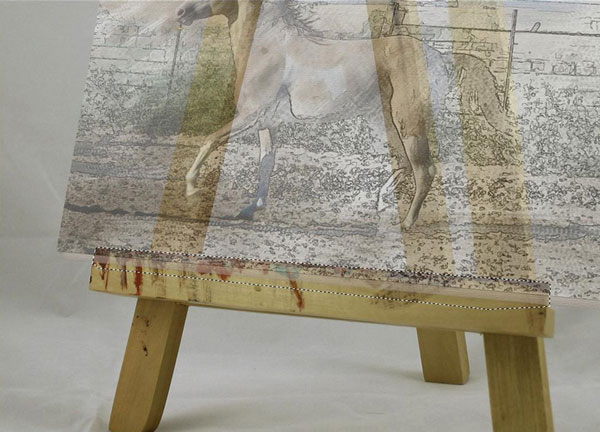
After that go to oil painting layer and put it inside of easel area. In the beginning set up layer opacity about 50%, then use the Polygonal Lasso Tool to select those parts of the easel, which should be visible above the painting.
Step 14
Invert selection by using Ctrl+Shift+I and apply Layer > Layer Mask > Reveal Selection to add the mask again. Change opacity to 100% again for this layer.
Final Image