In this Photoshop tutorial we will create a selective color effect by first desaturating an image and then carefully masking the color we want to show.
Final Image
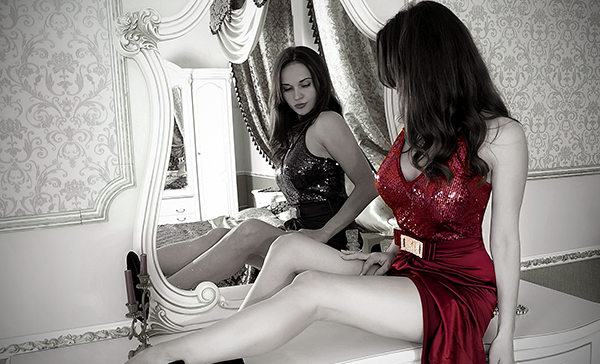
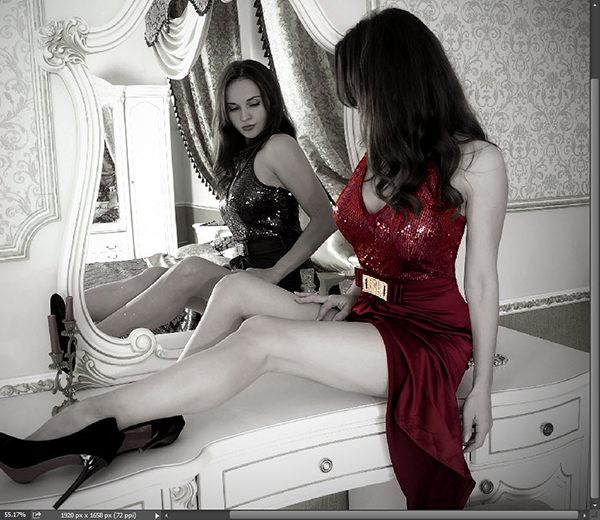
As always, this is the final image that we’ll be creating:
Tutorial Details
- Program: Adobe Photoshop CS3
- Estimated Completion Time: 30 minutes
- Difficulty: Beginner-Intermediate
Resources
Step 1
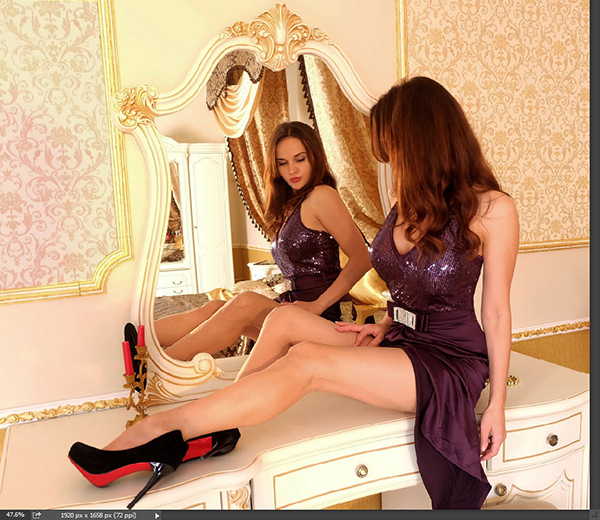
Open the file “Woman in red dress”.
Step 2
Now let’s desaturate the image. We could use multiple ways to achieve that but I’ll choose a Black and White Adjustment layer because it will allow us to fine tune the way the image looks desaturated.
Create a new Black&White Adjustment Layer by going to Layer > New Adjustment Layer > Black&White.
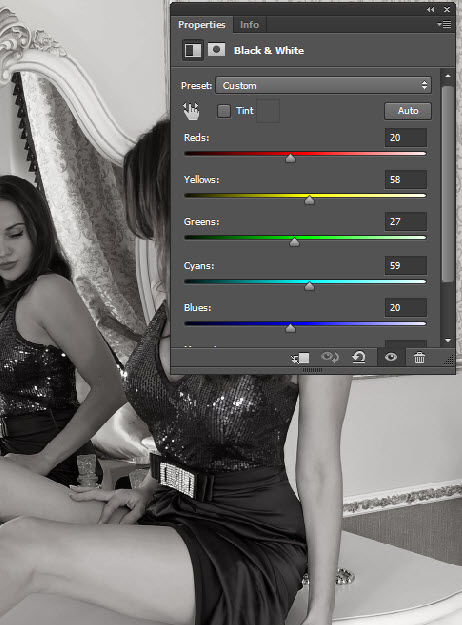
Use the settings shown below to make our black and white image have good contrast and lower the opacity to 95% to let just a bit of the original colors show.
Step 3
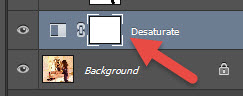
As you can see in the layer palette (F7) there’s a layer mask attached to the Black&White Adjustment Layer.
In a layer mask black conceals and white reveals – we’re going to be using the layer mask to show the red color only over the dress. We’ll do this by painting with various black brushes in the layer mask of the Black&White Adjustment Layer – painting with black will hide the desaturation effect thus revealing the original color.
Step 4
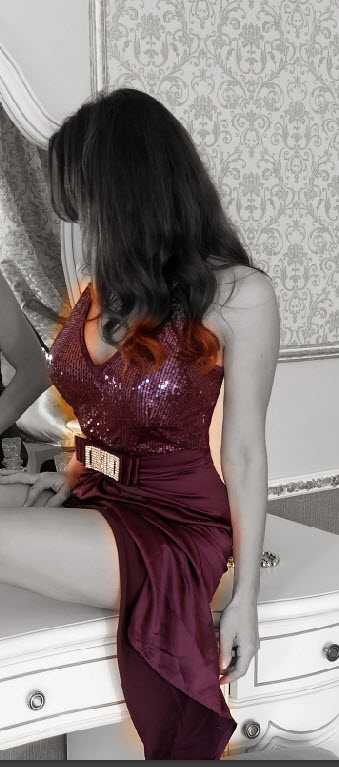
Let’s start masking. Select the standard round soft brush (B) and set the foreground color to black. Set the size to 100px and the opacity to 100%. Click on the layer mask of the Black&White Adjustment layer to make it active and start painting in general strokes over the dress – don’t worry if you’ll paint over the edges of the dress on the skin, we’ll correct this in the next step. You should have something like the image below.
Step 5
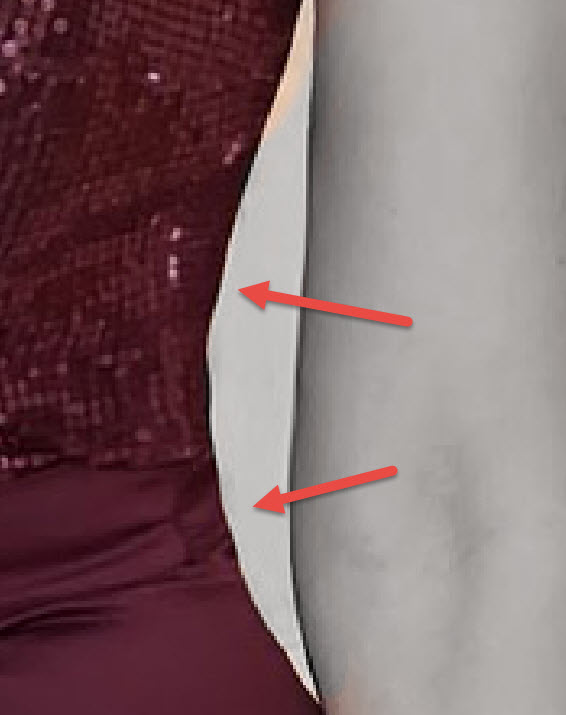
Now let’s fine tune the masking of the dress. Lower the brush size to 5px and change the foreground color to white. Zoom in real close to where the dress meets the other areas of the body and paint carefully just at the edges of the dress but be careful not to paint inside the dress area.
Step 6
Keep zooming in in all the areas where the original color spills outside the boundaries of the dress and paint with that small brush with white to hide the red colors there. This is the most time consuming stage of the process but also the one that needs the most care so take your time and do a good job.
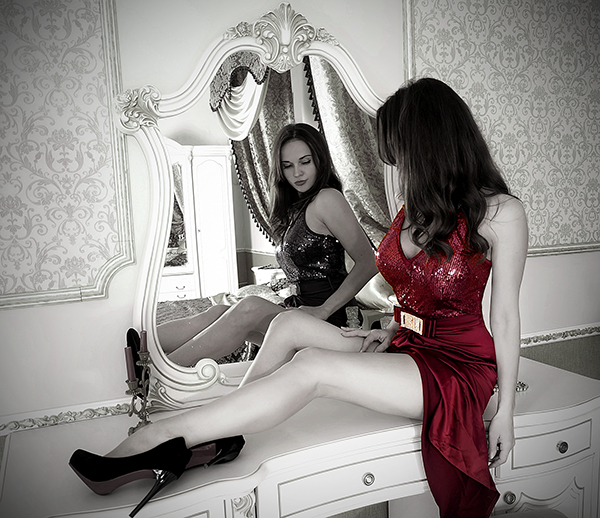
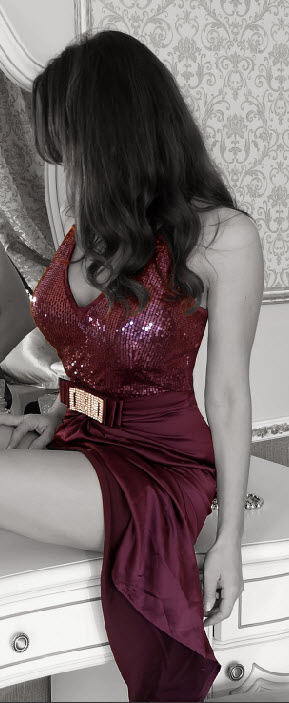
Where the hair falls over the dress you can lower the brush opacity to 50% and paint repeatedly over the hair to make it blend nicely with the dress but go back to 100% where there’s a clear separation between the dress and the outer regions. It took me 20 minutes to properly do this – here’s my result below.
Step 7
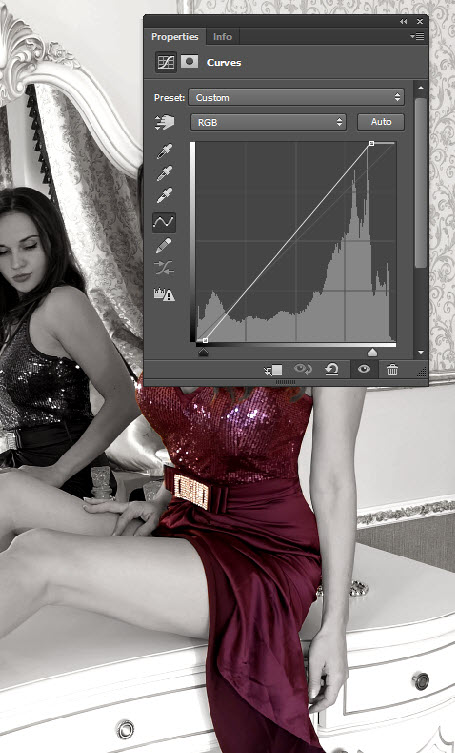
Now that we’re done with the arduous task of masking the red dress let’s do some general improvements. Let’s boost the contrast a little. Create a new Curves Adjustment Layer (Layer > New Adjustment Layer > Curves) and use the settings shown below to boost the contrast and increase the luminosity.
Step 8
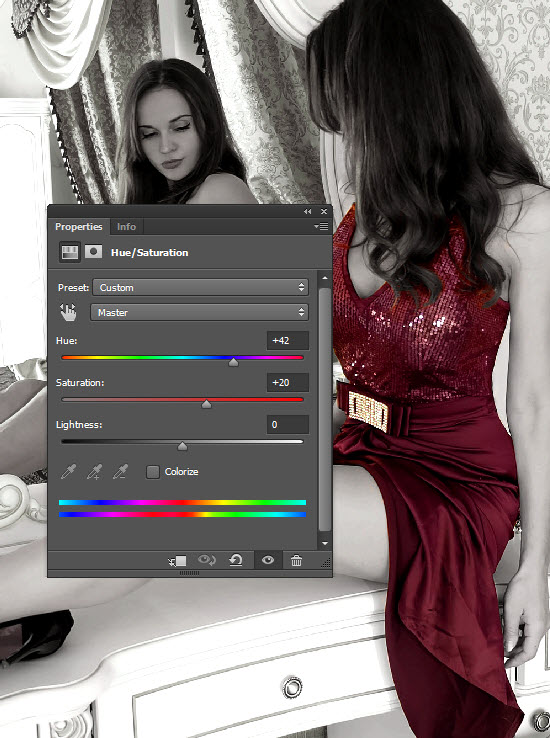
The color of the dress goes a bit towards magenta and I really want a full blown red color.
Create a Hue/Saturation Adjustment Layer (Layer > New Adjustment Layer > Hue/Saturation) and drag the Hue Slider to 42 to change the color hue towards red. Also increase the saturation slider to 20.
As you can see we don’t need any layer mask here because there’s only one color in the image that will be changed by the Hue/Saturation Adjustment Layer – the red color of the dress. There are some very, very subtle colors (remember that we show some original colors by reducing the Black&White Adjustment layer opacity to 95%) but they will be very little affected by this step.
Step 9
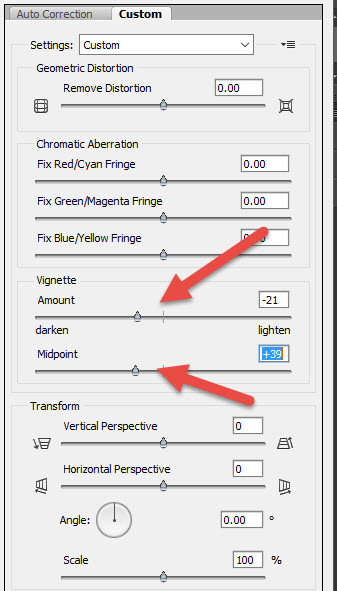
Let’s add some vignette effect to our scene. Create a new layer (Ctrl + Shift + Alt + N) and fill it with white (Shift + F5). Go to Filter > Lens Correction and in the Custom tab use the settings shown below to add a vignette.
Step 10
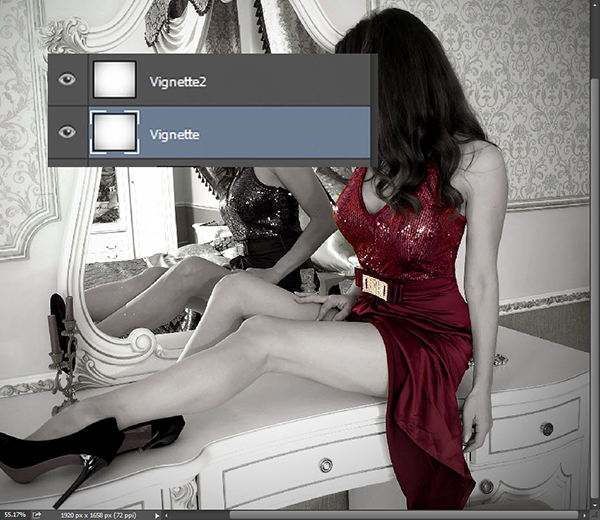
Change the blending mode of the vignette layer to Multiply – this will get rid of all the white colors and show only the black colors around the edges. I found that the effect is way too subtle for my test so I duplicated the vignette layer with Ctrl + J to further increase the vignette effect.
Step 11
Now let’s add a bit of softness to our image. Create a new layer from all the visible layers (Ctrl + Shift + Alt + E) and apply a 50px Gaussian Blur (Filter > Blur > Gaussian Blur). Change the blending mode to Soft Light and lower the Fill to 35%. You will see some subtle colors showing and the contrast will also be increased a bit.
Step 12
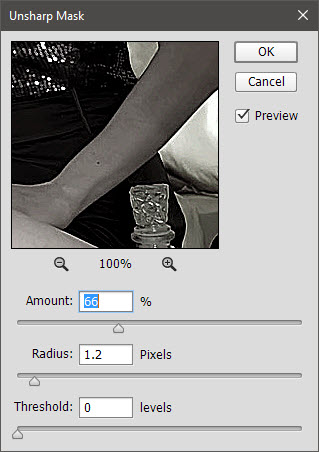
Now let’s sharpen the image. Create a new layer from all the visible layers with Ctrl + Shift + Alt + E and apply a sharpen effect by going to Filter > Sharpen > Unsharp Mask and using the settings shown below.
Almost any image or scene will benefit from a sharpen effect – the secret is not to overdo as it will create some unpleasant recognizable pixel artefacts.
Step 13
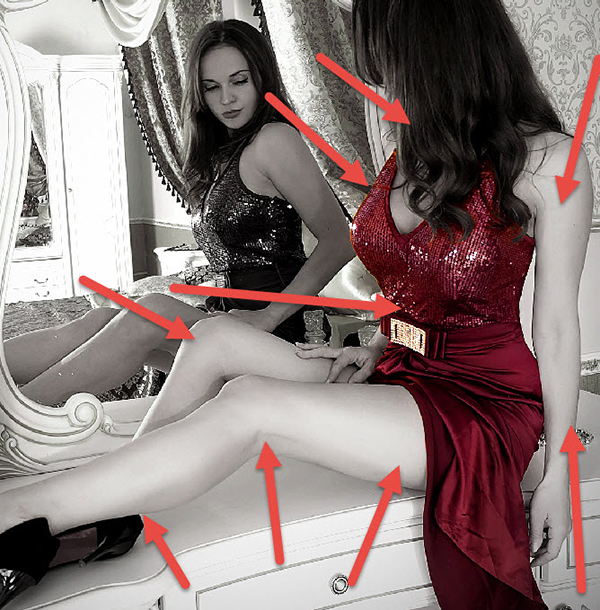
As a final effect let’s boost the lightness of the already existing bright areas thus making the image pop.
Create a new layer (Ctrl + Shift + Alt + N) and set the blending mode to Overlay. Select the standard round soft brush and lower the opacity to 10%. Paint with white over the bright spots on the legs, arms and dress.
And We’re Done!