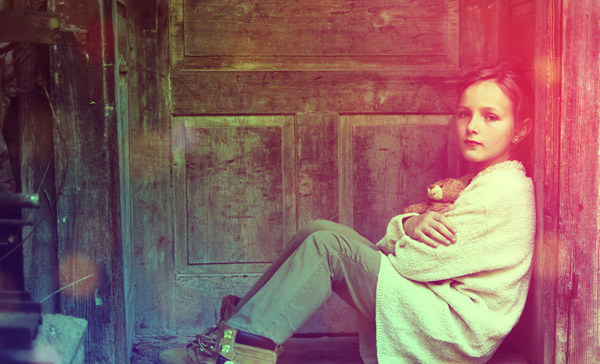
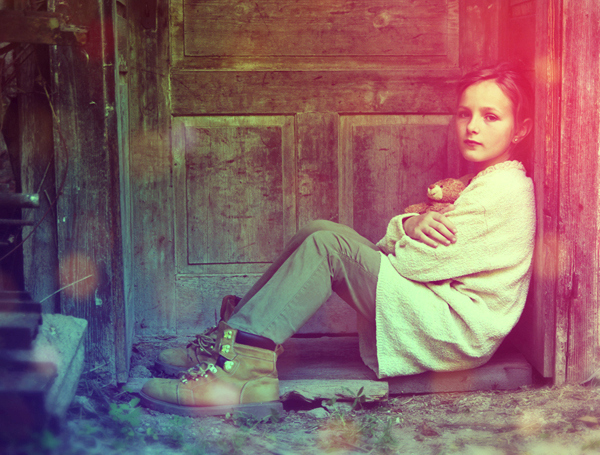
In this Photoshop tutorial I’ll show you how to create two nice retro effects using adjustment layers, brushes and textures.
Final Image
Tutorial Details
- Program : Photoshop CS3 +
- Estimated Completion Time : 30 minutes
- Difficulty : Beginner
Resources
I. Effect 1
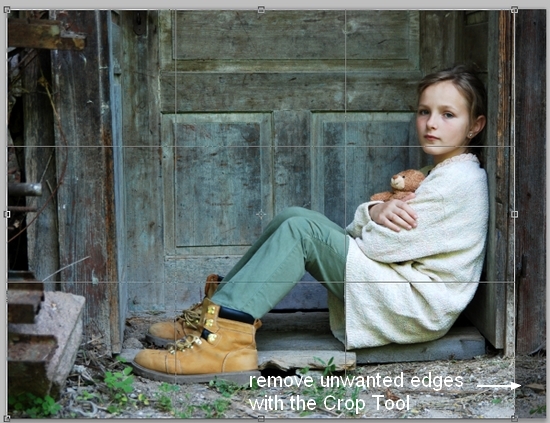
Step 1
Open the photo you want to use. Use the Crop Tool (C) to remove the areas that are out of the focus. I’m going to remove the right edge of this photo:
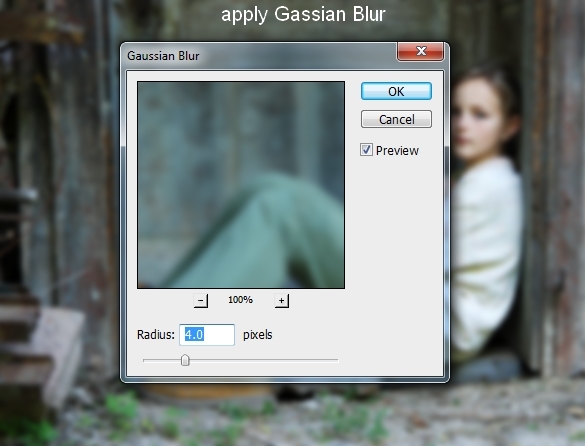
Step 2
Press Cmd/Ctrl+J to duplicate the background layer. Right click on it, choose Convert to Smart Object. Go to Filter > Blur > Gassian Blur and set the radius to 4 px:
Activate the Brush Tool (B). On this Filter Mask use a basic, soft brush with black to remove the blur effect on the background :
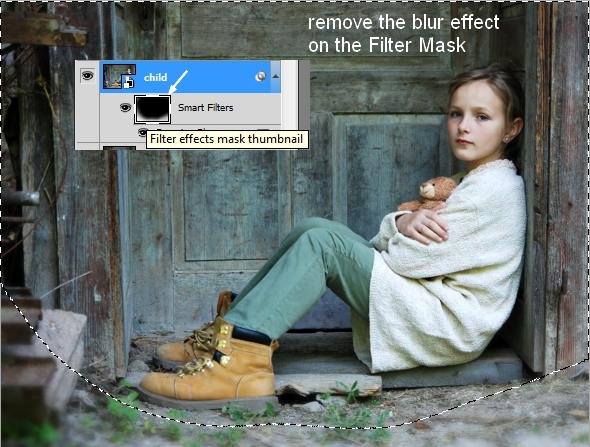
This step is to add some depth to the picture.
Step 3
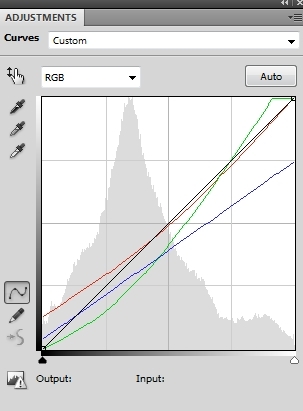
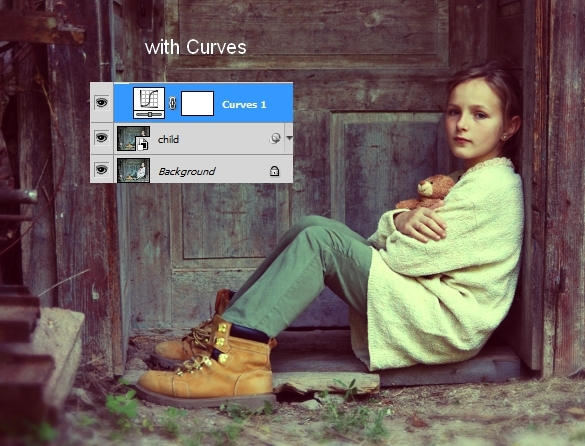
I used an adjustment layer to change the color of the pic. Go to Layer > New Adjustment Layer > Curves:
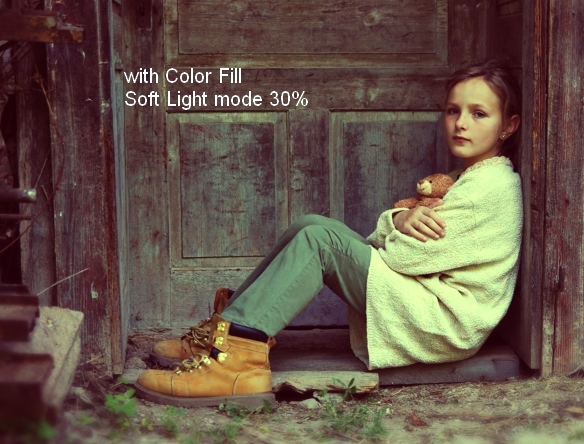
Step 4
I used a Color Fill layer for the pic (Layer > New Fill Layer > Solid Color):
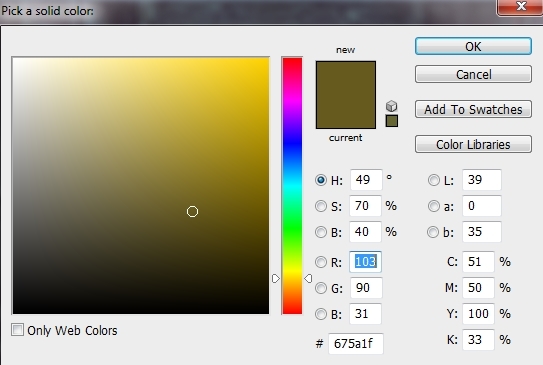
Change the mode of this layer to Soft Light 30%:
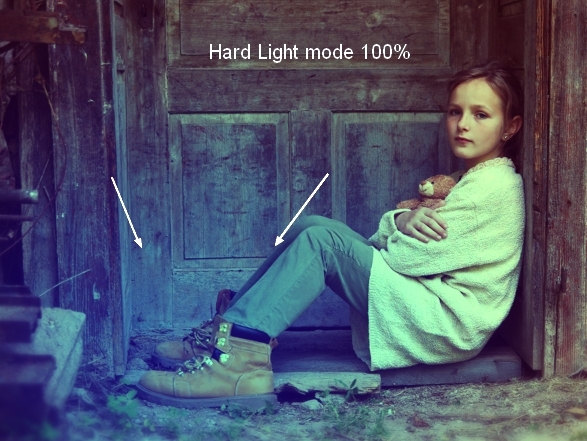
Step 5
Create a new layer on the top (Cmd/Ctrl+Shift+N). Use a soft brush with the color #4581b0 to paint on the left corner of the pic. Alter this layer mode to Hard Light 100%:

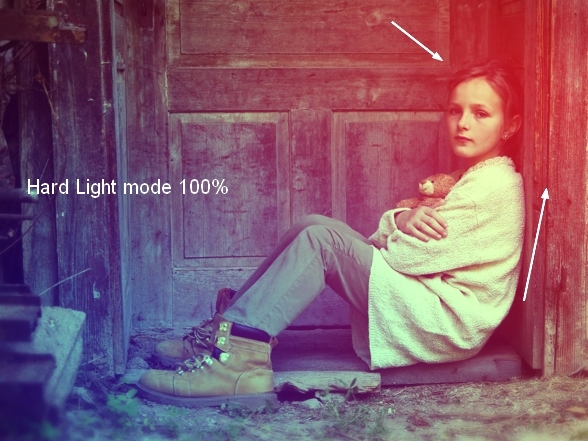
Step 6
Make a new layer and use a soft brush with the color #f38a8a to paint on the top right of the picture. Change the mode of this layer to Hard Light 100%:

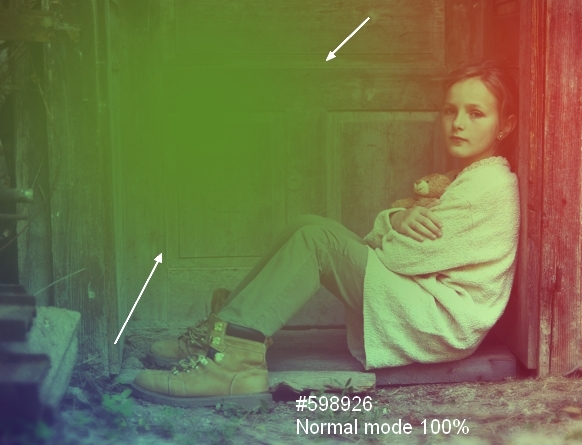
Step 7
To create a rich color effect I used another layer, a soft brush with the color #598926 to paint on the top left (the door area). Change this layer mode to Soft Light 100%:
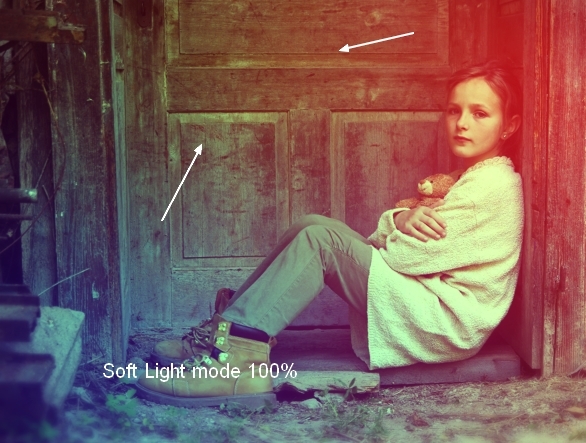
I named the layers in step 5, 6, 7 from “coloring 1” to “coloring 3”.
Step 8
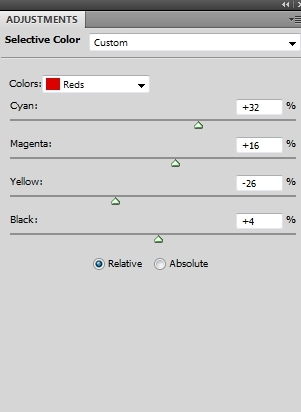
I made a Selective Color adjustment layer and adjusted the Reds settings:
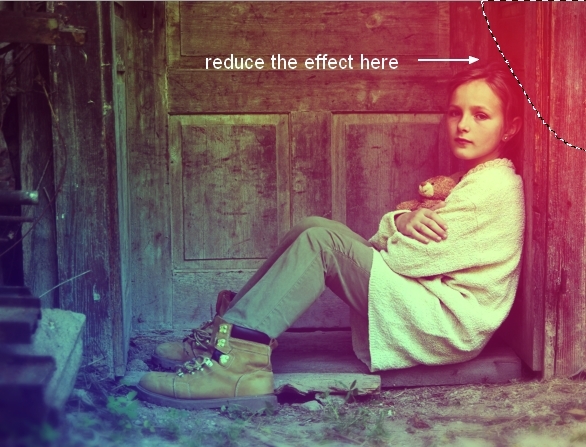
On this layer mask use a soft black brush with a very low opacity (10-15%) to reduce the effect on the top right of the pic:
Step 9
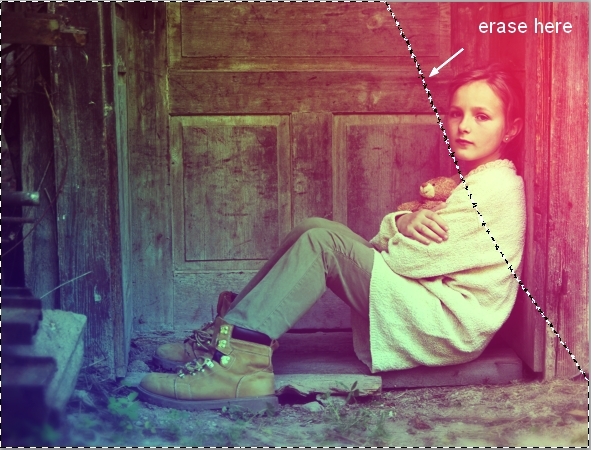
I used a Brightness/Contrast adjustment layer to brighten the top right of the pic:

Use a soft black brush to erase the parts we don’t want to be affected by this adjustment layer:
Step 10
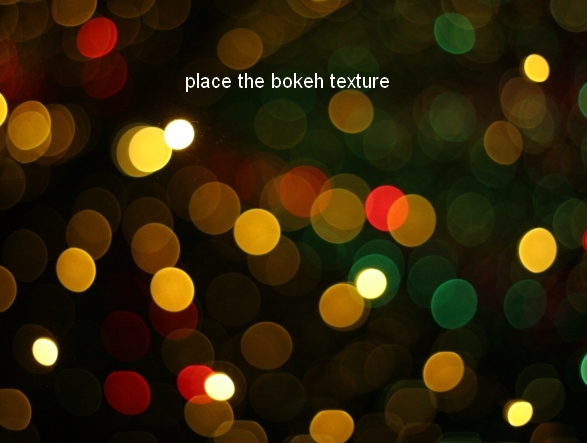
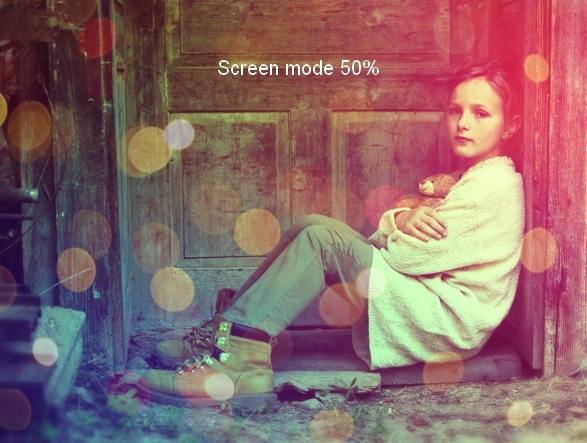
Place the bokeh texture over the picture and change the mode to Screen 50%:
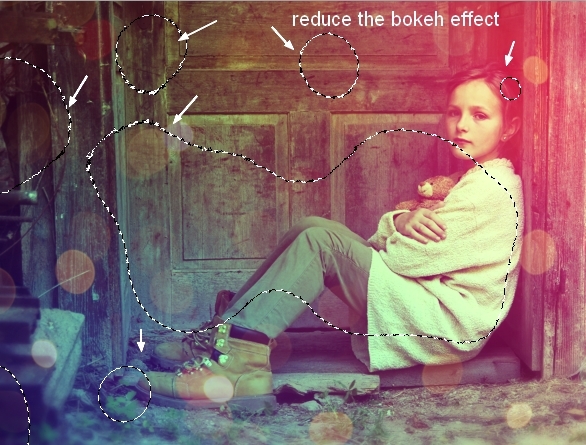
Click the second button at the bottom of the Layers Panel to add a mask to this layer. Use a soft black brush to reduce the bokeh effect as shown below:
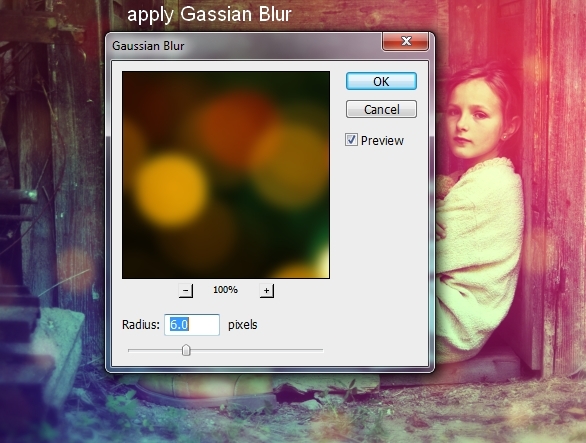
To make the effect more subtle I applied the Gaussian Blur filter at 6px to it:
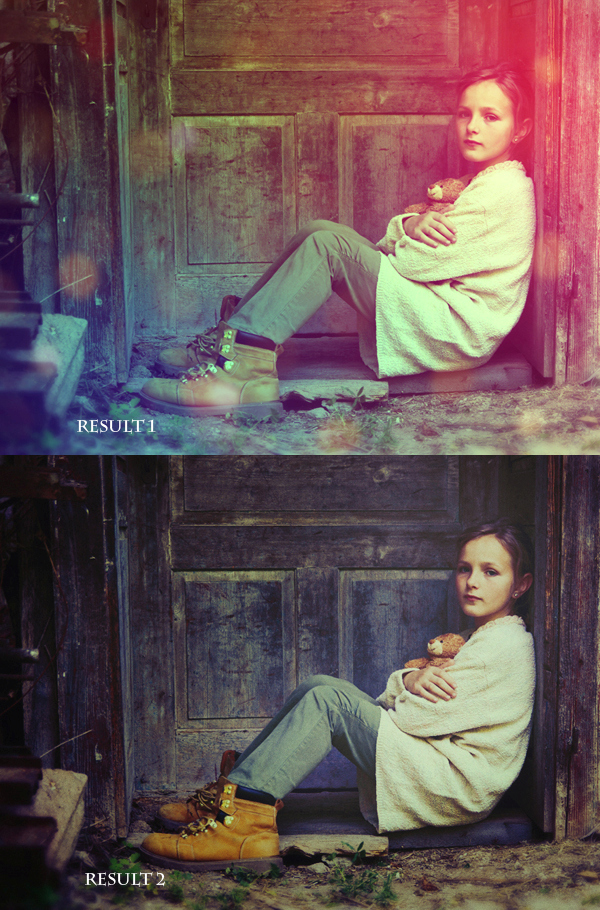
We have the first result:
Group all adjustment layers and coloring ones. I named it “result 1”. Turn off this group and continue with another effect.
II. Effect 2
Step 11
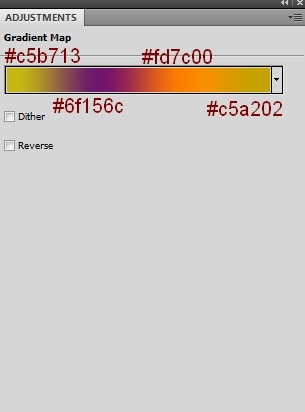
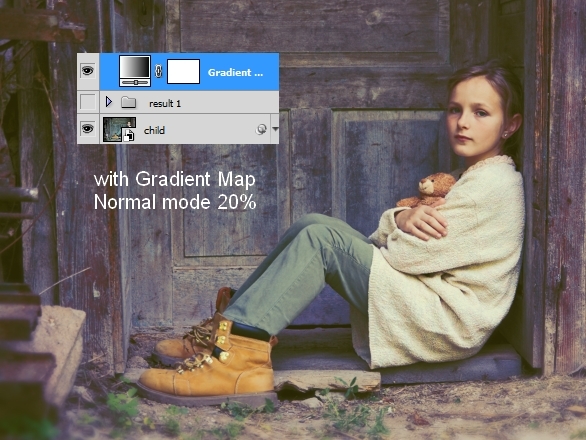
Create a Gradient Map adjustment layer above the “result 1” group:
Lower the layer opacity to 20%:
Step 12
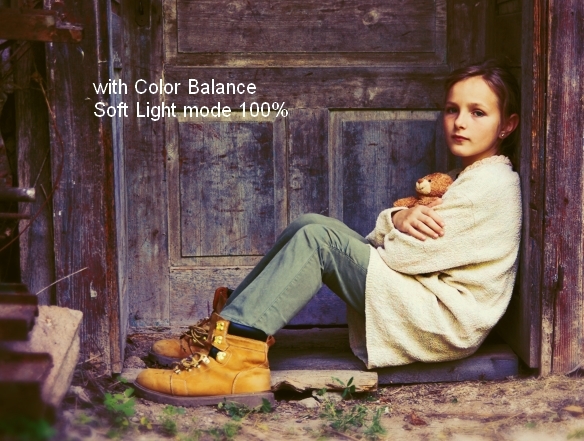
I used Color Balance to add some contrast to the pic:
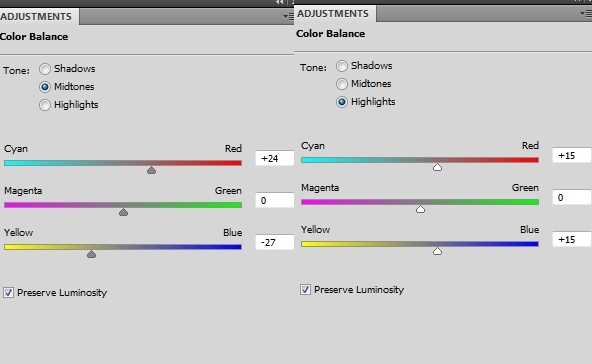
Change the layer mode to Soft Light 100%:
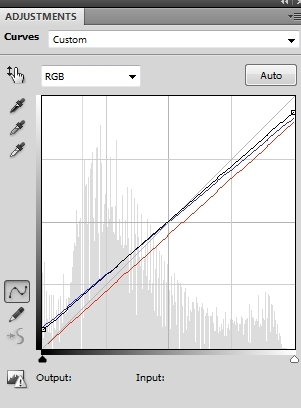
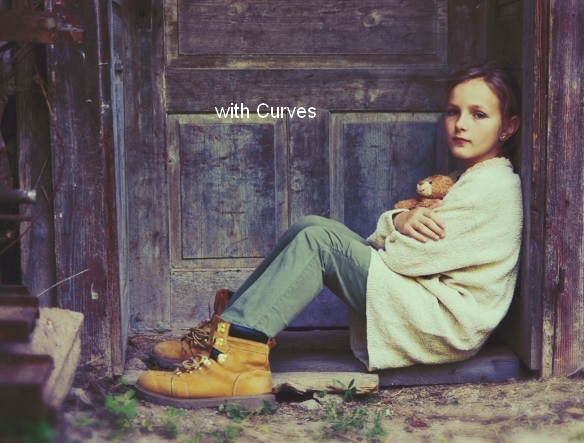
Step 13
I used Curves to alter the color of the pic and achieve a nice retro effect:
Step 14
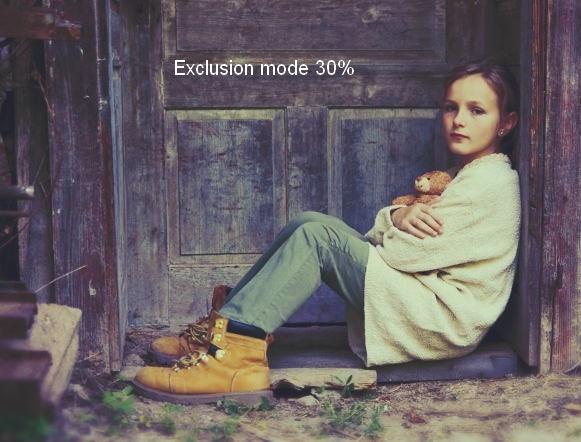
Make a Color Fill layer on the top:
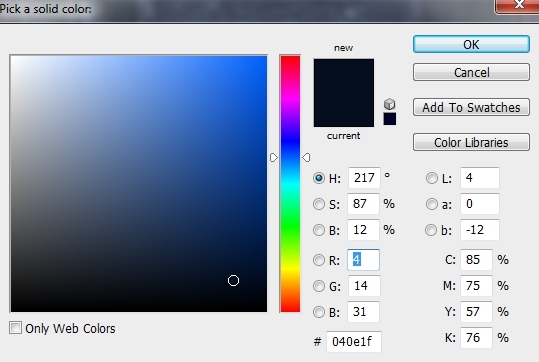
Change the layer mode to Exclusion 30%:
Step 15
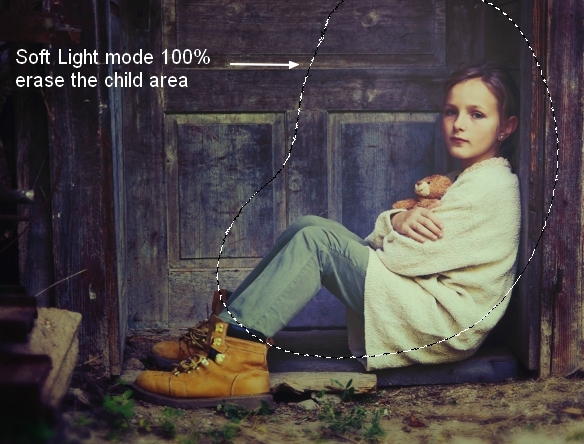
To change the contrast of the picture I used a Gradient Fill layer (Layer > New Fill Layer > Gradient):
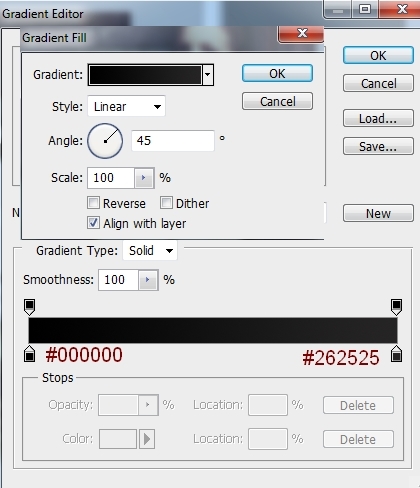
Change the layer mode to Soft Light 100%, also on the layer mask use a soft lack brush to erase the child area as I want to make it as the picture focus:
Step 16
Final step (optional): To increase the old look of the pic, make a new layer on the top, change the mode to Overlay 100% and fill with 50% gray:
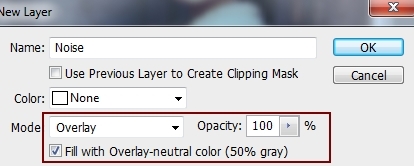
Convert this layer to Smart Object and go to Filter > Noise > Add Noise:
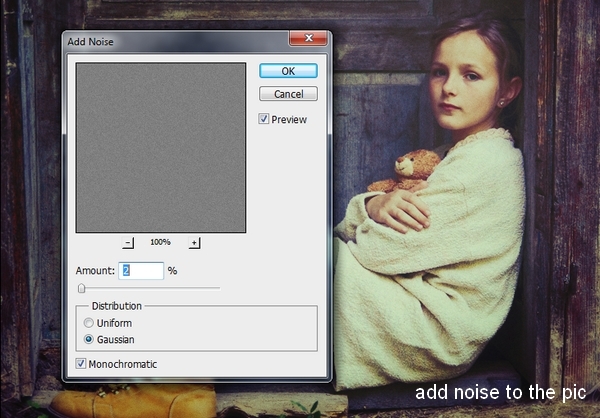
You can adjust the value for your desired look.
And We’re Done!
I hope that you enjoyed the tutorial.
