In this Photoshop tutorial we will retouch a portrait in order to obtain a dramatic but good looking effect.
We will use various tools and techniques in order to achieve our goals and I’ll guide you along the way.
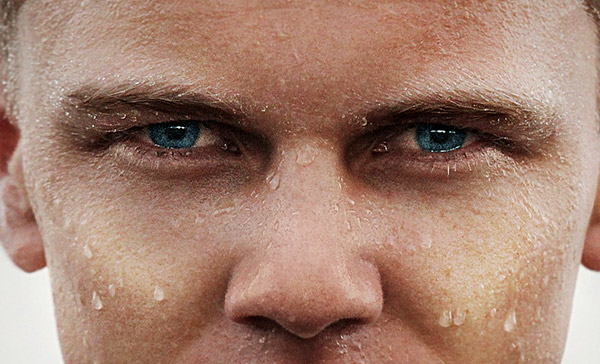
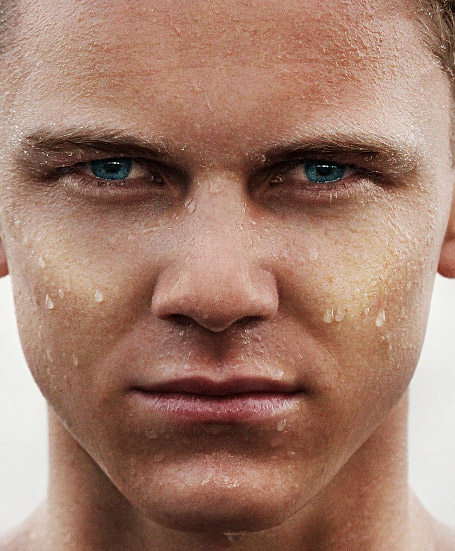
Final Image
As always, this is the final image that we’ll be creating:

Tutorial Details
- Program: Adobe Photoshop CS3
- Estimated Completion Time: 30 minutes
- Difficulty: Beginner-Intermediate
Resources
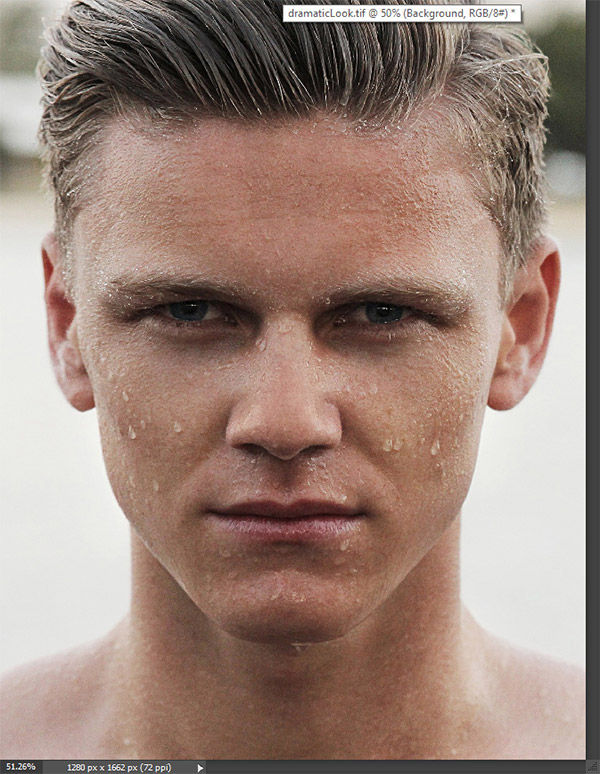
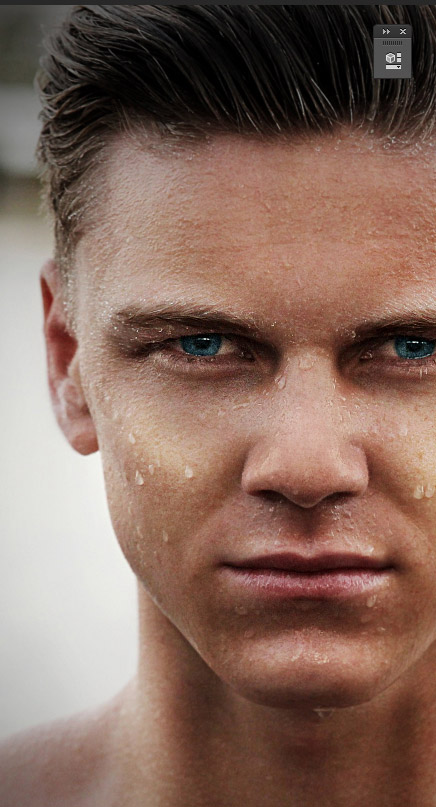
Step 1
Open the file “Boy”. We’ll be using this photo to apply our dramatic retouch effect.
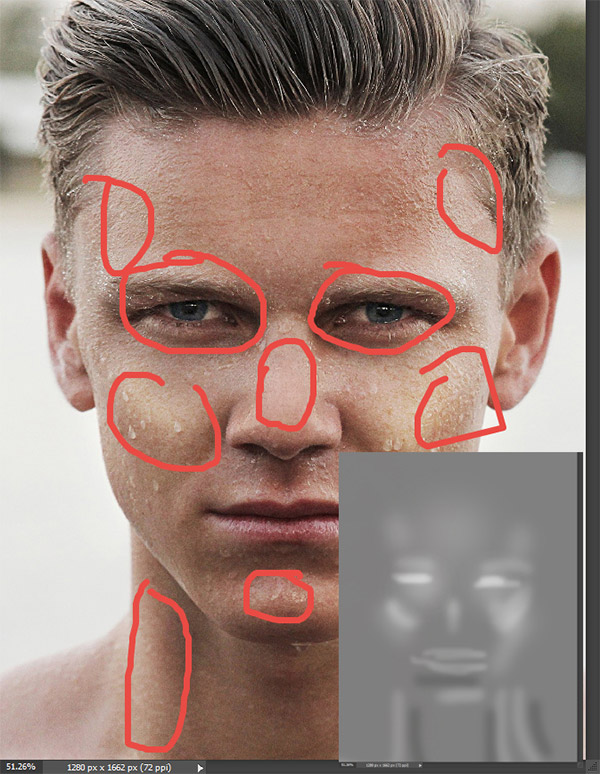
Step 2
Let’s start with our effect by subtly boosting the highlights and darken the already dark areas.
Create a new layer (Ctrl + Shift + Alt +N)and fill it with 50% gray (Shift + F5).
Change the blending mode to Overlay and use the Dodge Tool at 30% Exposure over the areas indicated below (cheekbones, nose, lips, eyes, tip of the chin, a bit on the forehead and very lightly on the neck).
Step 3
As you can see changing a layer’s blending mode to Overlay and painting over with white or black has the interesting effect of adding volume and focus to certain areas of the photo.
Let’s further add some volume and further boost the luminance of the areas we want to put focus on.
Create a new layer (Ctrl + Shift + Alt + N) and change the blending mode to Soft Light.
Select the Brush Tool (B) and use the standard round soft brush at 10% Opacity. Lower the size of the brush to 10-30 pixels. Paint with black over the eyebrows and with white over the water drops, the bottom of the eyes and the contours of the lips.
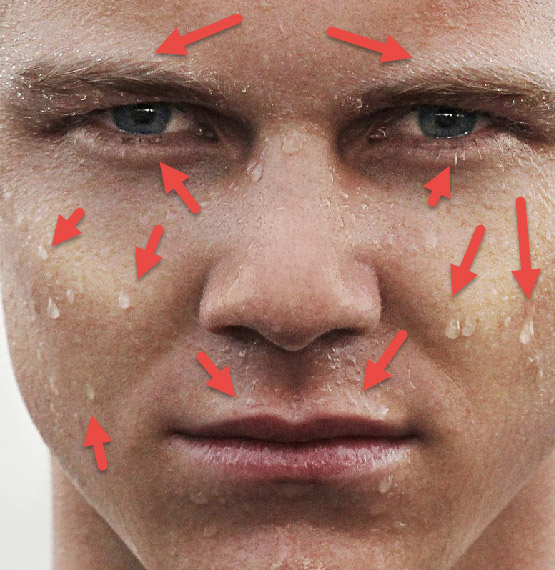
Step 4
In the previous step we added some highlights and shadows using a small size brush. In this step let’s add some volume by using the same technique but with a bigger brush size.
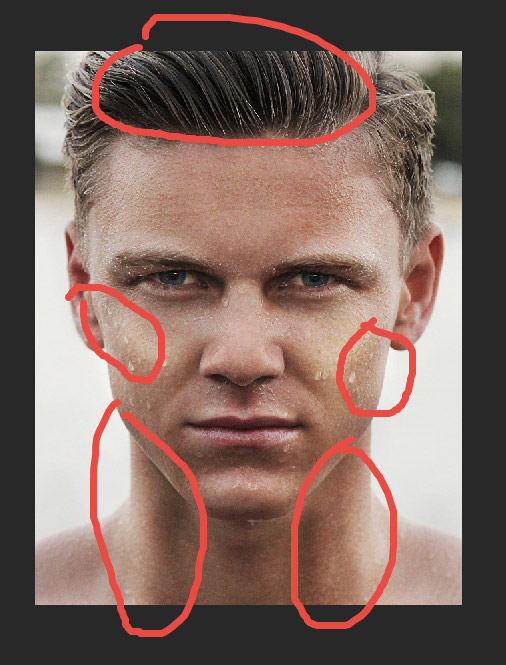
Create a new layer and change the blending mode to Soft Light. With the standard round soft brush at 5-10% Opacity and 100-200px size paint with black and white over the areas indicated below.
Step 5
Our photo is starting to look quite good but I do find the eyebrows and the hair a bit too light for my taste.
Let’s adjust that by first creating a new layer (Ctrl + Shift + Alt + N) and then by changing the blending mode to Soft Light.
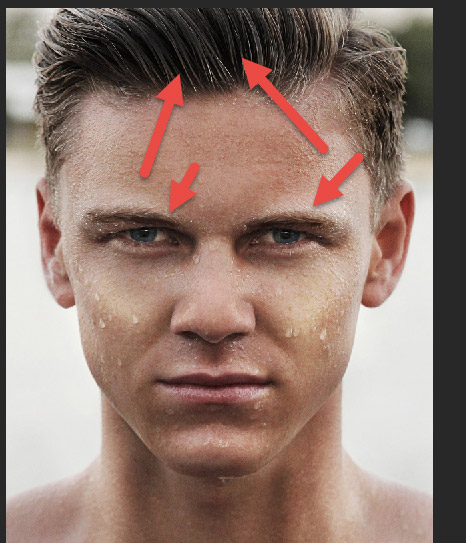
With the standard round soft brush at 10% opacity and 20-40px size paint with black over the eyebrows and the hair. This step will add more contrast to the overall tones.
Step 6
Now that we have dealt with the overall look of the face let’s turn our attention to the eyes. The colors are a bit faded and they lack vibrance.
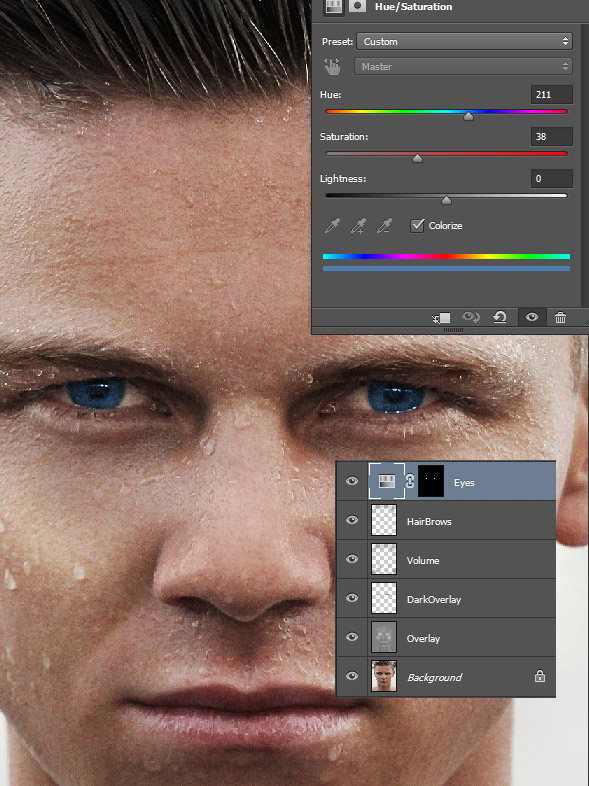
Create a new Hue/Saturation Adjustment layer (Layer > New Adjustment Layer > Hue/Saturation) and fill its layer mask with black first, clicking on it in the layer palette to make it active, pressing D to set the colors to their defaults (black and white) and finally by pressing Ctrl + Backspace.
Now with the round soft brush at 100% opacity and 10px size paint carefully with white over the eyes (in the layer mask).
Change the hue slider as indicated below and you’ll see the color changes applied only to the areas where you painted with white in the layer mask – hopefully the eyes.
In a layer mask black conceals and white reveals so by filling the layer mask with black we concealed everything; by painting with white over some areas we revealed the layer (or it’s effects in the case of an Adjustment layer) in those areas.
Step 7
Change the blending mode of the Hue/Saturation layer to Linear Dodge and lower the opacity to 44%. You’ll see that the eyes have become quite light, maybe a bit too light.
Step 8
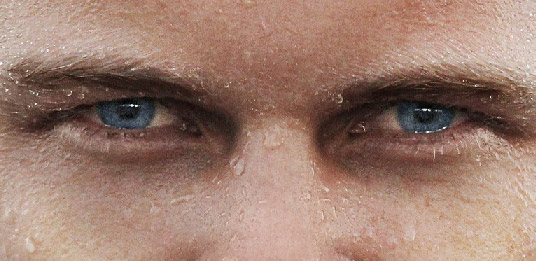
Duplicate the Hue/Saturation Adjustment Layer (Ctrl + J) and change the blending mode to Soft Light. Now the eyes are now not that light and have vibrant blue tones.
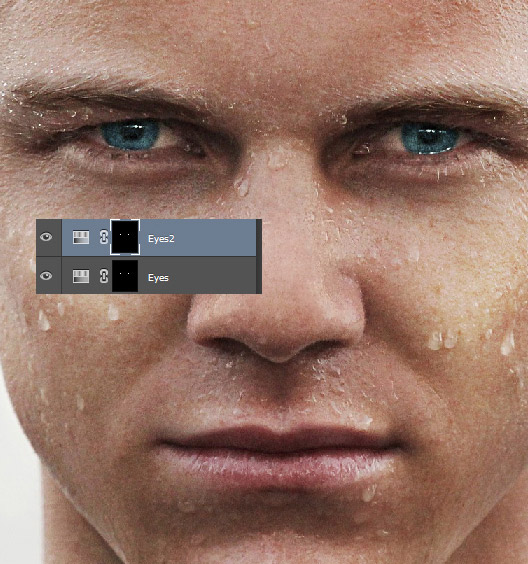
Step 9
Create a new layer from all the visible layers (Ctrl + Shift + Alt +E) and apply a subtle sharpening effect (Filter > Sharpen >Unsharp Mask)
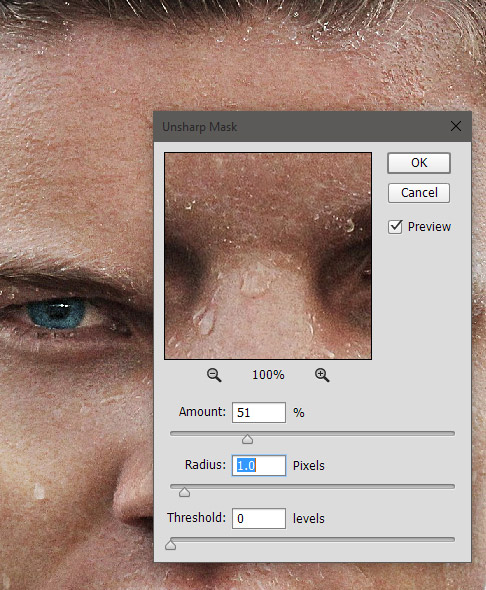
Step 10
Create another layer from all the visible layers and add a stronger sharpen effect with the Unsharp Mask filter.
Add a layer mask (Layer > Layer Mask > Reveal All) and fill with black. With a white brush paint over the prominent features of the face to add more focus to them (eyes, tip of the chin, nose, etc).
Step 11
Add a Levels Adjustment layer (Layer > New Adjustment Layer > Levels) and use the settings shown below to boost the contrast.
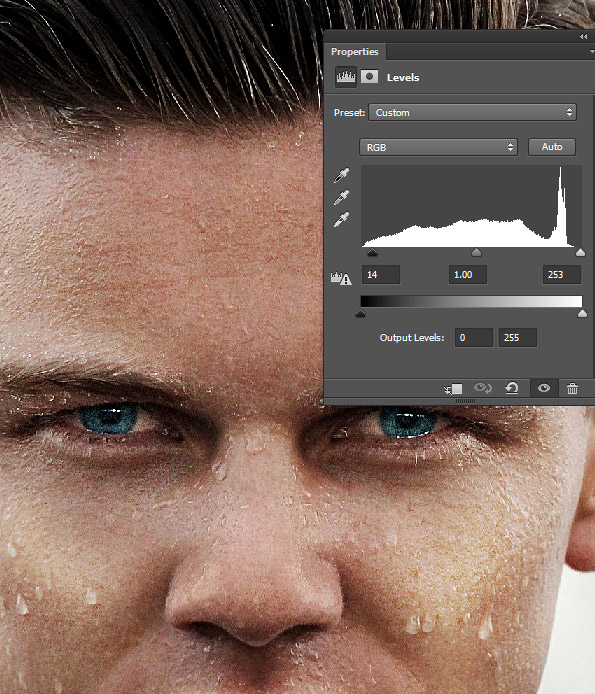
Step 12
Create a new layer from all the visible layers (Ctrl + Shift + Alt + E) and change the blending mode to Soft Light.
Add a 30px Gaussian Blur and lower the opacity to 28% to get some nice rich tones.
Step 13
Create a new layer from all the visible layers and add a 3px Gaussian Blur (Filter > Blur > Gaussian Blur).
Add a layer mask with the standard round soft brush at 50% opacity paint over the face to hide the blurring effect here. By doing this we add more focus to the face.
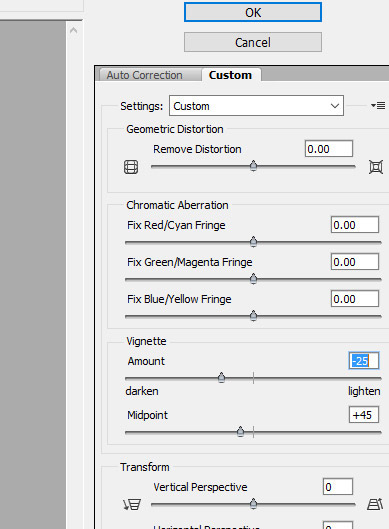
Step 14
Let’s add a vignette as a final effect. Create a new layer and fill it with white (Shift + F5). Go to Filter > Lens Correction and use the settings shown below.
Change the blending mode of this layer to Multiply and voila – a vignette. If the effect is too subtle simply duplicate this layer (Ctrl + J).
And We’re Done!