In this tutorial we will create a realistic water reflection effect. You should be able to replicate this effect on other pictures using the techniques presented here.
This Photoshop tutorial uses some fairly advanced techniques but the detailed explanations at each step should make it easy for beginners to catch on.
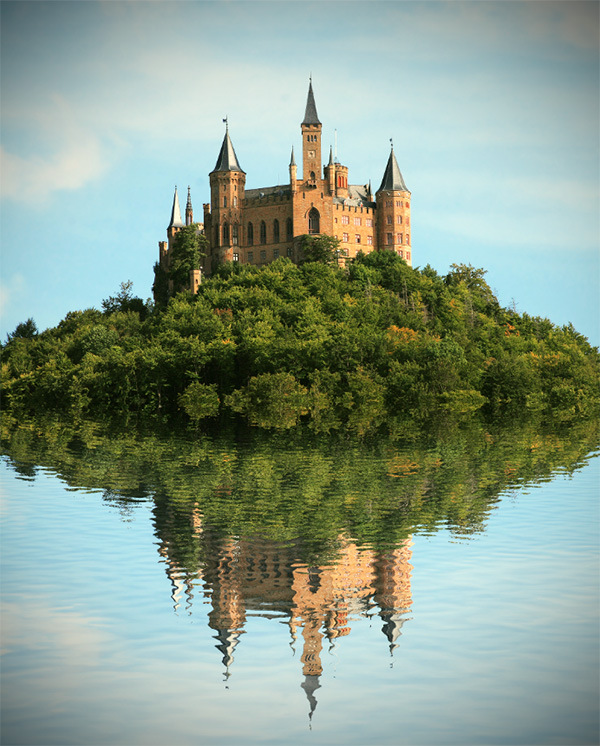
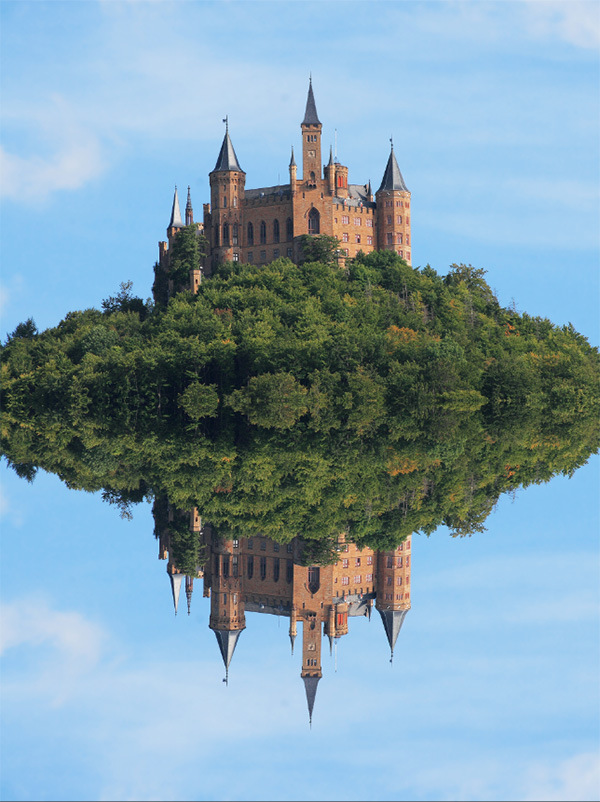
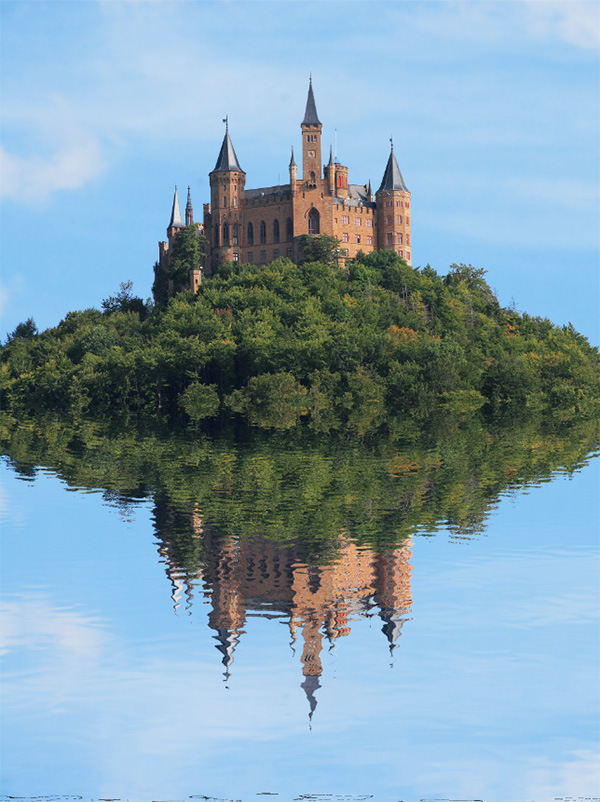
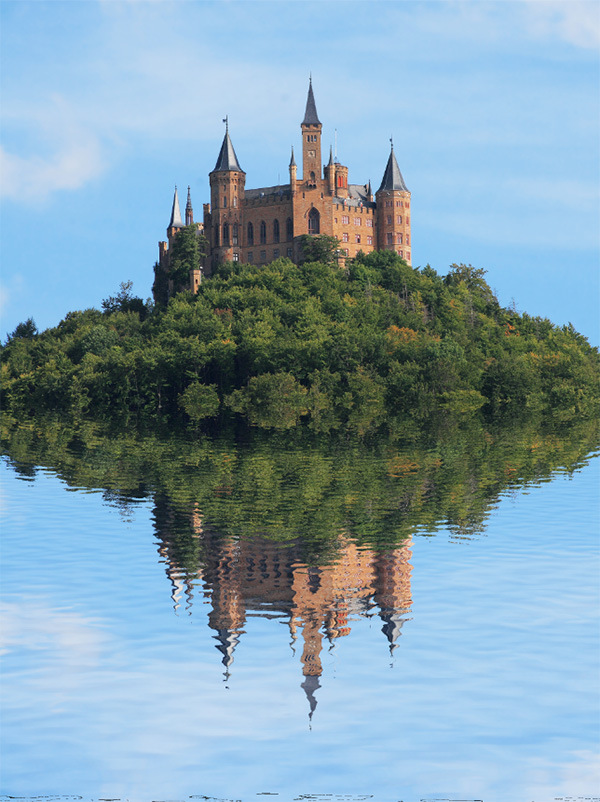
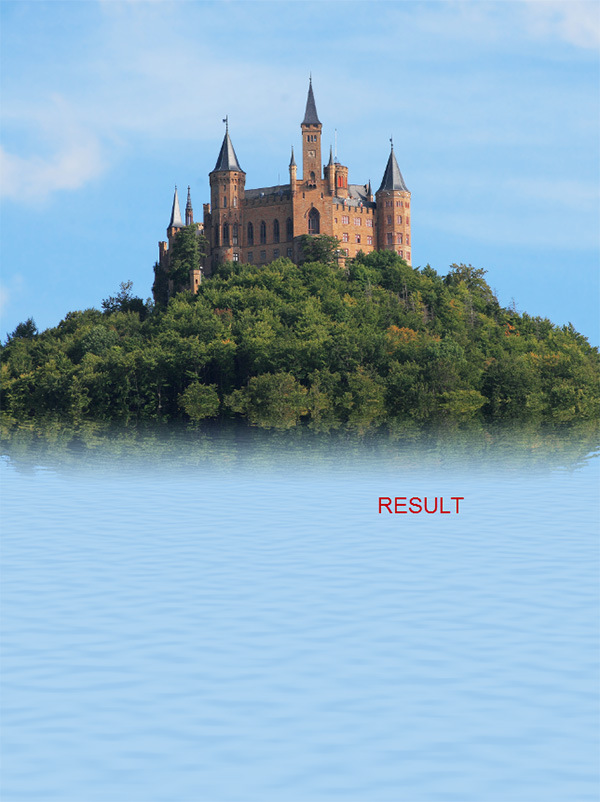
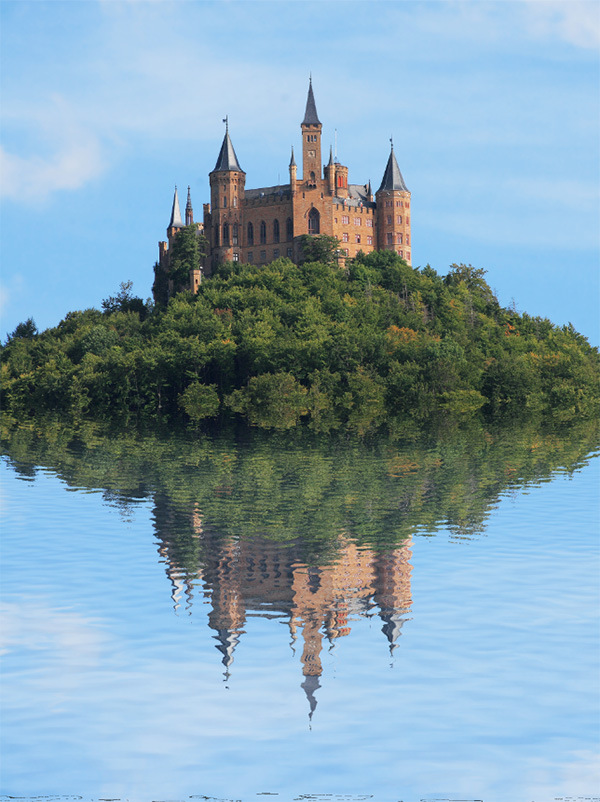
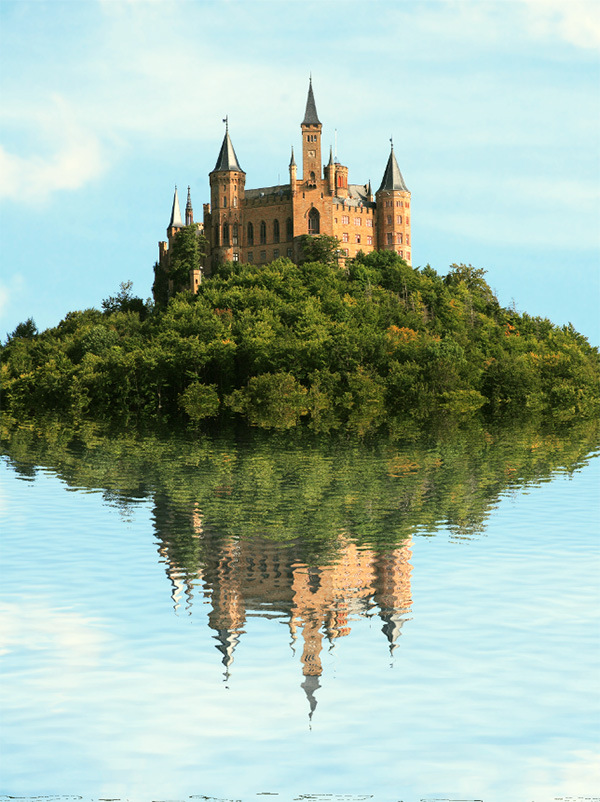
Final Image
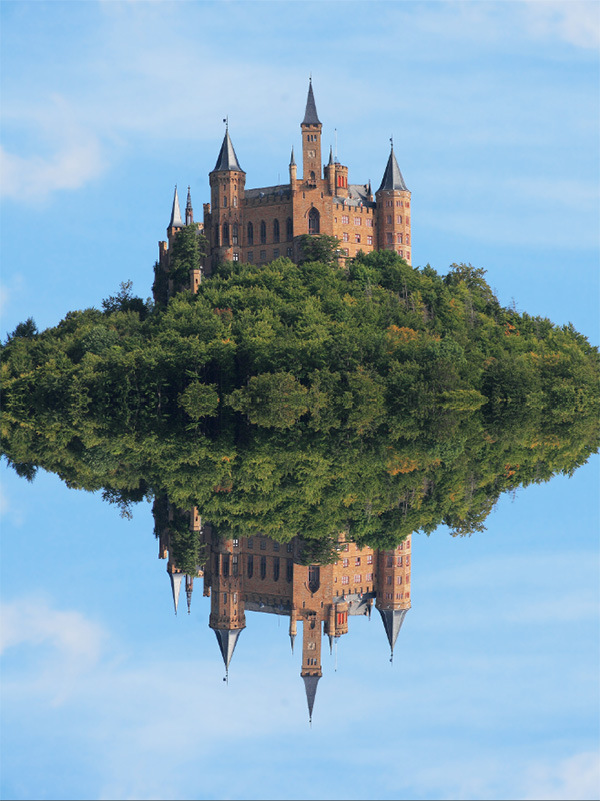
As always, this is the final image that we’ll be creating:
Resources
Step 1
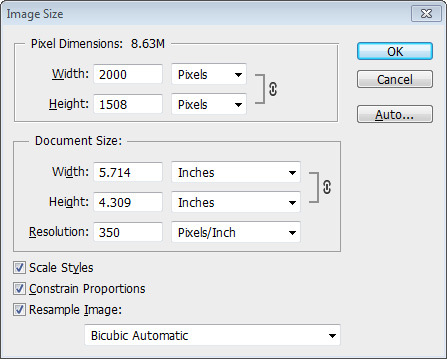
Open the Castle image. This image is quite big so let’s reduce the size a bit. Press Ctrl + Alt + I to open the Image Size window and use the settings shown below:
Step 2
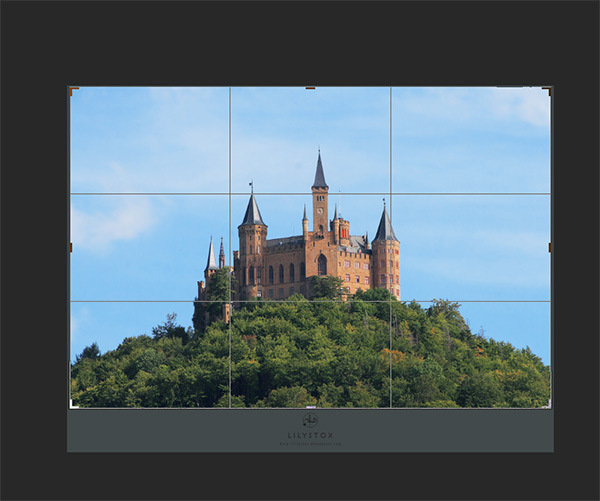
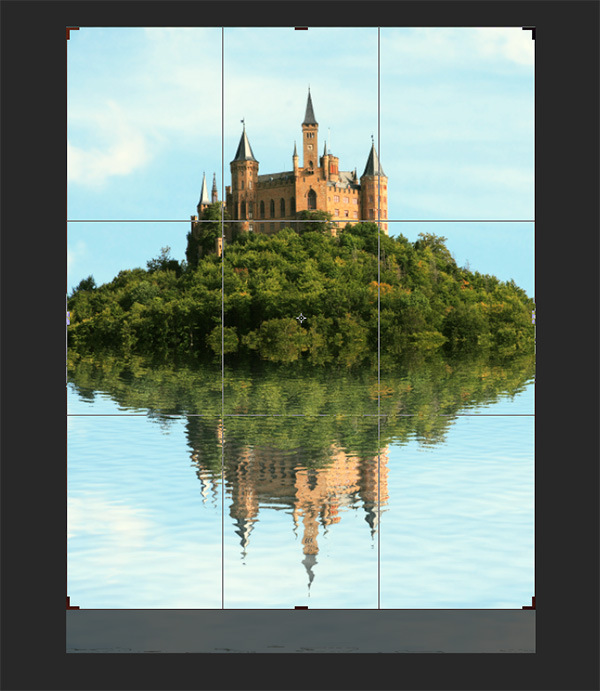
Select the Crop Tool and drag the upper and lower handles in order to remove the author’s trademark as well as the extra pixels at the top, left and right margins.(Don’t worry, it’s perfectly legal. You can honor the author by linking to his website or this particular image).
Step 3
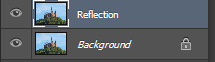
Duplicate the background layer by pressing Ctrl + J. Name this layer “Reflection”.
Step 4
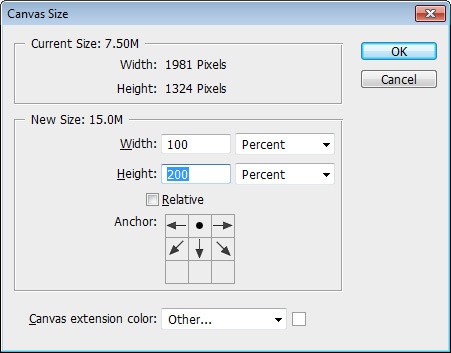
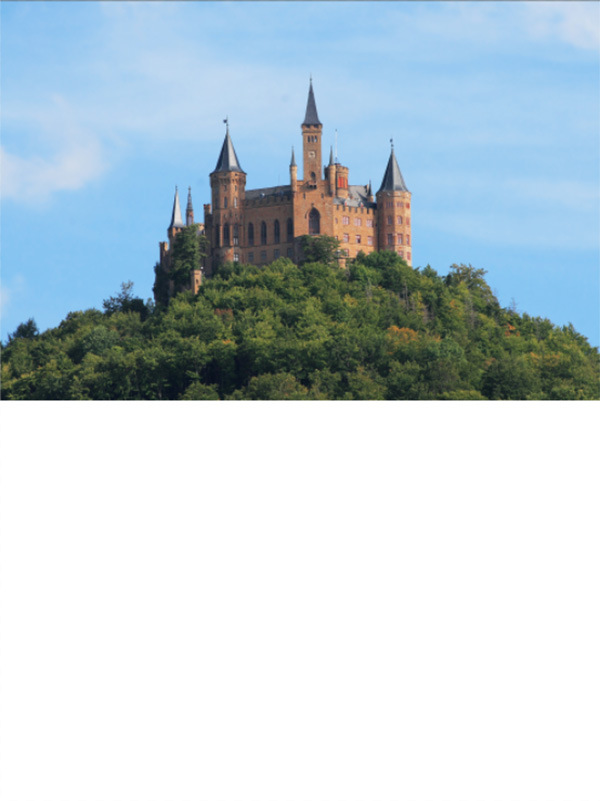
Now let’s increase the canvas size (we have to put our reflection somewhere). Press Ctrl + Alt + C to open the Canvas Size window and choose the settings shown below.
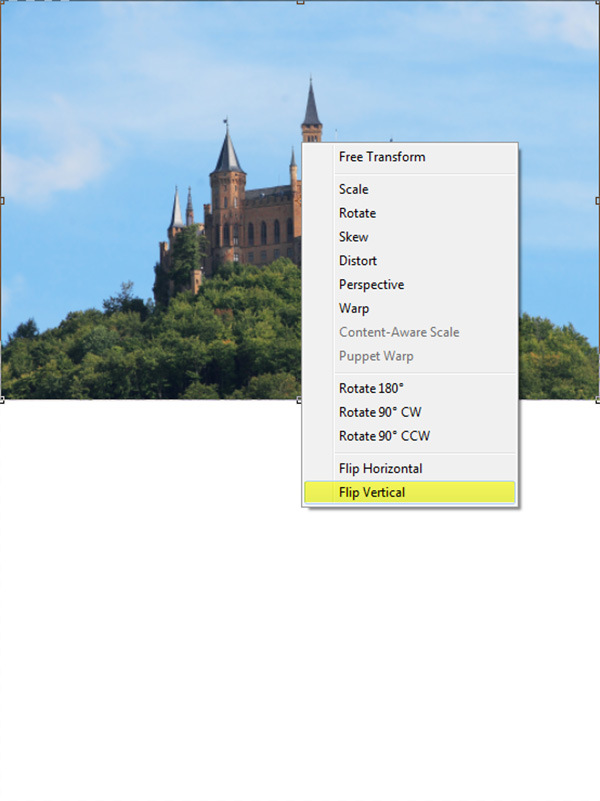
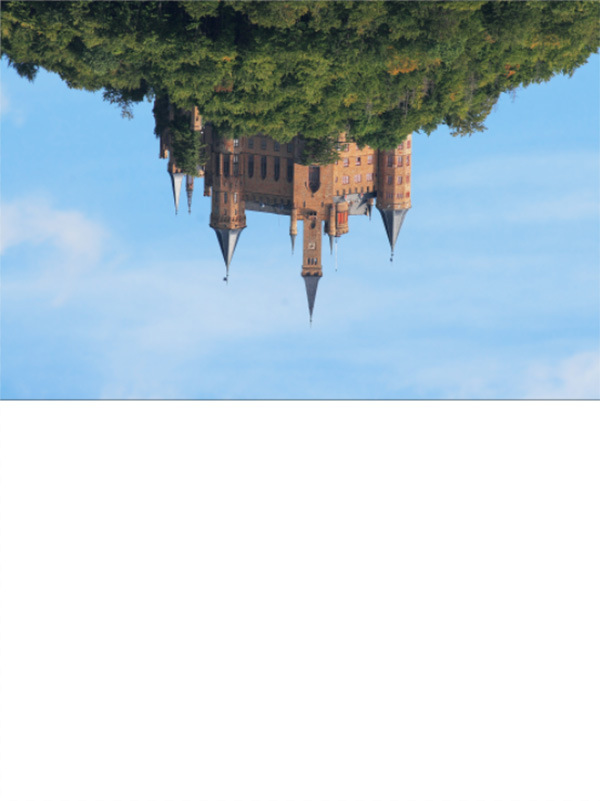
Click on the “Reflection” layer in order to make it active and press Ctrl + T to enter Free Transform. Right click on the image and choose “Flip Vertical”. Press Enter after you’re done.
Step 5
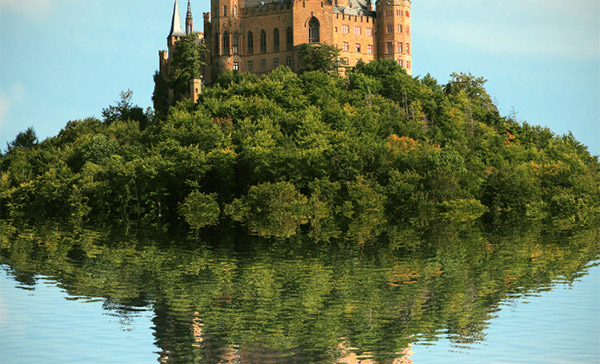
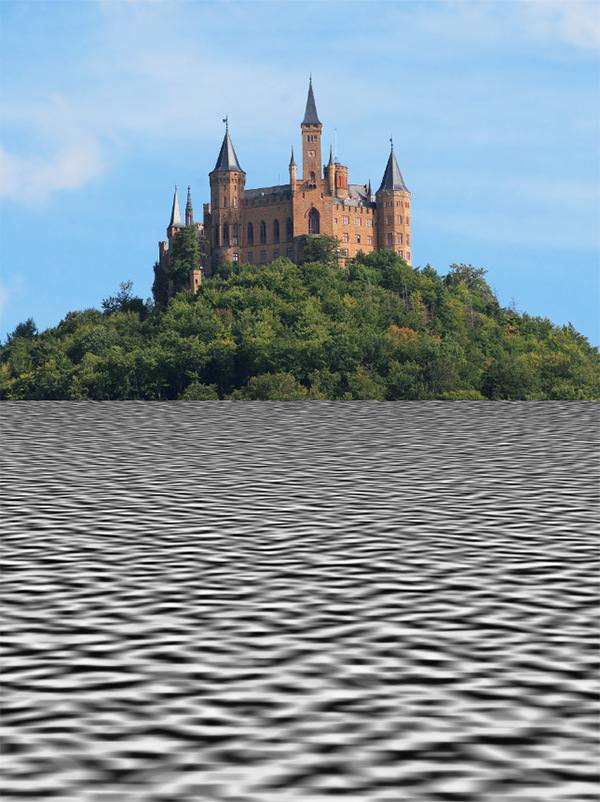
Select the Move Tool (V) and with the “Reflection” layer still selected click and drag down while holding Shift in order to move the layer downwards as shown in the image below.
This could already be considered a reflection but it looks quite unrealistic because the water is way to calm and there are no ripples. We will address these issues in the following steps.
Step 6
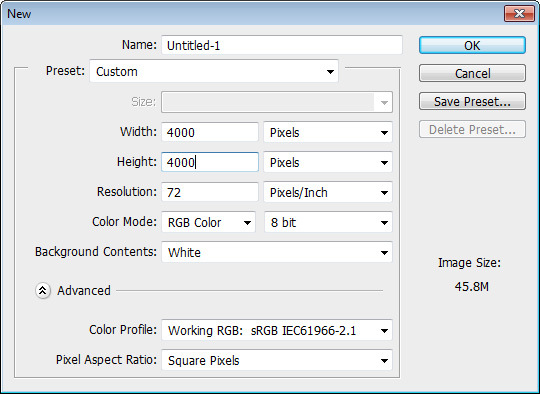
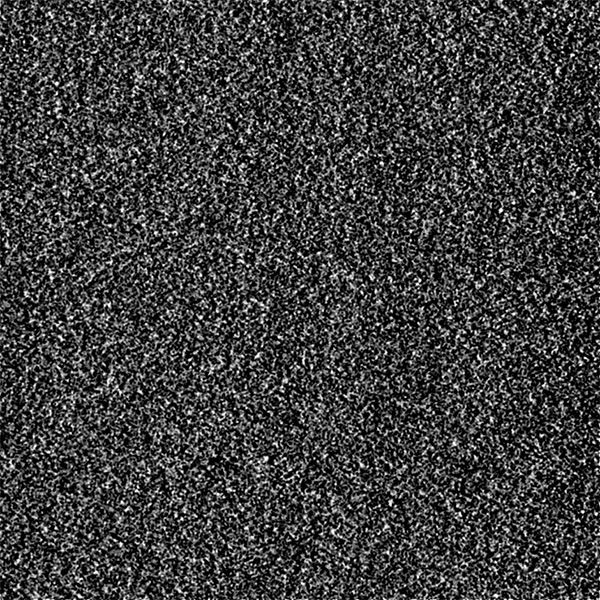
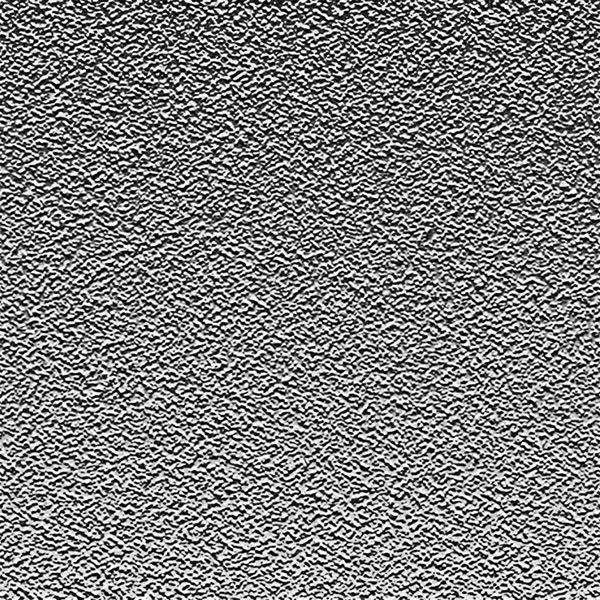
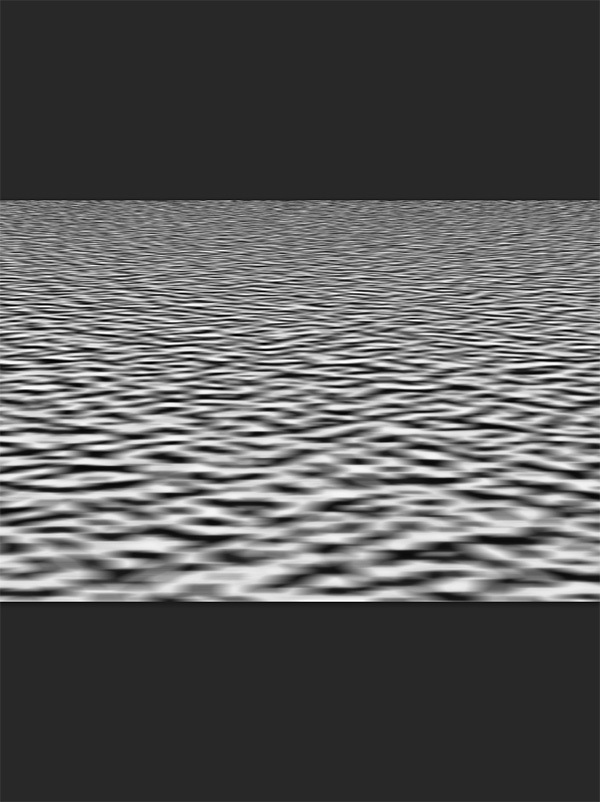
Now we need to create some ripples. In order to do that we will need a special texture resembling ripples which we can then apply on the reflection layer. Let’s start working on our texture by creating a new document (Ctrl + N), 4000 x 4000.
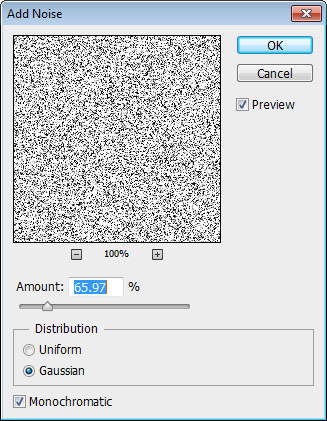
Let’s add some Noise. Choose Filter > Noise > Add Noise and use the settings shown below.

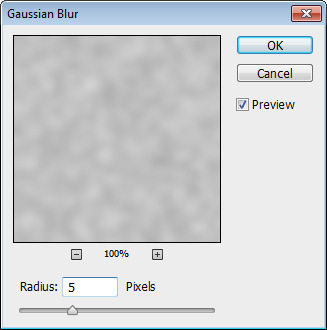
We need a coarser grain in order to achieve ripples. We will use a trick which consists of blurring the noise layer and afterwards increasing the contrast. Apply a 5px gaussian blur (Filter > Blur > Gaussian Blur).

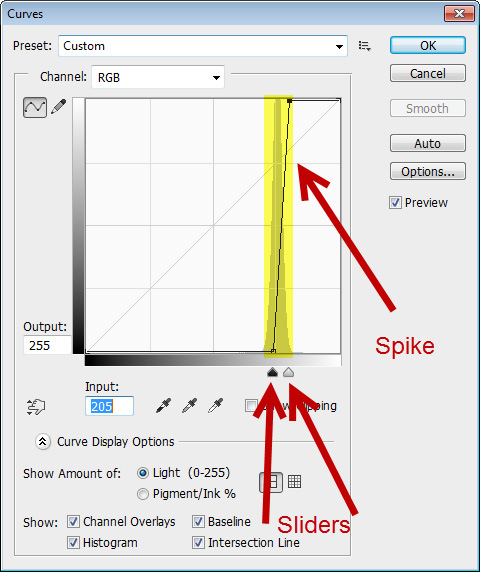
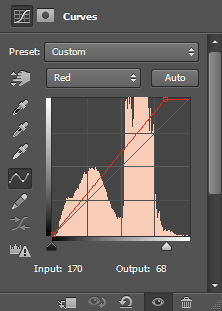
Now choose Image > Adjustments > Curves and drag the sliders on the left and right towards the spike.
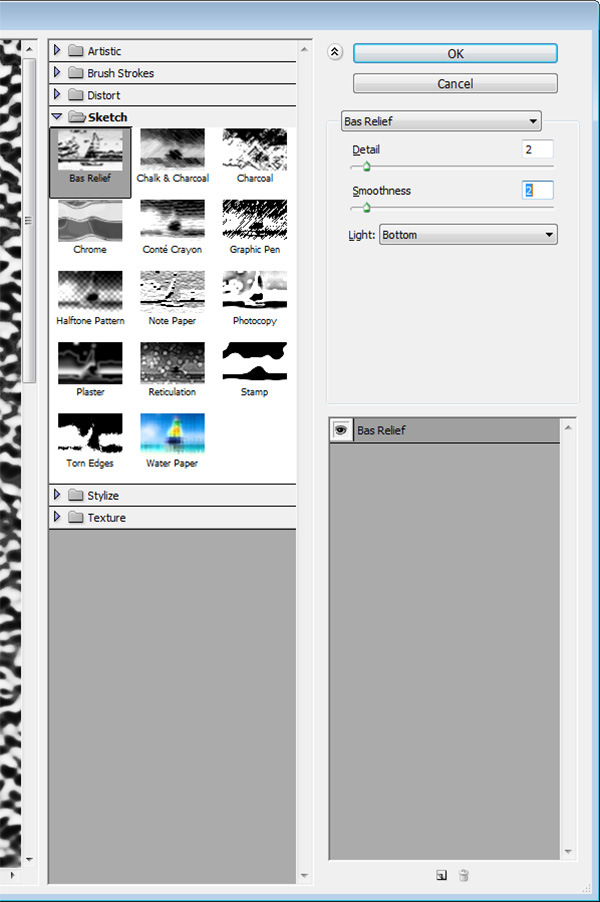
Choose Filter > Filter Gallery and from the Sketch folder select the Bass Relief filter. Use a value of 2 for Detail and 2 for Smoothness. We can see now how this texture starts to look like ripples. But wait, we are not done yet.
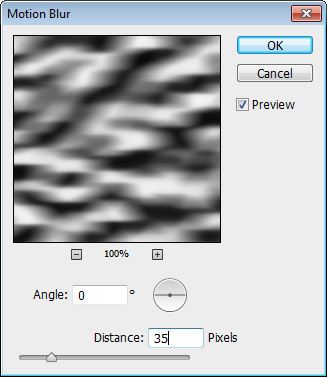
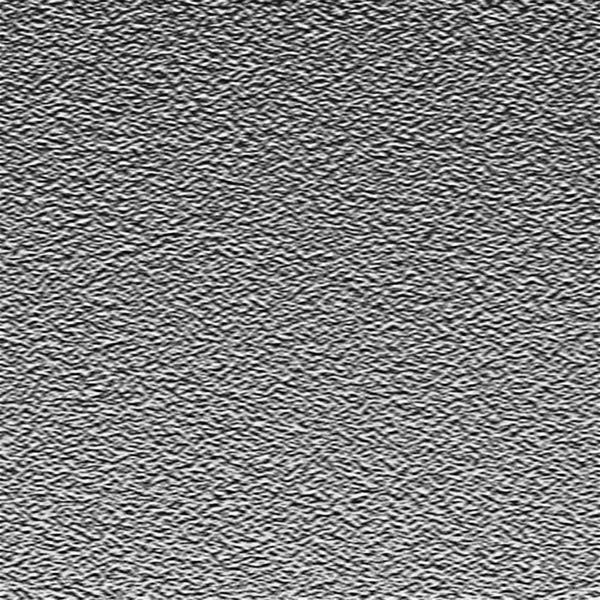
Apply a 35px Motion Blur (Filter > Blur > Motion Blur) in order to achieve smoother, more elongated waves.
Step 7
We want to match the ripples texture to our reflection layer. In order to achieve that we will have to temporarily move the texture over to our original document (the castle document). While in the texture document select all by pressing Ctrl + A and copy by pressing Ctrl + C. Select our original document and press Ctrl + V to paste.

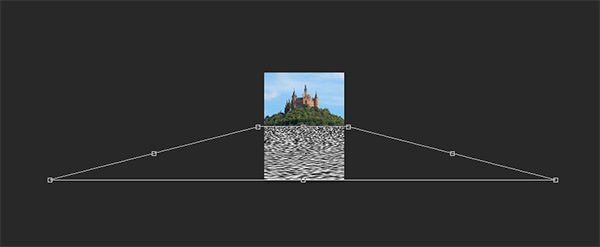
New let’s transform this ripples texture in order to achieve the same perspective as in our document. Press Ctrl + T to enter Free transform.
Reduce the height of the texture to fit the bottom half of the image.
Right-click within the transformation boundary and select Perspective. Drag the top handles in and the bottom handles out in order to achieve a transformation like mine below.
Make sure the upper bounds of the texture layer don’t exceed the upper bounds of the “Reflection” layer. For an easier alignment make sure you have Snap active (View > Snap). Press Enter after you’re done.

Step 8
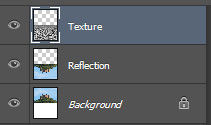
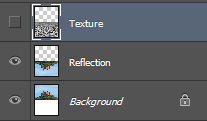
In the Layers palette click on the texture layer we just transformed on the previous step to make sure it’s active. Now Ctrl-click on the “Reflection” layer to create a selection of its pixels. Press Ctrl + J to duplicate the selection (while on the texture layer). Name this new layer “Texture” and delete the previous layer (Layer1).
In order to make sure that you followed my steps correctly Ctrl-click on the “Reflection” layer and after that Ctrl-click on the Texture layer. The selected area should remain the same. If it’s bigger then you’ve made a mistake and should redo the steps.
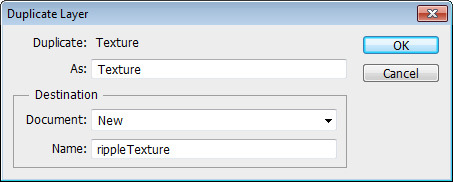
Right-click on the “Texture” layer in the layer palette and from the drop down menu choose Duplicate Layer, set the destination as a New document. Give it an appropriate name and press Ok.
Step 9
You notice that there is a transparent area in the upper part of our texture. We need to get rid of that and in order to do so we will choose Image > Trim . Select Transparent Pixels and press OK. Save the texture (Ctrl + S) somewhere on your computer (remember where).
Step 10
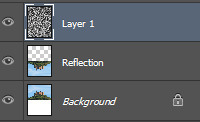
Close the texture document (Ctrl + W) and go back to our original document. Turn off the visibility of the “Texture” layer by clicking on the little eyeball icon on the left of its thumbnail.
Step 11
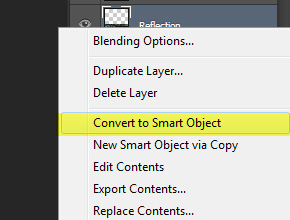
Right-click on the “Reflection” layer in the layers palette and from the drop down menu choose Convert to Smart Object.
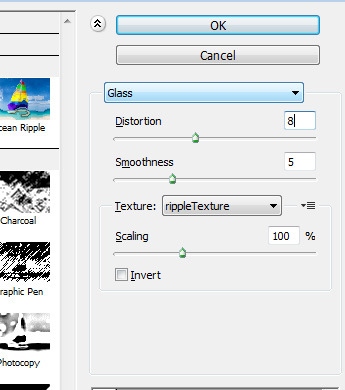
With the “Reflection” layer selected choose Filter > Filter Gallery. Select the Glass filter (in the Distort folder). Notice that next to the name of the texture there is a little icon. Click on that icon and press “Load Texture”. Select the texture you saved previously (the texture from step 9).
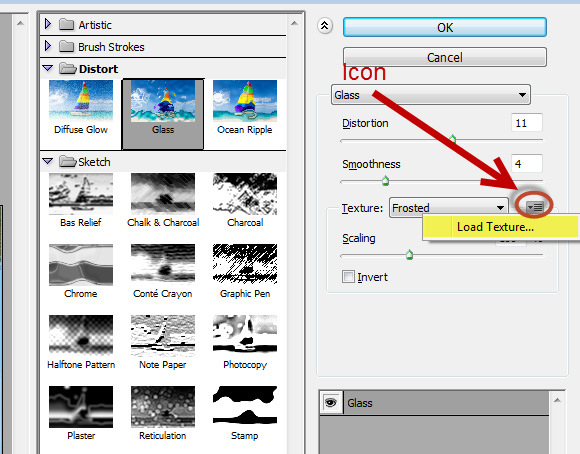
Choose a greater Distort value if you want a more pronounced effect. For subtlety select a lower value (6-7). The good thing about Smart Objects is that you can change the settings of your filters at any time. As you can see we already have achieved a nice effect. However, we could still add a few improvements.
Step 12
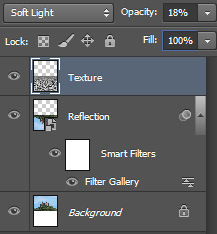
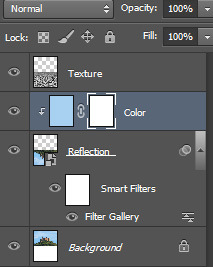
Water has a certain reflective quality and our reflection lacks this quality. Remember the “Texture” layer we turned off on step 17? Turn its visibility on again by clicking on the eye icon (more exactly where the eye icon used to be).
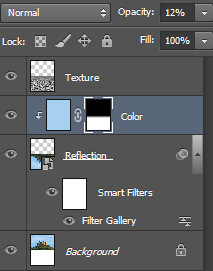
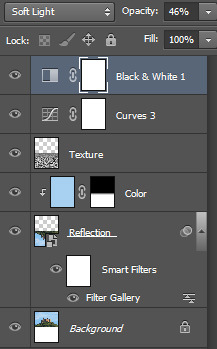
Change its blending mode to Soft Light and lower the Opacity to 18% and notice how the “Reflection” layer has gained that reflective quality.
Step 13
Usually the water has the color/tint of the sky. Let’s do this in our image. Select the Brush Tool (B) and Alt-click somewhere on the blue of the sky in order to sample a color (sampling a color means that whatever color lies under the sampler’s tip becomes the foreground color).
Create a new layer (Ctrl + Shift + Alt + N) and fill the layer with the foreground color (Alt + Backspace). Name this layer “Color”.
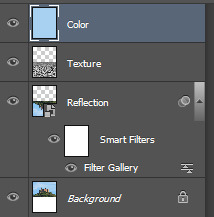
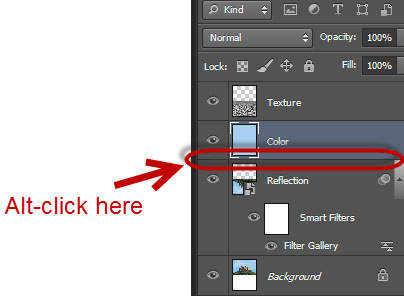
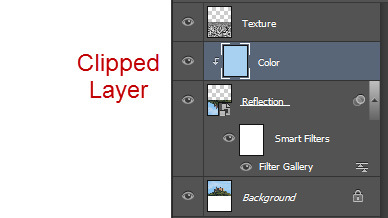
Move the “Color” layer just below the “Texture” layer (by clicking and dragging). After that clip the “Color” layer to the “Reflection” layer by holding Alt key and clicking right in between the two layers in the layers palette.
Clipping a layer to another means that the upper layer will be visible only through the pixels of the lower layer.
Press D to reset to default colors and X to switch between them.
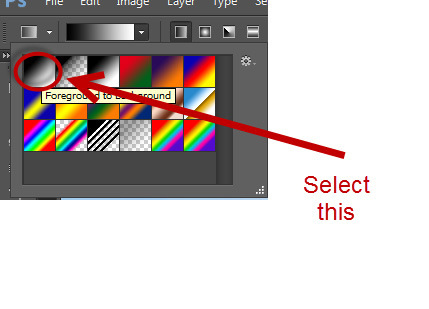
Add a layer mask to the “Color” layer by choosing Layer > Layer Mask > Reveal All. Select the Gradient Tool (G) and from the upper option bar select Foreground to Background option.
Step 14
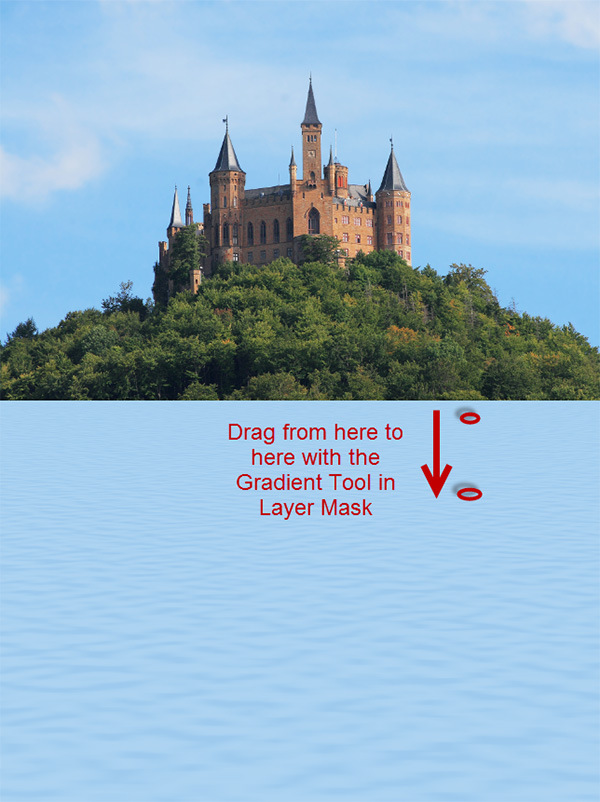
Click on the layer mask and with the Gradient Tool still selected hold the Shift key and drag downwards as indicated in the image below. This step will ensure that color will not be visible in the upper part of the image and will gradually become more visible in the lower parts.
Lower the Opacity of the “Color” layer to 12%.
Step 15
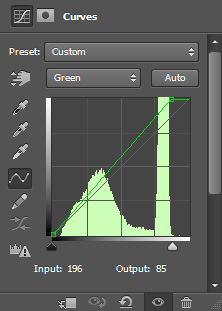
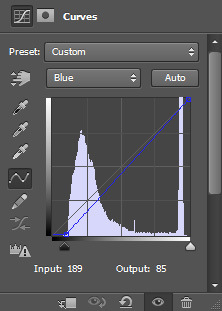
Almost done! Let’s do something to improve the appearance of the overall image. A bit of color correction would be just what this image needs. Create a new Curves Adjustment layer (Layer > New Adjustment Layer > Curves).

Step 16
In order to boost the contrast add a Black & White Adjustment layer by choosing Layer > New Adjustment Layer > Black & White. Change the Blending mode of this layer to Soft Light and lower the opacity to 46%.
Step 17
We are almost there. The image looks too symmetrical because we have flipped vertically the original layer. Also, there are some ugly pixel artifacts in the lower part of the image (we created those when we applied the Glass filter to the Reflection layer). In order to address both of these issues let’s crop our image and get rid of some of the lower part.
Step 18
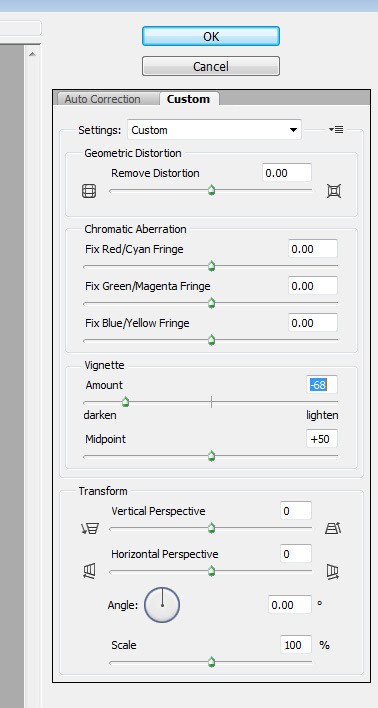
Finally, let’s add a Vignette effect. Create a new layer (Ctrl + Shift + Alt + N) and fill it with white (with white as foreground color press Alt + Backspace). Choose Filter > Lens Correction and in the Custom tab drag the Vignette Amount slider towards the left. Press OK and change the blending mode of the layer to Multiply.
Notice how the “Color” layer is a bit too intense? Let’s lower its Opacity from 12% to 7%.
And We’re Done!