In this tutorial, I’ll show you how to use lighting effects in Photoshop to change the atmosphere of an ordinary landscape in two opposite ways.
You’ll learn how to alter the color, add light, create an eerie atmosphere and take care of details in a photo.
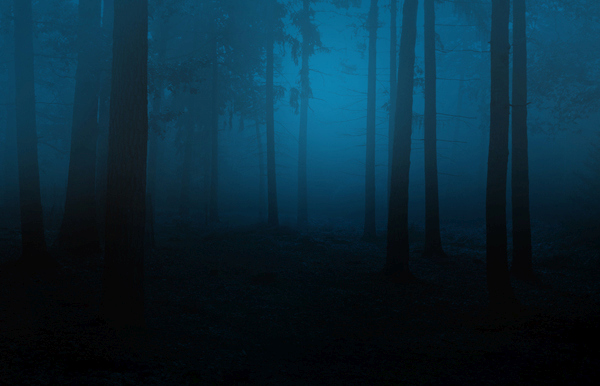
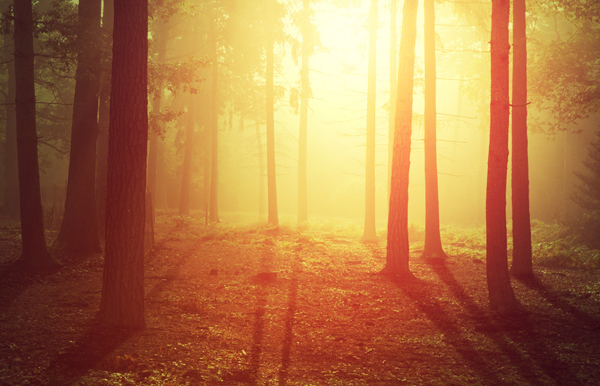
Final Image

Tutorial Details
- Program : Photoshop CS5 +
- Estimated Completion Time : 30 minutes
- Difficulty : Beginner
Resources
How to Add Light to the Forest
Step 1
The first step is to do some basic retouching and clean unecessary details. Open your forest image. Press the Cmd/Ctrl+J key to duplicate the background layer. We’re going to remove the bench on this photo:
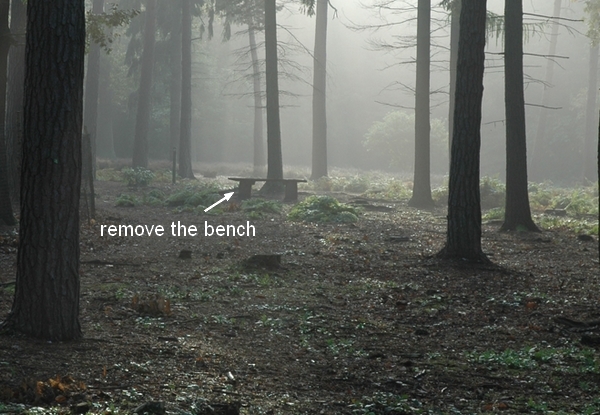
Use the Lasso Tool to choose a part of this bench and go to Edit > Fill > Content-Aware :
Here is the result:
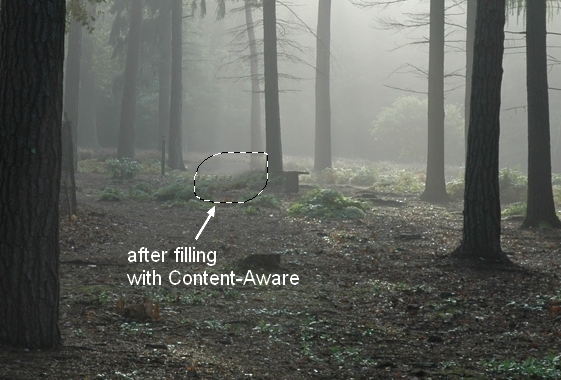
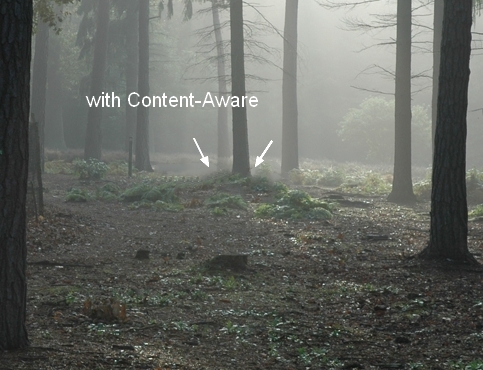
Do the same with the rest of the bench and you should have a similar result to mine:
Step 2
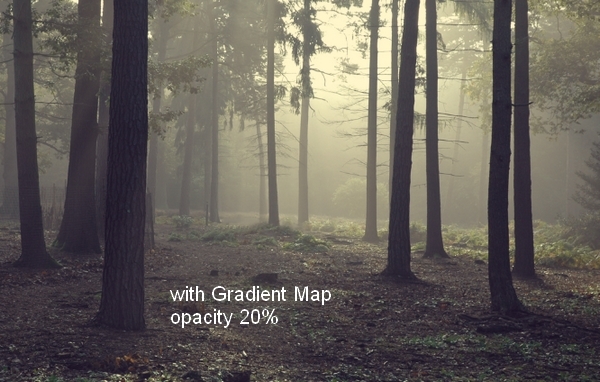
We’ll change the color of the forest with some adjustment layers. Go to Layer > New Adjustment Layer > Gradient Map :
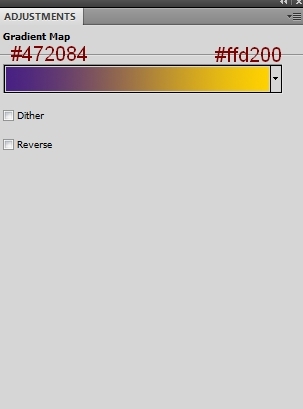
Lower the opacity of this layer to 20%:
Step 3
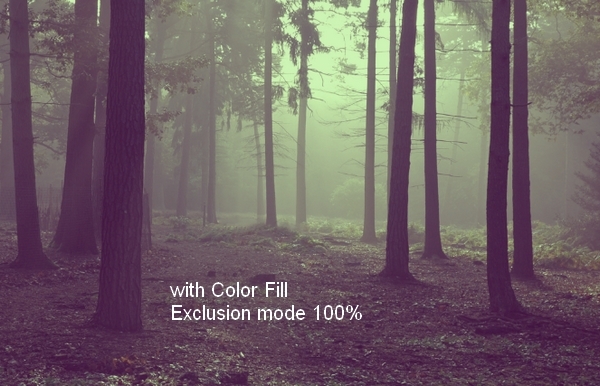
Choose Layer > New Fill Layer > Solid Color:
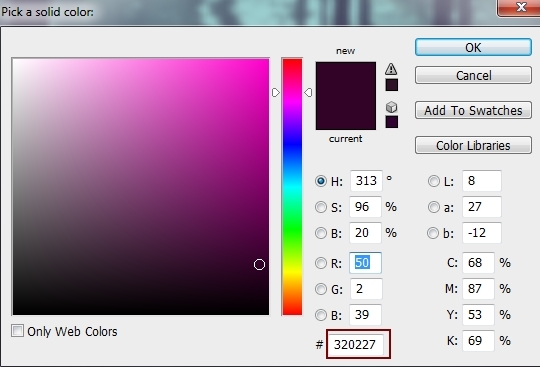
Alter the mode of this layer to Exclusion 100%:
Step 4
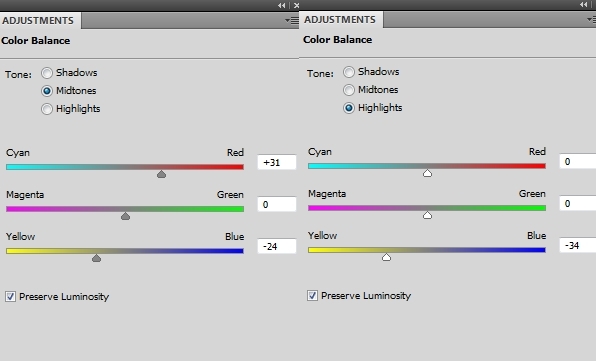
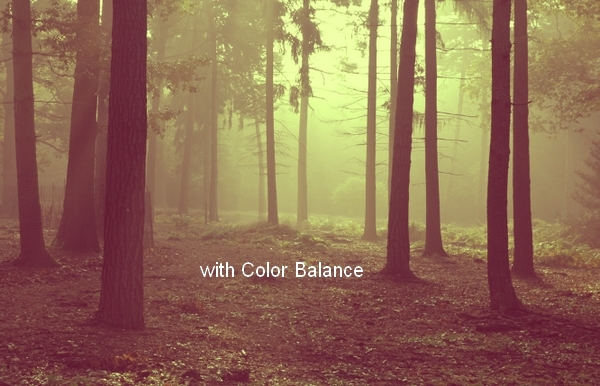
I used a Color Balance adjustment layer to add some red and yellow to this photo:
Step 5
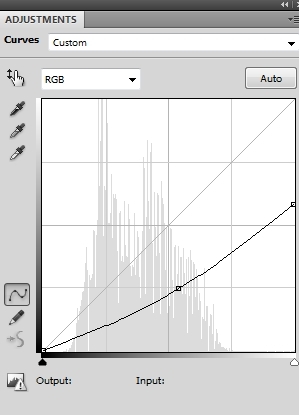
To add some contrast to the scene, I used a Curves adjustment layer:
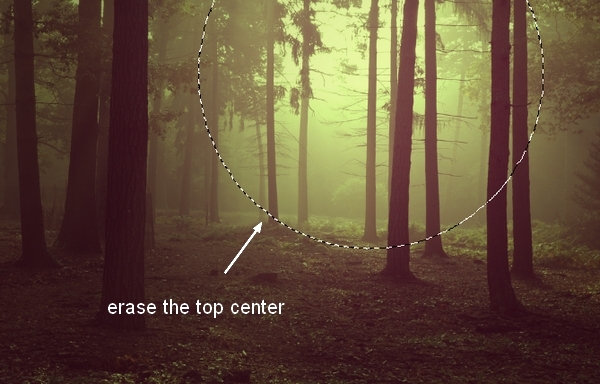
On this Curves layer mask use a basic, soft brush with black to erase the top center where the main light comes from.
Group all adjustment layers.
Step 6
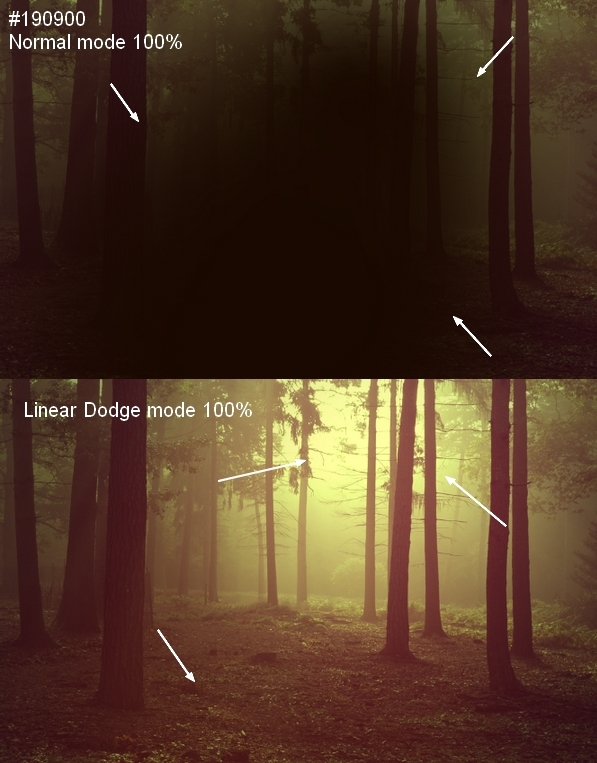
In this step we’ll be adding sunlight to this photo. Press Cmd/Ctrl+Shift+N to make a new layer on the top. Use a soft brush with the color #190900 to paint on the area where you aim to add light. Change the mode of this layer to Linear Dodge 100%:
Step 7
On a new layer, use a soft brush with the color #fbd0b9 to paint on the top area. Change this layer mode to Overlay 100% :

Step 8
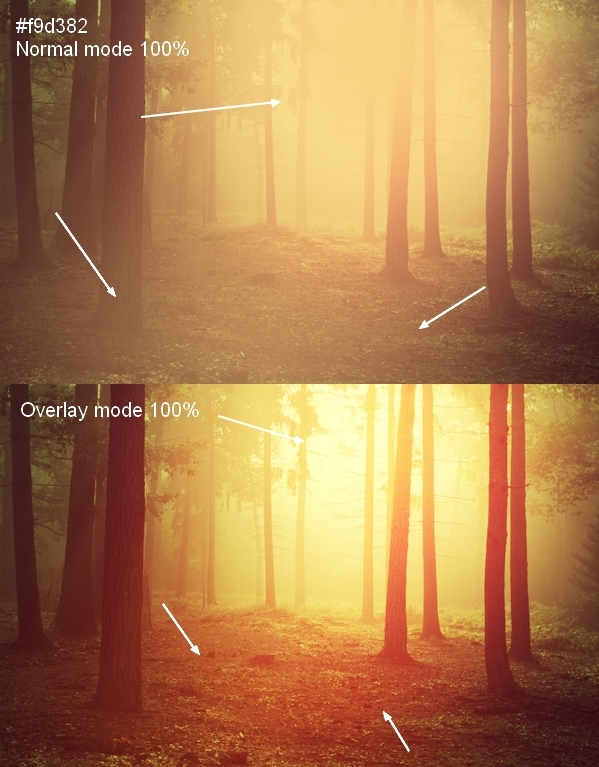
I used a soft brush and the color #f9d382 to make a stronger light for the image. Set the mode of this layer to Overlay 100%:
Step 9
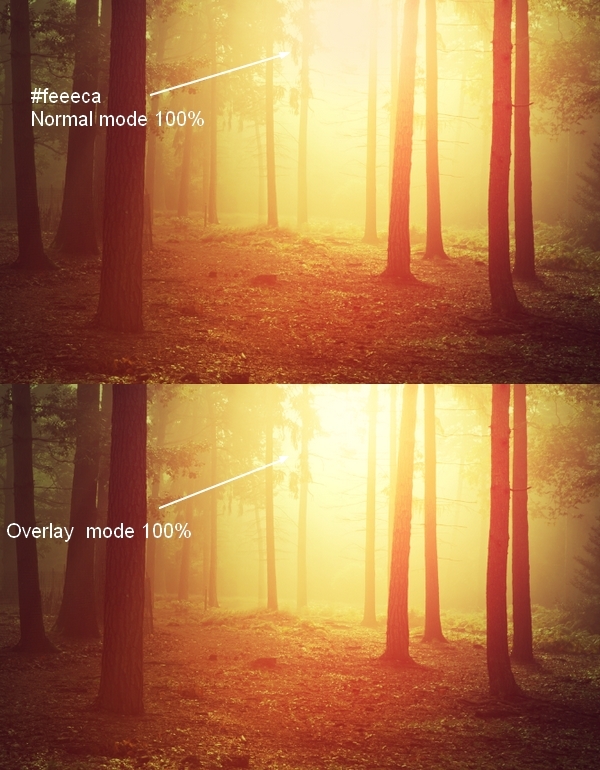
To make a highlight I use a lighter color ( #feeeca) for the brush and the mode is altered to Overlay 100%:
Group all the light layers.
Step 10
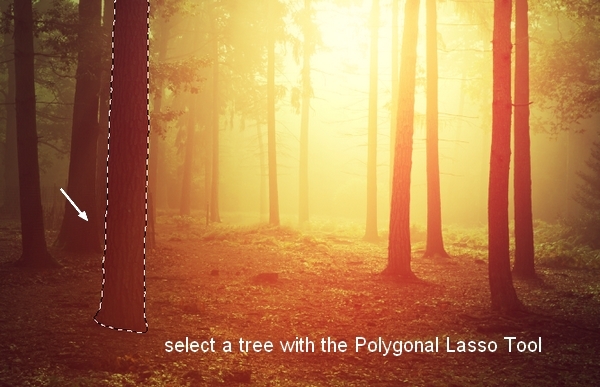
It looks almost done but don’t forget a very important detail: shadows of the trees. In the original photo, the light is soft so the tree shadows are almost unseen. But we’ve increased the light and contrast of this forest scene so these shadows should be more visible.
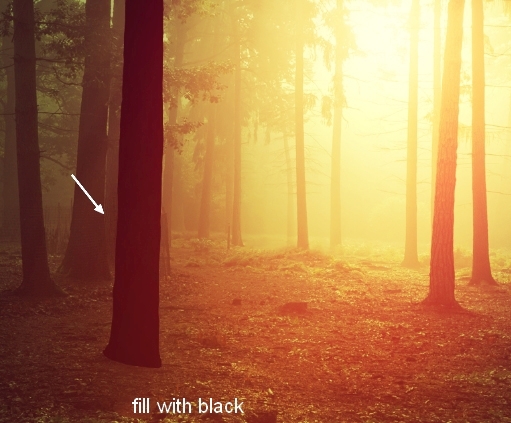
To do this, make a new layer under the adjustment layer group. Use the Polygonal Lasso Tool (L) to select a tree near the foreground, then go to Edit > Fill or press Shift+F5 to fill this selection with black:
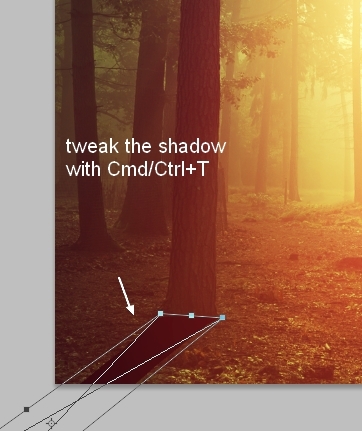
Convert this shadow to a Smart Object. Choose Edit >Transform > Flip Vertical and move it under the tree and use Cmd/Ctrl+T to tweak it as shown below:
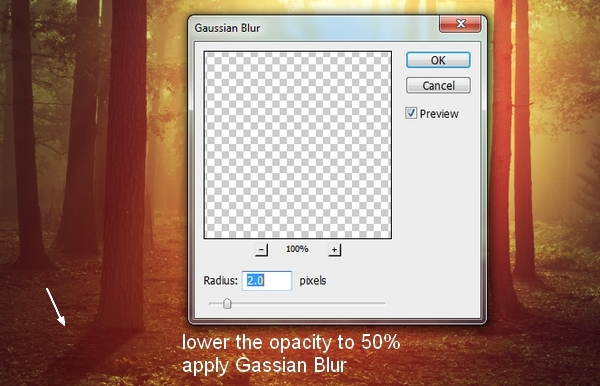
Lower the opacity of this layer to 50% and blur it by choosing Filter > Blur > Gassian Blur :
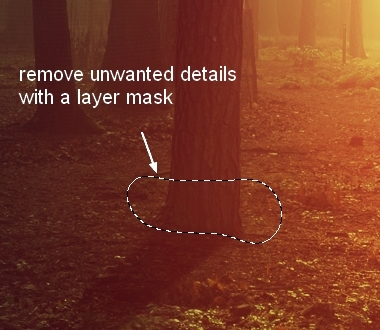
Add a mask to this layer by clicking the second button at the bottom of the Layers Panel . Use a soft brush to remove some unwanted parts shown on the image below:
Step 11
Make the shadow for the other trees. These are some tips for a more realistic and believable result:
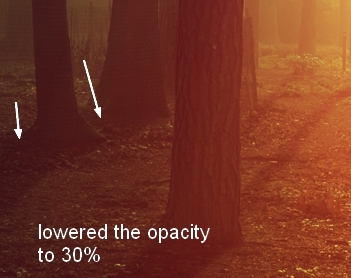
– The further from the light, the softer and lighter the shadow. I lowered the opacity of the ones at the edges to 30% .
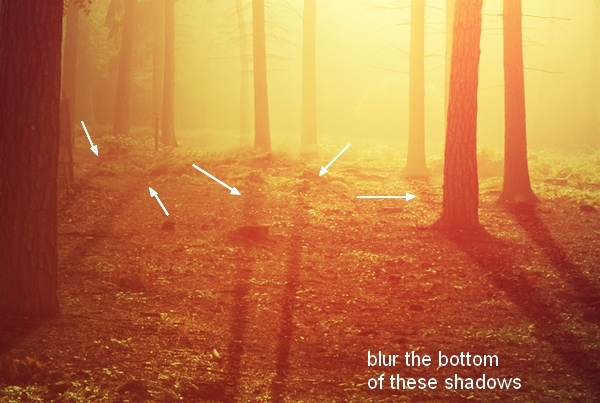
– The more covered by the mist, the less intense the shadow. It’s the reason I blurred the bottom of the ones which are nearer to the background (where the mist is thicker).
We have the first final result ( I called it “result 1”).
Group the shadows, adjustment layers and light ones into one folder. Turn off this group. We’ll be continuing this tutorial with another effect.
II. Change the time from day to night
Step 12
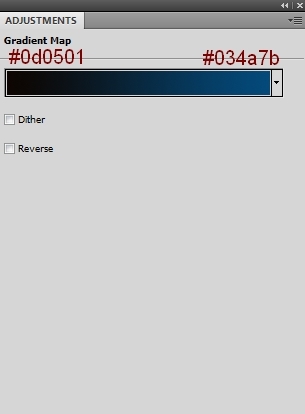
To change the time of the scene, make a Gradient Map adjustment layer above the result 1 group:

Step 13
I used Curves to increase the darkness:

On this Curves layer mask use a soft black brush to reduce the dark on the higher areas (covered by the mist):

Step 14
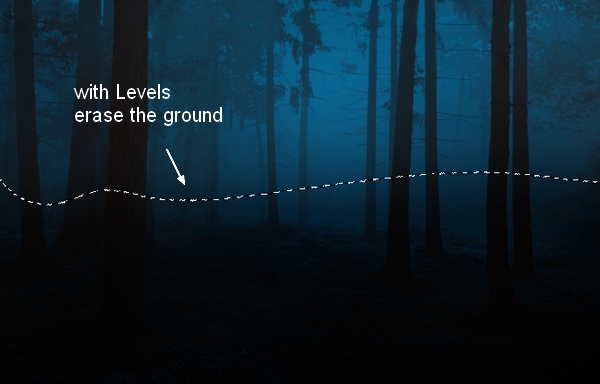
I used Levels to brighten the mist area:

Erase the ground on this layer mask:
Step 15
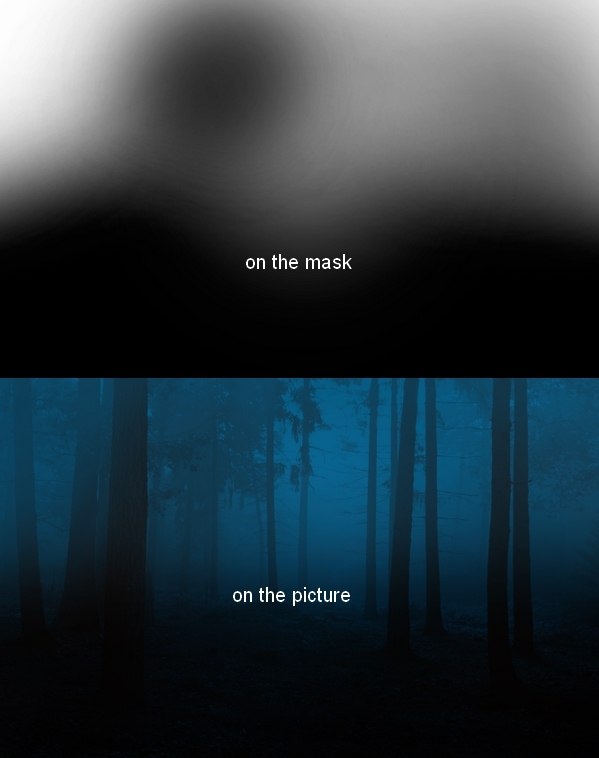
To add more mist to the scene I used a Color Fill layer:
Lower the opacity of this layer to 60% and use a soft black brush to remove and reduce the mist on the ground and background:
Step 16
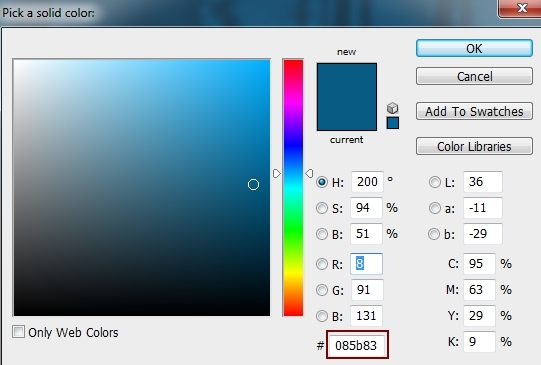
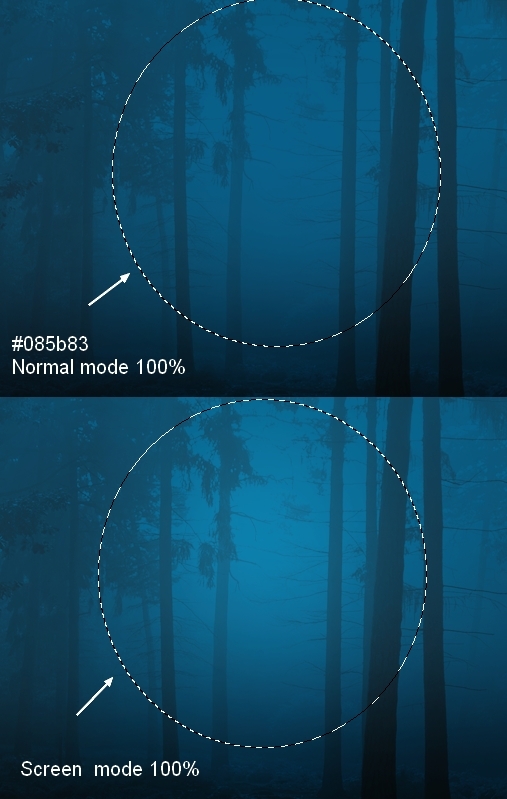
I want to add some light to increase the depth of the scene. Make a new layer on the top and use a soft brush with the color #085b83 (picked from the mist) to paint on the middle area. Change the mode of this layer to Screen 100% :
And We’re Done!
I hope that you enjoyed the tutorial and learned how to use photoshop light effects.