We have another nice Photoshop tutorial on how to do facial retouching as this is one of the most requested type of tutorials.
We have already other tutorials published on this topic like How to do Professional Facial Retouching in Photoshop or How to Make Facial Retouching in Photoshop among others.
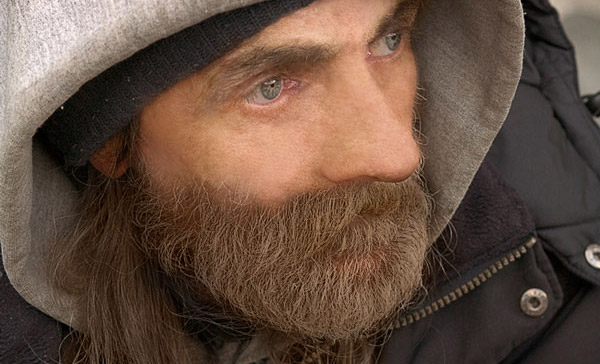
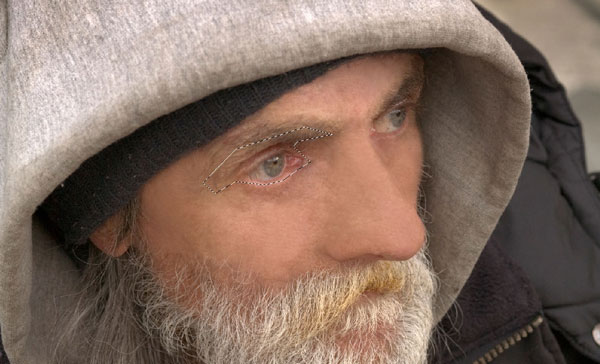
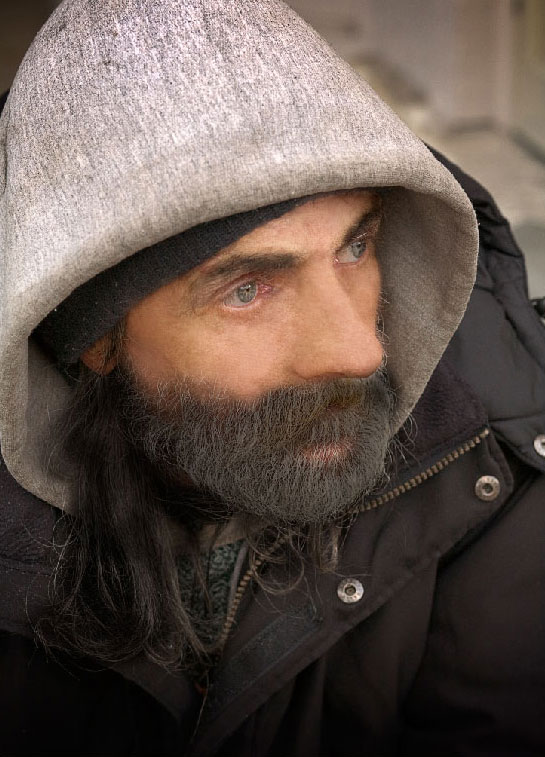
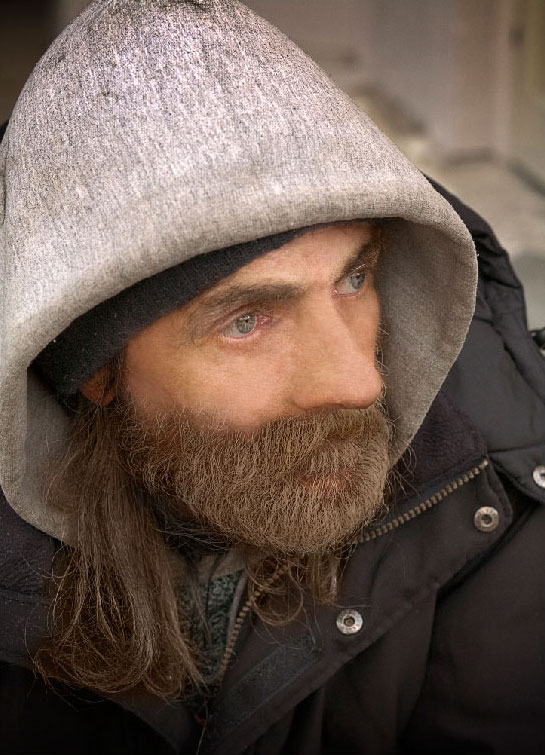
Final Image Preview
Resources
Step 1
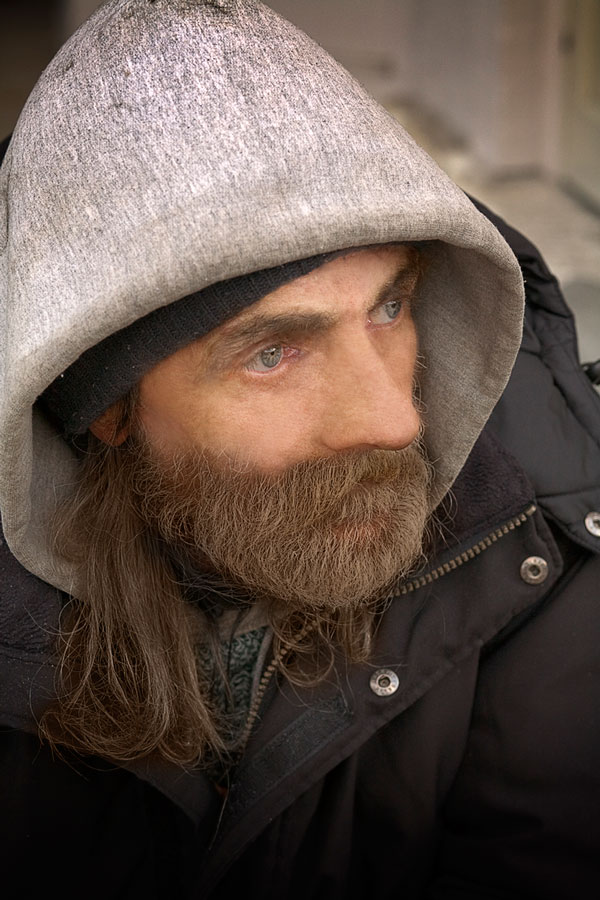
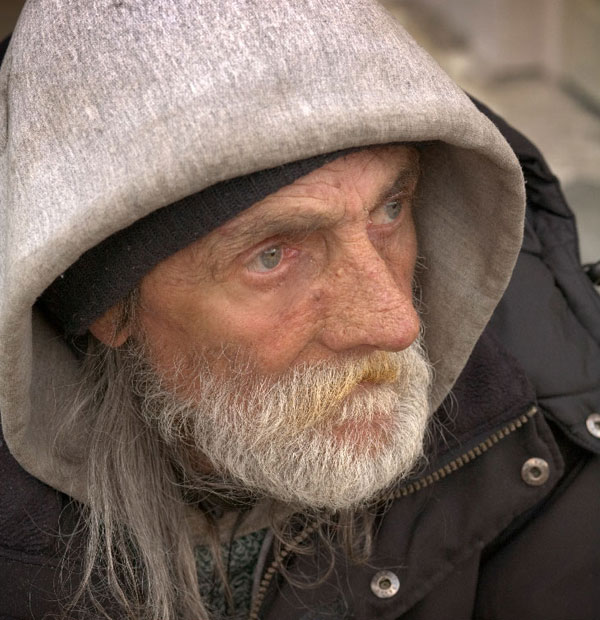
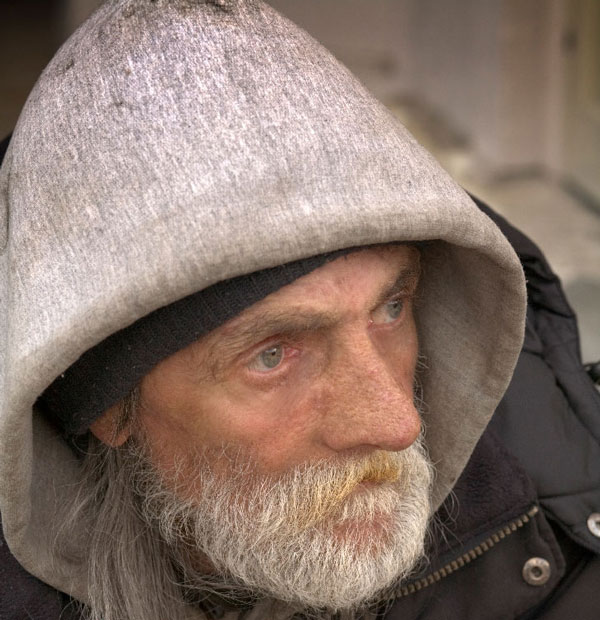
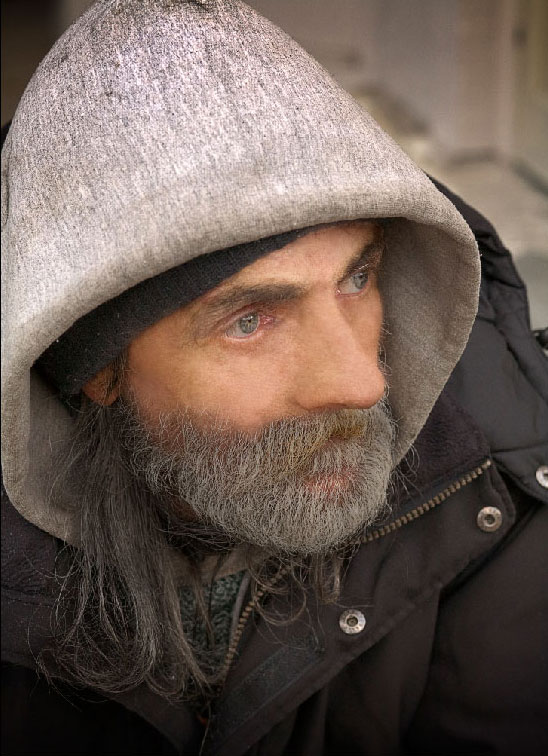
Open photo in Photoshop. Select Healing Brush Tool and remove as many wrinkles as possible. See before and after images below.
Step 2
Select Clone Stamp Tool to create pores on the skin, if in the process of wiping the wrinkles appeared very smooth skin. As a sample we can use skin on the nose, because there pores are very good.


Create a new layer. Make color sample to get color of the skin with the Eyedropper Tool and use the Brush Tool with soft round brush to reduce skin texture on the nose.
Merge all layers in one.
Step 3
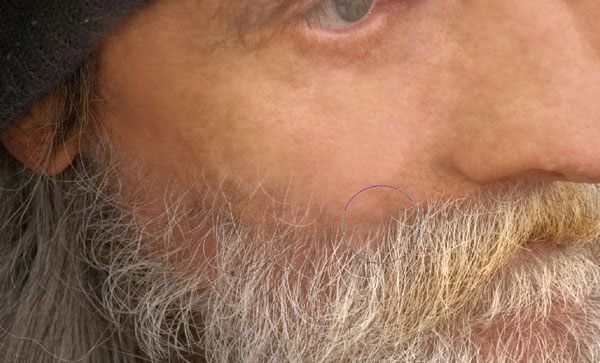
Duplicate layer with Ctrl+J and work on duplicated layer. Apply Polygonal Lasso Tool to select face area and use Select > Invert to invert selection.

Press Delete button to clear selected area. Select eyes and eyebrows and then delete selected areas as well.

Step 4
Apply Filter > Blur > Gaussian Blur.
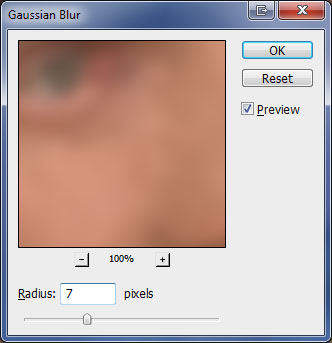

Change layer mode to Soft Light.

Step 5
Apply Image > Adjustments > Hue/Saturation to make color correction on this layer.


I think the photo will look better if we reduce visible border between edited copy and original layer. Select the Eraser Tool with soft round brush and erase some pixels on borders to make it more smooth.

Step 6
Duplicate photo layer (the one on bottom) and move it above all other layers. Apply Filter > Other > High Pass.
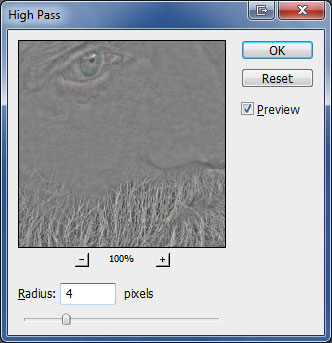
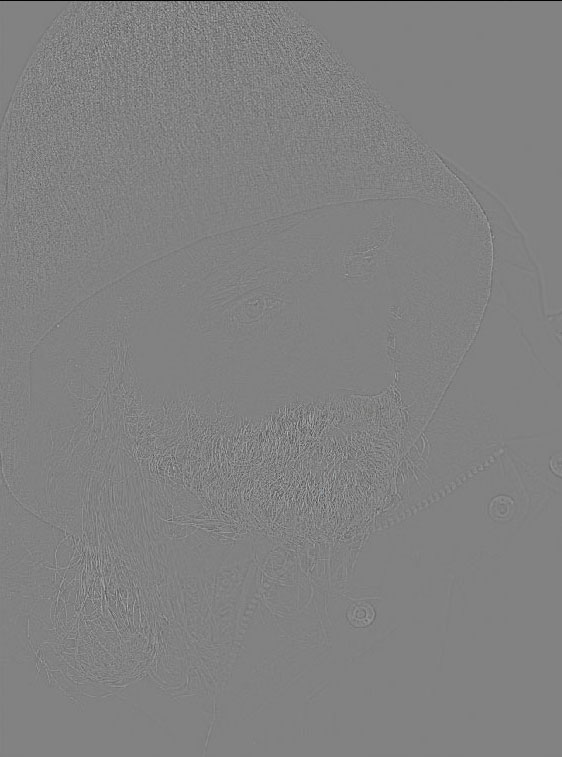
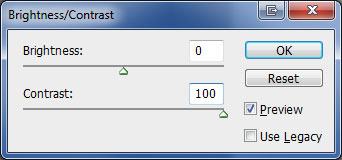
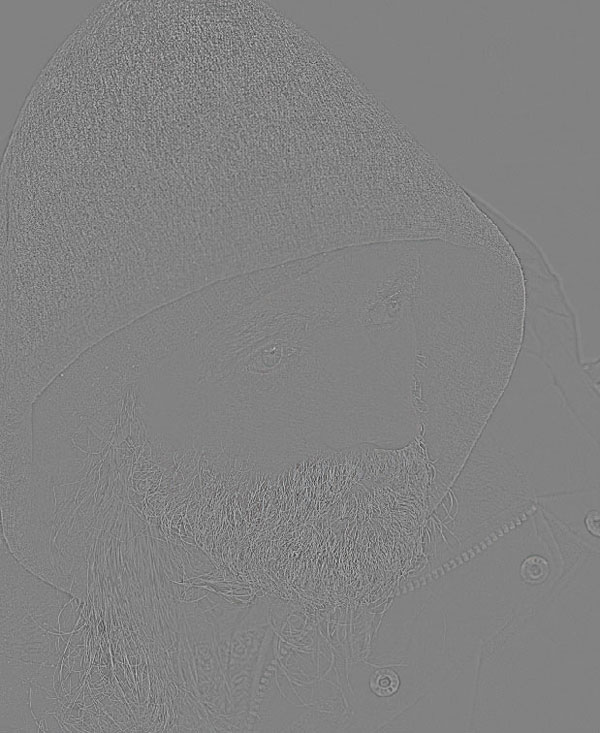
Increase contrast with Image > Adjustments > Brightness/Contrast.
Change layer mode to Overlay for this layer.

Step 7
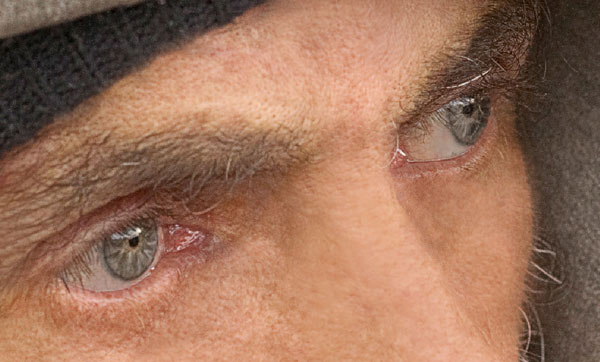
It is very important to make eyes look brighter and clearer.
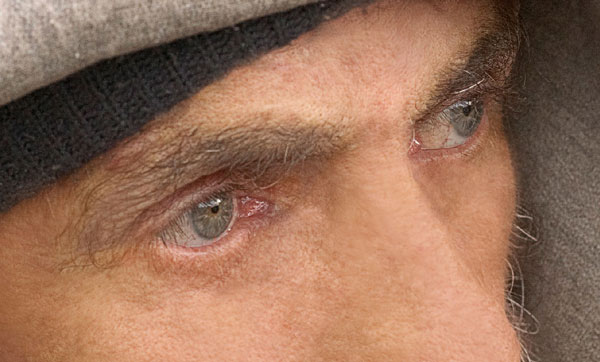
Select Clone Stamp Tool to remove under-eye hollows, then use the Brush Tool to reduce blood vessels on eyeball areas. You can take color samples with the Eye Dropper Tool.
Step 8
Create new layer above all other layers and change layer mode to Darken. Select Brush Tool (Opacity: 20%, black color) and color hair area with soft round brush.
Set layer opacity to 60%.
Step 9
Create new layer above all other layers and change layer mode to Color. Repeat same process as before to color the hair but use brown color (#483626).
Set layer opacity to 45%.

Step 10
Create new layer above all other layers and change layer mode to Soft Light. Repeat same process as before and apply it to beard’s men.

Set layer opacity to 60%.
To complete this tutorial select Clone Stamp Tool or Healing Brush Tool and remove some eyebrows over the centuries a bit.
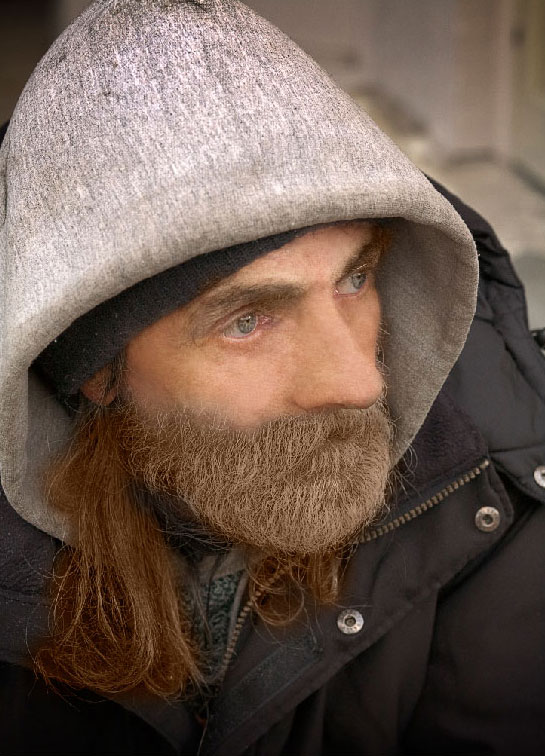
Final Image