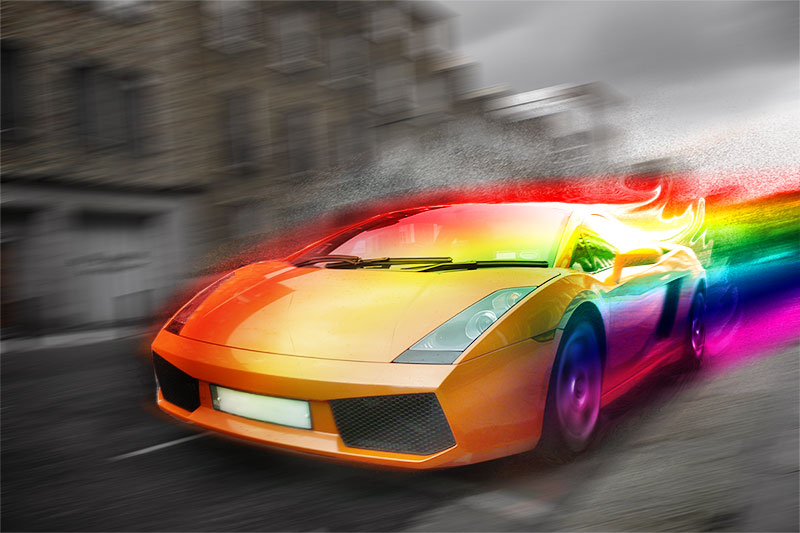
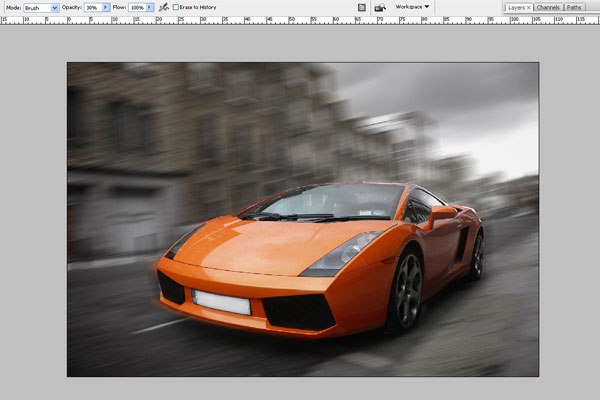
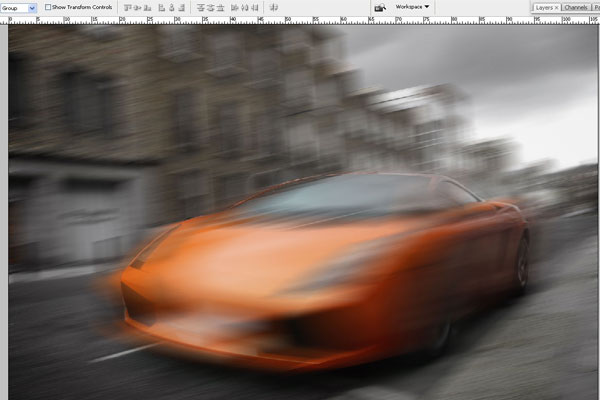
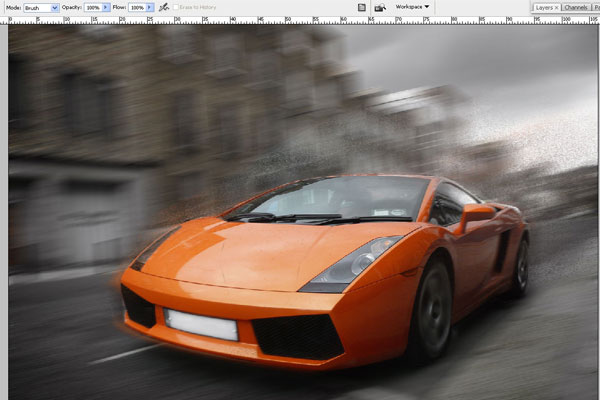
In this Photoshop tutorial, you will learn how you can create the effect of rapid movement using as an example a fast moving car.
Final Image Preview
Resources
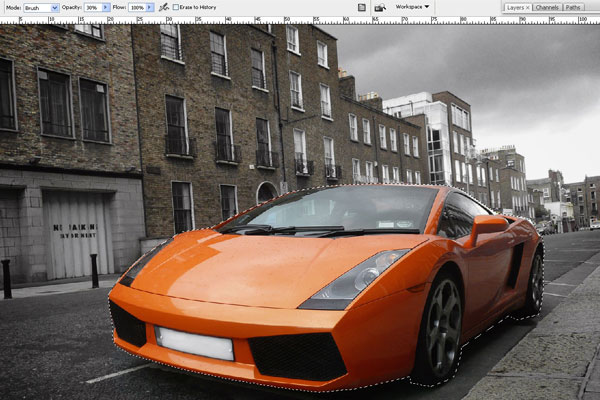
Step 1
Start by opening photo on Photoshop. Duplicate layer with Ctrl+J. With Polygonal Lasso Tool selected cut out the car from the copied layer.
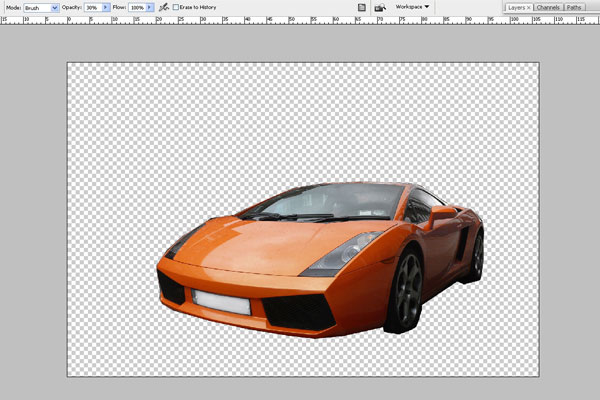
Step 2
When you have car selected go to Select > Inverse and press Del. If you turn off the visibility of the layer with the photo you should have something like this:
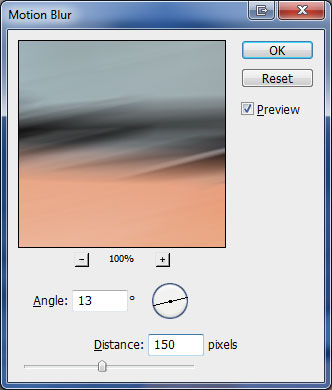
Step 3
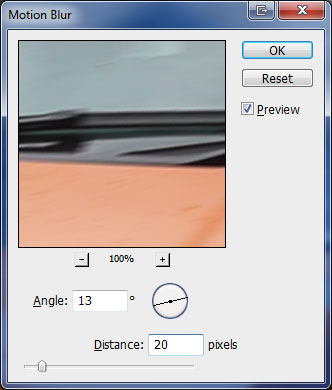
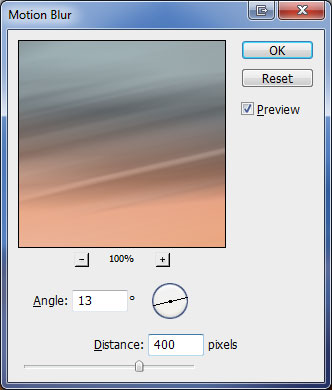
Turn back on the visibility of the background layer. We’ll work with the background layer. Go to Filter > Blur > Motion Blur:
Step 4
Select the car layer and duplicate it with Ctrl+J. Go to Filter > Blur > Motion Blur for the copied layer:
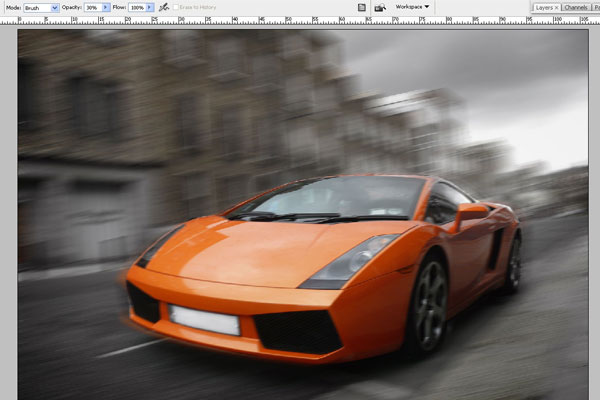
Select the Eraser Tool with a soft-edged brush and erase the blurred layer in the hood area.

Merge layers with the car by selecting both layers and pressing Ctrl+E.
Step 5
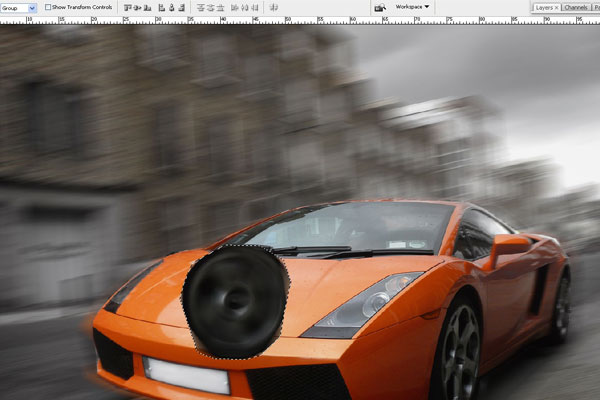
Now select the wheel rim area with the Polygonal Lasso Tool.
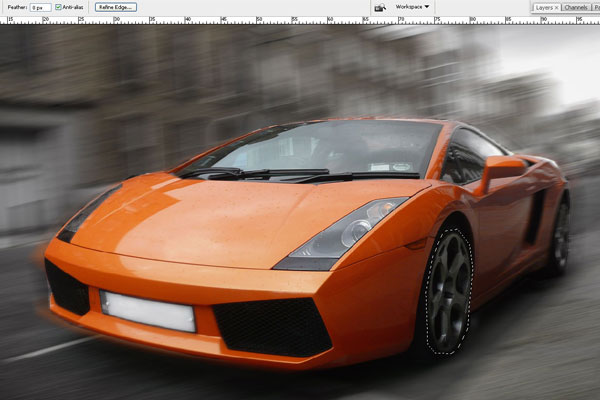
Copy selection to a new layer by pressing Ctrl+J.
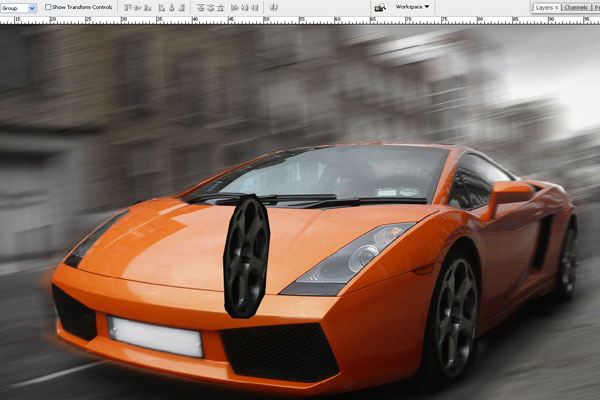
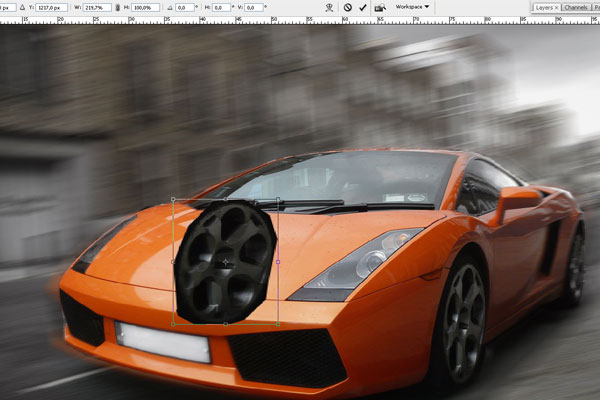
Go to Edit > Transformer > Scale to scale the wheel rim to get something similar to my screenshot below.
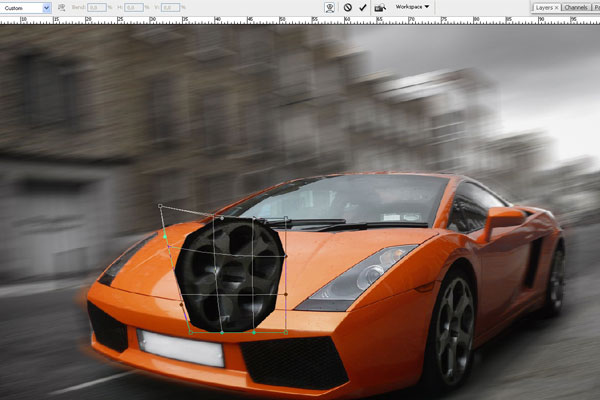
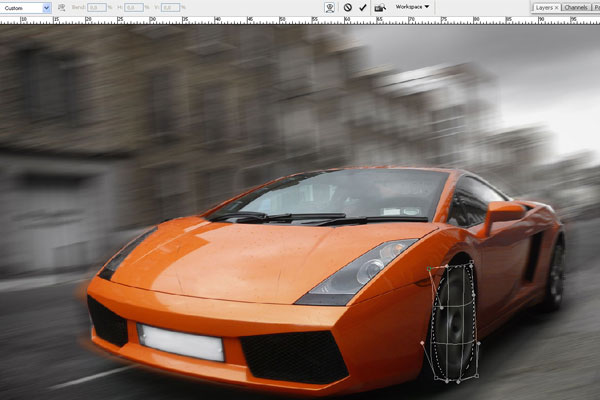
Go to Edit > Transformer > Warp.
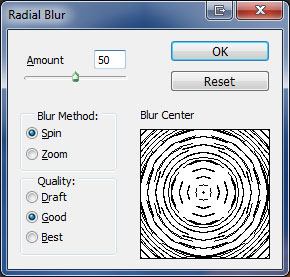
Still with wheel rim selected to go to Select > Load Selection. After that apply Filter > Blur > Radial Blur with following settings:
Move wheel rim back to his place and apply Edit > Transformer > Warp again.
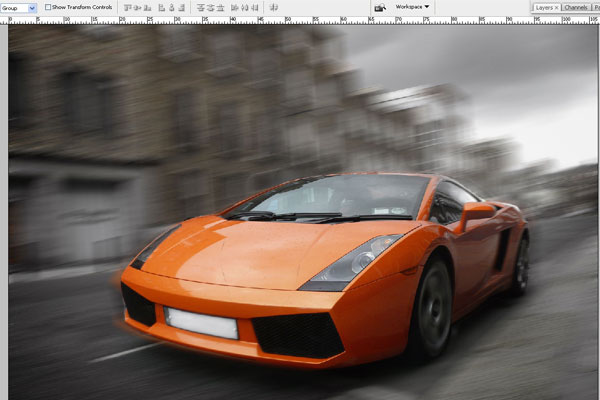
Step 6
Repeat step 5 all over for the other wheel rim in the back. In the end, merge all layers except the background layer and we will have only two layers.

Step 7
Duplicate car layer by selecting car layer and using Ctrl+J. On the new layer (Car Copy) go to Filter > Blur > Motion Blur:
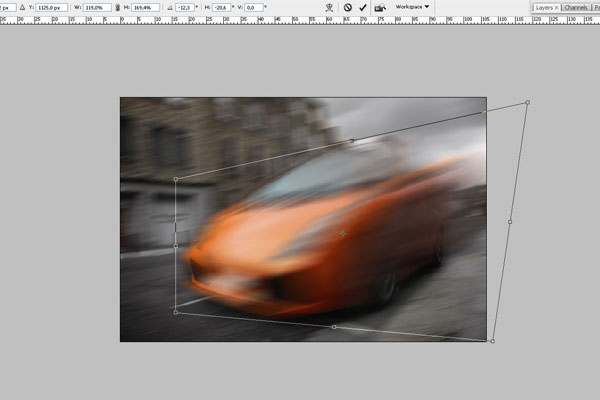
Step 8
Apply Edit > Transform > Skew to this layer:
Step 9
Change blending layer mode to Dissolve.
Step 10
Finally set Opacity for this layer to 10%.

Step 11
Select Eraser Tool with a soft-edged brush and erase dust in the hood area and side of the car.

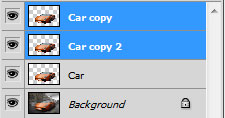
Step 12
Duplicate layer with the car once more (Car Copy 2) and merge this layer with layer we’ve just been working on (Car Copy). As a result we get three layers: background layer, layer with the car and the layer with the processed car (it’s situated above others).

Step 13
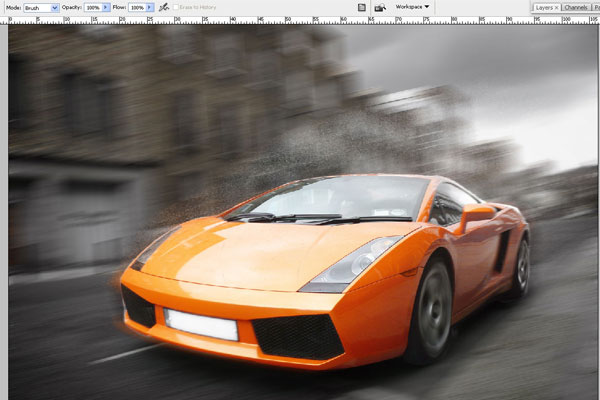
Select the top layer and go to Filter > Blur > Motion Blur.

Step 14
Change blending layer mode to Lighten.
Step 15
Select the Eraser Tool with the soft-edged brush again and erase the exposed part in the hood area.
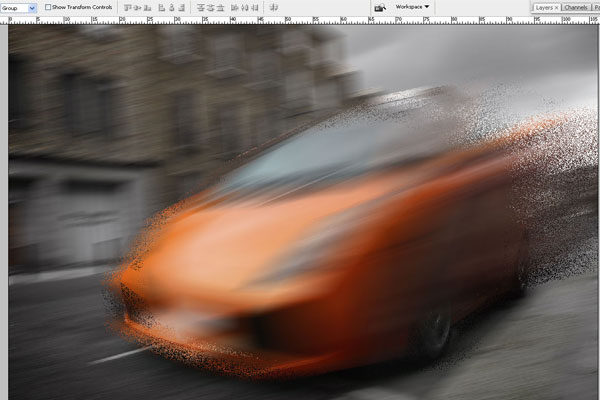
Step 16
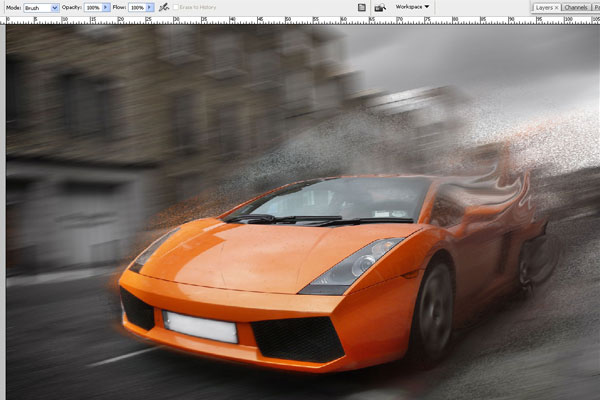
Merge all layers with the car and we will have again only two layers: background layer and car layer. Duplicate car layer using Ctrl+J and go to Filter > Liquify for the copied layer.
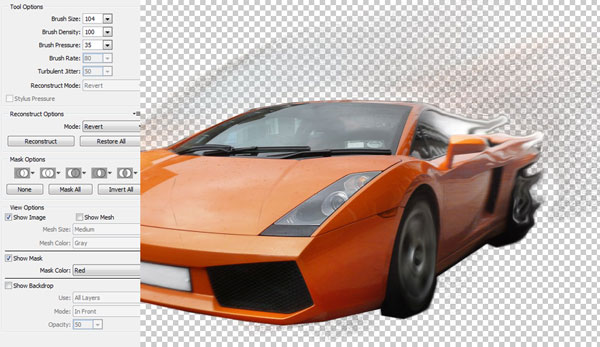
On the end you should have something similar to what I have:
Step 17
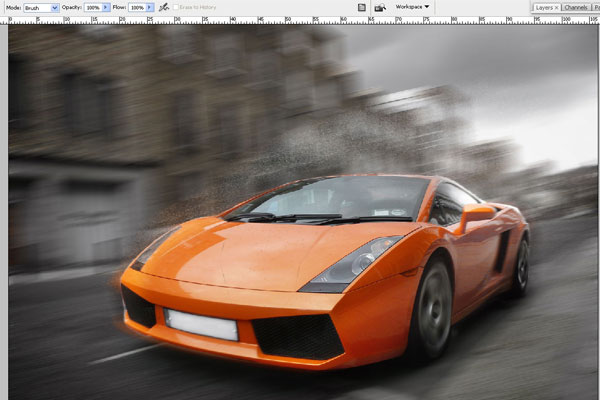
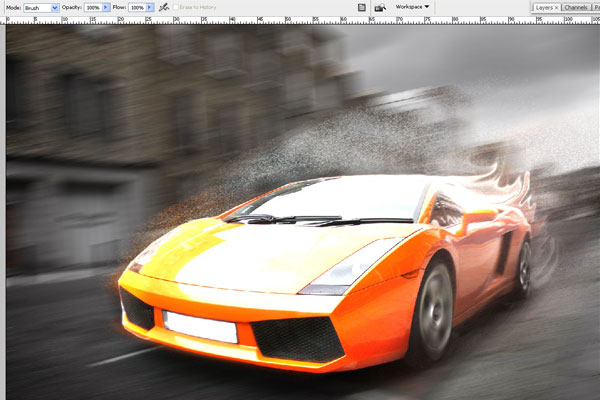
Change blending layer mode to Linear Dodge (Add).
Step 18
Select the Eraser Tool with a soft-edged brush one more time and erase everything from the front side of the car.
Step 19
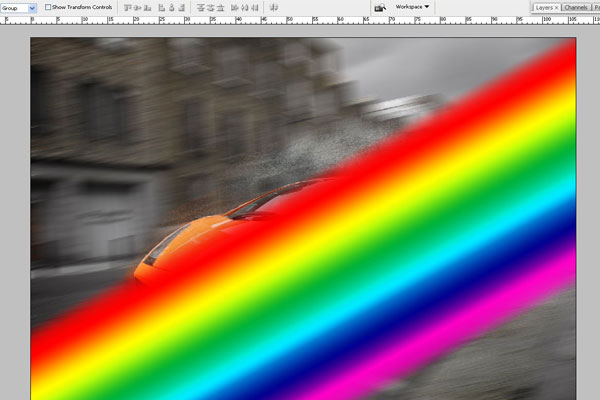
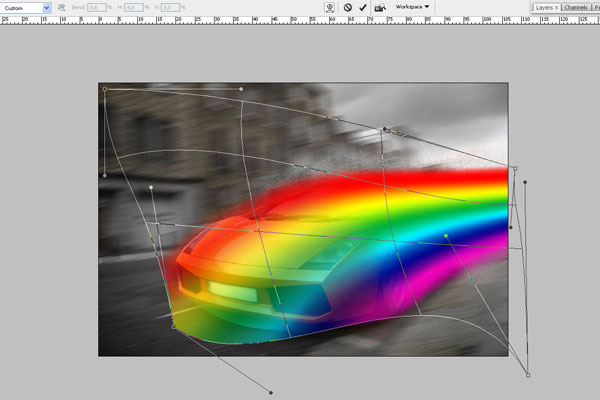
Create a new layer on top. Go to Gradient Tool, select Transparent Rainbow (standard Photoshop gradient) and make sure option Linear Gradient is selected. Fill the new layer with this gradient.
Step 20
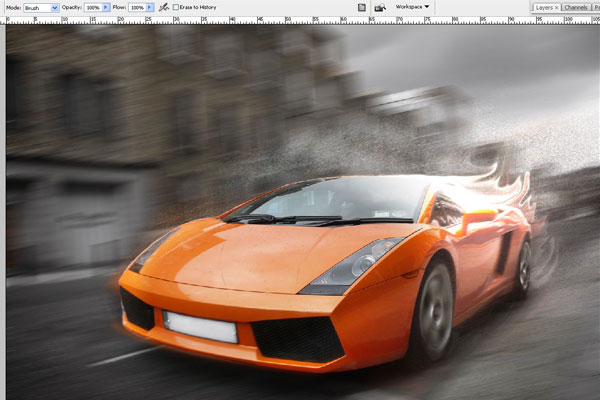
Go to Edit > Transformer > Warp with the layer selected.
Step 21
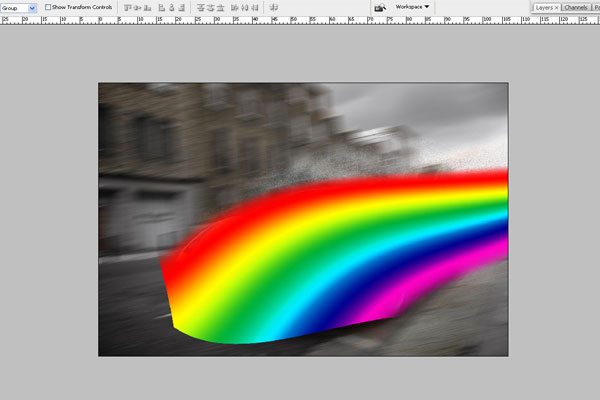
Select Eraser Tool with a soft-edged brush one more time and erase the gradient from the front side of the car.
Step 22
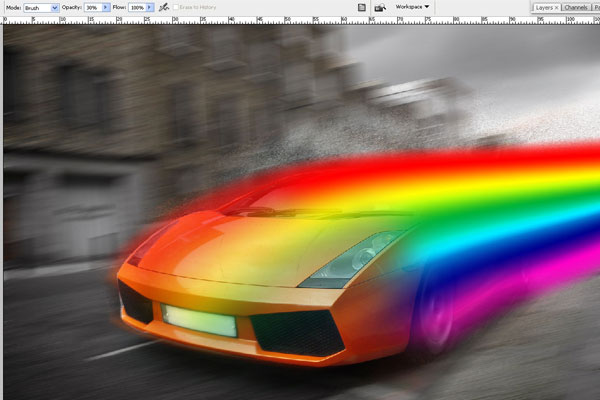
Change blending layer mode to Overlay.
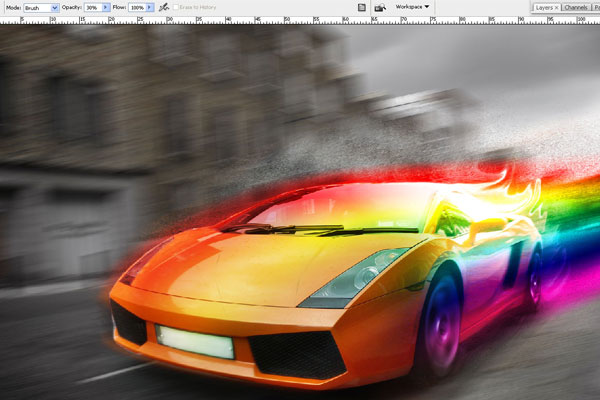
Final Image
Create a new layer, assign Soft Light blending mode for it. Pick up a soft-edged brush and using the Brush Tool lighten the nearest headlight and the hood around the headlight and darken the edges of the image. To lighten we use white color (#ffffff), to darken – the black one (#000000). In the end, set the layer opacity down to about 30%.