In this Photoshop tutorial you will learn how to create an Eerie Eye Photo Manipulation. We will be using blending modes heavily and some standard adjustment layers.
Final Image
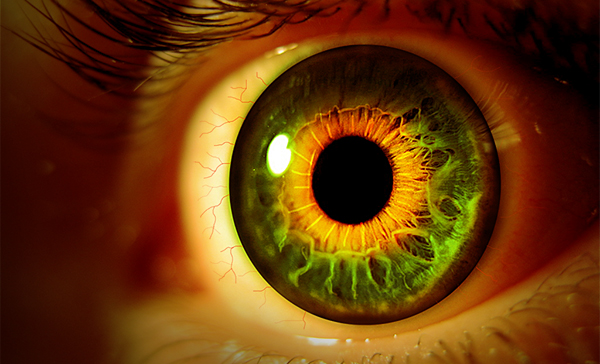
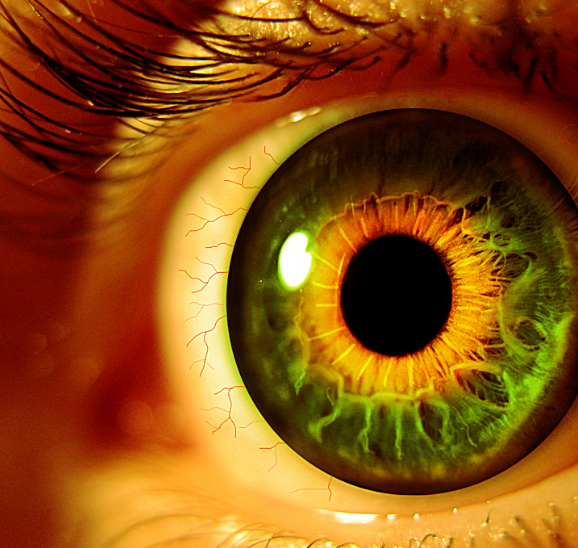
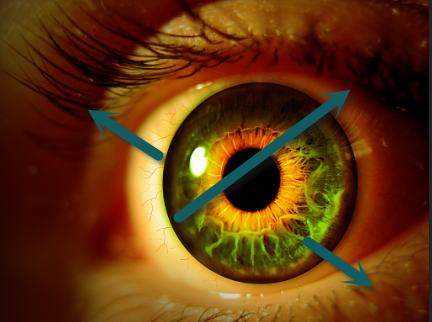
As always, this is the final image that we’ll be creating:
Tutorial Details
- Program: Adobe Photoshop CS3
- Estimated Completion Time: 40 minutes
- Difficulty: Beginner-Intermediate
Resources
Step 1
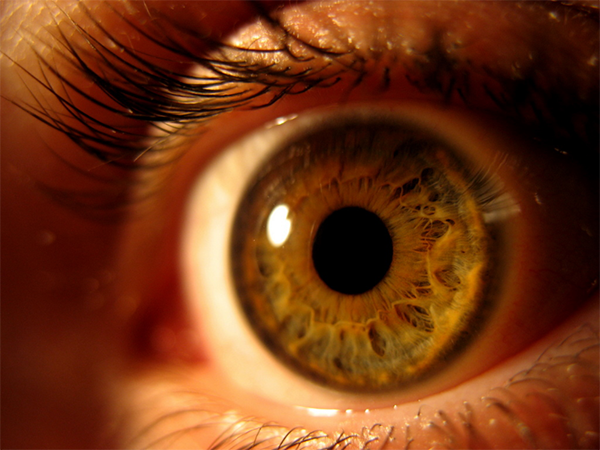
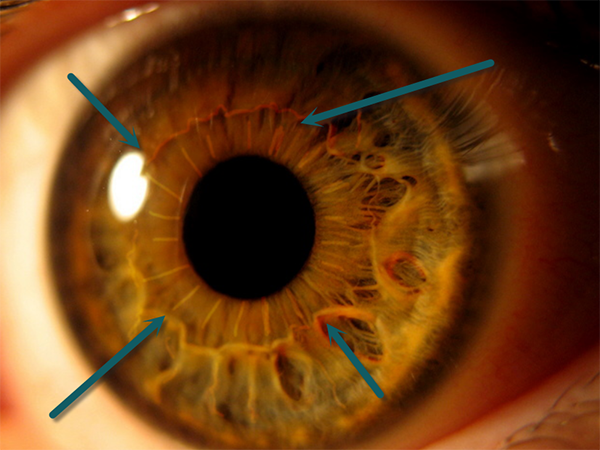
Open the file “Eye”. As you can see this photo is already quite scary and haunting but we will make it even more eerie and colorful.
Step 2
Create a new layer (Ctrl + Shift + Alt + N) and change the blending mode to Color Dodge. Select white as foreground color (press D and X to have white as foreground) and choose the standard round soft brush. Lower the size to 3px and the Opacity to 10% and start outlining the emerging white lines around the pupil.
Step 3
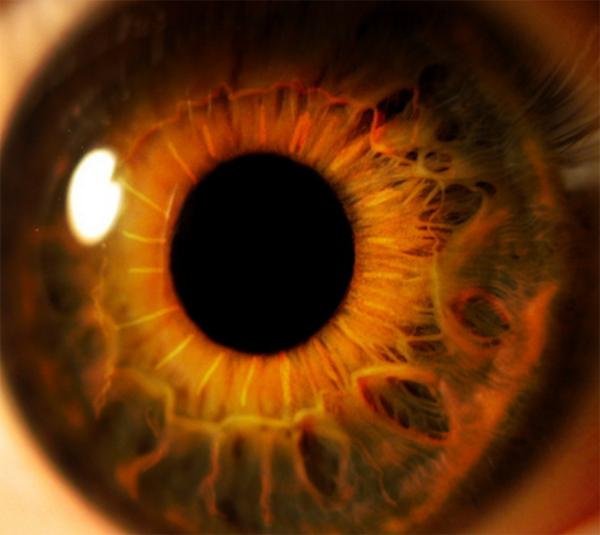
Create another new layer (Ctrl + Shift + Alt + N) and change the blending mode again to Color Dodge. With the same round brush from step 2 draw some lines emerging from the pupil as shown in the image below.
Step 4
Create a new layer and this time change the blending mode to Overlay. Choose a dark greenish color (#07180e) and paint the margins of the iris with the same soft brush from step 3. After you’re done paint with white in the middle of the iris and over the pupil. This step will create some contrast in the eye and put the focus towards the center.
Step 5
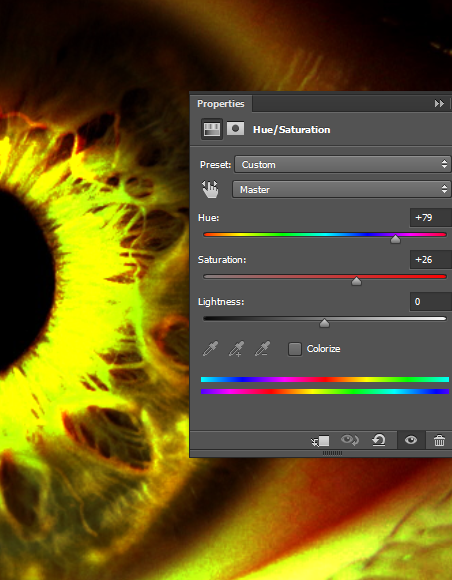
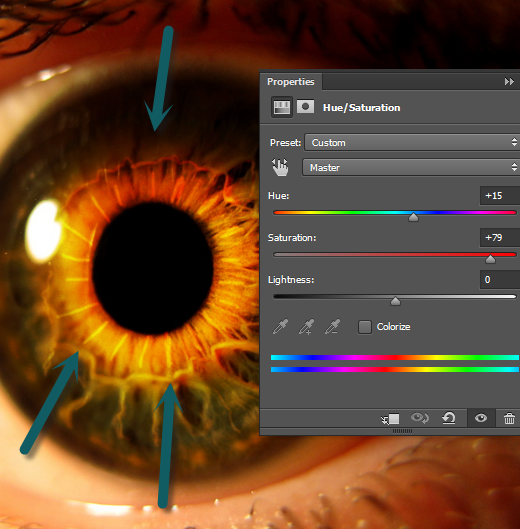
Create a new Hue/Saturation Adjustment Layer (Layer > New Adjustment Layer > Hue/Saturation) and use the settings shown below to change the hue to a strong yellow. Change the blending mode of the Hue/Saturation layer to Color Dodge.
Step 6
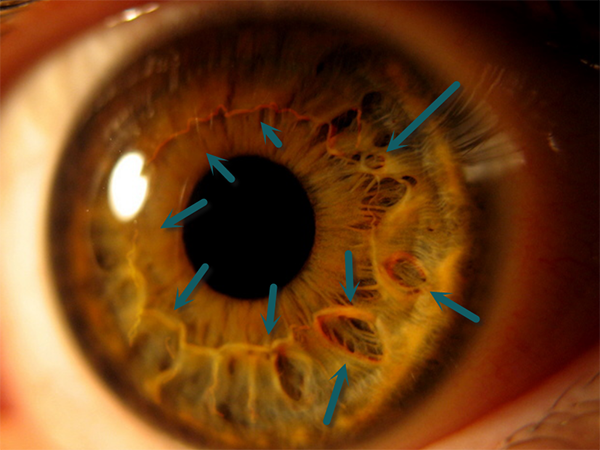
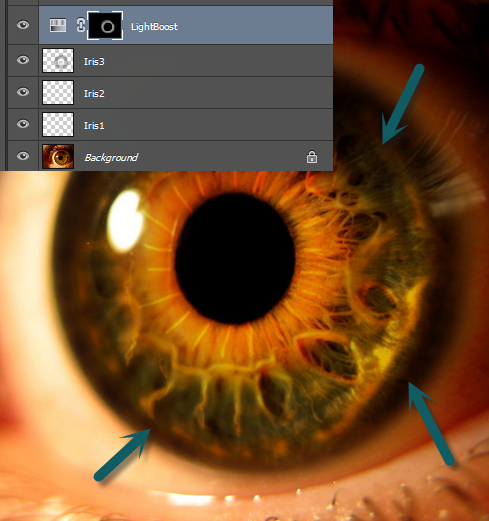
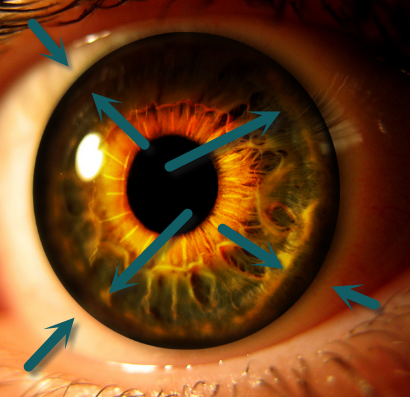
Now press D to set the default colors. Click on the layer mask of the Hue/Saturation layer and press Alt + Backspace to fill it with black. With a white round soft brush at 50% opacity paint in the layer mask over the areas indicated below to reveal the effect there.
Step 7
Create another Hue/Saturation Adjustment Layer and change its blending mode to Hard Light. Fill it’s layer mask with black and paint with a white brush in a round circle around the pupil to increase the contrast there and boost the intensity of the color.
Step 8
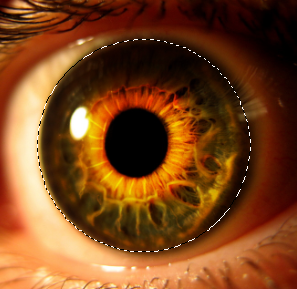
Select the Ellipse Marquee Tool from the Tools panel (all the way to the left in the upper section) and create a round selection around the iris as I did below.
Step 9
Create a new layer and with the round soft brush paint at 40% Opacity with black very subtly inside of the selection just near the margins. This will create a nice crisp iris outline and make the eye look more intense and focused. If the effect is too weak duplicate the layer by pressing Ctrl + J.
Step 10
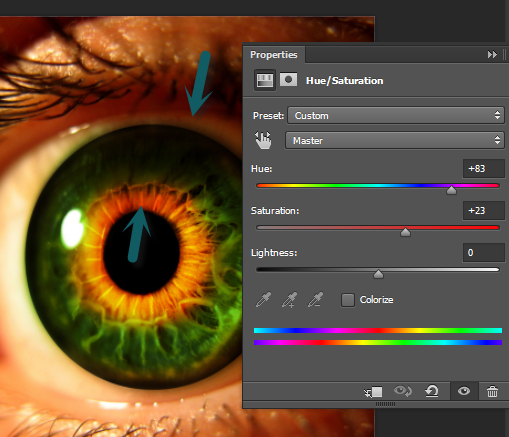
Create a new Hue/Saturation Adjustment layer ( Layer > New Adjustment Layer > Hue/Saturation) and change the hue to +83 and the saturation to +23.
Fill the layer mask with black (click on it and with black as foreground press Alt + Backspace) and with the round soft brush at 50% Opacity paint over the margins of the iris to reveal the effect there. As you can see this step created a wicked green effect that looks very good.
Step 11
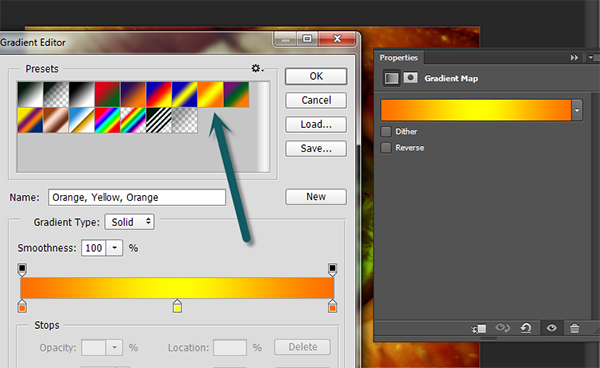
Create a Gradient Map Adjustment Layer ( Layer > New Adjustment Layer > Gradient Map) and use the settings shown below. Change the blending mode to Soft Light to unify the overall colors of the scene and increase the contrast.
Step 12
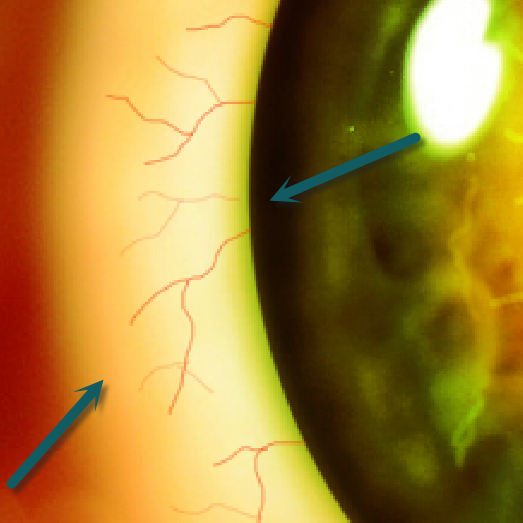
What would be an eerie eye without some red veins? Not very scary probably! Make a new layer (Ctrl + Shift + Alt + N) and choose the standard chalk brush. Lower the size to 1px and the opacity to 80% and paint some red veins on the white of the eye as shown in the image below.
Step 13
The eye looks very good but there are a couple of adjustments needed to make it stand out even more.
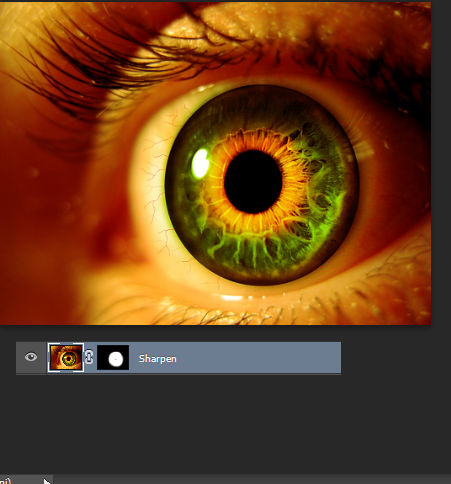
Create a new layer from all the visible layers by pressing Ctrl + Shift + Alt + E and apply a sharpen effect (Filter > Sharpen > Unsharp Mask) with the following settings: Amount 130%, Radius 1.9 pixels, Threshold 0 levels.
Step 14
Add a Layer Mask to the sharpen layer (Layer > Layer Mask > Hide All). This will make the sharpen effect disappear completely (in a layer mask black hides and white reveals). Choose the standard round soft brush and increase the opacity to 100%. Paint with white in the layer mask over the center of the eye (the iris and the white areas) to reveal the sharpen effect only there and thus create a more focused scene.
Step 15
One more effect and we’re done (and by the way this effect is named vignette and can be applied to all your photoshop scenes in order to put the focus in the center). Create a new layer and change the blending mode to Multiply (this blending mode hides all the bright colors and shows only the dark ones). With the standard round soft brush at 80% Opacity paint on the margins of the scene and leave the center untouched. Take a look at what I did below:
And We’re Done!