
Another nice tutorial teaching you how to draw a portrait by using Photoshop. This technique is based on using Photoshop brushes and for people who may have some experience in art it’s a good technique but it takes time to achieve this result.
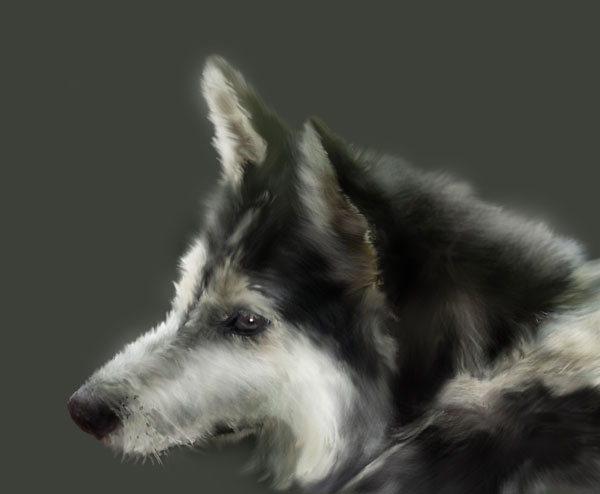
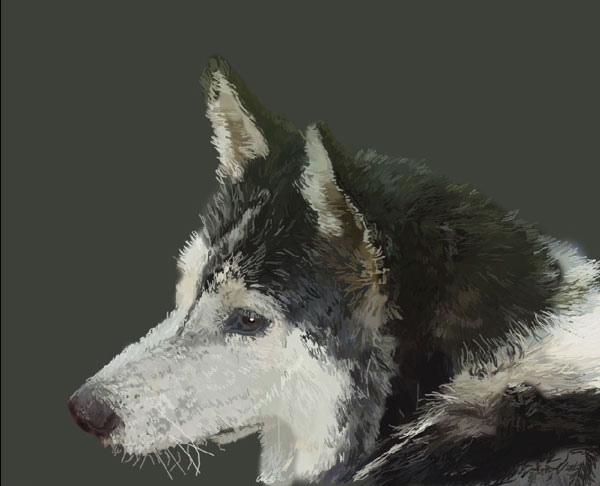
Final Image Preview
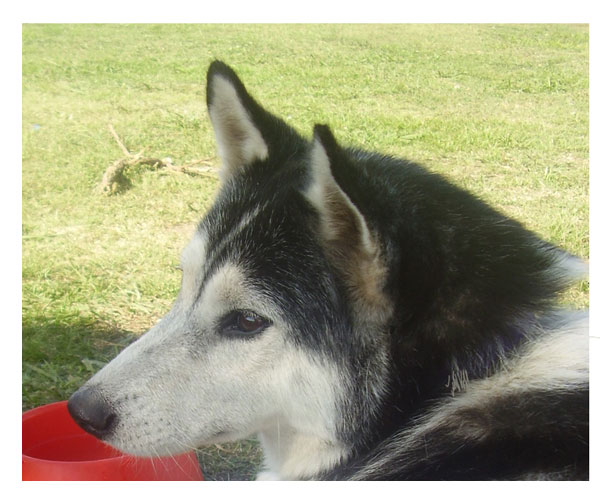
Resources
Step 1
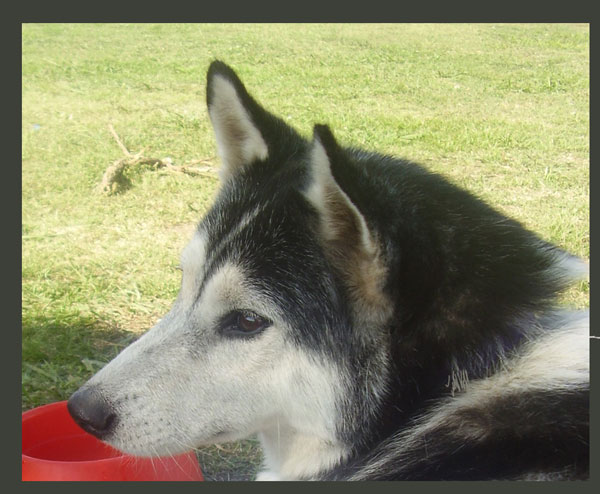
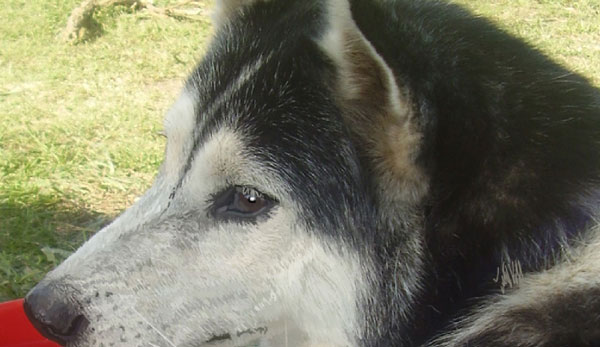
Start by opening photo. Select the Crop Tool to select part of the image and press Enter to cut selected area.
Step 2
We are now going to create a background for future portrait. I would like to choose the same color as the real background on the photo. It is green, but much darker, so the portrait will look more expressive. Unlock the background layer (double click on thumbnail on layers palette), then create a new layer under the existing layer (name it background) and fill it with color #3d4038 by using the Paint Bucket Tool.
Step 3
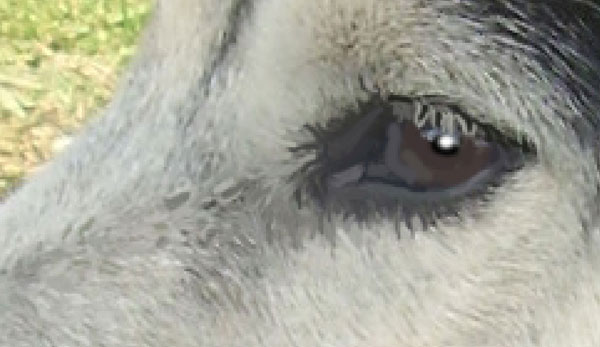
Create a new layer (strokes layer) above all other layers. Select the Brush Tool with a soft round brush and size of 2 pixels. Zoom into the photo and start making small strokes to duplicate animal fur. You can take a sample of the color with the Eyedropper Tool and it is very important to change color on small areas, because when you zoom into the picture, you can see a big variety of color.
To save time you can keep switching between Brush Tool and Eyedropper Tool using hot keys: B to select the Brush Tool and Alt to take a sample of color with the Eyedropper Tool.
You can hide the photo layer to check your progress (click on the layer eye, which indicates layer visibility).
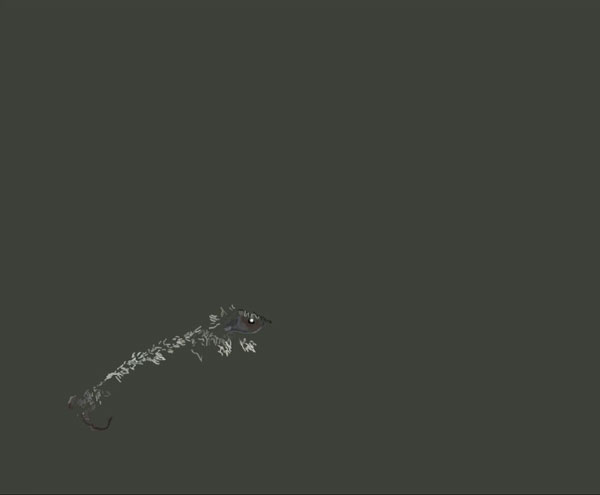
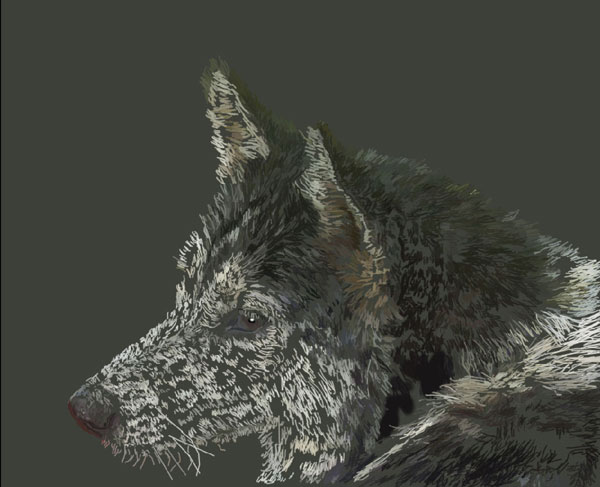
If you are satisfied with the result, make photo layer visible again. You should continue making the animal’s fur with small brush strokes (always on the strokes layer) and changing color with the Eyedropper Tool from time to time.
From time to time, hide photo layer visibility to see what you have done so far.
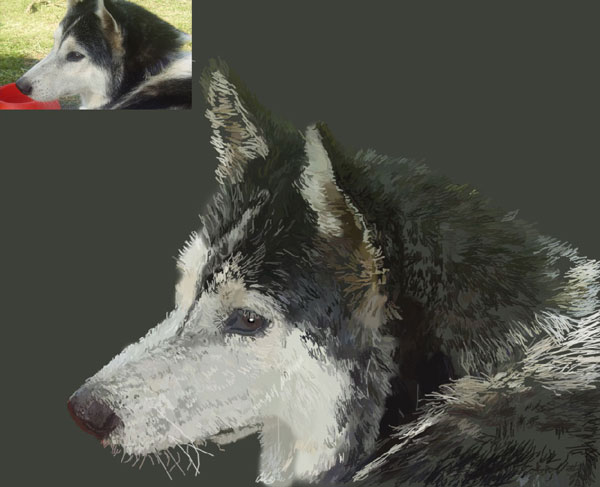
Keep working with the brush tool using the same technique on the strokes layer.
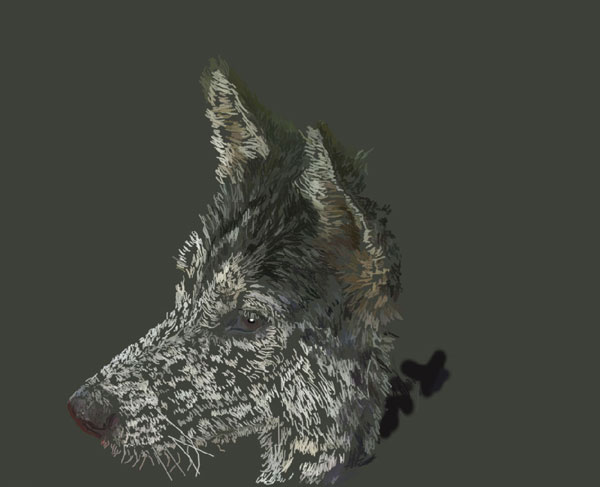
As you can see on my screenshot below, there are some plain color areas on the photo without any strokes in them. If you look at the dog in real life, it will be looking plain in the shadow, you can’t see the texture properly. The texture can be seen only with bright sun, during normal daylight or indoor lighting.
Step 4
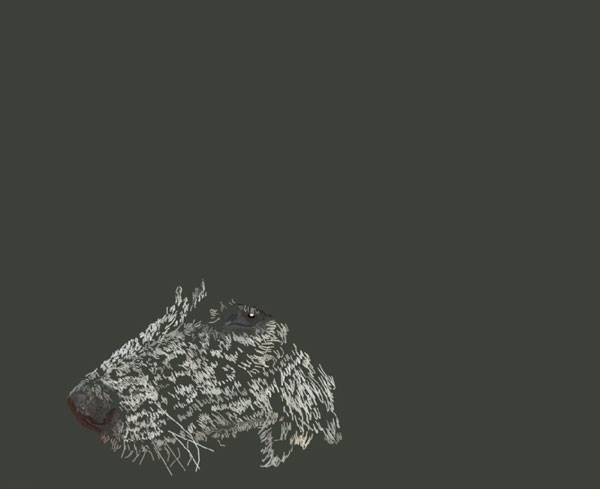
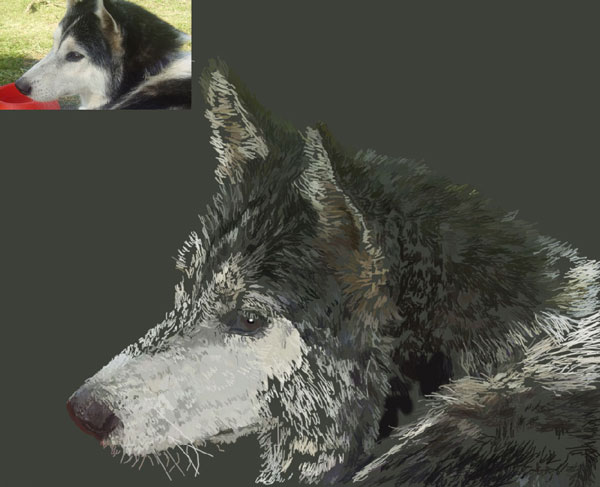
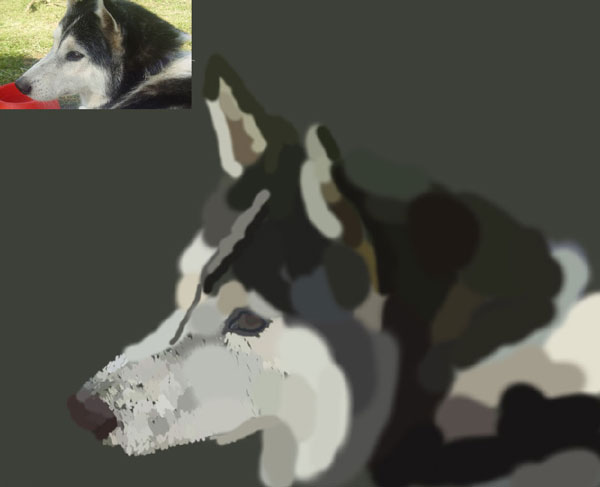
Select the layer with the photo and reduce it’s size with Edit > Transform > Scale. Move the photo to the top left of the canvas so it can help you focus on the photo to keep painting the portrait. Create a new layer under the strokes layer (color spots layer) and paint over the area color with the Brush Tool, don’t forget to take color samples with the Eyedropper Tool.
Turning the strokes layer visibility off helps you see what color spots are already painted and which colors you used.
Keep working with the Brush tool using same technique.
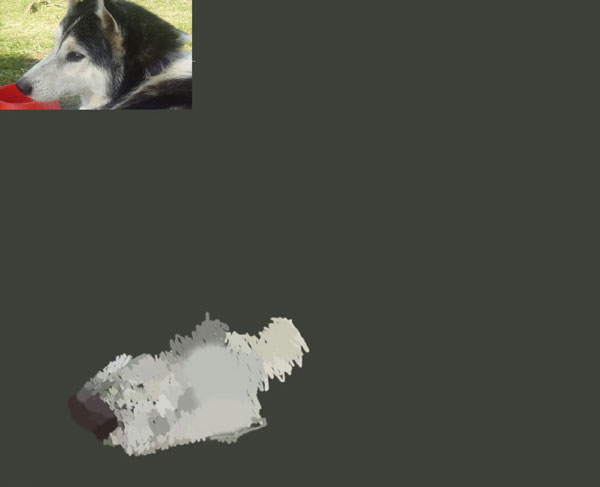
You can see below how the color spots layer should look (turn off the strokes layer visibility to see).
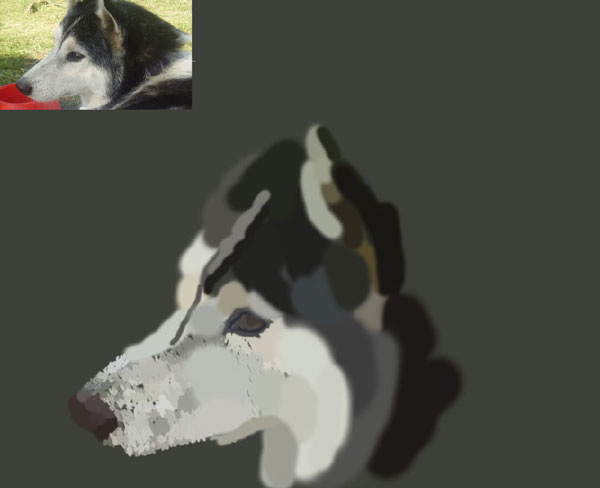
Keep painting other areas.
Turn off the visibility of the layer with the photo and the background layer and merge together the layer with strokes and layer with color spots using Ctrl+E.
Step 5
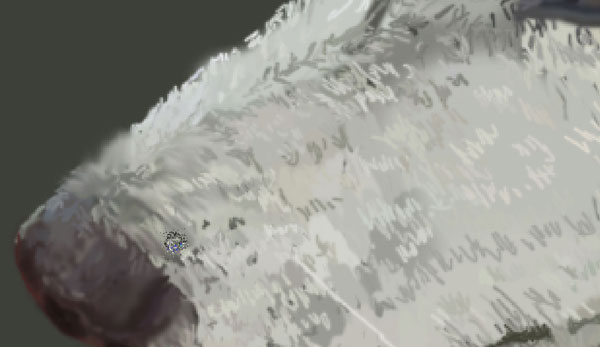
Select the Smudge Tool, set the Strength parameter to 50-60%, select Spatter brush (59 px). If you can’t find Spatter brush (it’s one of the standard Photoshop brushes) then choose option Reset Brushes and it should appear. Zoom into the canvas and begin mashing the harsh strokes and mixing some colors together.
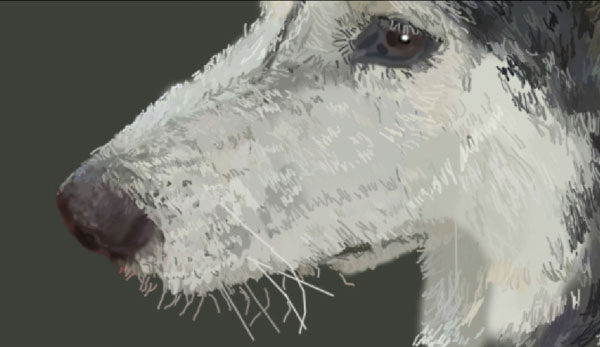
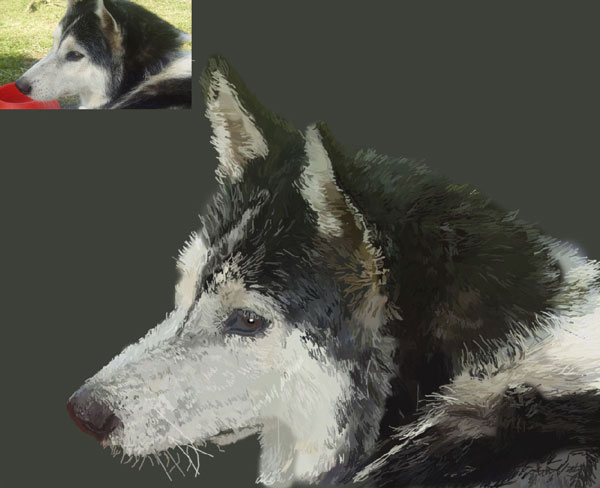
Start creating fur texture from the nose, this is because near the nose the fur is the shortest and needs to be processed more carefully. Further, the diameter of the brush can be increased, but the most important thing is that you must move the brush only in the direction of hair growth. The longer stroke you make, the longer hair you will create.

Now you should add a few more details. Choose the Burn Tool and Spatter brush (59 px) and darken some areas of the portrait. Do not forget that you have to make strokes in the direction of hair growth. Then select the Dodge Tool and apply the Spatter brush about 59 pixels again. Lighten some areas to your own taste. Please remember that the hair on the ends is lighter than at the root, so use Burn Tool and Dodge Tool to make lighter and darker work.
Step 6
To finish our tutorial, create a new layer and update layer mode to Soft Light for it. Select the Brush Tool (set opacity to about 5-10% and a soft round brush), then darken and lighten large areas of the portrait to your own taste, so in the end it will look like more contrast. Change brush size according to situation and you can see on the image below where I applied brush with white or black colors.
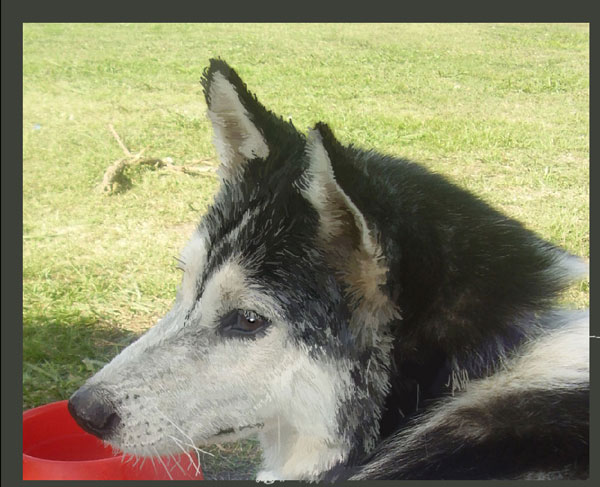
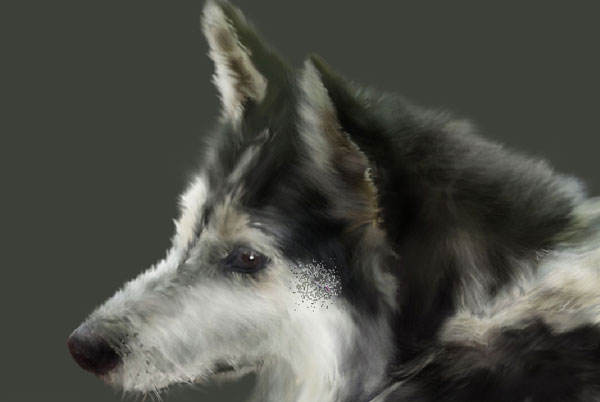
Final Image
Below you can see final result (don’t forget to turn off visibility of the photo layer).