In is tutorial I’ll show you how to create a double exposure effect using several stock images, masking and layer modes.
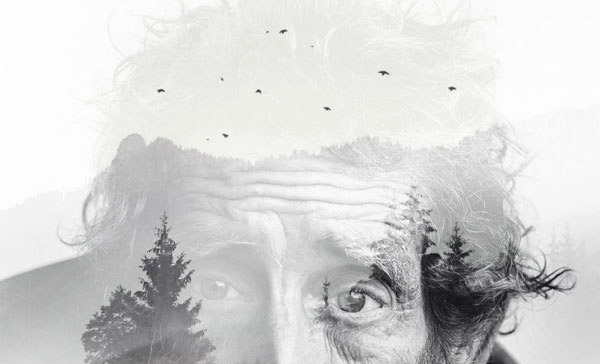
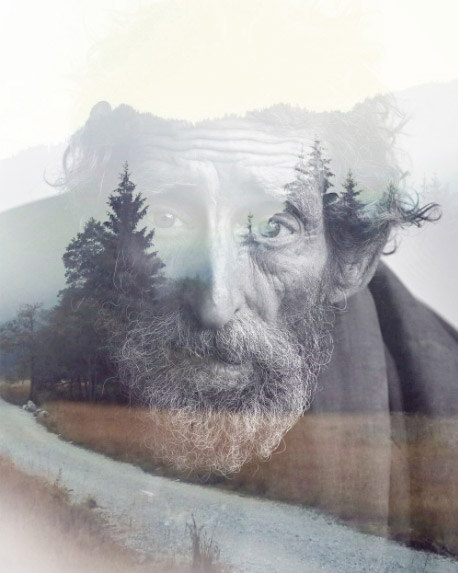
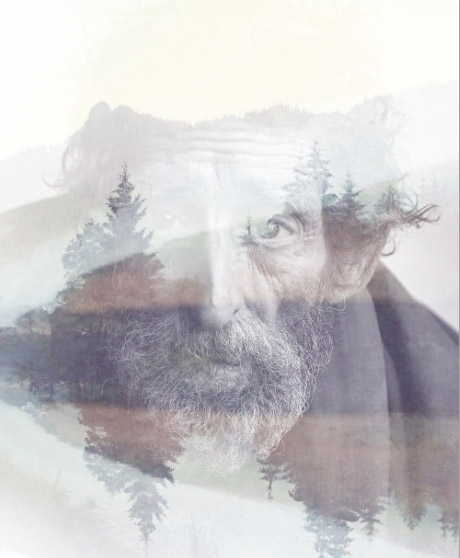
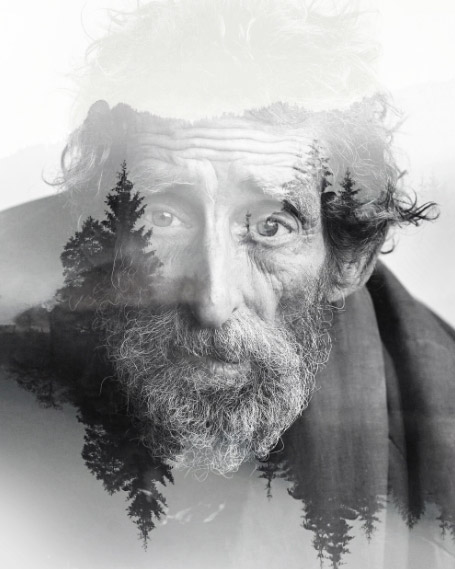
Final Image

Tutorial Details
- Program : Photoshop CS3+
- Estimated Completion Time : 15 minutes
- Difficulty : Beginner
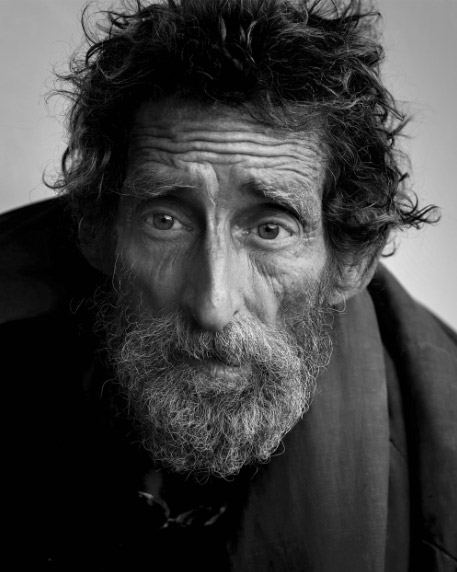
Resources
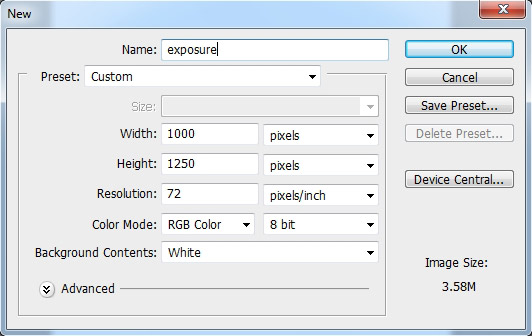
Step 1
Create a new document in Photoshop with the settings below:
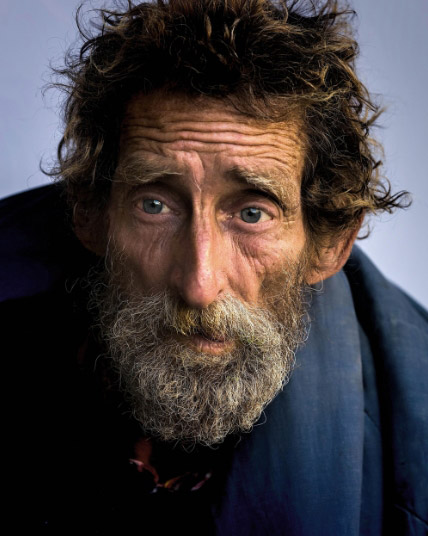
Step 2
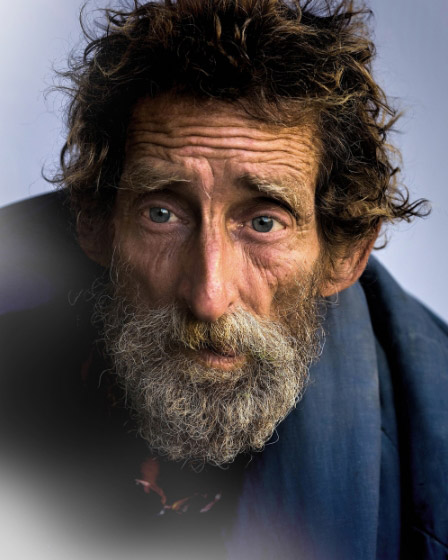
Open the man image. Drag this image into the white canvas as shown below:
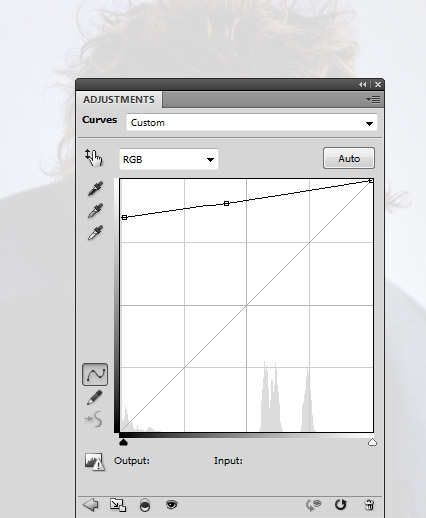
Step 3
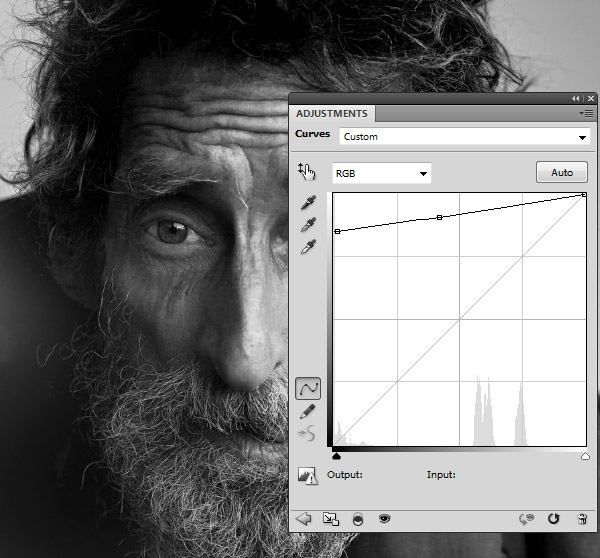
Go to Layer > New Adjustment Layer > Curves and set it as Clipping Mask. Increase the light and hazy near to maximum:
On the mask of this layer, use a soft black brush to erase the man’s face and make the effect visible only at the edges:
Step 4
Create a Hue/Saturation adjustment layer to desaturate the man completely:
Step 5
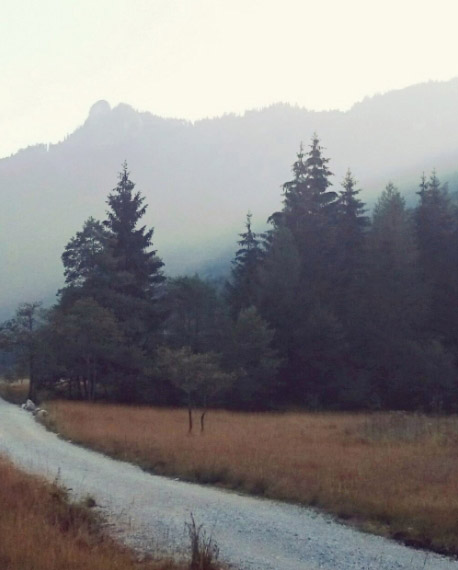
Place the landscape image into the working document:
Change the mode of this layer to Screen 100%:
Step 6
Duplicate this layer and flip it vertically by choosing Edit > Transform > Flip Vertical:
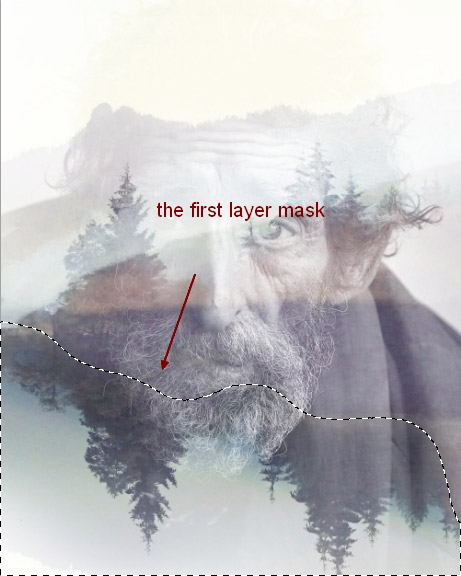
Step 7
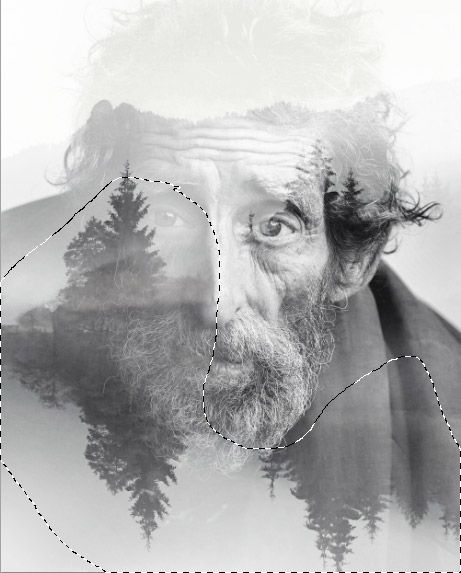
Add a mask to these layers and use a soft black brush to reveal the man’s face more:
Step 8
Select these layers and press Ctrl+G to make a group for them. Change the mode of this group to Screen 100%. Create a Hue/Saturation adjustment layer within this group to desaturate these layers:

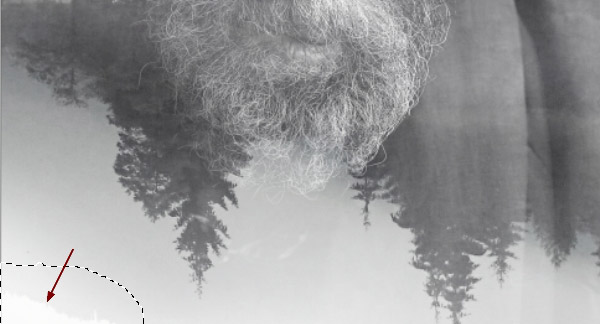
Step 9
There is an unwanted detail at the bottom of the image after flipping the landscape:
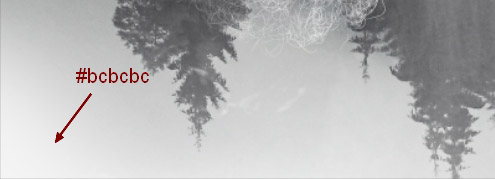
To fix it, make a new layer and pick a color similar to the background (I chose #bcbcbc). Paint on the indicated detail:
Step 10
Come back to the man layer. Select this layer and the clipped Hue/Saturation adjustment layer. Right click and choose Duplicate Layers. Move them above all layers.
Step 11
Change this layer mode to Soft Light 100%:
Add a mask to this layer and use a soft black brush to reduce the man’s opacity on the lower half:
Step 12
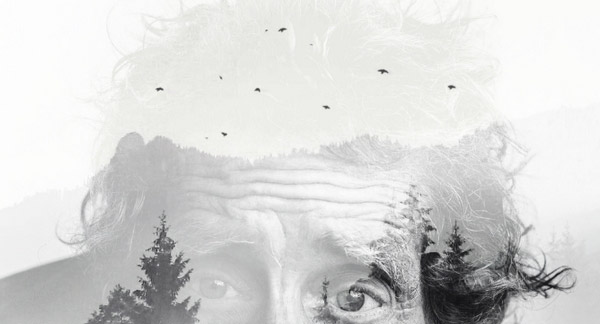
Make several layers and change the foreground to black. Use different bird brushes to paint randomly on these layers:
And We’re Done!
I hope that you’ve enjoyed the tutorial.