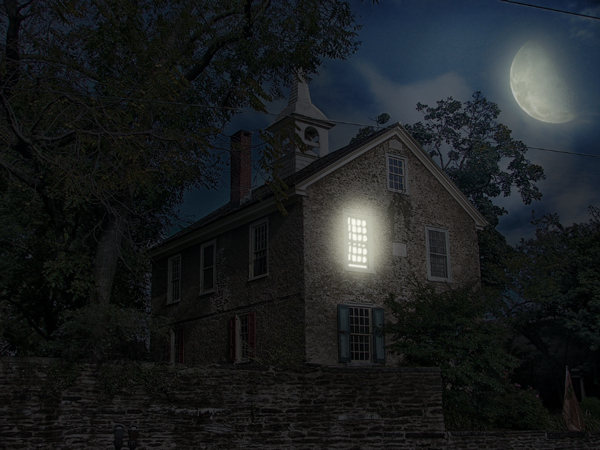
In this Photoshop tutorial, we will turn day to night in a photo by using some simple techniques.
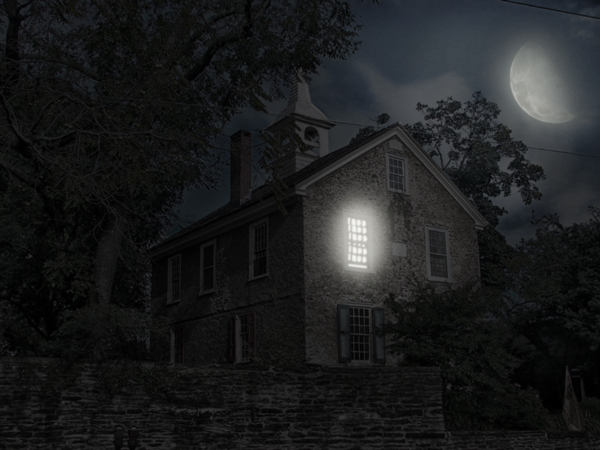
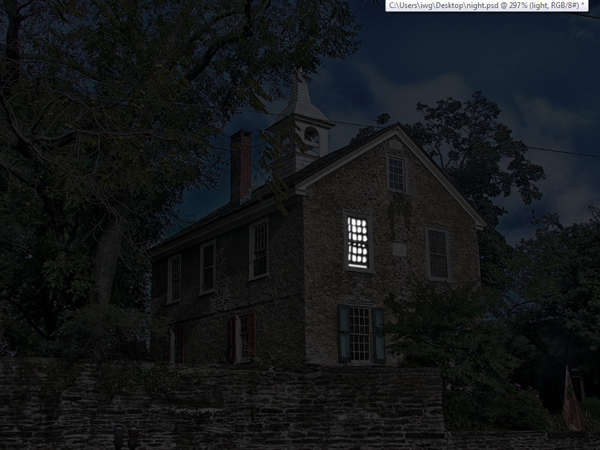
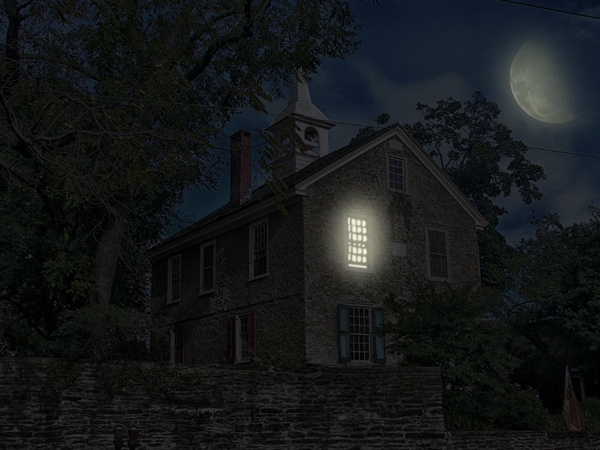
Final Image
Tutorial Details
- Program: Adobe Photoshop CC, Photoshop CS6, Photoshop CS5
- Estimated Completion Time: 45 minutes
- Difficulty: Beginner
Resources
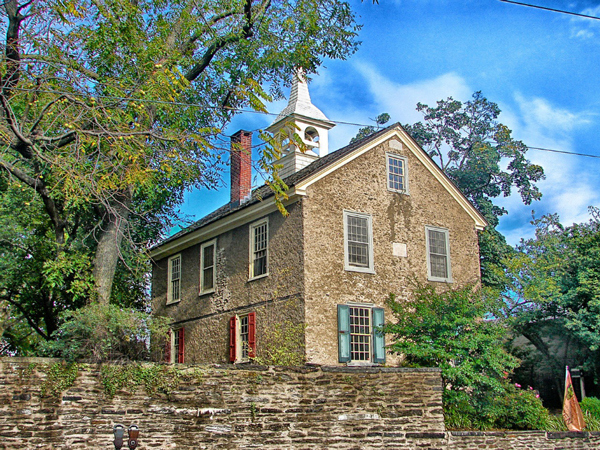
Step 1
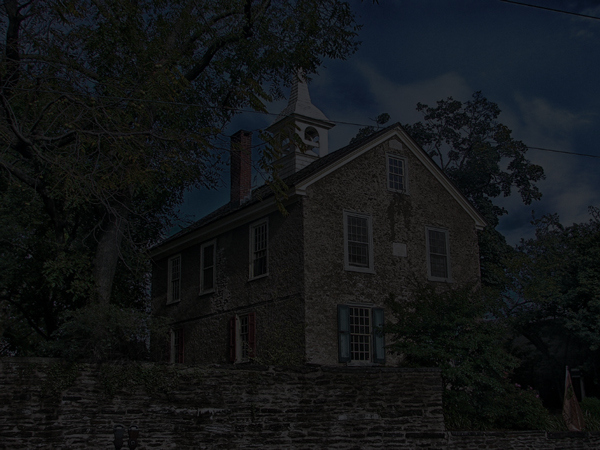
Open image “House”.
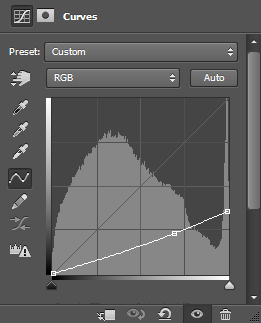
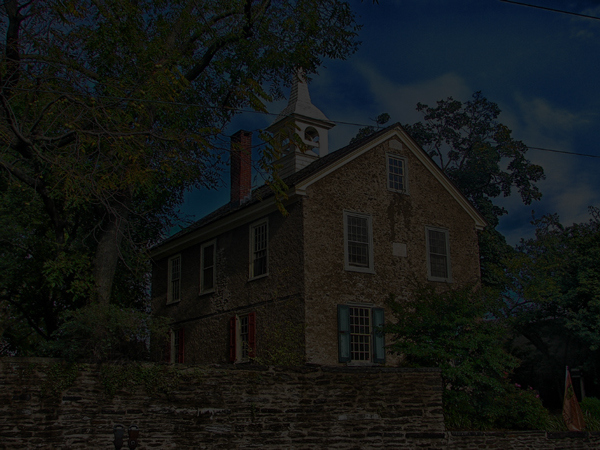
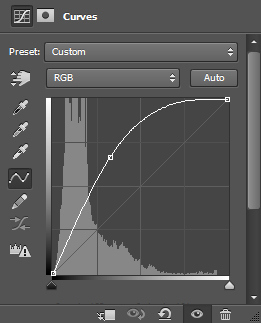
Let’s darken the image a little bit with curves. Create a Curves Adjustment Layer (Layer > New Adjustment Layer > Curves) and adjust the sliders as shown below. Dragging the curve down darkens the image.
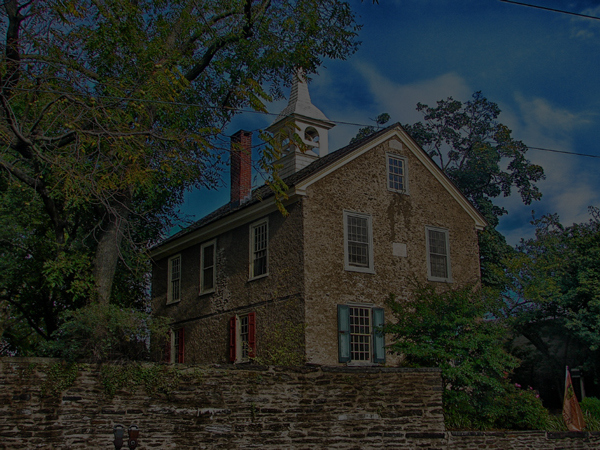
Step 2
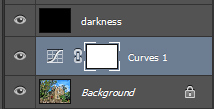
Create a new layer (Ctrl + Shift + Alt + N) and fill it with black (press D for default colors and Alt + Backspace to fill the layer with the foreground color). Lower the opacity of this layer to 44%. This will make our image even darker.
Step 3
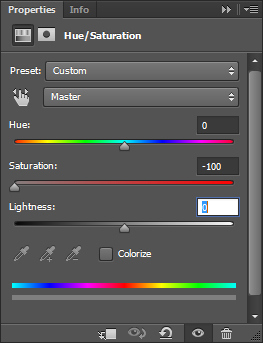
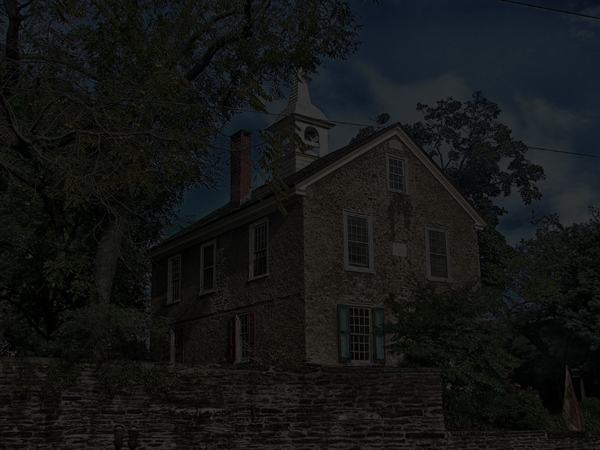
At night the colors are usually more desaturated compared to daylight. Let’s do this in our image by creating a Hue/Saturation Adjustment Layer by going to (Layer > New Adjustment Layer > Hue/Saturation). Drag the Saturation layer all the way to the left in order to decrease the saturation and after that lower the opacity of this layer to 46% in order to leave some colors in the image.
Step 4
Night photos usually have a bluish/cyan tint, or at least this is how we imagine it (being cold and all). Create a Color Balance Adjustment Layer by going to Layer > New Adjustment Layer > Color Balance. Add a little blue and a little cyan.

Step 5
Our night photo looks decent but we’re not done yet. Let’s create some light from one of the windows. First, create a new layer and with a round brush of your choosing paint between the frames of the window with an almost white color (#dadada).
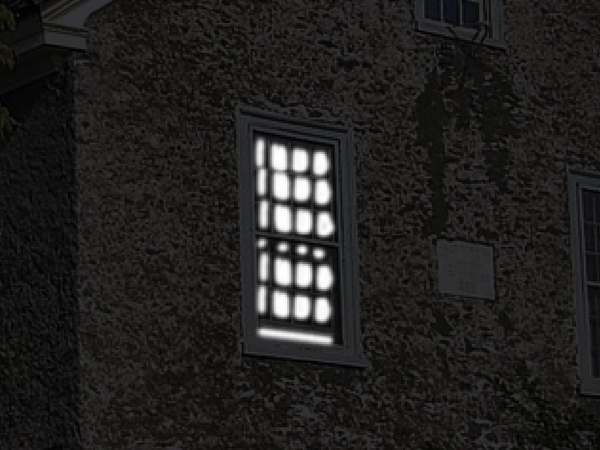
Now choose a round soft brush and paint some glow around the window using a slightly yellow color (#e9e8d4).
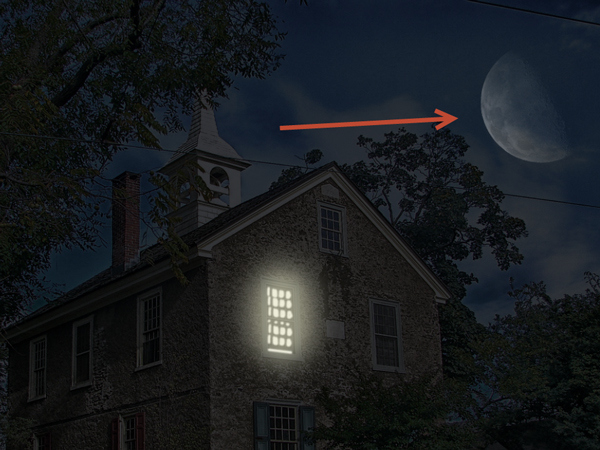
Step 6
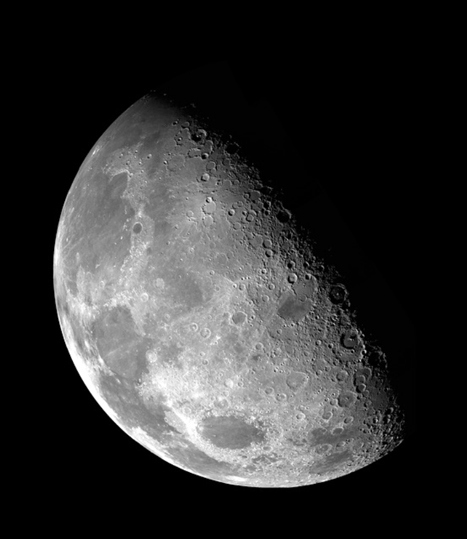
The night is not the night without the moon. Open the image “Moon”.
Choose Select > Color Range and click once anywhere on the black background. Press Ok in order to create a selection. Now press Ctrl + Shift + I to invert it.
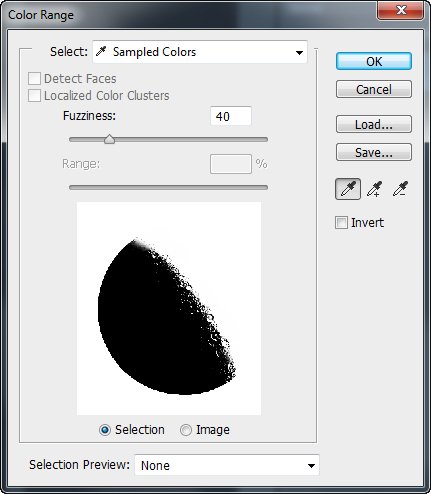

Now copy our selection by pressing Ctrl + C. Go back to our night photo and press Ctrl + V to paste.
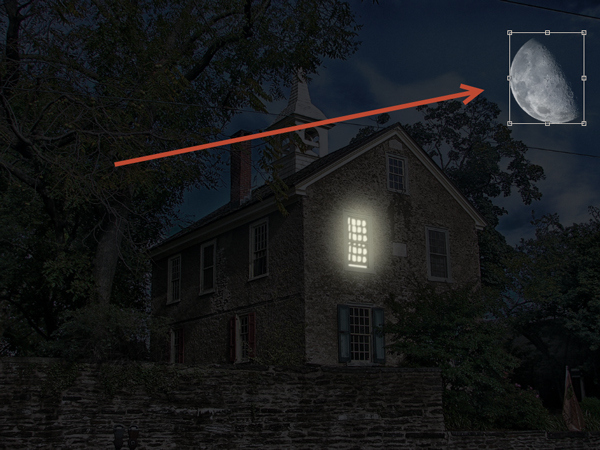
Press Ctrl + T to Transform the moon. Shift-drag on the corners in order to resize it proportionally and drag it from the center in order to place it in the upper-right corner of our image. Lower the Opacity of the moon layer to 72%.
Step 7
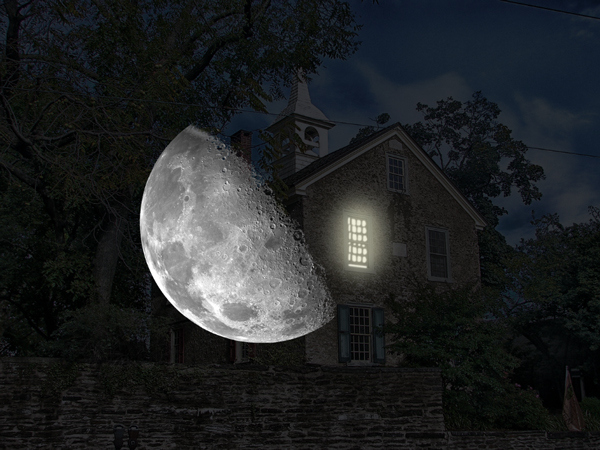
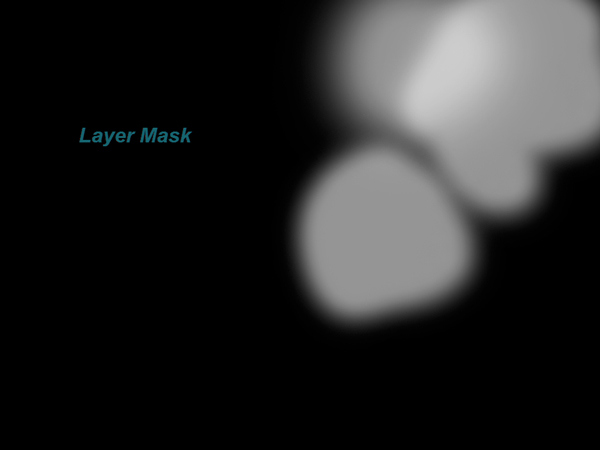
Right now the moon looks way too strong and dominant. Let’s tone it down a bit by adding a layer mask to it (Layer > Layer Mask > Reveal All). Now choose a round soft brush at 50% Opacity and paint with black over the moon to hide most of it. You should have something like in the image below.
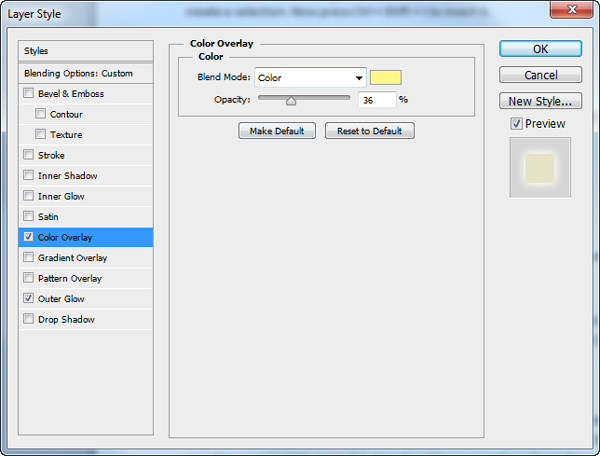
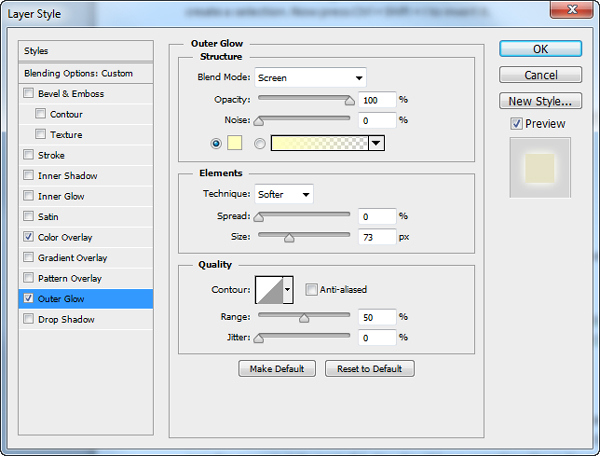
Step 8
The moon usually looks yellow (unless you live on another planet and have a different moon) and it glows a bit. Let’s add those attributes to our moon. Double click the Moon Layer in order to enter Advanced Blending mode and add a Color Overlay and an Outer Glow. For the Color Overlay use #fff587 and for the Outer Glow use #ffffbe.

Step 9
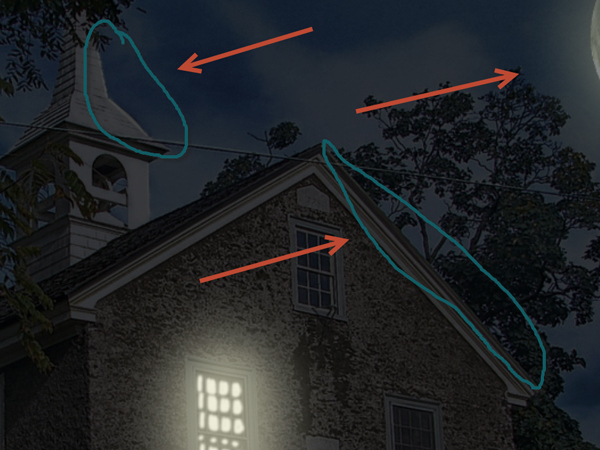
Since the moon is a source of light (a weak one) we should see that reflected in our image. Let’s paint some highlights on areas that should receive light. Use a 1px round brush at 50% opacity and paint with white on the corners of the roof that face the moon, a little on the top of the trees and over the (telephone?) wire in the upper part of the image.
Step 10
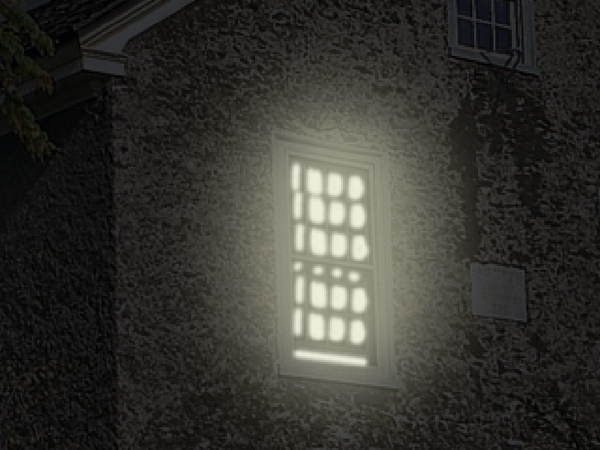
Now let’s lighten some areas that are close to the sources of light. Create a Curves Adjustment layer and add a layer mask to it. Fill the mask with black in order to hide it and with a white brush at 30% Opacity paint around the lighted window and a little around the moon.
Step 11
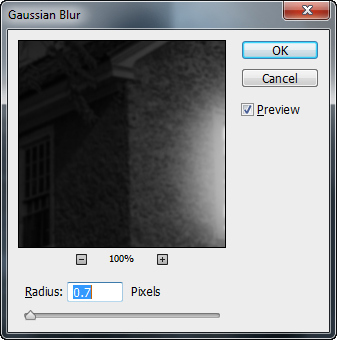
We are almost done. At night the details are not so sharp as in daylight so let’s blur our image and also tweak the saturation a bit.
Create a new layer from all visible (Ctrl + Shift + Alt + E) and apply 0.7px Gaussian Blur to it (Filter > Blur > Gaussian Blur). Desaturate this layer by pressing Ctrl + Shift + U. Now simply lower the Opacity to your liking (60% works nice enough for me).
And We’re Done!