In this Photoshop tutorial we will add an awesome atmospheric blur effect to a photo with a guy doing some skateboard stunts.
Final Image
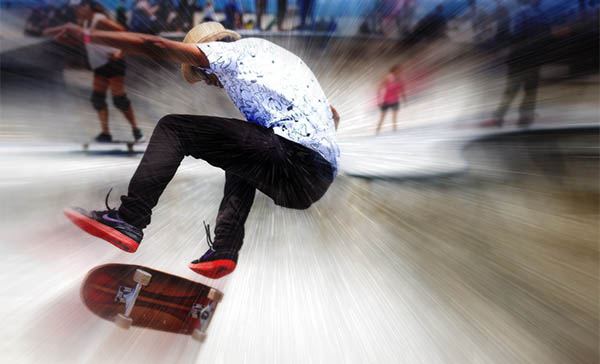
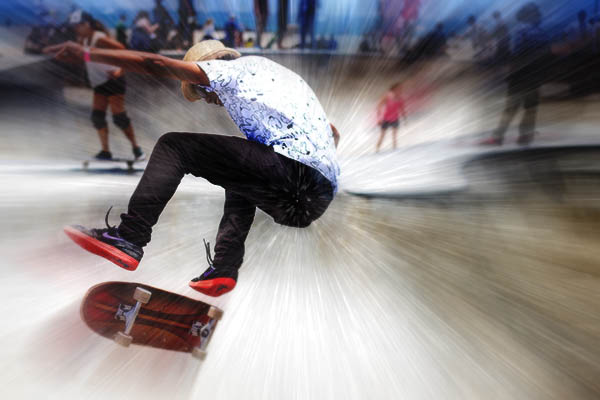
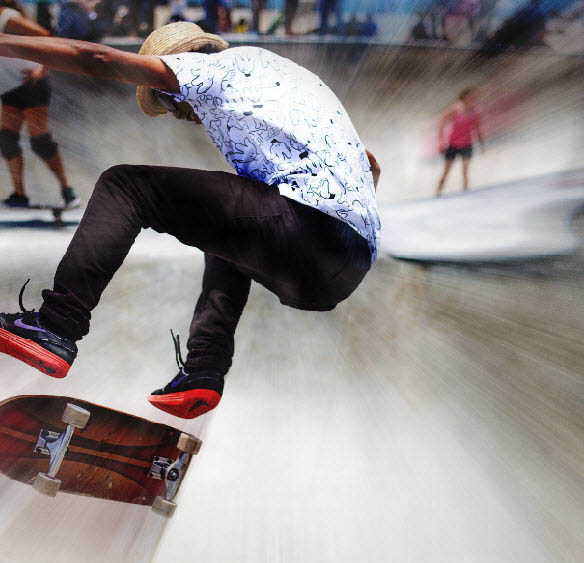
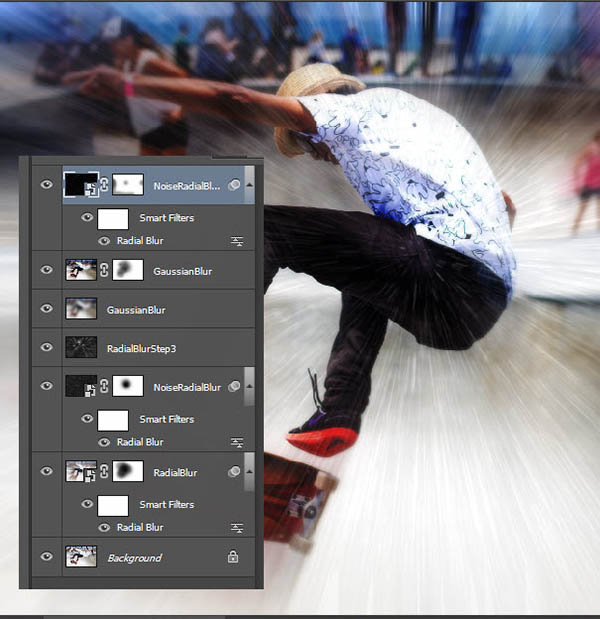
As always, this is the final image that we’ll be creating:
Tutorial Details
- Program: Adobe Photoshop CS3
- Estimated Completion Time: 30 minutes
- Difficulty: Beginner-Intermediate
Resources
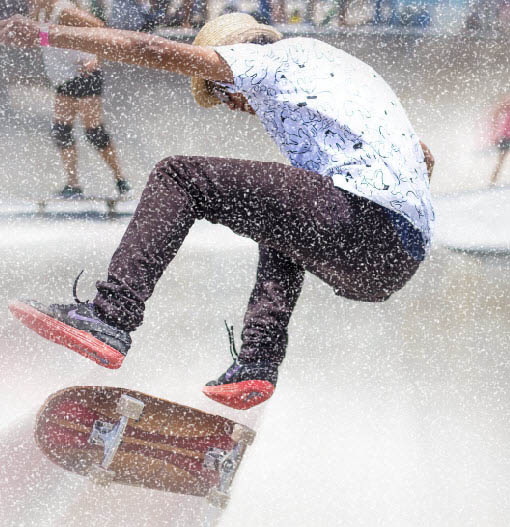
Step 1
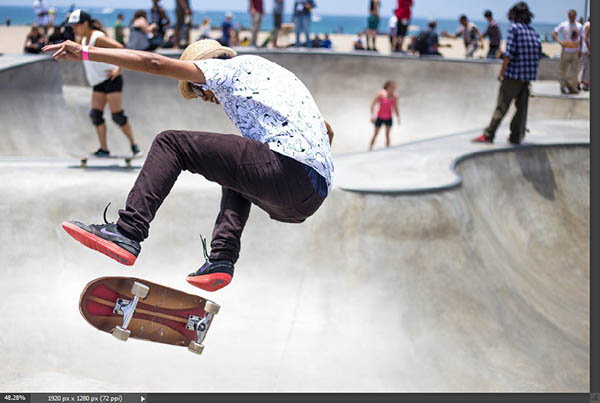
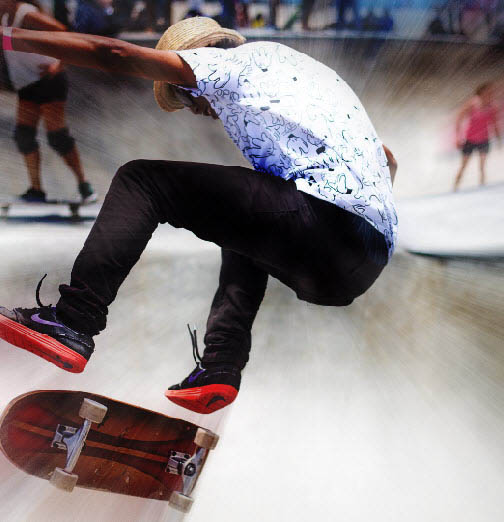
Open the file “Guy an skateboard”. We are going to create our atmospheric effect on this image.
Step 2
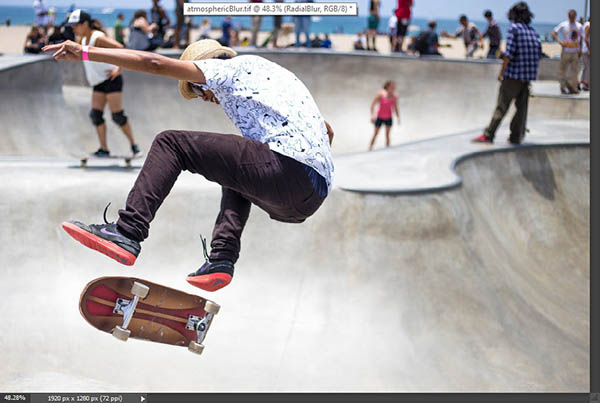
Now we want to apply some filters to this image. The best way to do that in order to have complete control over it is to create a smart object.
Duplicate the background layer by pressing Ctrl + J and name the duplicate “Radial Blur” – because this is the filter that we are going to apply. The image will remain the same because we haven’t applied any filters yet. Convert it into a smart object by right clicking on the layer in the layer palette and choosing from the drop down menu “Convert To Smart Object”.
Smart objects are a very smart way of editing files and layers because they keep the pixel information intact no matter what we do with the layer. You should convert all your imported layers or most of the duplicates to Smart Objects in order to edit your documents non-destructively.
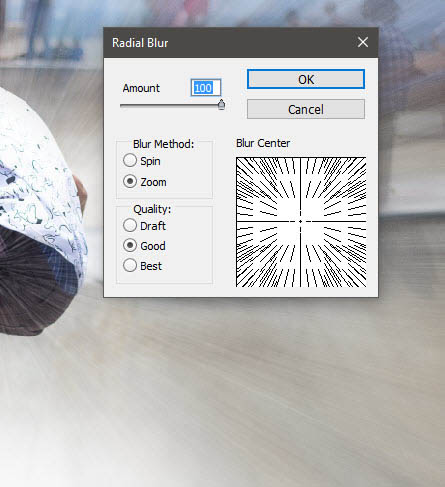
Step 3
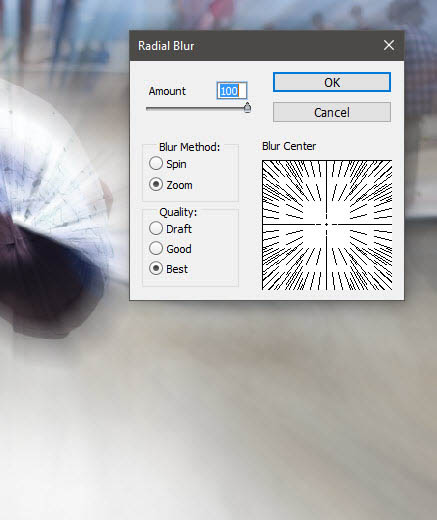
Now let’s apply a radial blur effect. Click on the duplicated layer which you converted into a smart object and go to Filter > Blur > Radial Blur and use the settings shown below to create a nice radial blur effect.
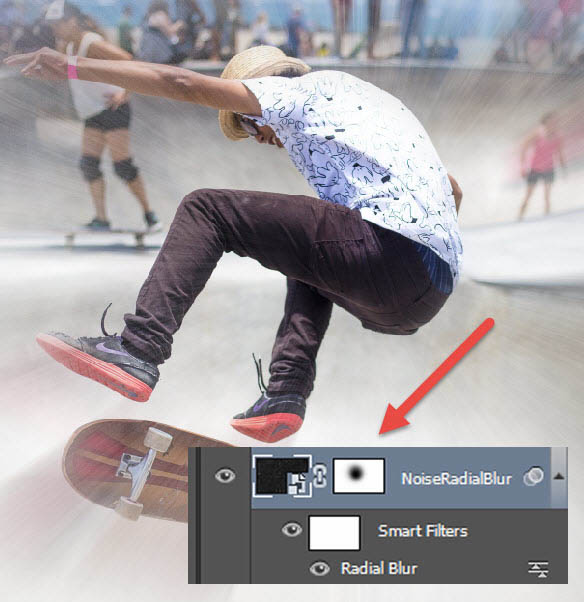
Step 4
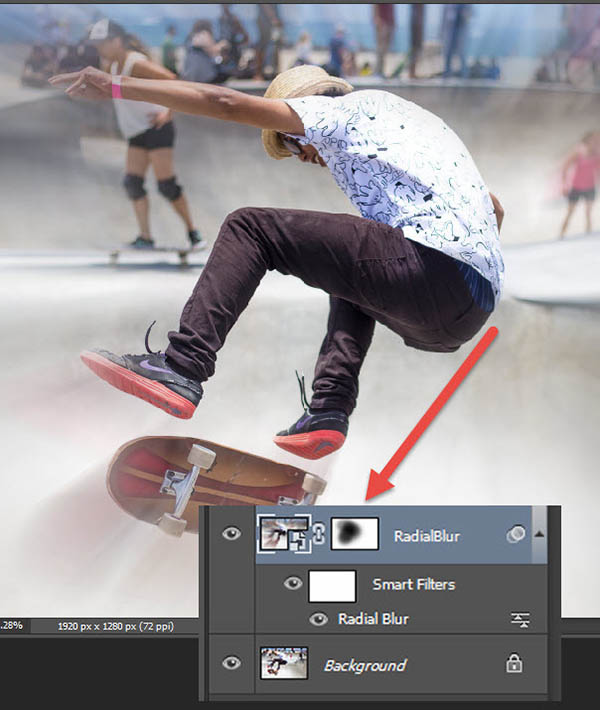
We don’t want the radial blur effect to show on our main character but rather on the margins of the scene. The best way to hide some sections of our radial blur effect is by using a layer mask.
Layer masks are very useful in Photoshop because they allow us to hide partially or completely parts of a layer without actually deleting any pixels.
Add a layer mask to the radial blur layer by going to Layer > New Layer Mask > Reveal All.
Click on the layer mask to make it active and choose the Brush Tool (B). Select the standard round soft brush and set the foreground color to black. In the layer mask paint with the brush over our character and you will see sections of the radial blur disappearing from view because we masked them.
Step 5
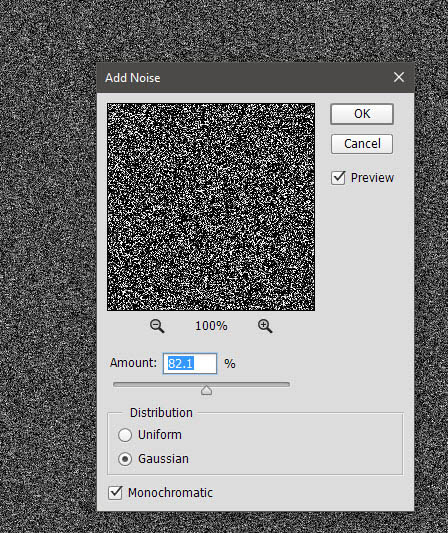
Now let’s create some radial lines going outwards from our skateboard guy. Create a new layer (Ctrl + Shift + Alt + N) and fill it with black (Shift + F5).
Add some noise to this layer by going to Filter > Noise > Add Noise and using the settings shown below.
Step 6
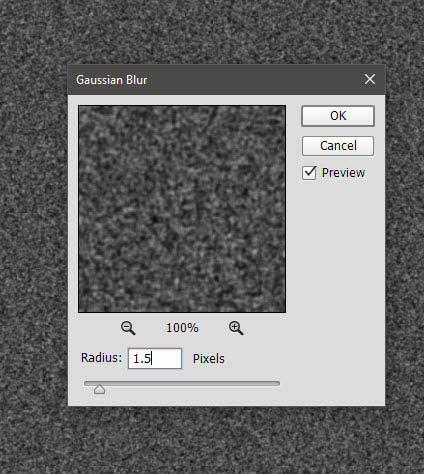
Apply a 1.5px Gaussian Blur to the noise layer by going to Filter > Blur > Gaussian Blur and using the settings shown below.
Step 7
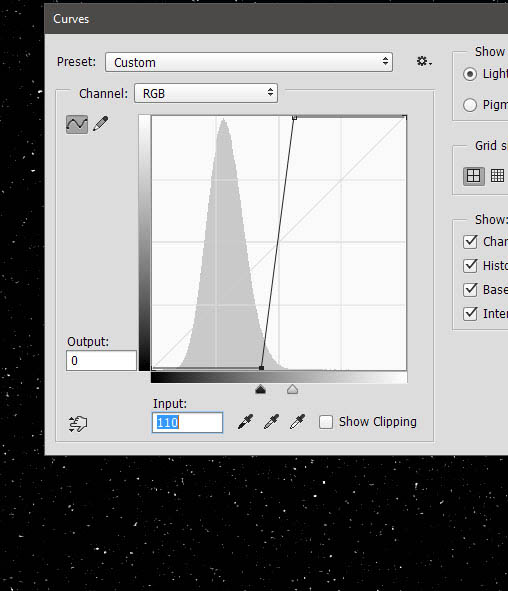
Now apply a Curves Adjustment (Image > Adjustments > Curves) and use the settings shown below to get rid of most of the noise and thus achieve some kind of “stars on a night sky effect”.
Step 8
Change the blending mode of the noise layer to Screen to get rid of the black colors and only show the white dots.
Step 9
Convert the layer into a smart object and apply again a Radial Blur effect (Filter > Blur > Radial Blur) with the settings shown below.
Step 10
Add a layer mask to the radial blur layer and again use a round soft brush in the layer mask to hide the center area (the area where our guy is).
Step 11
Let’s add some more interesting radial blur effects. Create a new layer and render some clouds by going to Filter > Render > Clouds. Next render some difference clouds by going to Filter > Render > Difference > Clouds.
Now apply again some Gaussian Noise by going to Filter > Noise > Add Noise. You should have something like the image below in your scene.
Step 12
Apply the Radial Blur filter again (Filter > Blur > Radial Blur) and change the blending mode of this layer to Overlay. You’ll notice that not only we have added a nice radial blur effect but because we used the Overlay blending mode we have a nice contrast going on.
Step 13
Create a new layer from all the visible layer by pressing Ctrl + Shift + Alt + E and apply a 50px Gaussian Blur (Filter > Blur > Gaussian Blur). Change the blending mode of this layer to Soft Light and you’ll see that we have improved our image contrast even more while softening the colors a bit.
Step 14
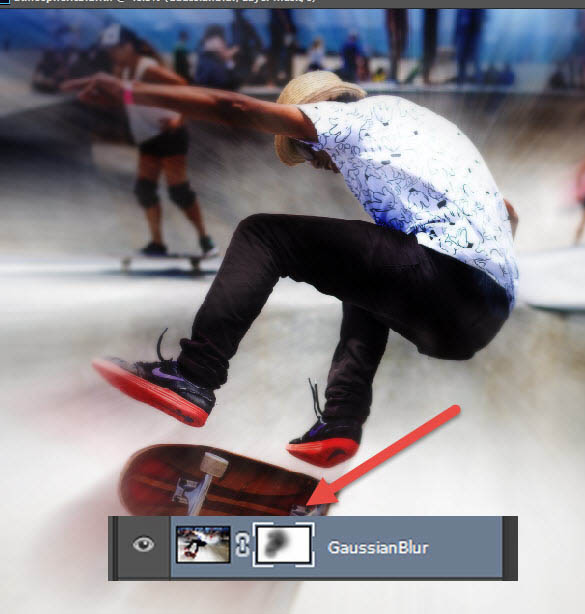
Now let’s apply a selective blur effect – basically this means that we will blur the background a bit in order to bring focus to our main character. Create a new layer from all the visible layers and apply a 3px Gaussian Blur. Add a layer mask to this layer and paint with the round soft brush over the guy on the skateboard in the center in order to hide the subtle blur effect here.
Step 15
Remember the layer we created at steps 5 through 10? Duplicate it with Ctrl + J and move on top of all the other layers in the layer palette. Change the blending mode to Linear Dodge and use the layer mask to hide away the sections where the effect is way too strong (like on the very margins of the scene).
And We’re Done!