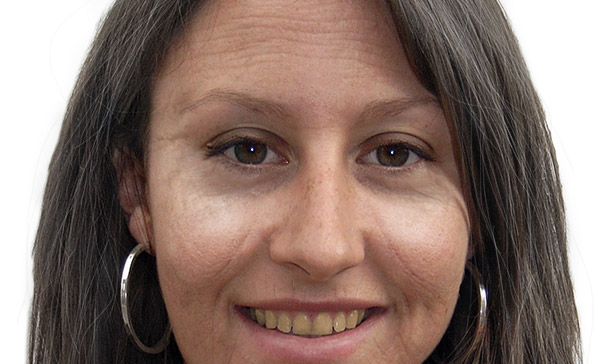
In this Photoshop tutorial we will take a picture of a young woman and make her look older by a decade or two. It’s quite amusing to do this as you can see how you or your friends will look when you get older.
Final Image Preview
Resources
Step 1
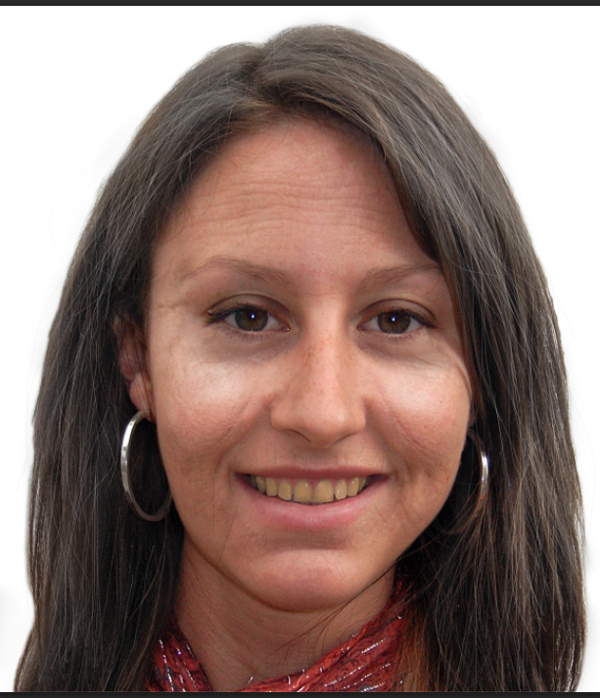
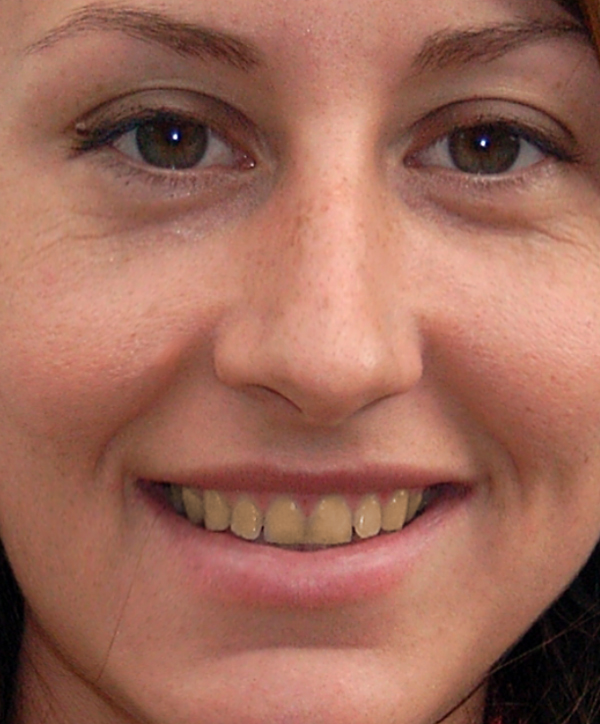
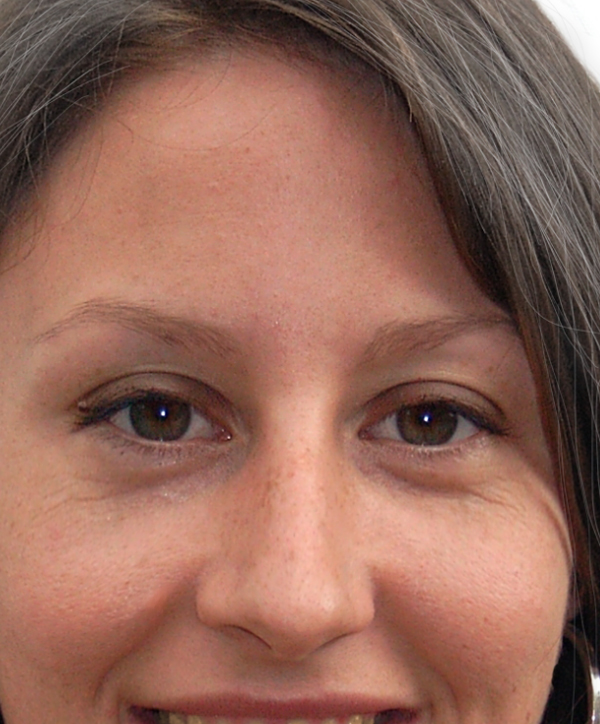
Open the picture “Woman” (or any other portrait). The first thing we want to do is drop/drag down some of the parts of the face. I am talking about cheekbones, nose, jaw. Why? Because that’s what happens to old people. To do this make a duplicate of the original layer (Ctrl + Shift + Alt + J) and open the Liquify Filter (Filter > Liquify). Use the Forward Warp Tool to drag the highlighted areas down.
Be subtle, we are not making caricatures.

Step 2
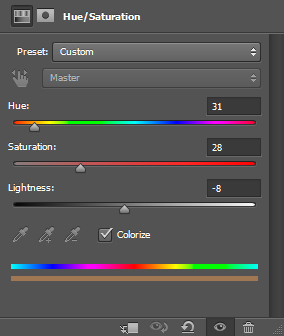
Now let’s make the teeth more yellow. While not a general characteristic of old people, yellow teeth make a person look older.
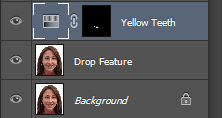
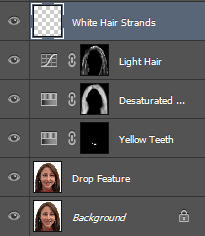
Create a Hue/Saturation Adjustment Layer and use the settings shown below. I have selected a yellow hue and lowered the lightness a bit. Fill the layer mask of this adjustment layer with black and use a round, soft white brush to paint in the teeth in the layer mask. If you don’t know how to use layer masks then check out this tutorial.
Step 3
Generally, old people have gray hair. So let’s make this young’s lady hair more gray.
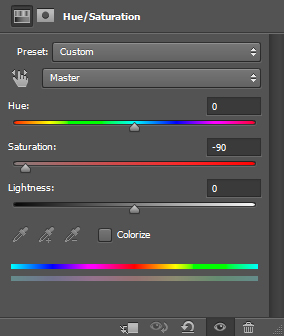
Start by adding a Hue/Saturation Adjustment layer and lower the saturation to -90. Fill the layer mask with black and with a white brush paint over the hair in the layer mask.
Next, add a Curves Adjustment layer to add some lightness to the hair. Drag the curve upwards as shown below to achieve this effect.
Finally, create a new layer (Ctrl + Shift + Alt + N) and with a 1px brush at 50% Opacity and 50% Flow draw some random hair strands. It helps a lot if you have a Wacom tablet, but I did it without it.
Be subtle and if the results are to obvious lower the Flow or the Opacity.

Step 4
Old people have less hair. If this was a man I would probably create some baldness, but as this is a woman, the other area for hair reduction is the eyebrows.
Create a new layer and select the Clone Stamp Tool (S). Set the Opacity of the tool to 30-40% and Alt-click somewhere near the eyebrows to sample. Paint over the eyebrows with the sampled area. Again, my advice is to be subtle.
You can see below how my layer with the cloned eyebrow area looks.
Step 5
Time to add some wrinkles. In order to do this we will use two pictures of old women. If you want to be more realistic you should find old relatives of the person you want to make look older.
Here’s how this process works:
Open the picture of an old woman, select all (Ctrl + A), copy (Ctrl + C) and paste in our document (Ctrl + V). Desaturate the picture (Ctrl + Shift + U) and change the blending mode to Soft Light. Add a layer mask (Layer > Layer Mask > Hide All) and using a white soft brush at 30-40% opacity paint over the areas you wish to reveal in the layer mask. To position the wrinkles correctly, use the Free Transform to resize and position the layer.
Here’s how I made the forehead wrinkles:
After I imported the image of the old woman and desaturated, I used Free Transform (Ctrl + T) to position the image correctly over the face of the young woman.
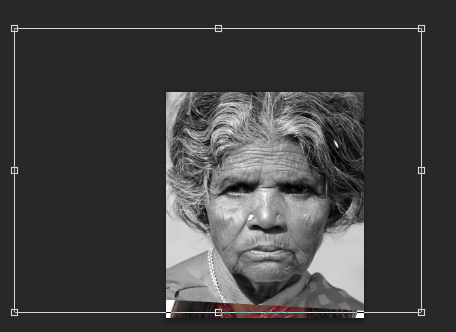
After I filled the layer mask with black I used a white round soft brush at 40% Opacity to reveal some of the forehead.
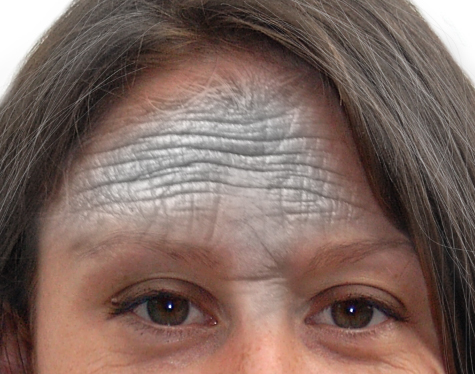
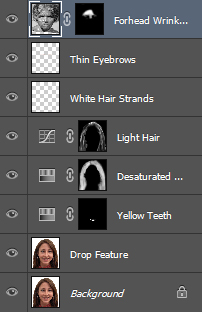
I changed the Blending mode to Soft light and played with the opacity until the results looked good. 50% Opacity did the trick.
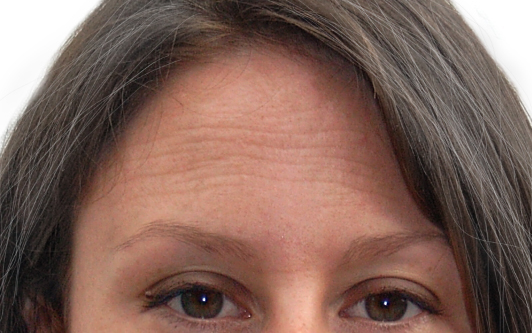
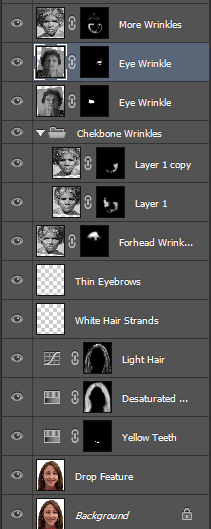
Now repeat the step above for the cheekbones, eyes and where you feel that wrinkles are required.
Here’s how my picture looks:

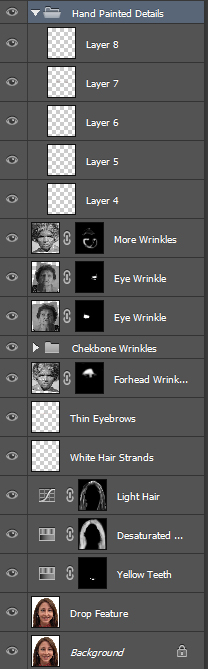
Step 6
The final step is to add some final hand painted details. Use a 1px brush at 20% Opacity and 40% Flow to paint some more wrinkles over the upper lip, on the neck and near the eyes. Increase the brush size to 30-40px and paint some black bags under the eyes.
This step is optional but it adds to the realism of the final result. Be subtle and don’t draw heavy wrinkles as they will look fake.
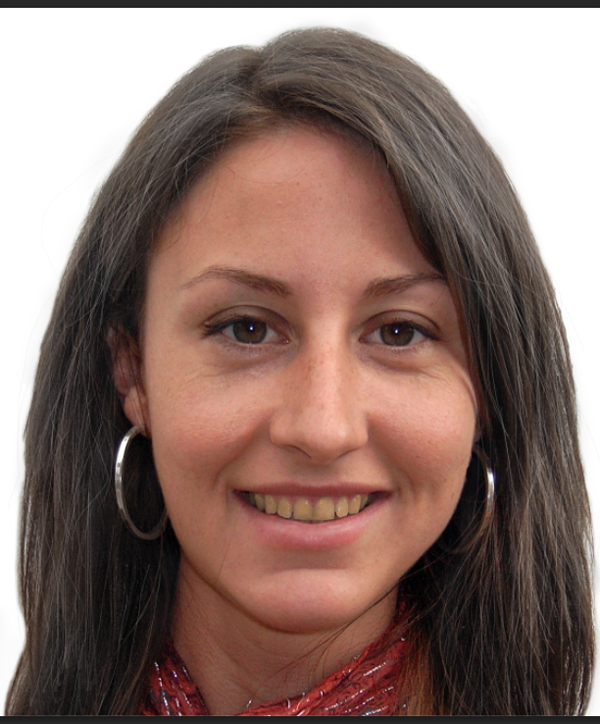
Final Image
There is room for improvement – like adding more hand painted wrinkles and hunting every single strand of hair to make it grey – but I leave this as an optional exercise for you.