
Well, under impression after viewing movie, I thought to write the lesson how to create wallpapers for ‘Watchmen’ movie.
First of all, begin our lesson with creation the new document, sized 1900×1200 px and fill the canvas with black colour.

After that we need to draw yellow ribbon with the movie name. To make this let’s create a new layer, then use the Rectangular Marquee Tool, make selection in similar proportions as you can see on a picture bellow and fill it with yellow colour (#fff600).

Then deselect this ribbon with Ctrl+D, next we need to add some appropriate texture to create grunge background on the yellow ribbon. You may use Google Images to find the texture you like or take my texture. Bring it to our canvas and copy a couple of times:
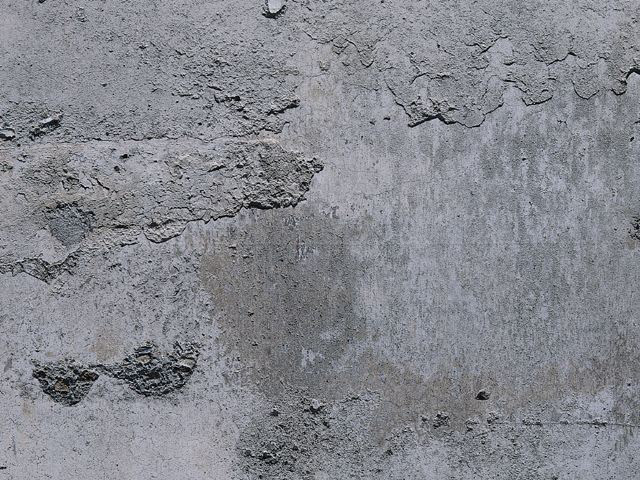

Now, you can see texture’s borders. I think it’s necessary to hide them smoothly to make texture as one thing. This effect can be reached using the Eraser Tool and a soft round brush about 150 pixels.

After that merge all the layers of texture in one, then select the lowest layer with yellow ribbon (Ctrl+left click the first button Layer Thumbnail in the Layers Palette), invert the selection using Ctrl+Shift+I and press Delete to erase selected area. Then remove selection using Ctrl+D and change layer mode to Multiply, also set up opacity to 70%. We should get the next picture as the result:

Time to add the text. To do this use the Horizontal Type Tool and write out the movie name ‘Watchmen’ capital letters and black colour. Use the following settings for this text layer:

You can see the result below:

To get the same text style as it was in a movie, we need to make the font a little bit narrow; it’s possible to do this using Free Transform (Ctrl+T). You should get the same result as on the picture bellow:

Then merge all layers with ribbon including text layer into one layer and make selection using Select > Load Selection. After that select the Gradient Tool and fill near both sides from transparent to black gradient to get the following result:

Ok, go to the next step. Deselect chosen area with Ctrl+D and apply Filter > Blur > Gaussian Blur with moderate settings:

See the result now:

Then we need to adjust sharpness of relief. We can do this using the Sharpen Tool (Brush: 250 px, Mode: Normal, Strength: 100%).

After that we have adjusted sharpness of relief on a ribbon, make the selection as shown on the picture bellow and fill it with black to transparent gradient:

Ok, move forward to next step. We need to create background where we can put one of the movie’s characters. Go to one layer lower and create a new layer (yellow ribbon with text will be over all layers). Use the Brush Tool (soft round brush about 300 pixels) to make a big spot using colour of #0d4476.

Apply Filter > Blur > Gaussian Blur to this layer with settings shown on picture bellow:

And get this one result:

Ok, now create new layer, then choose the Brush Tool again with same settings and draw new one spot, but a little bit less then previous one. Use the colour of #cc1b1b for this layer.

Set opacity up to 33% for this layer, then create a new layer and draw new one spot on it, using colour of #9b21da:

Now set up opacity for this layer to 22% and after that create a new one layer again. Draw the last blot on it using colour of #0024ff:

Set up opacity for this layer to 18%. Now we need to add some clouds. In order to do that, you require these brushes. In addition, you may use any brushes of clouds which you like. Choose the Brush Tool and make brush print on the new layer, using colour of #2d66b5.

Then create a new layer and using other impression of brush, make a new print with colour of #5b5489.

In the same way make the third print with color of #7e567f.

Looks good as for me, but something are missing. Probably, the main character. Dr. Manhattan will be better variant as for me. How we can create it by ourself? To get started, it is necessary to find appropriate clipart of naked muscular men. You can find the picture on the web using Google Images, but also do not hesitate to use my clipart. Bring our picture to the canvas and cut the white background using the Polygonal Lasso Tool and after slightly lower this image. You should get around this result:
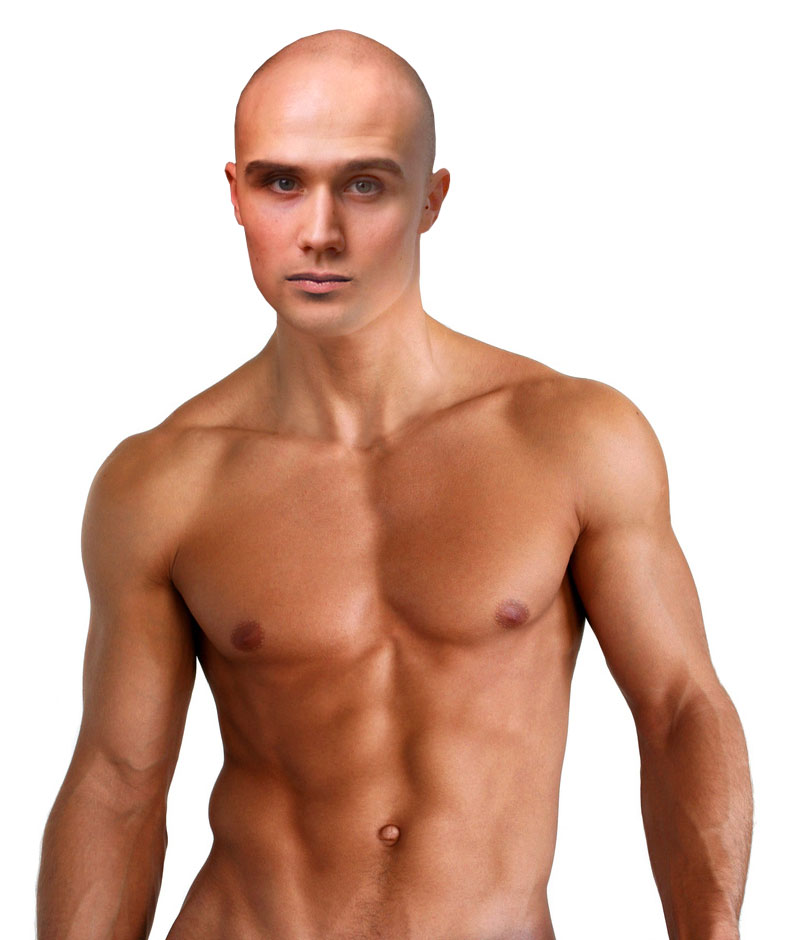

Then apply Image > Adjustments > Hue/Saturation with following settings:

After that apply Image > Adjustments > Brightness/Contrast, to increase contrast.

You may see the result below:

Then apply the Outer Glow layer style to this layer:

See the difference now:

Ok, further, we pass on to the next step. We need to make the glowing eyes for our main character. Create a new layer, then take the Polygonal Lasso Tool to make the eye selection and fill it with colour of #658de2.

Deselect eye area with Ctrl+D, now use the Dodge Tool (Brush: 15 px, Range: Midtones, Exposure: 50%) and starting lighten place of an eyeball:

Then create a new one layer below this, get out the Polygonal Lasso Tool to make a new selection as shown on my picture below and fill it with colour of #221ea9.

Deselect chosen area and change layer mode to Multiply.

The same actions as we did we do for the second eye. Look what we will have:

Looks good, isn’t it? Go to the next step. Now we need to add the circles on forehead which the main character of the movie have. To do this select the Elliptical Marquee Tool and make selection as shown on the picture below and fill it with colour of #221ea9:

Then use Select > Modify > Contract to reduce selection about 1 pixel, now press Delete to clear selected area.

Remove the selection using Ctrl+D and draw two more balls in the same way.

Now change the layer mode to Multiply. The circles on character forehead should become darker.

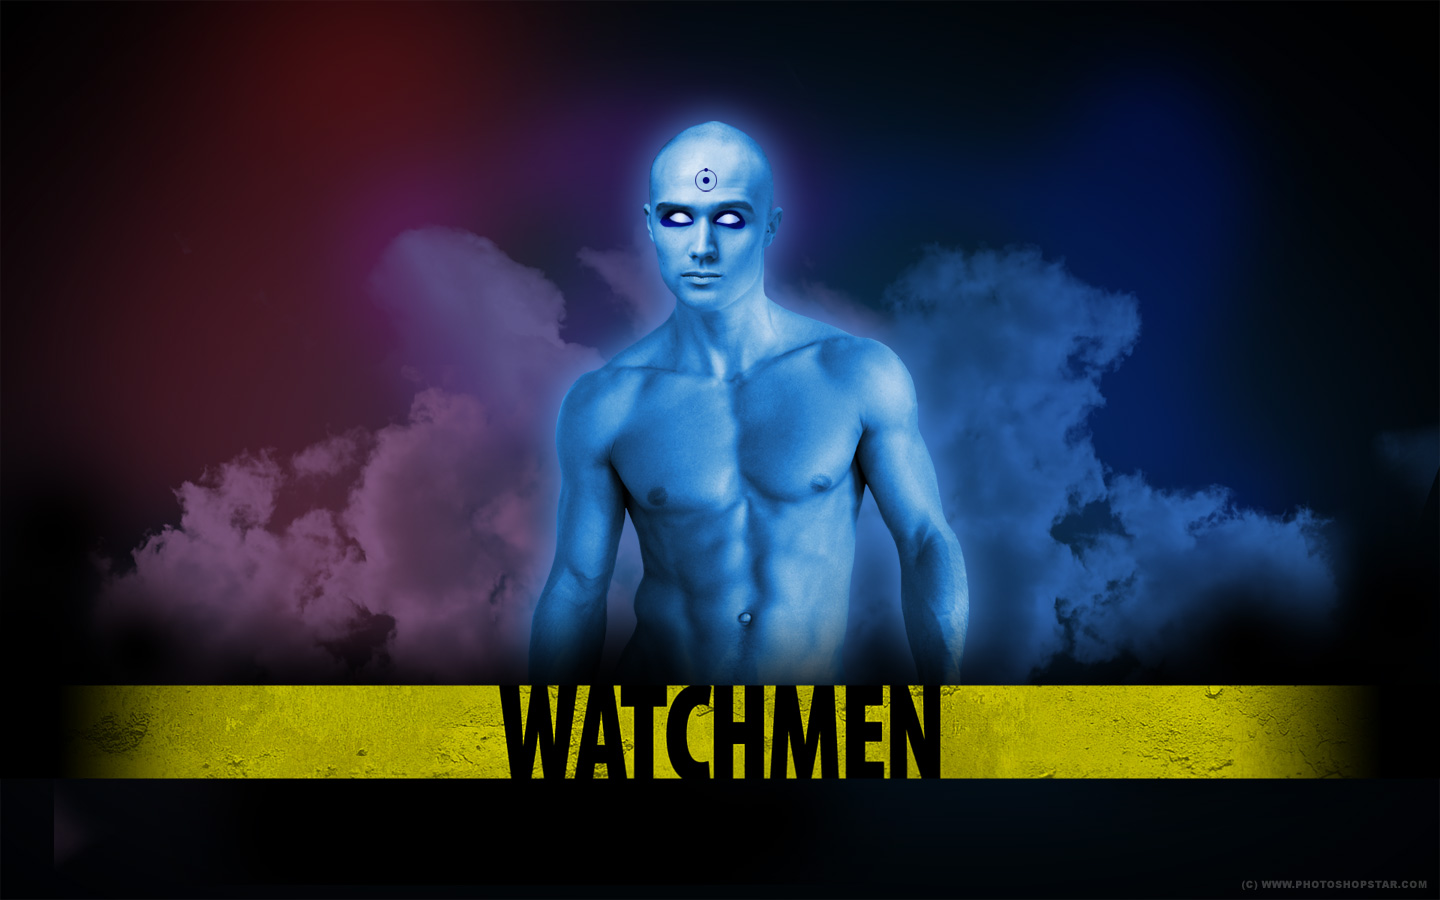
And the last thing we can do is add a little black haze on the ribbon. To do this, take the Brush Tool and make black smears. Your wallpapers should look as mine now:

At the same time, we have completed our wallpapers. I hope you get the result that you expected. Do not be afraid to experiment and you will get excellent results!
1024×768 | 1280×800 | 1280×1024 | 1440×900 | 1680×1050 | 1920×1200