
Are you missing old times? I have one pleasure thing for you… vintage greeting card. So, this Photoshop tutorial about how to create it.
Let’s start! Create a new file 700×700, then fill it with color of #502b2b.

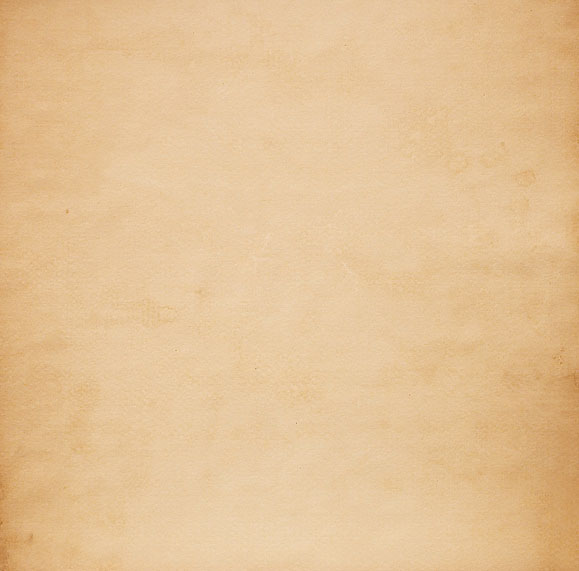
After that I would bring some vintage texture to canvas. You can find different textures using Google search or feel free to use this one. Ok, open the file and go to Edit > Define Pattern to save it as pattern, then close the file and go back to main document. Apply the following layer styles to the background layer:
• Pattern Overlay


Create a new layer and fill it with black color. Get out the Elliptical Marquee Tool and make a round selection as below:

Use Select > Modify > Feather (size about 70 px) to make selection borders softer and press Delete to clear selection, then press Ctrl+D to deactivate selection.

Now is the main step. Prepare to create a vintage greeting card. First of all find some old style paper and photo. Go to Google search again and find some proper pictures or feel free to use this old style paper and vintage photo. So, at first bring the old style paper to the canvas and crop it till sizes shown below:

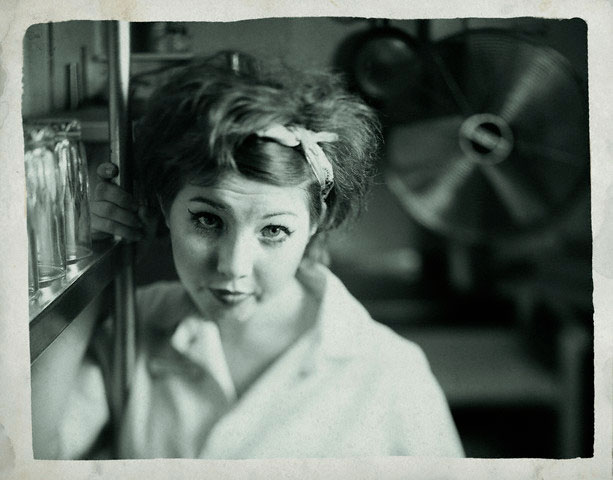
Ok, after that bring photo to the canvas and crop it to the similar sizes:

Then click on Image > Adjustment > Desaturate to make your photo black-and-white and change layer mode to Luminosity:

We’ve been missing something important up until now, haven’t we… time to add some text!
Get out your Horizontal Type Tool and write something like below:

In the above image I’ve used Adobe Caslon Pro as my font of choice, and I’ve used color of #221301.
Actually, it is commercial, but if you don’t have it, you can easily find a good alternative. Ok, and the last one thing that we need to add is design elements, you can find it using Google search also or try this one.

Now merge this layer with the text, then get out the Eraser Tool, and select one from the standard Photoshop brushes with settings similar to these:

Make a little scratches and abrasions as below. Make the same things with photo:

Merge all layer of photo on one. Now I would like to make rough edges photos. For this effect create a new layer and fill it with white color. Then select the photography confines (Press Ctrl+ Right click the Layer Thumbnail in the Layers Palette) and fill the selection on the upper layer with black color. Press Ctrl+D to remove the selection. Then apply Filter > Brush Strokes > Spatter with the next presets:

Your picture should look as mine:

Ok, now use Magic Wand Tool to select white color and press delete to remove it. Apply Select > Load Selection to load the selection (after that you can delete the layer with black rectangle, we don’t need it more) then apply Select > Modify > Contract to contract the selection about 2 pixels and press Ctrl +Shift+I to invert the selection. Press Delete to clear image in selectied area and deselect it with Select > Deselect.

Use Blur Tool (Soft round brush about 25 px, Strength: 40%) to make card edges softer:

And the next step what we need to do is add some noise to give photos of noise to enhance the vintage effect. Apply Filter > Noise > Add Noise with the following presets:


Nice effect! Isn’t it? Ok, now we need to rotate it and transform a little bit. Press Ctrl+T and rotate the picture as shown on my picture:

After that apply Edit > Transform > Warp to curl cards angle as below:

Not bad now! The last thing we really need to do is add a little glare on the card. Create a new layer again and make selection using the Polygonal Lasso Tool as on picture below. Then apply Select > Modify > Feather to feather selection about 7 pixels, after that activate the Gradient Tool and a white to transparent gradient, fill in the work area as on picture below.

Then select previous layer with Select > Load Selection and go back to layer with gradient, press Ctrl+Shift+I to invert the selection and press Delete. Remove the selection with Ctrl+D and set opacity for this layer up to 70%. Alright, now, hopefully your canvas should look like this:

I finished off with this tutorial. Hope it was interesting and useful for you!
