
It is easy to make real pearl necklace. Don’t you believe? Just try!
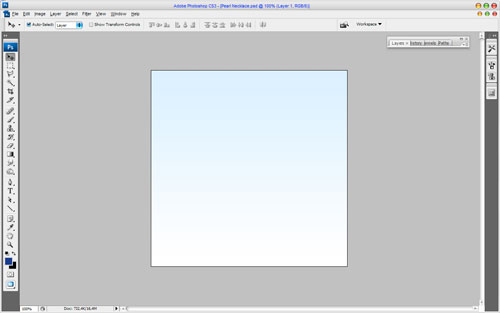
Ok – open up a new document something like something like 500×500 pixels, white background.
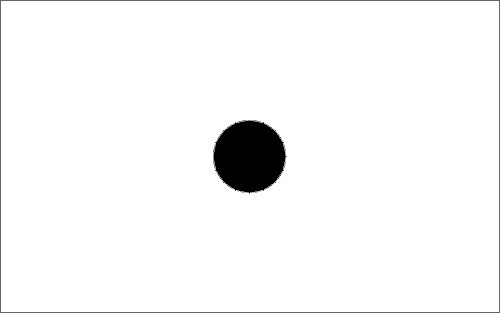
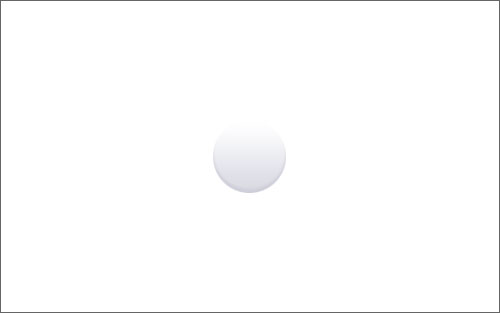
Create a new layer. Then use the Ellipse Tool to create the round shape. In nearest future it will be the pearl.
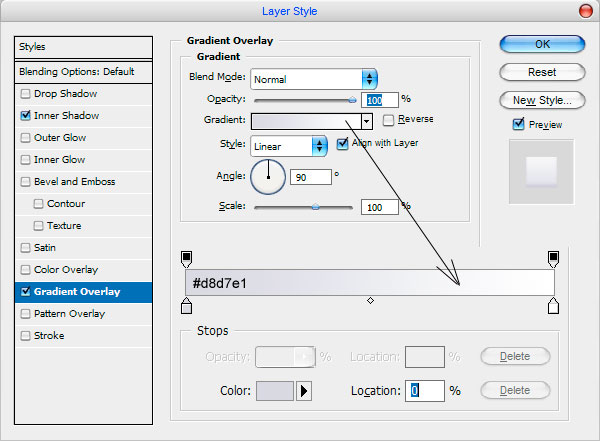
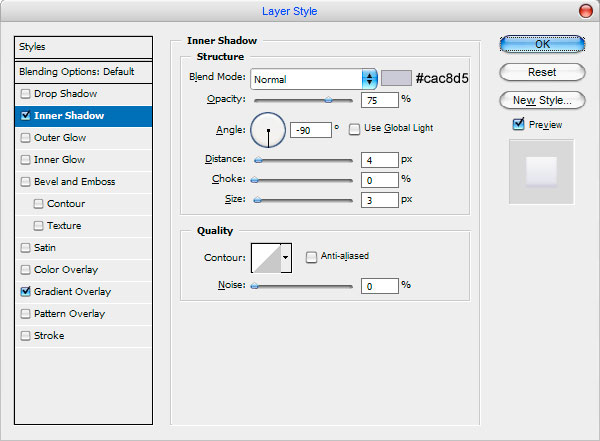
Apply the Inner Shadow, Gradient Overlay layer style to this round shape.
Apply Select > Load Selection, then create a new layer (Layer > New > Layer) and fill the selection with color of #cac8d5. Press Ctrl+D to remove the selection. Select Eraser Tool to do flare at the pearl.
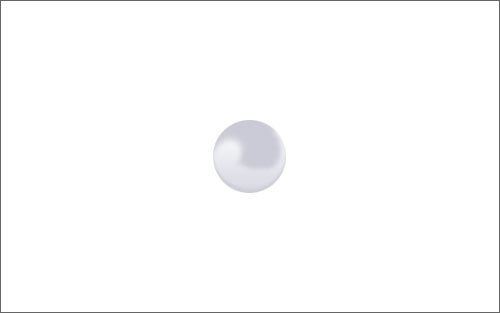
Then use Dodge Tool to make flare more contrast in bottom.

Now, time to add a few bright flare to our pearl. Make selection with Elliptical Marquee Tool and fill it with white color.
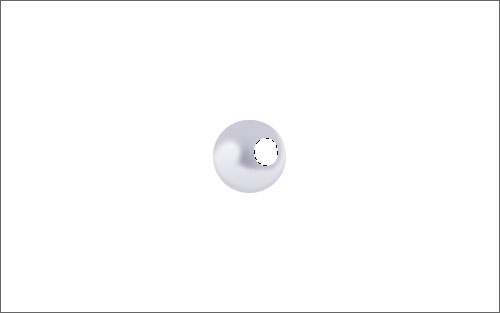
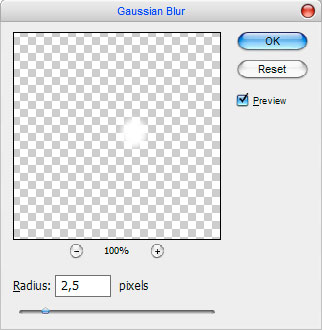
Press Ctrl+D to deselect chosen area and apply Filter > Blur > Gaussian Blur with similar settings to these:
Now we have something like this:
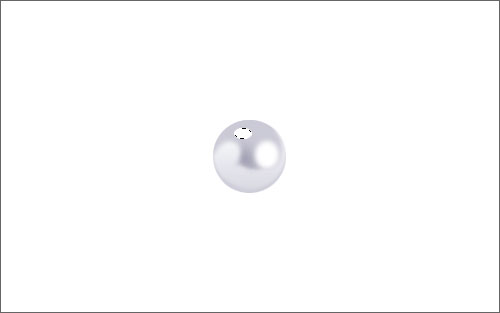
Make the same things to add a new one flare.
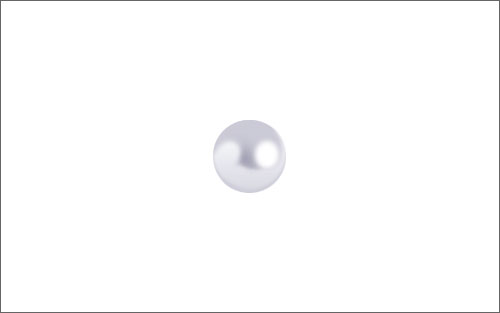
Your pearl should now look something like the image shown below:

Merge all of your ‘pearl’ layers into the one layer. Now you need to draw something like the arm for pearl necklace. Temporary make ‘pearl’ layer invisible (click on the eye, which indicates layer visibility) in the Layers Palette. Go to the background layer, select some colors, for example colors of #ddefff, #ffffff (white) and drag a linear gradient.
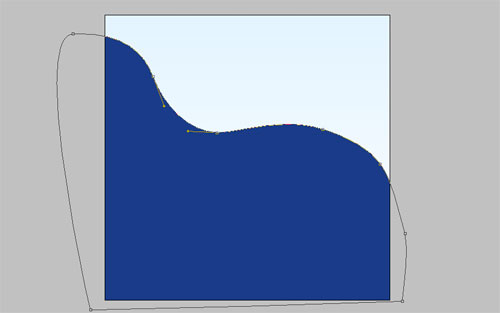
Use the Pen Tool to create the shape of your arm. Select the color of #2e3388.
Press Ctrl+J to duplicate layer. Go back to the lower layer, and then click the Layer Thumbnail in the Layers Palette and chose Rasterize Layer. Change in color to #8b8ed1.
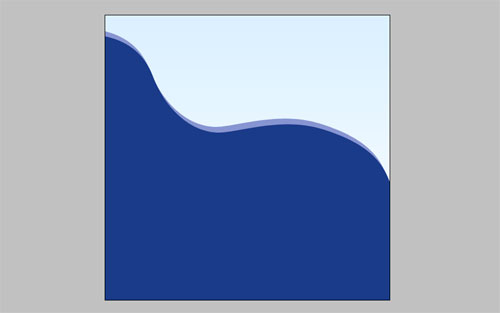
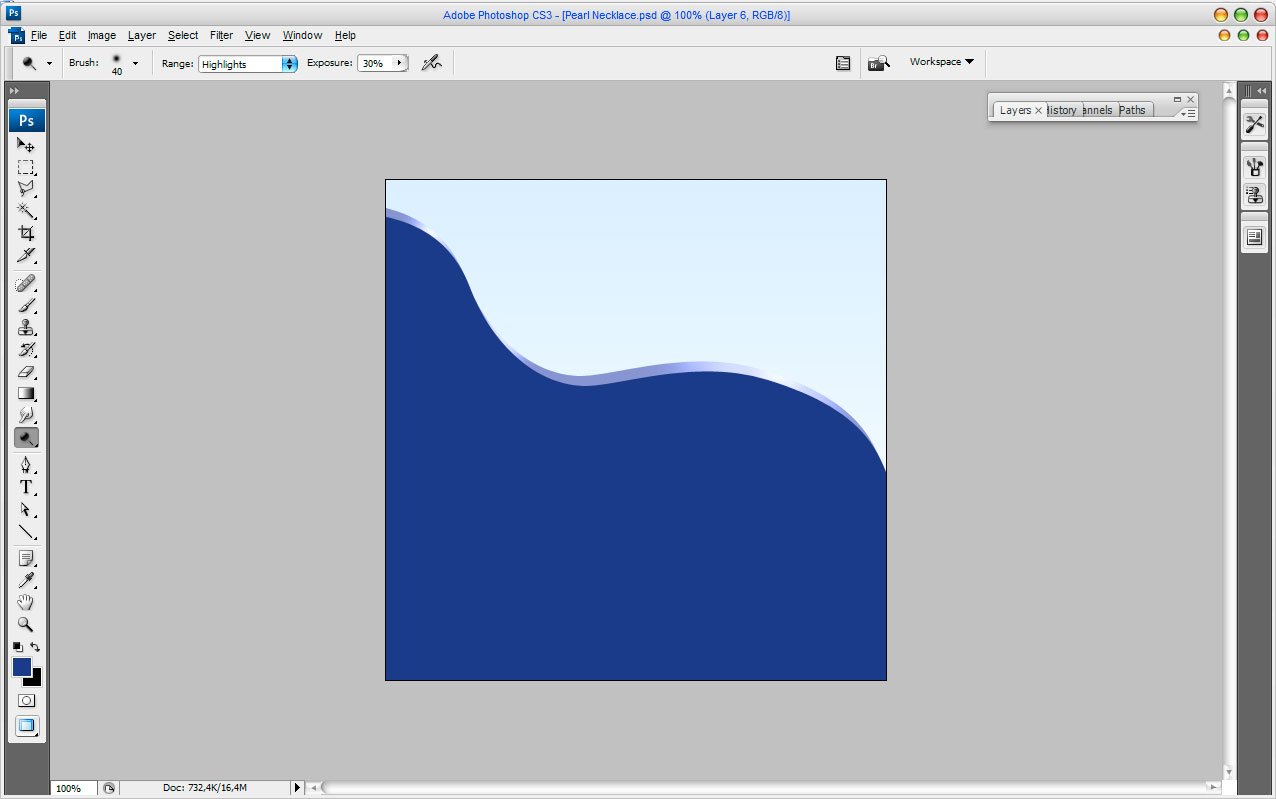
Using the Dodge Tool with moderate settings (Highlights, 35%) do a little bit of dodge-work on the arm surface.
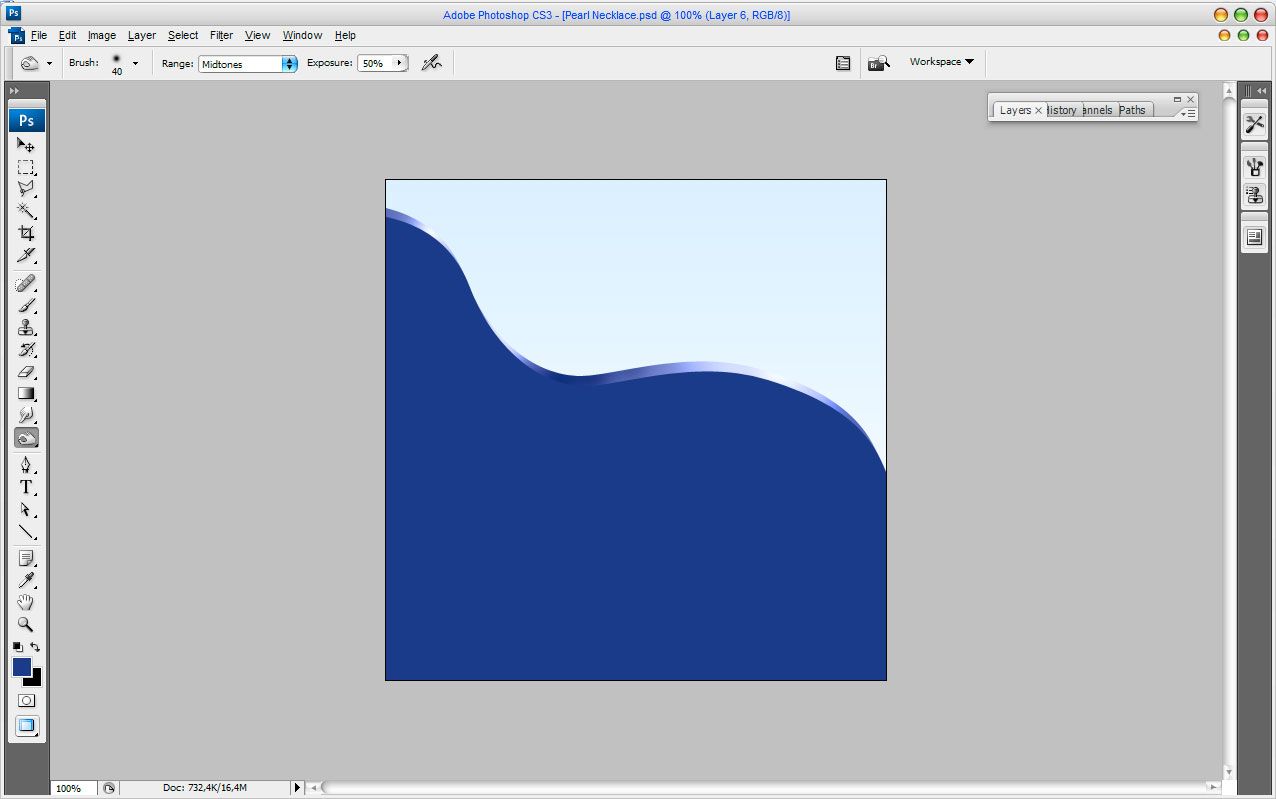
Make the same things using the Burn Tool with moderate settings (Shadows, 30%). Now we have something like this:
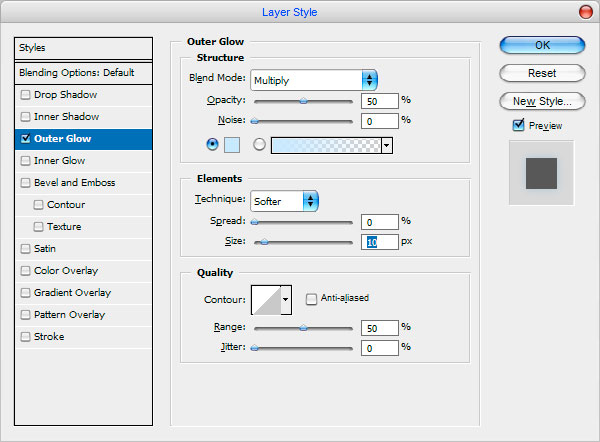
After that apply the Outer Glow layer style to this layer.

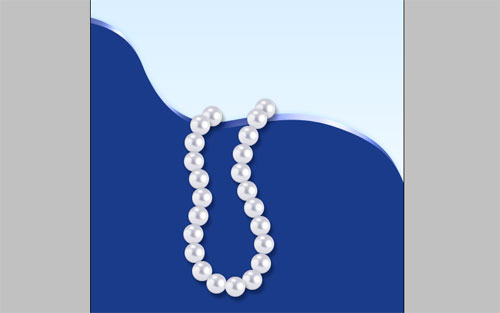
Ok, we’re done for that part. Now begin to create necklace. Go back to the ‘pearl’ layer and make it visible again (click on the eye, which indicates layer visibility). Then reduce it to two and a half times, press Ctrl+J a couple of times and move layer copies to get something like necklace as on picture below:

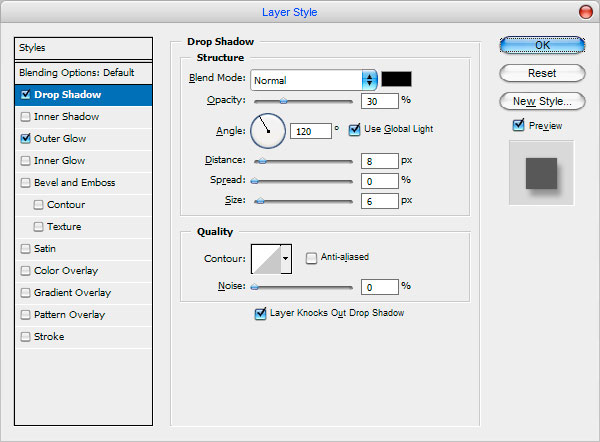
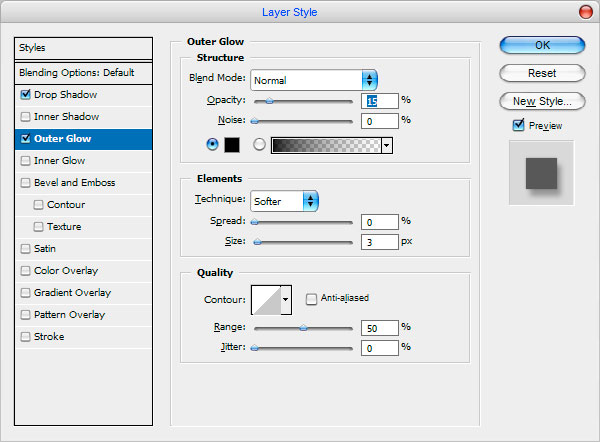
Not bad now! Apply the Drop Sahadow and Outer Glow layer styles to this layer.
Ok, to finish off with the pearl necklace I think we should add some binding thread. Select the Pen Tool (you need to make sure that you’re working with Paths instead of Shape Layers). Draw out your thread using paths:

Now make selection from path (Right click on shape form on the Canvas > Make Selection with radius of 0 pixels), create a new layer and go up to the main menu, select Edit > Stroke then select the black color and a stroke width of about 2 pixels.

Remove the select using Select > Deselect. Then use Eraser Tool to cut away some parts of the thread. You’d now have this:

We are done! Hope it was easy and funny for you.