
So, would you like to cheat a little bit? In this tutorial I will show you how to make a realistic film strip in Photoshop like on the photo.
Start by creating a new document in Photoshop. I’ve used the canvas size 500×300 pixels for this tutorial. Then fill it with linear gradient using colors of #d7d7d7 and white (#ffffff):

Now, select the Rectangular Marquee Tool and make selection like on picture below, then fill it with black color.

Remove the selection with Ctrl+D. Now you need to make the shape of the future frame. You can do this by either using the Rounded Rectangle Tool (Rasdius: 7px). Now, draw out your frame onto the canvas in whatever color you want (it doesn’t matter what color to use).

Duplicate this layer with Ctrl+J and move it left.

Make the same things a couple of times.

Now, select the Rounded Rectangle Tool (Rasdius: 2 px) again and draw a small shape like on picture below:

Duplicate this layer more times and put these copies on film like on my picture:

Merge all small shapes in one layer and duplicate a new layer with Ctrl+J, then move it down.

Merge two of these layers again, after that select this layer with Select > Load Selection. Now we can delete this layer, because we don’t need it more. Go to the black film strip layer and press Delete to clear selected areas on the layer.

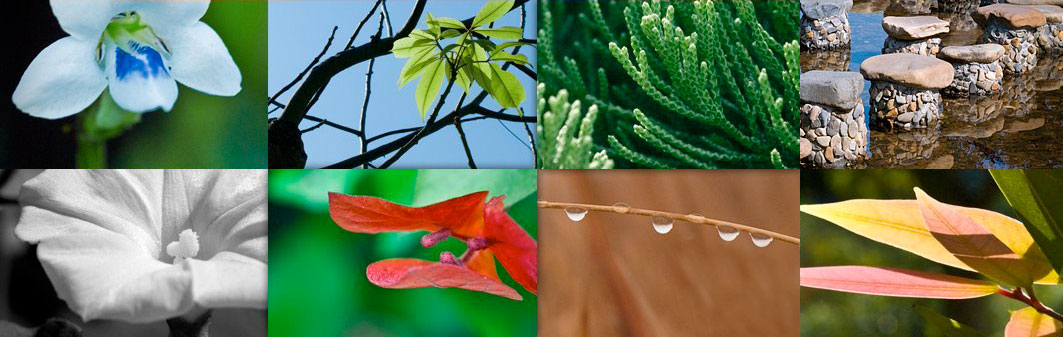
Remove the selection with Ctrl+D. Time to add pictures to the film strip. Find some appropriate pictures by using Google Images. I prefer to use this one. Use the Rectangular Marquee Tool to select fragment of the picture, then copy it onto your canvas and reduce it like on my picture.

Select the shape under the picture (Ctrl+left click the shape Layer Thumbnail in the Layers Palette), after that press Ctrl+Shift+I to invert selection and press Delete to make clear selected area.

Remove selection with Ctrl+D. Fill other shapes in the same way.

Ok, merge all layers of the film strip in one and use Image > Adjustments > Brightness/Contrast with next presets to make our picture more contrast:

We received the next picture as the result.

Ok, the next step what we need to do is divide this strip into parts. Make selection with Rectangular Marquee Tool and press Ctrl+Shift+J to cut selected area on the new layer.

Cut the other one strip part in the same way.

Now, duplicate all of strip parts with Ctrl+J and apply Edit > Transform > Flip Vertical to flip it vertical, than move it down to get the picture like mine. Set opacity up to 30% for each lower layer.

After that hide lower layers (click on the eye, which indicates layer visibility). Select one of original film strip layers and transform it with Edit > Transform > Warp. Then transform other two layers in the same way.


Go back to hidden layers and make it visible again. After that apply Quick Mask Mode with gradient as below:

Then go back to Standard Mode. Now we have some selected area.

Press Delete to clear image into the selected area. Go to other two layers and make the same things with it.

Press Ctrl+D to deselect area and apply Edit > Transform > Warp for each of three layers.


Well, that’s about all for this tutorial, sorry! I hope you enjoyed it, at least a little bit!