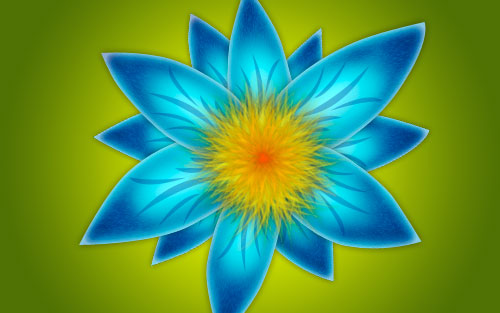
In this tutorial I’m going to teach you how to draw nice flower just like the ones below!
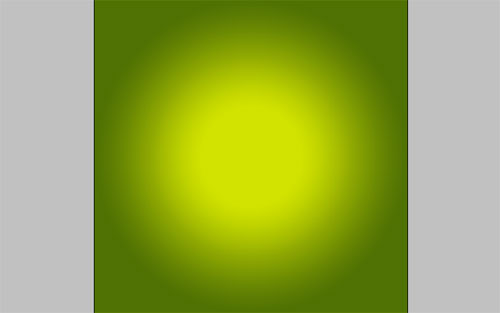
First of all let’s create a new document in Photoshop. For this tutorial I’m using size of500x500 px with all of the default settings. Select some appropriate colors, for example colors of #ccea01, #507502 and drag a radial gradient.
Now begin to create flower petals. Do this by using Pen Tool. I prefer to choose the color of#35d5e6.
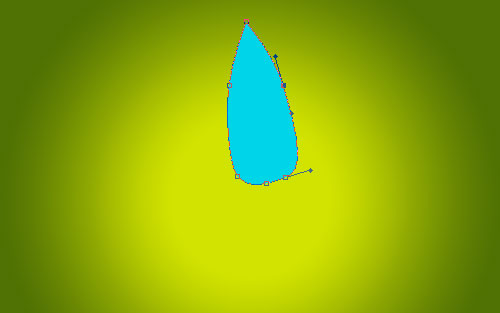
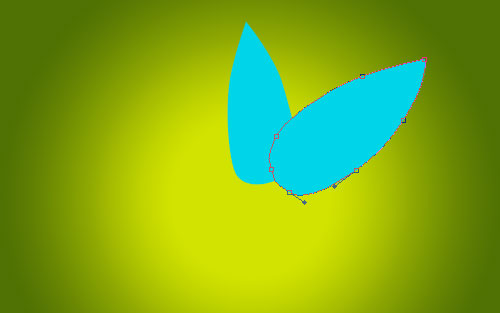
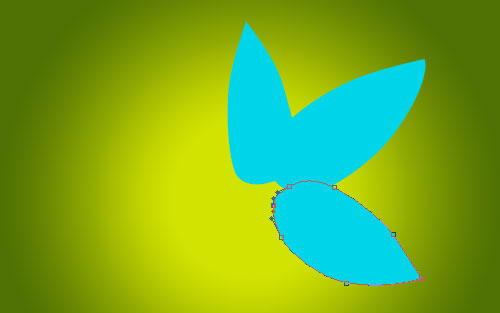
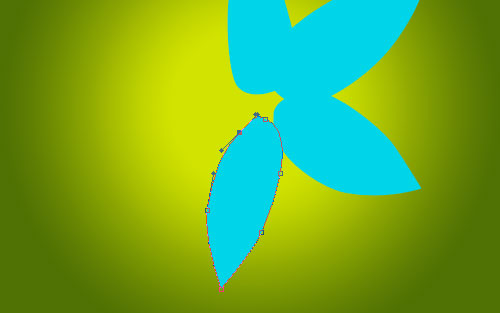
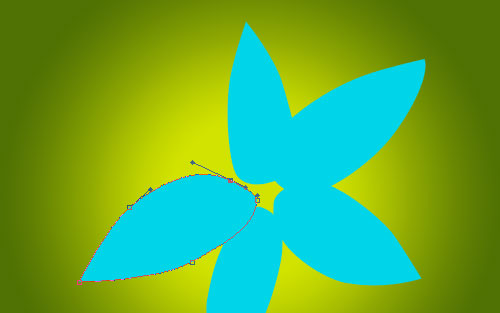
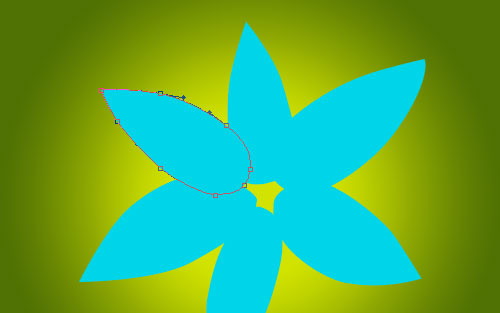
Use Layer > Rasterize > Shape to rasterize all of flower petals. Select Burn Tool (Range: Shadows, 50%) to make dark spots on the petal.

Do the same thing with other petals.
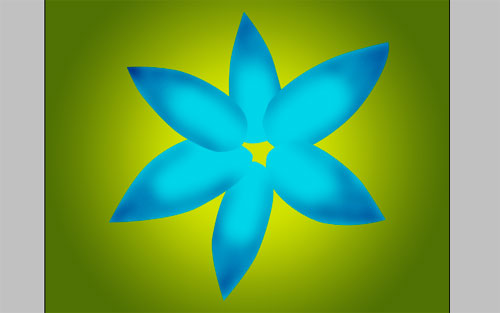
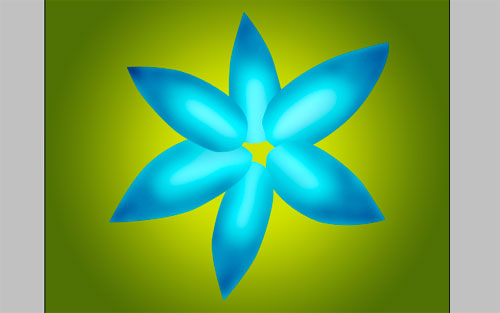
Now apply Dodge Tool (Range: Highlights, 20%) to every layer. Your image should look as below:
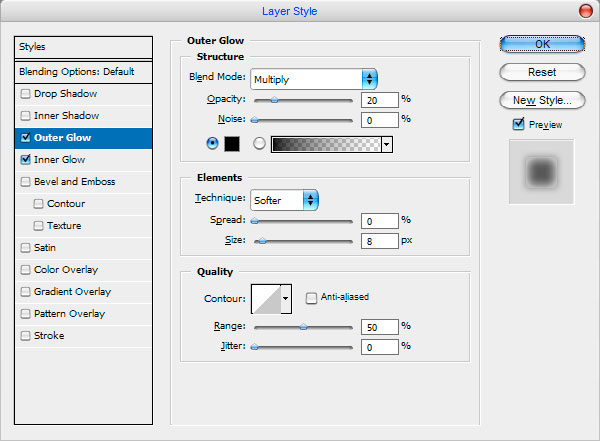
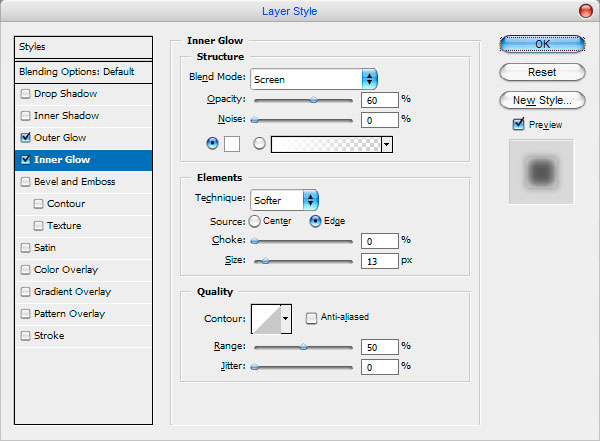
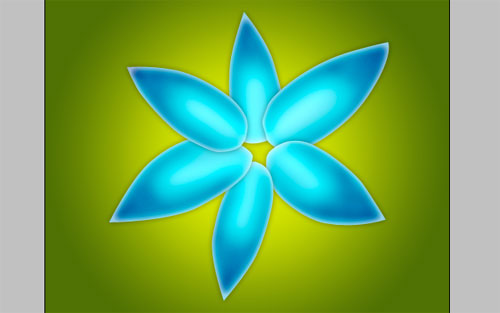
Apply Outer Glow and Inner Glow layer styles to every layer:
Time to bring some patterns to flower. Get out the Custom Shape Tool and select Grass 2 Shape (this is standard shape).
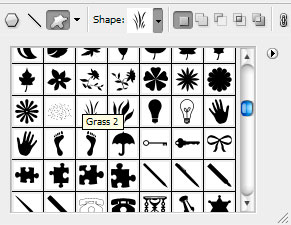
Use color of #001c86 to get the picture as below:
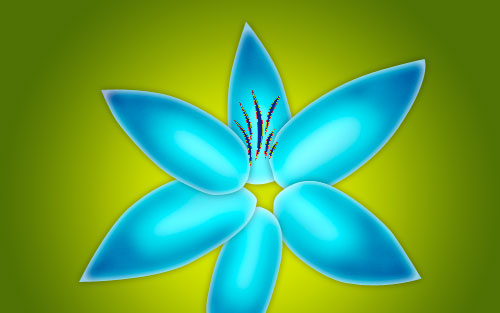
Make the same thing with other petals. Rotate every pattern with Edit > Free Transform Path.
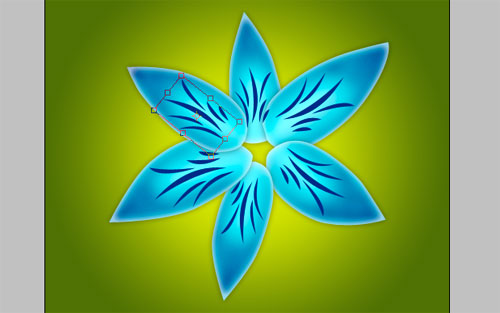
Set opacity to 30% up for every pattern.
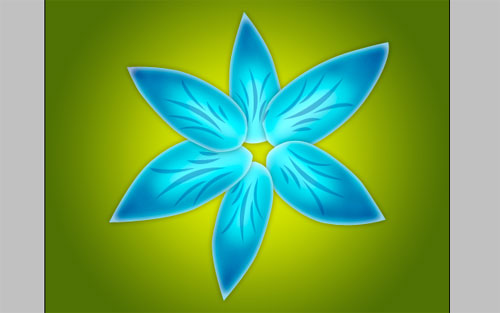
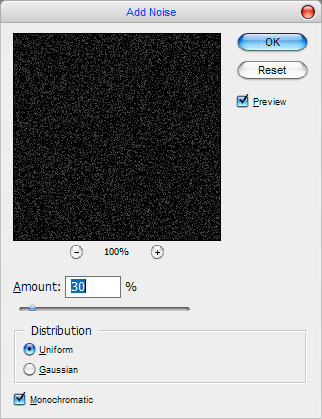
Now I would like to make the flower surface ‘heterogeneous.’ For this effect merge all layers of flower in one, then create a new layer fill it with black color and apply Filter > Noise > Add Noise with similar settings to these:
Change layer mode to Overlay for this layer and set opacity to 50% up.
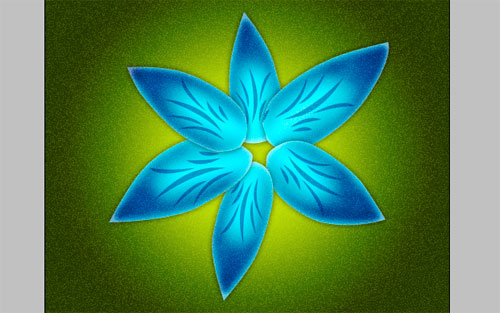
Go to layer with flower Right click the Layer Thumbnail in the Layers Palette. Then go back to the ‘heterogeneous’ surface layer and press Ctrl+Shift+I to invert the selection, then press Del to clear selected area. Remove the selection with Select > Deselect. After that actions get out the Eraser Tool and a soft round brush (opacity about 50%, size of 45 px) and make clear bright parts of petals.

Now select Smudge Tool and a soft round brush (opacity 30% and size of 150 px) and make and smudge a little bit every petal from the end to the centre to get the picture as below:
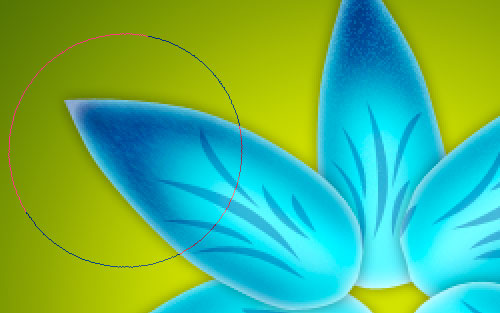
You image should look as mine:
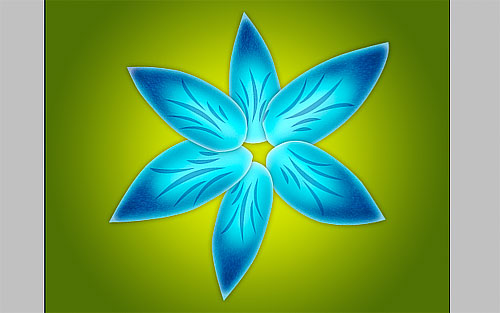
Ok, now merge all layer of flower in one again and press Ctrl+D to duplicate layer. Then diminish and rotate the lower copy with Edit > Free Transform.
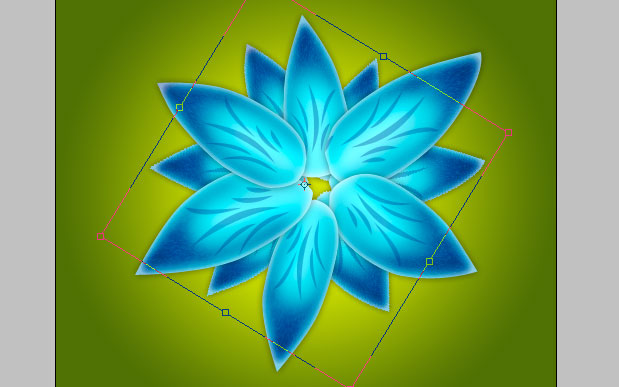
I think it’s time to add receptacle to our flower. Now you’ll want to begin with creating receptacle of the flower. For this get out the Brush Tool with the next presets:
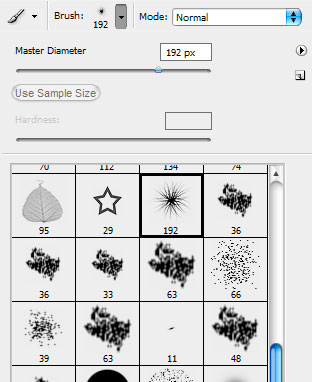
Then begin to draw a form as on picture below using color of #fbfe00.
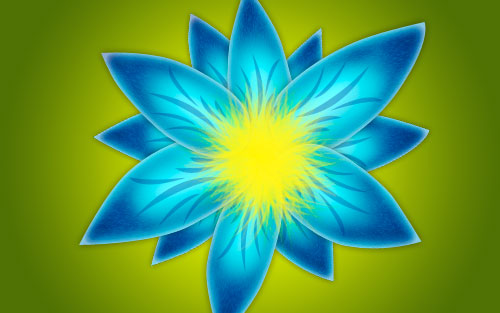
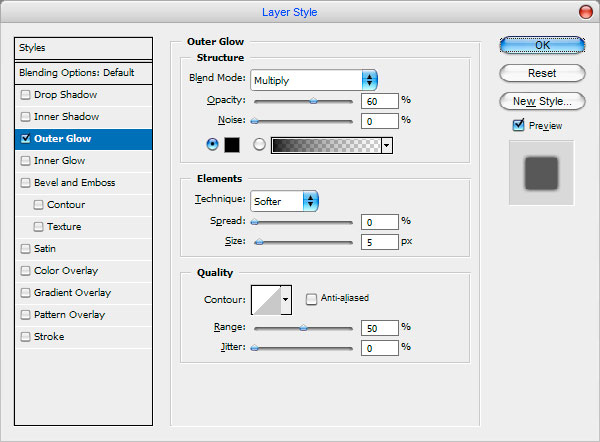
Apply Outer Glow layer style to this layer:
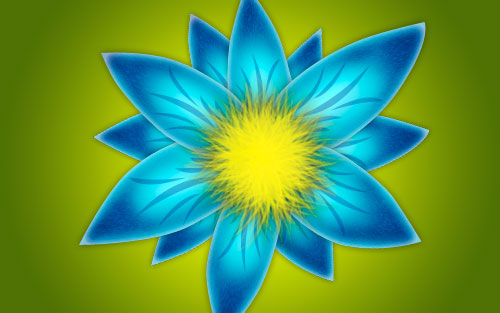
Create a new one layer and make a new one form using color of #febf00. Now resize the brush size to 170 px.
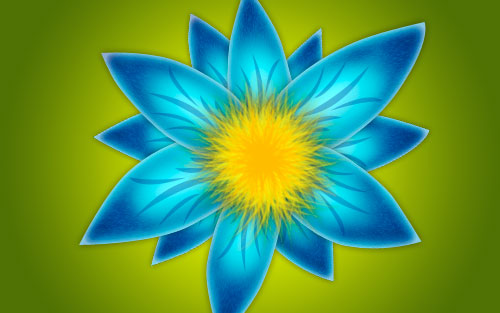
Apply Outer Glow layer style again with similar settings to these:

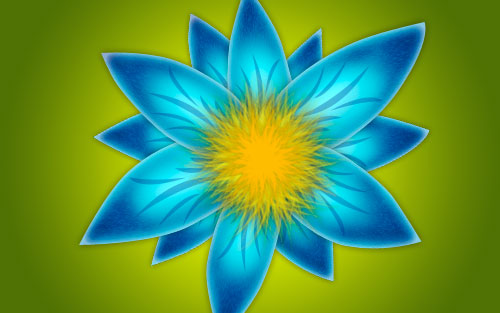
Create a new one layer again and make a new one form using color of #fe8f00. Now resize the brush size to 110 px. Apply the same layer style as was created above.
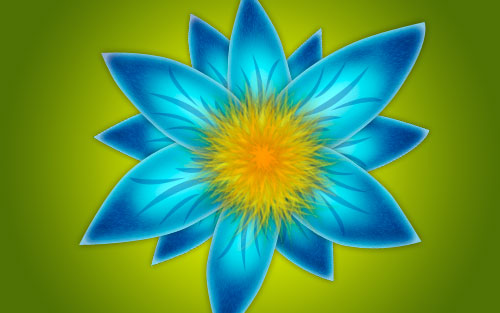
Create the last one new layer and make a new one form using color of # fe4200. Now resize the brush size to 50 px and apply the same layer style.
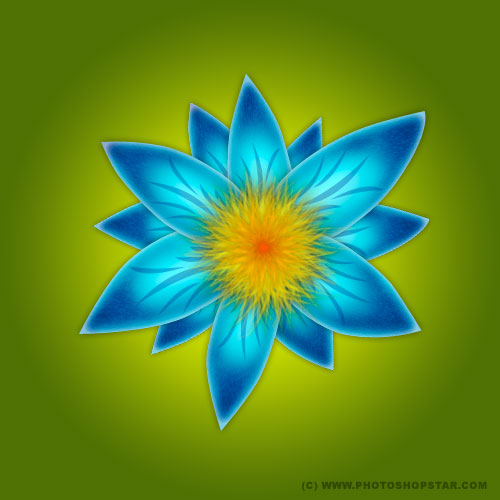
Your image should now look like mine:
Thanks for reading this tutorial, I hope you enjoyed it!
