![]()
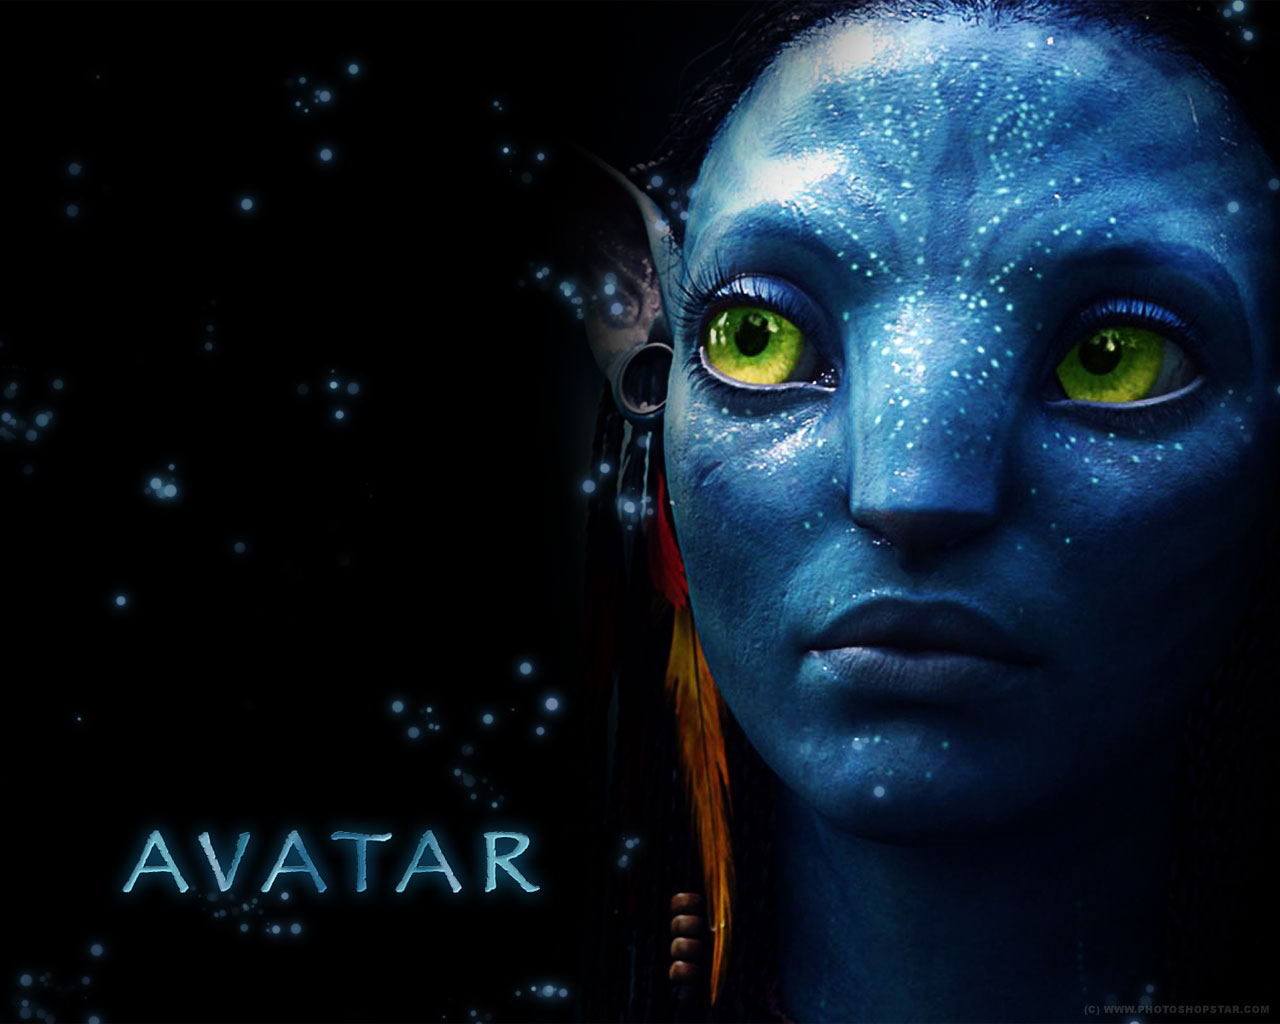
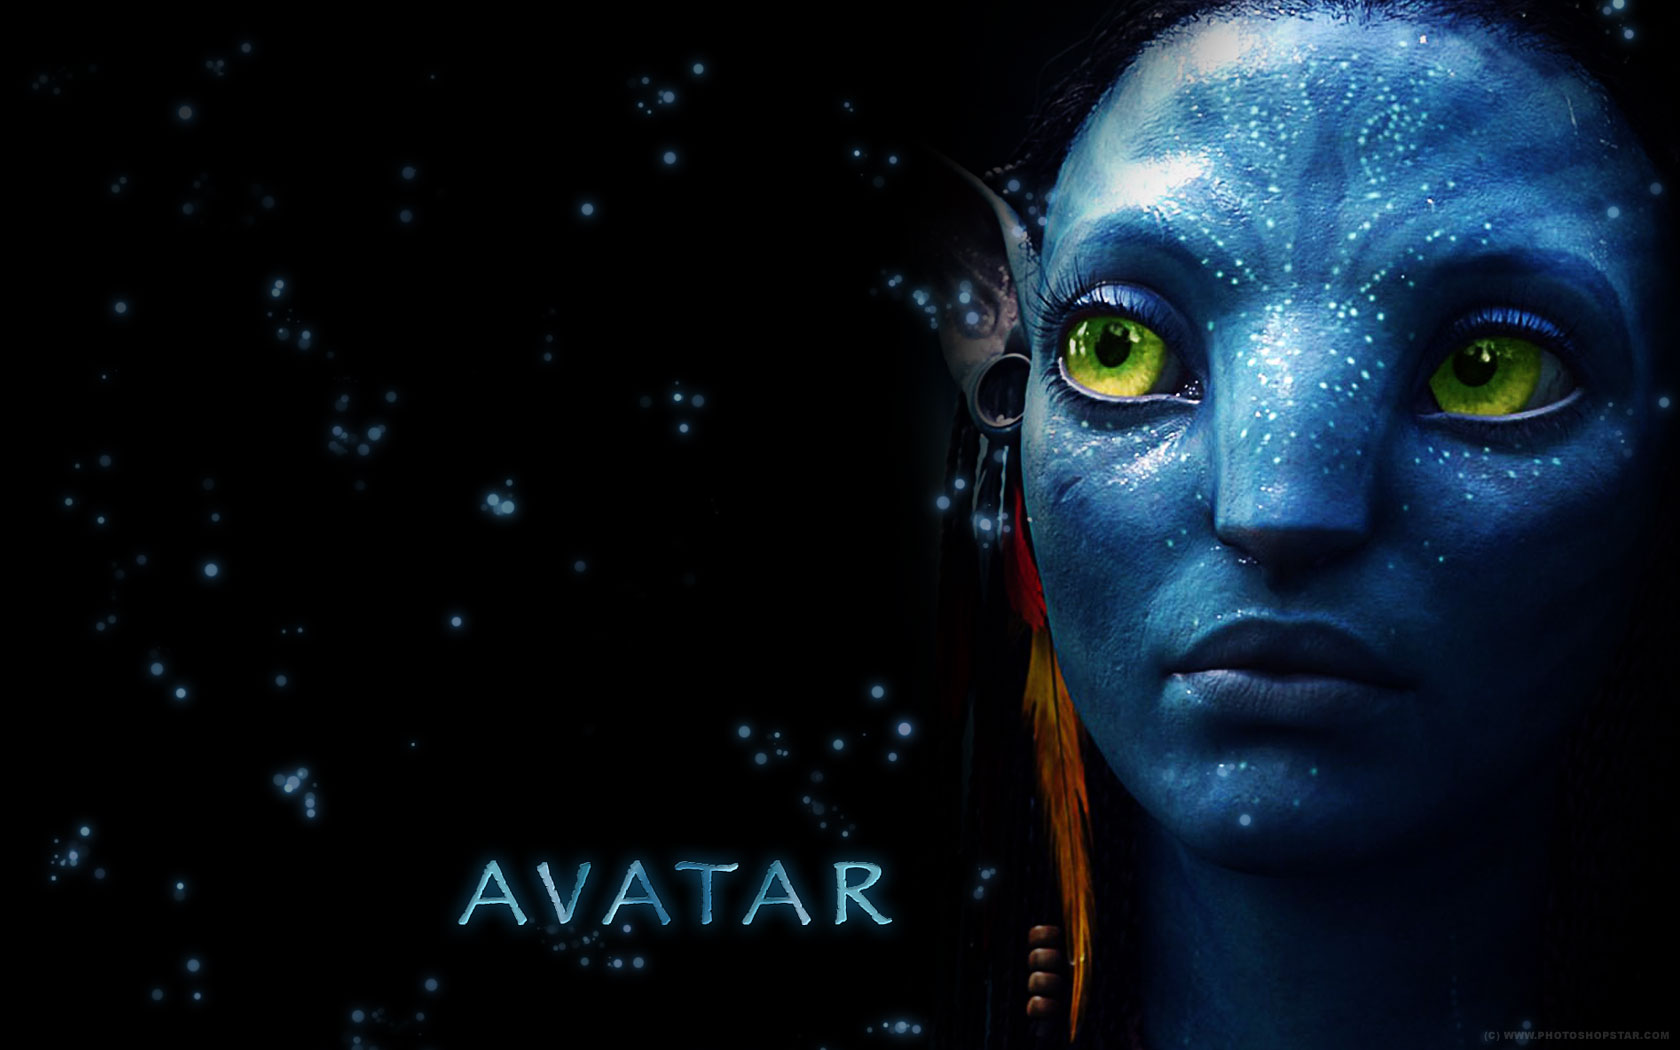
Here is an interesting tutorial how to create Avatar movie wallpaper. A lot of people were impressed by watching this movie and I’m not an exception. I am insanely obsessed with it. That’s why I decided to make the tutorial how to create wallpaper on this great movie.
In the beginning you should create a new document sized 1900Ñ…1200 pixels and fill it with black color.
![]()
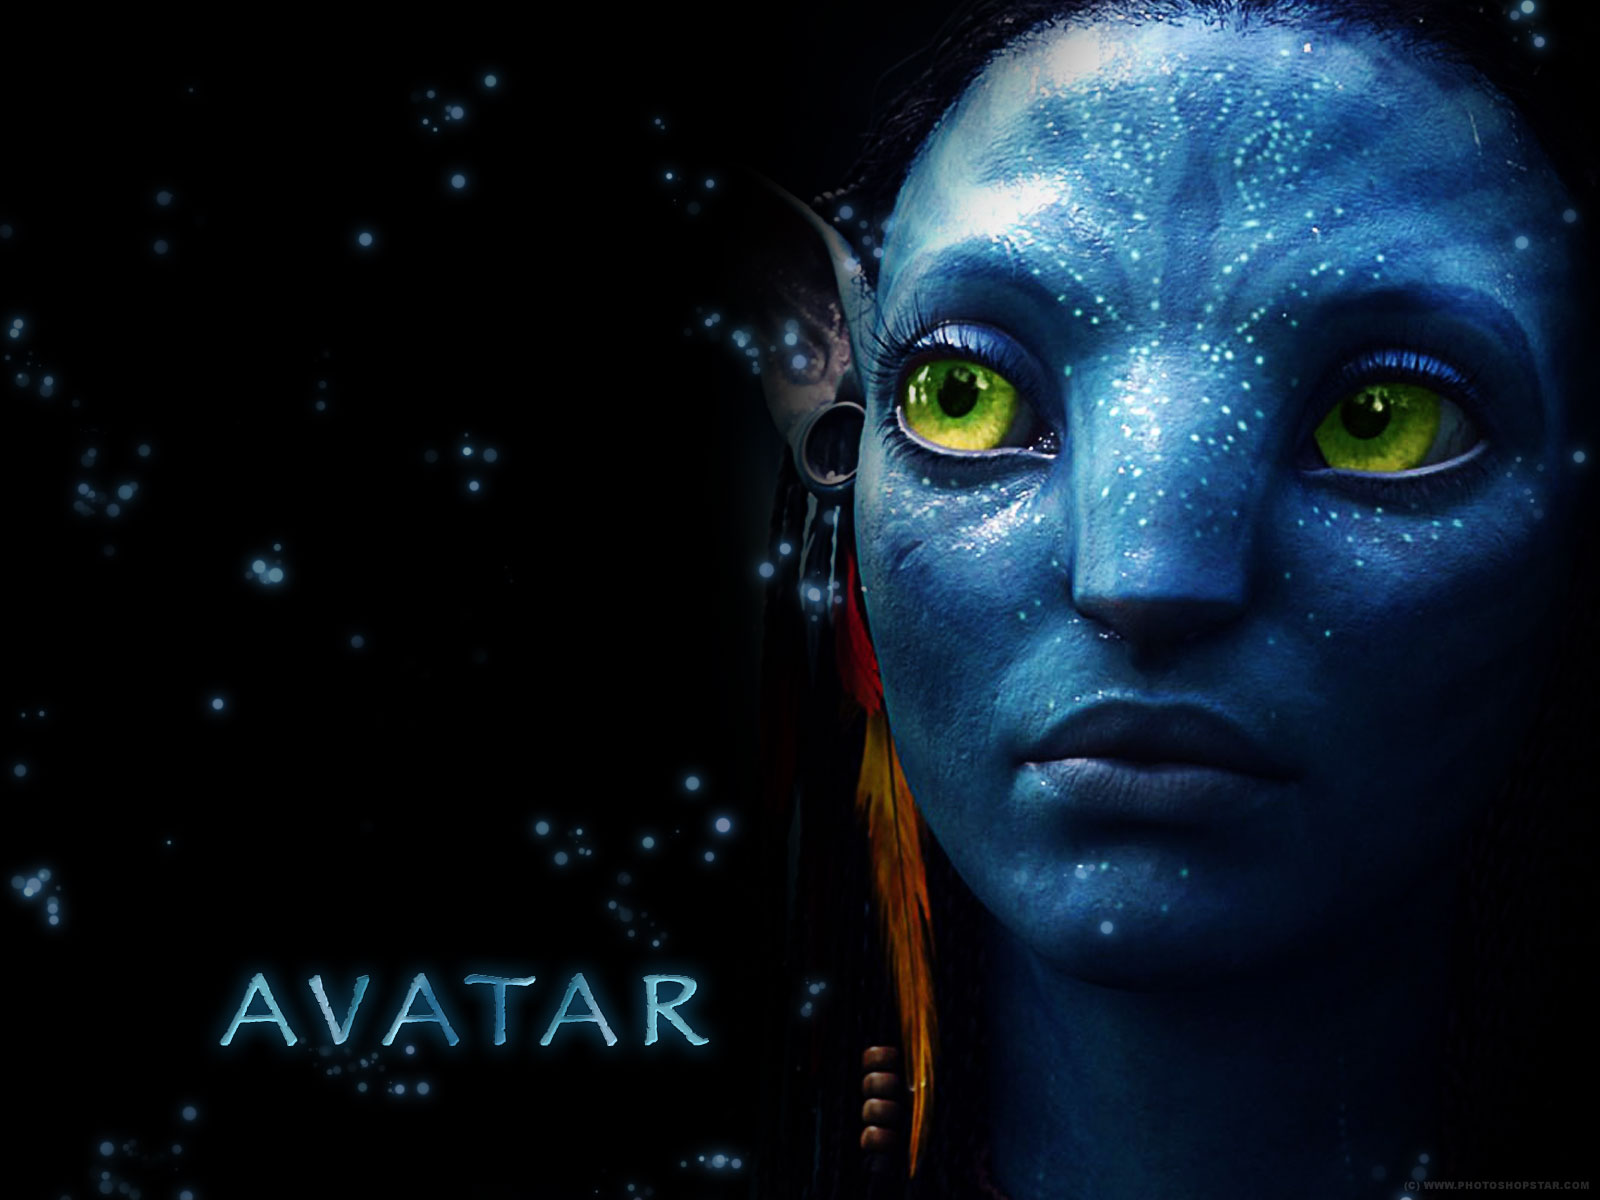
Then I would like to bring the picture one of the heroes to our canvas. You can find different pictures on Google Images or feel free to use mine. Open up the picture and using Ctrl+C copy it , then go back to the main canvas and press Ctrl+V to paste copied fragment. Move this fragment to right lower corner.
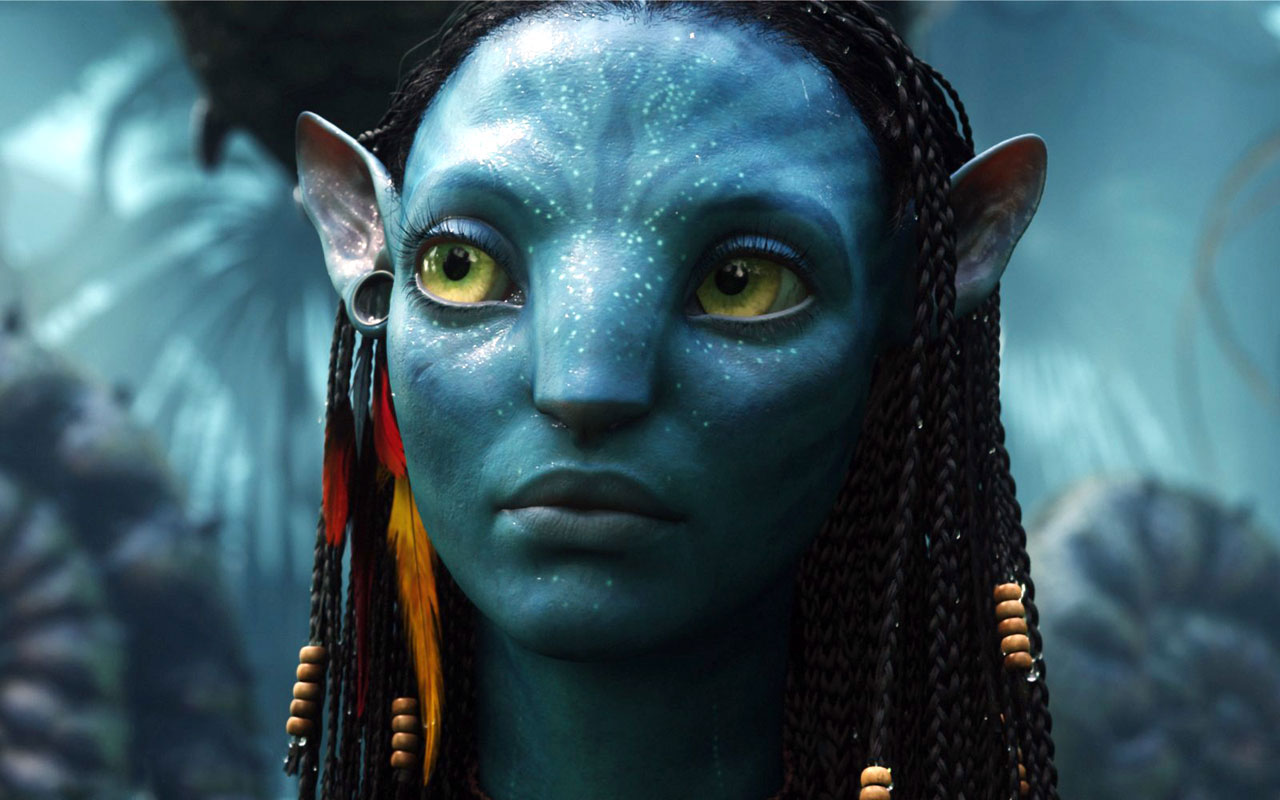
![]()
As you can see the picture less then canvas, in this way press Ctrl+T and hold Shift button to enlarge the picture pro rata. The result should look as mine:
![]()
After increasing the image sharpness has become worse. We can fix this problem by duplicating current layer with Ctrl+J and Filter > Other > High Pass with next parameters:
![]()
After that change layer mode to Overlay and you will get the next result:
![]()
Ok, continue our tutorial. Merge current layer with previous and move new layer to the right as shown on my screenshot below.
![]()
Then to change color balance a little bit to get the picture with the same hue as on advertising posters apply Image > Adjustments > Layers with similar settings to these:
![]()
![]()
![]()
The result should be next:
![]()
Ok, move to the next step. We have to make eyes color more bright and contrasting, to add accent on the picture. For this effect apply Polygonal Lasso Tool and create selection as on my picture below:
![]()
Holding Shift button select the second pupil of the eye area.
![]()
After that use Select > Modify > Feather to feather selection about 2 pixels. Then apply Image > Adjustments > Color Balance with similar settings to these:
![]()
You can see the result below:
![]()
Remove the selection with Ctrl+D. Looks good, isn’t it? Then create a new one layer, select the Brush Tool and a soft round brush about 400 pixels to hide image borders like on my picture you can see below:
![]()
Move to the next step. After that we need to add the text. Select the Horizontal Type Tool and write out the name of the film with different color, it doesn’t matter. The set up next text presets for this text line:
![]()
The result should be next:
![]()
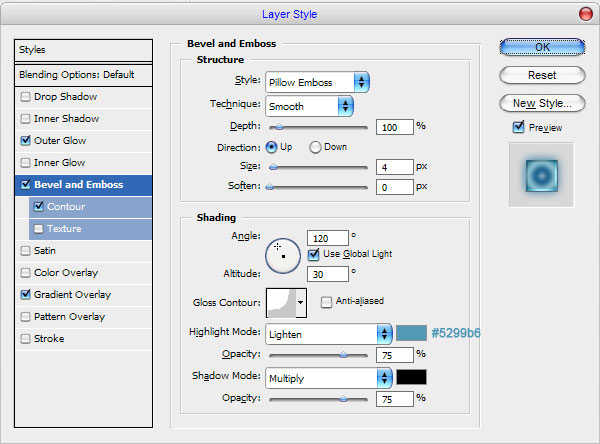
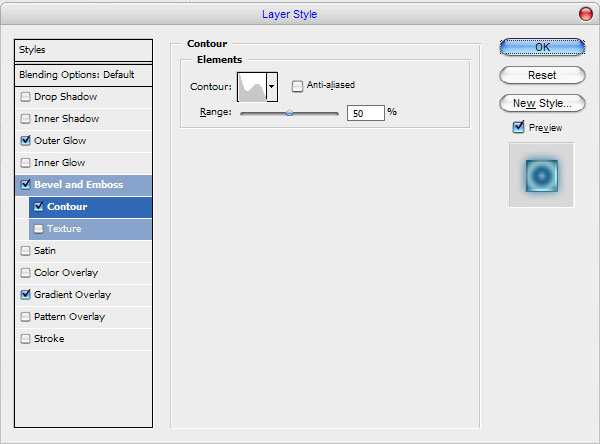
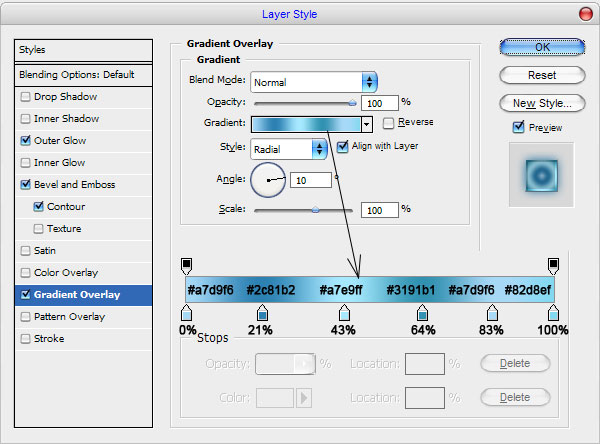
In the above image I’ve used Papyrus as my font of choice. Actually, it is commercial, but if you don’t have it, you can easily find a good alternative. Ok, after that apply Outer Glow, Bevel and Emboss, Contour and Gradient Overlay layer styles to this layer:
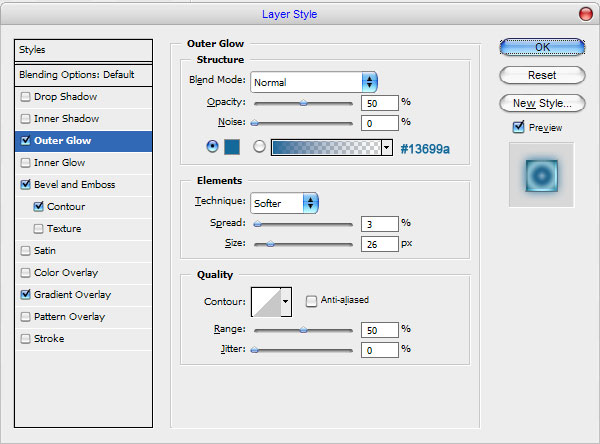
![]()
![]()
![]()
![]()
Now we have something like this:
![]()
And the last one thing that we have to do to add glowing balls on the background. How we can do this? Ok, I will show you the easer way. Select the Brush Tool and a hard round brush about 15 pixels. Then click the button ‘Toggle the Brushes palette’ on the Options Bar to open brush presets window or by choosing Window > Brushes. Here we can see a couple of presets. Now, set up the following presets for current brush:
![]()
![]()
![]()
![]()
![]()
After that add a few strokes to the background on the new layer using color of #c9eaff.
![]()
Duplicate this layer with Ctrl+J and apply Filter > Blur > Gaussian Blur with similar settings to these:
![]()
Merge current layer with previous.
![]()
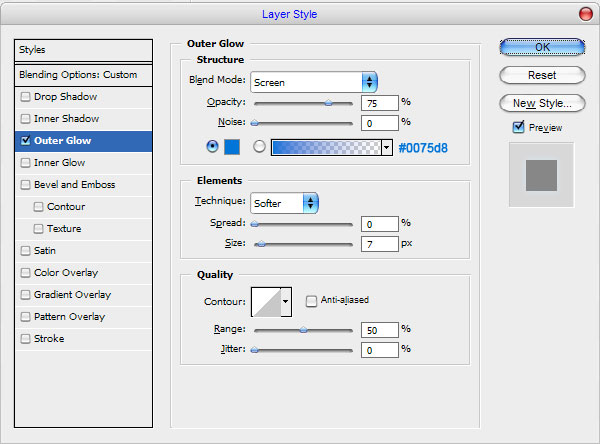
After that apply Outer Glow layer style to new received layer.
![]()
The result should be next:
![]()
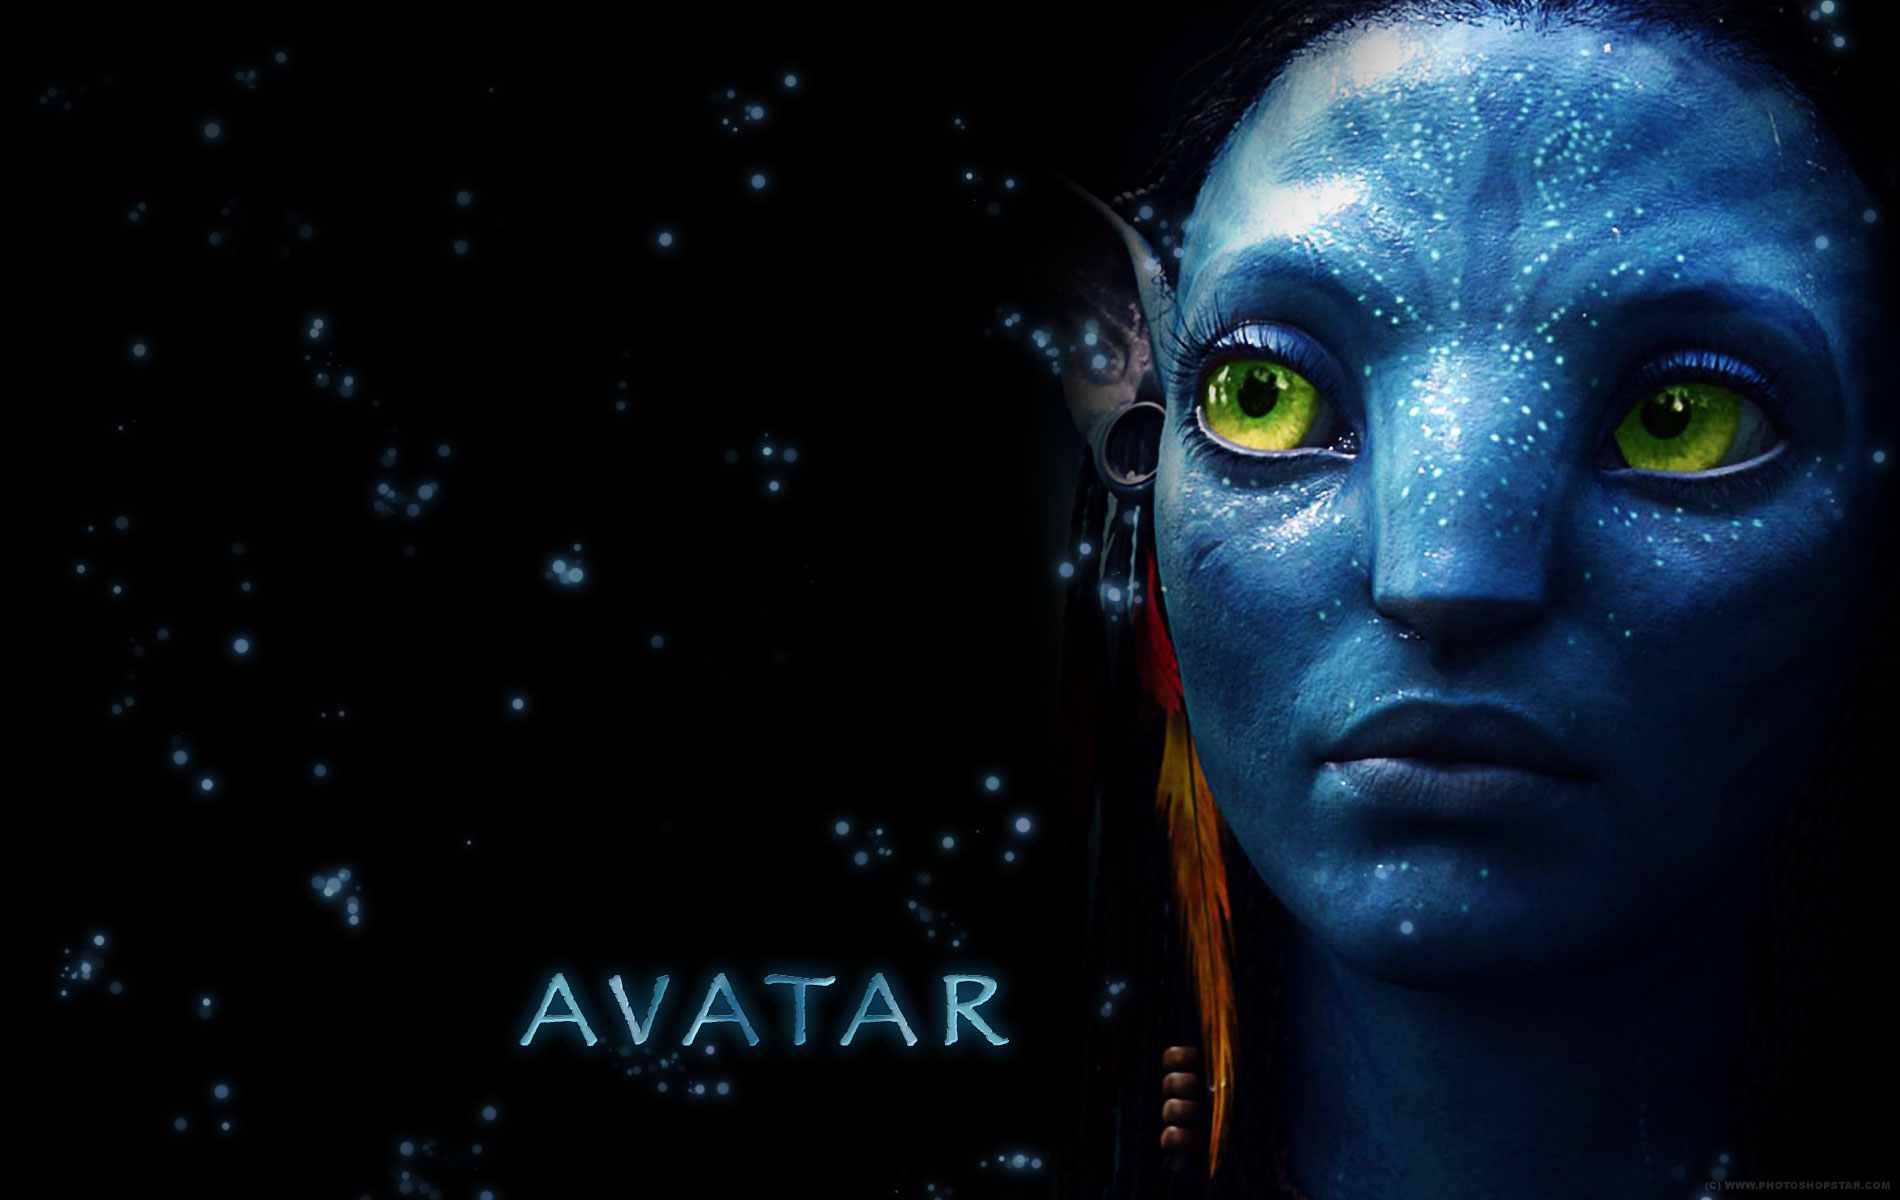
Ok, to finish off the tutorial create new layer and fill the left upper corner with black to transparent gradient.
![]()
Ok, we are done! Enjoy your own cool looking wallpapers!
![]()