Well, I think it’s time to travel back a few years in tutorial history and relive those cool filter effect tutorials! I used to love making these things 4 or so years ago when I was just learning Photoshop, good times!
1. Create a Background
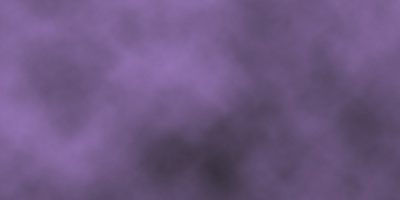
First, start by creating a new document, I’ve used a document size of 400 x 400 pixels here, but you might want to use something much larger so you can easily resize it to any size later on. Now change your foreground and background colors to something other than black and white, I used #b38adb and #212121 (a nice purple and dark grey)
Go into the filters menu and apply Filter > Render > Clouds on your Background layer.
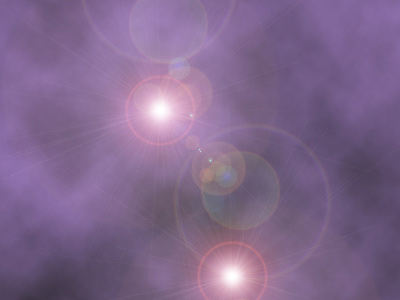
2. Lense Flare Filters
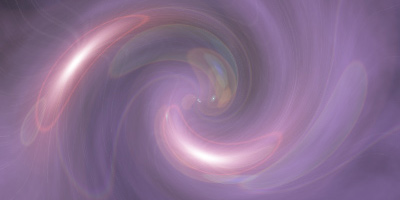
Let’s start making the background a bit more interesting. Go to Filter > Render > Lense Flare, using all of the default settings if you want, just move the flare around a little bit. Apply Lense Flare again on the background layer but in a different position.
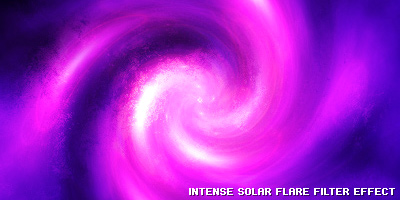
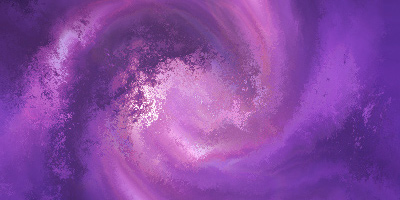
Next, apply Filter > Distort > Twirl, and use an angle of about 250, feel free to try out other settings though!
3. Duplicates, Rotating, Layer Modes
Duplicate your main (Background) layer then rotate it 90 degrees clockwise (Edit > Transform > Rotate 90° CW).
In the layers palette, change your duplicated layer mode to Hard Light, or some other good options are Overlay, Soft Light and Vivid Light.
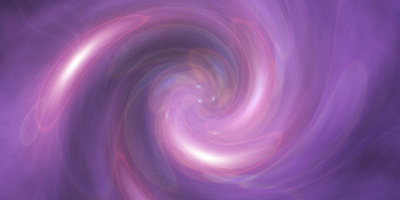
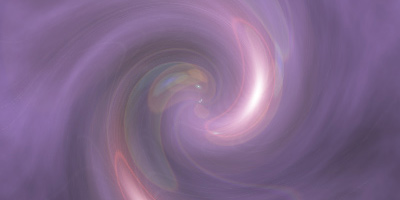
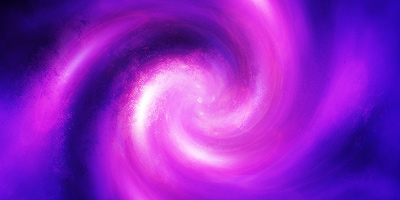
Duplicate your original duplicate layer and rotate it another 90° CW, this gives the background a really cool effect.
Looks pretty nice so far, but I think we can make it look a lot nicer!
4. Finishing Touches, etc.
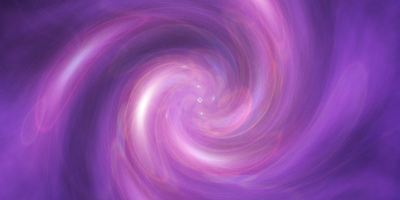
Alright, start off by flattening your image (so that it’s all on one layer), do this by going to Layer > Flatten Image. Now duplicate your one remaining layer, then apply Filter > Blur > Gaussion Blur with a radius of about 2.0-5.0, lastly, change the layer mode for your duplicate layer to Overlay. This gives your whole image a nice, soft effect.
Again, duplicate your Background layer and move it above your first duplicate in the layers palette, then apply the filter, Distort > Displace, using the PSD download I have below.
After pressing OK in the above screen, you’ll be taken to an open file box, where you have to choose a PSD file. You can use whatever PSD file you want, but it’s best you just use a PSD file that contains black and white grunge.
You can download the PSD file that I used from here.
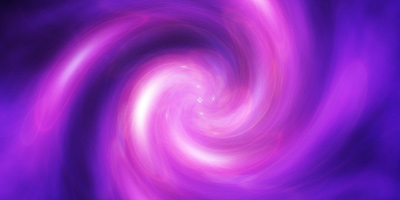
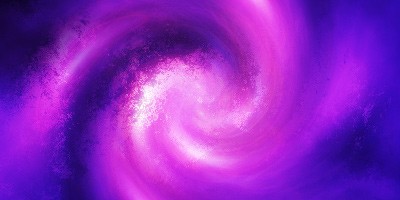
After using the Displace filter you should be left with something that looks like this:
Pretty neat, huh? To blend this layer with the bottom layers, change the layer mode to Soft Light, and also lower the opacity to around 50-80%.
I think it looks just a little bit too intense now, so if you think so too, follow these few steps:
- Duplicate your Displaced layer.
- Change the Layer Mode for your duplicate to Normal.
- Lower the Opacity to about 20-50%.
Mess around with some other filters, layer modes and opacities if you want to, but I’m done for this tutorial now! I hope you enjoyed this tutorial, it was just a random filter effect tutorial 😉