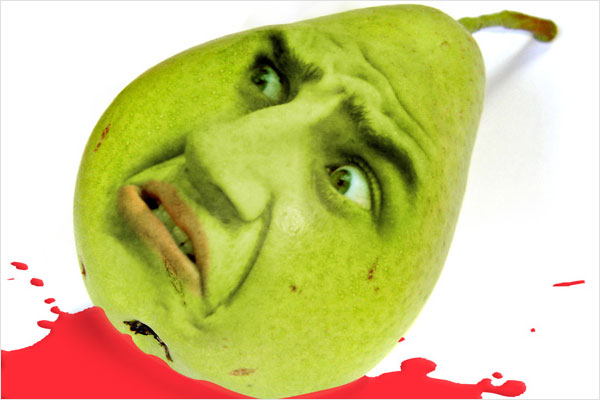
Have you ever seen any fruits or vegetables with a face? In this Photoshop tutorial I’m going to show you how to make a realistic view collage with fruit and a human face.
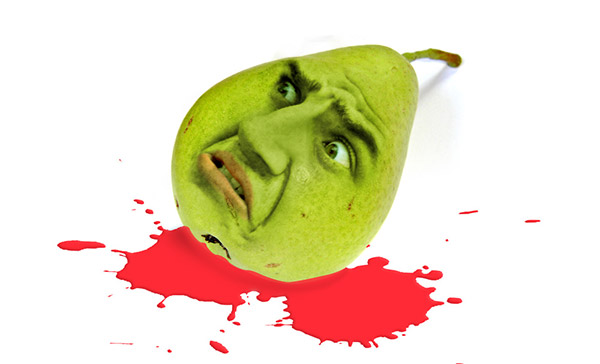
Final Image Preview
Note: Original tutorial published on Photoshopstar.com some years ago. Tutorial was updated and now republished.
Resources
Step 1
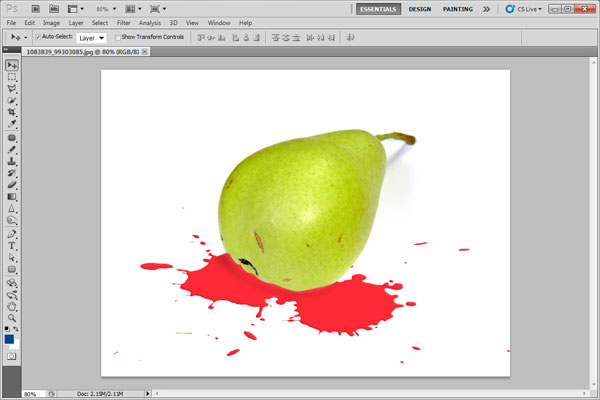
Open up the photo and reduce the size to 800 x 600 by using Image > Image Size.
Step 2
Open the picture and copy it to the first canvas with fruit. Then set up opacity to 45% for this layer and use Edit > Free Transform to reduce the picture and rotate it as on my picture below.
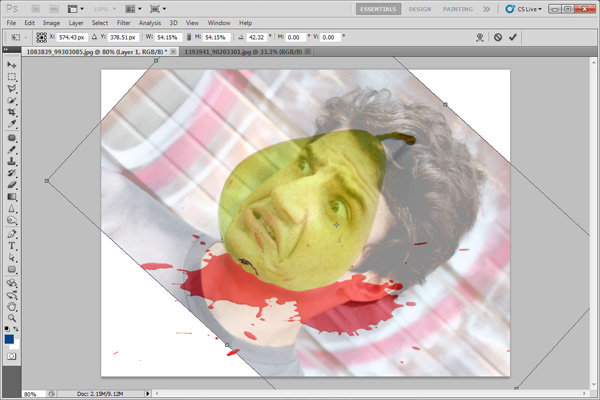
Set the opacity to 100% for current layer again and begin cleaning with the Eraser Tool. Use a soft round brush with opacity about 30%. Remove all parts, leaving only the eyes, lips and nose.
Move the layer with the face a little bit to the left by using the Move Tool.
Step 3
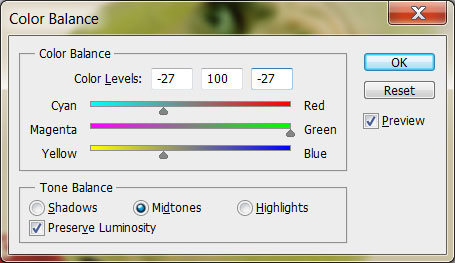
Press Ctrl+J to duplicate the layer and hide the upper copy (click on the eye, which indicates layer visibility). Go to the lower layer and apply Image > Adjustments > Color Balance using these settings:
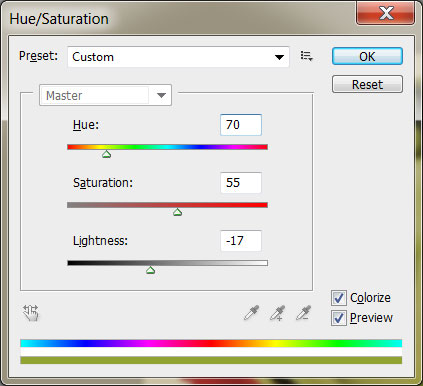
After that use Image > Adjustments > Hue/Saturation:
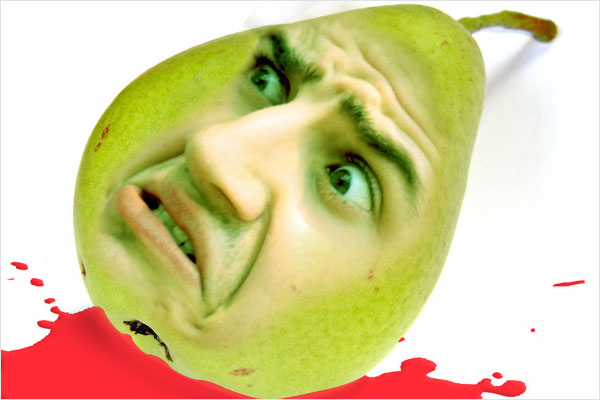
Select Burn Tool (Brush: 70px, Range: Midtones, Exposure: 30%) to make some very light parts a bit darker. You should get result similar to mine on the picture below:

Step 4
Go back to the hidden layer and make it visible again. Select the Eraser Tool and remove all content, leaving just the eyeballs and mouth on this layer.

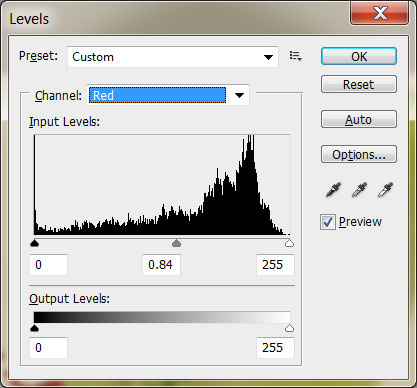
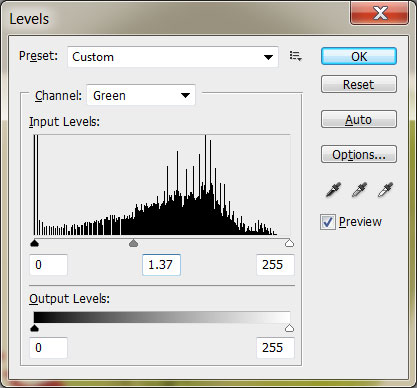
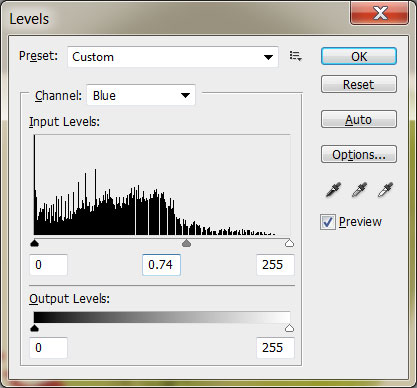
Apply Image > Adjustments > Levels to this layer:

Select Burn Tool (Brush: 45px, Range: Midtones, Exposure: 30%) again and darken the mouth area.
Select the Eraser Tool and a soft round brush with 30% opacity and do a little cleaning work on the same areas.

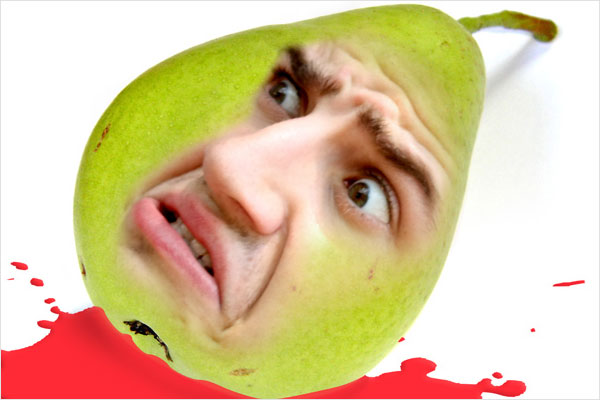
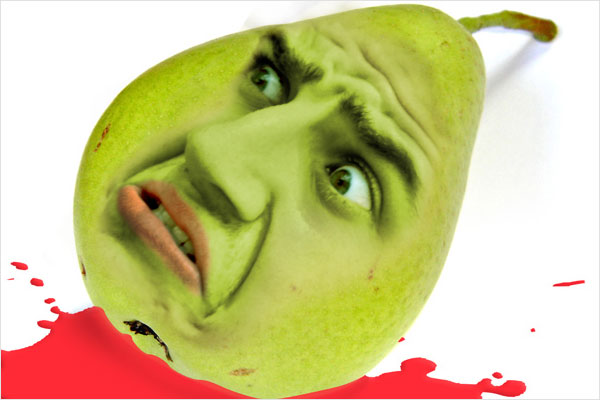
Step 5
Looks good, doesn’t it? Ok, move to the next step.
We should add the pear texture to the face. Go to the background layer and make selection with Polygonal Lasso Tool as shown on my picture below.

Press Ctrl+J to duplicate the selected area on a new layer.
After that move this layer above all the layers and change the layer mode to Soft Light.
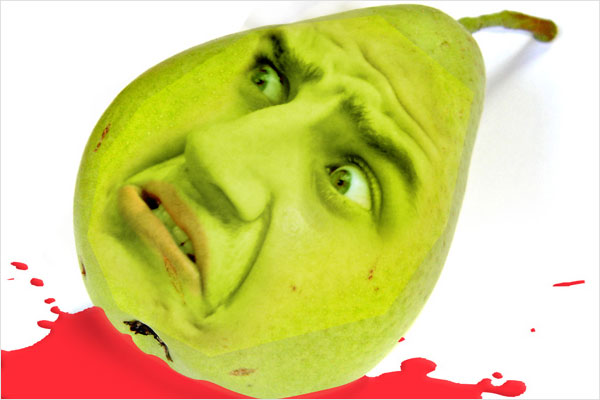
Then make some brightness and contrast corrections with Image > Adjustments > Brightness/Contrast.

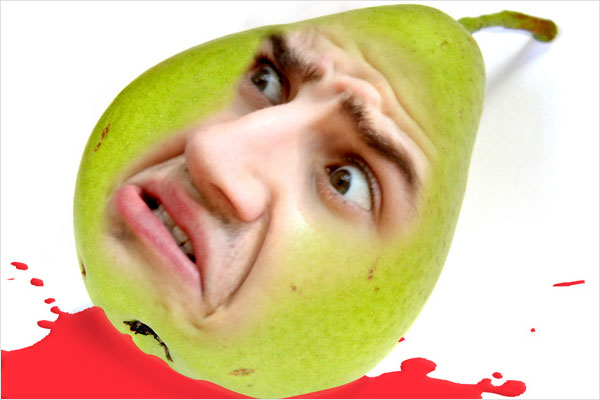
Select the Eraser Tool again and remove any visible borders of this texture. Borders are not very visible at the moment, but still need to be corrected. After that press Ctrl+J to duplicate the texture layer. Can you see the difference now?
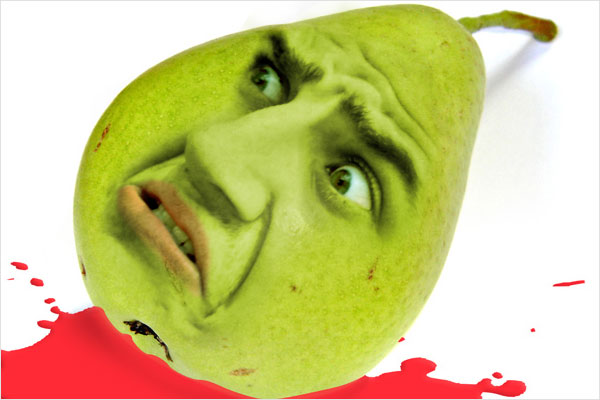
Use the Burn Tool (Brush: 40px, Range: Midtones, Exposure: 30%) one more time to make features clearer. And you have completed the tutorial.
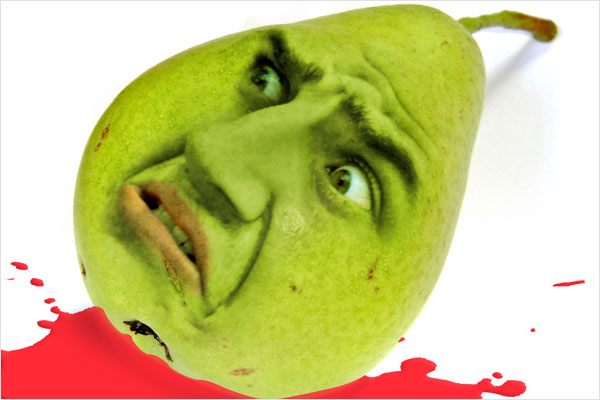
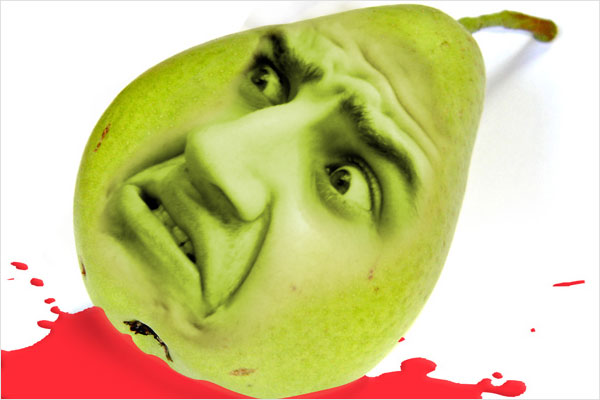
Final Image