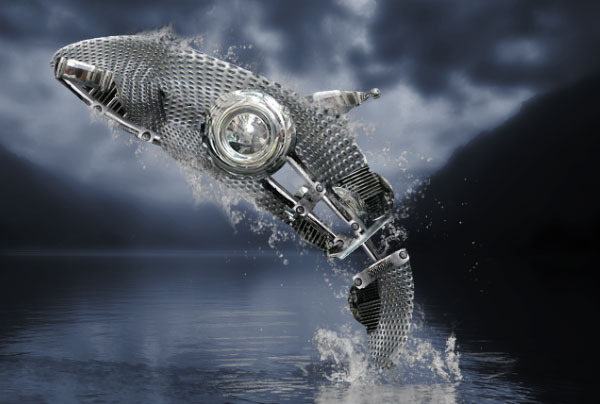
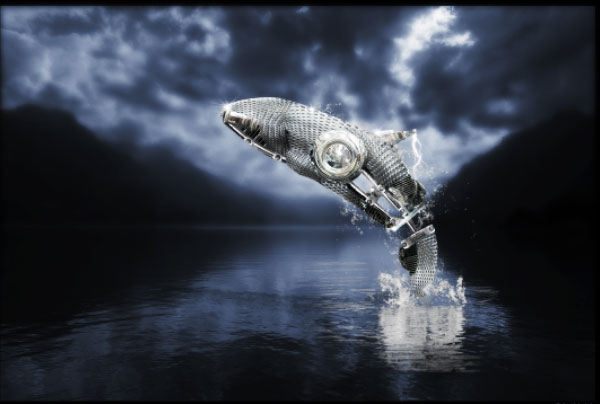
In this tutorial you will learn how to create a futuristic, metal jumping whale. We are not actually creating the metal whale, but we are using 5 stock images and a brush set, along with Photoshop’s built in tools and filters to create this stunning photo manipulation.
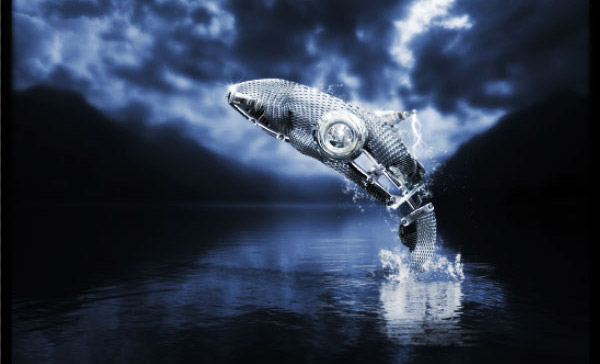
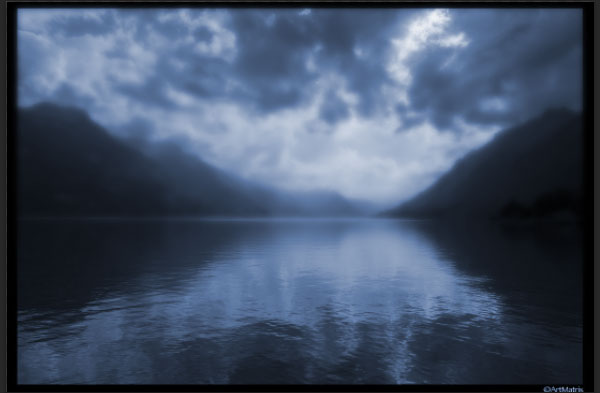
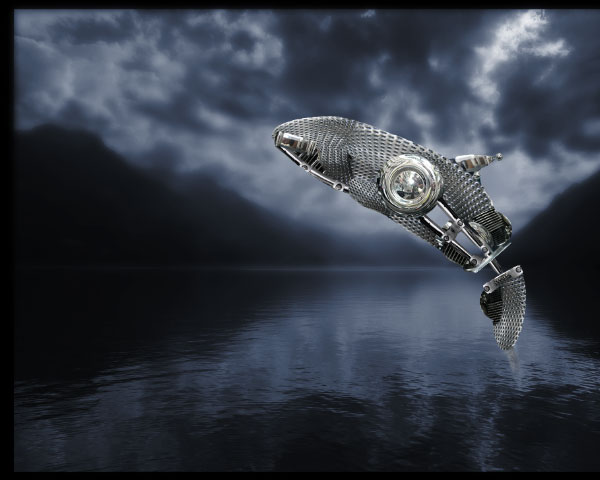
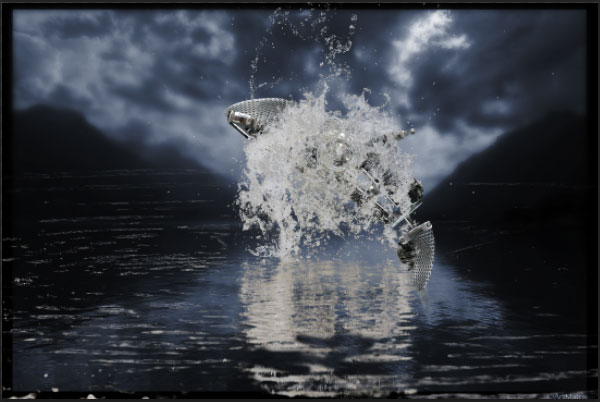
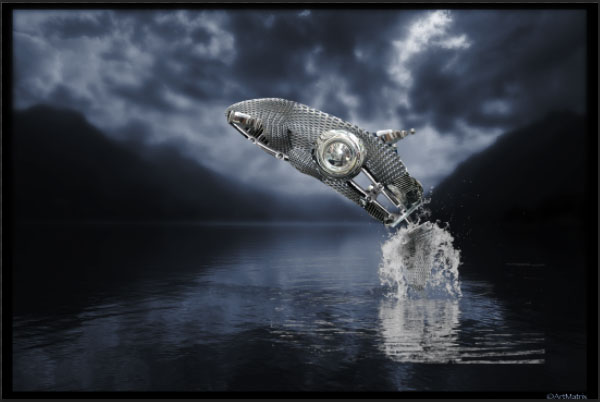
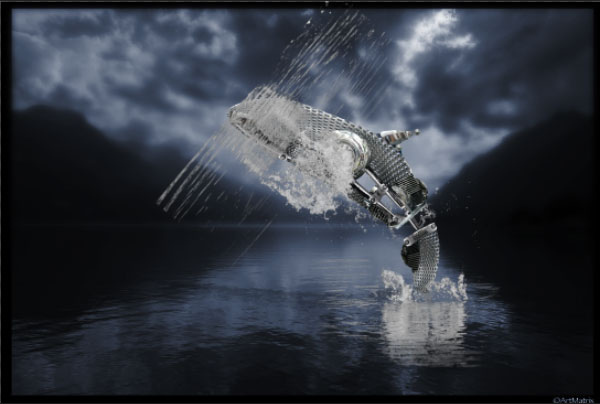
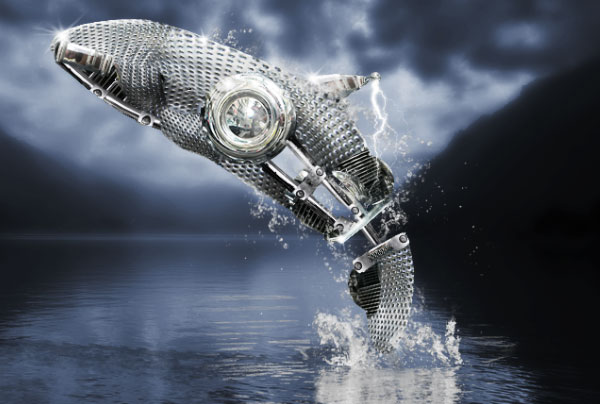
Final Image
Resources
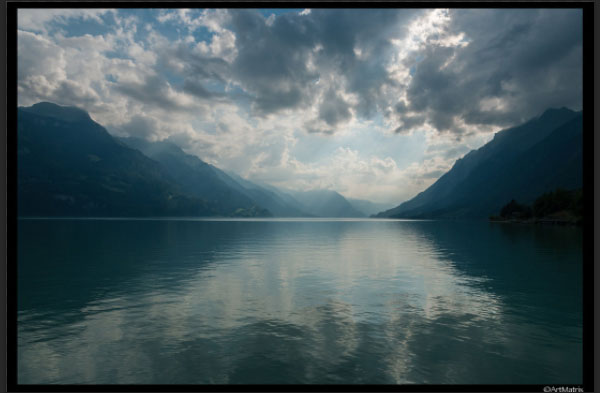
- Lake Brienz
- Whale
- Glitter + Sparkles Brushes
- Lightning Photoshop Brushes
- Water splash – 4
- Splash Pack
Step 1
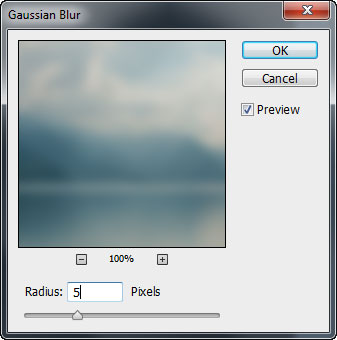
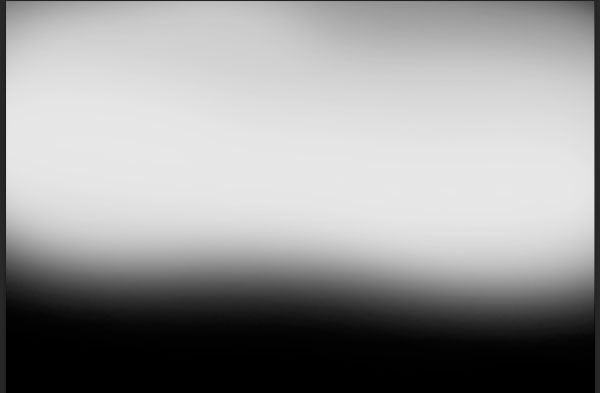
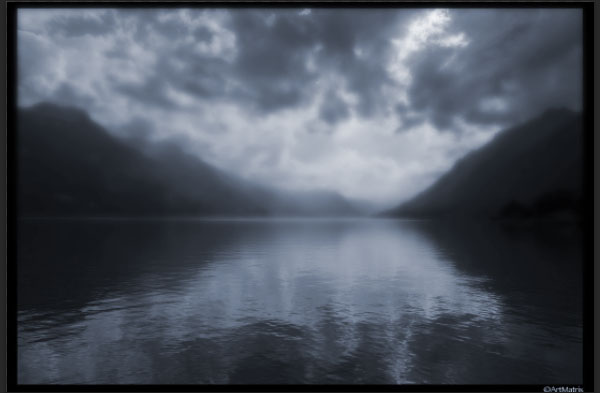
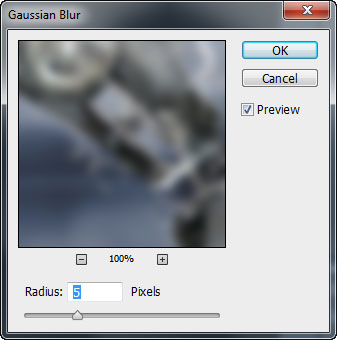
Let’s start our tutorial by opening the image “Landscape” and making a duplicate (Ctrl + J).
Apply a 5 px Gaussian Blur to the duplicated layer.
Add a layer mask to the duplicated layer by choosing Layer > Layer Mask > Reveal All.
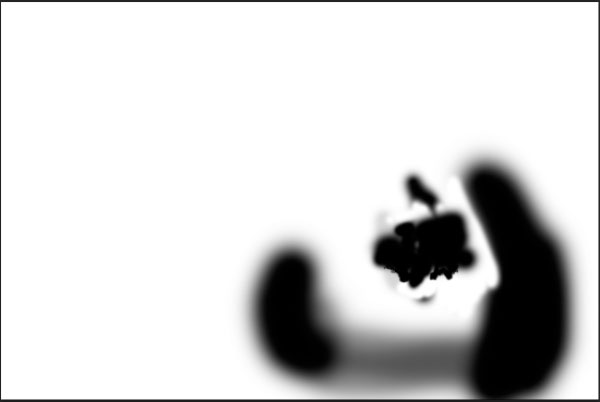
In the layer mask paint with black over the surface of the water to mask the blurring effect and put more focus on the foreground.
Here’s how my mask looks:

Step 2
We will be using a lot of adjustment layers in this tutorial. To create an adjustment layer simply click Layer > New Adjustment Layer and choose the appropriate one.
In this case I am going to use a Hue/Saturation so go to Layer > New Adjustment Layer > Hue/Saturation. If we were to use a Curves Adjustment layer you would simply go to Layer > New Adjustment Layer > Curves. Got it?
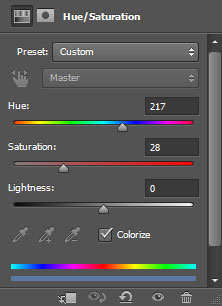
Add a Hue/Saturation Adjustment layer to change the color of the overall scene.
Here’s how the image should look now:
Step 3
It looks a bit too saturated for me so let’s add another Hue/Saturation Adjustment layer and drag the slider to the left to lower the saturation.
The image should look like this now:
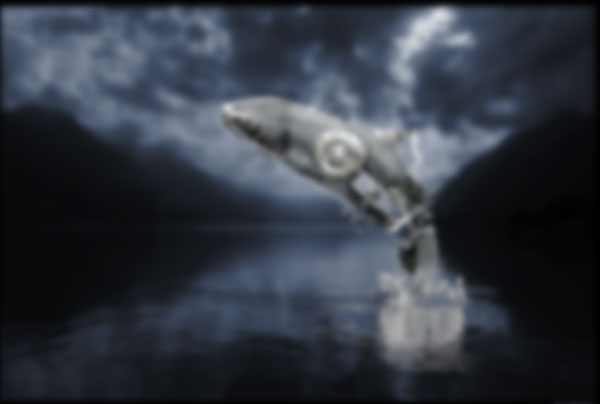
Step 4
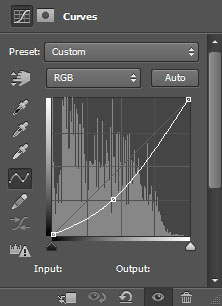
Now let’s darken the mood a little bit. Add a Curves Adjustment Layer and drag the curve downwards like so:
The image should look darker:

Step 5
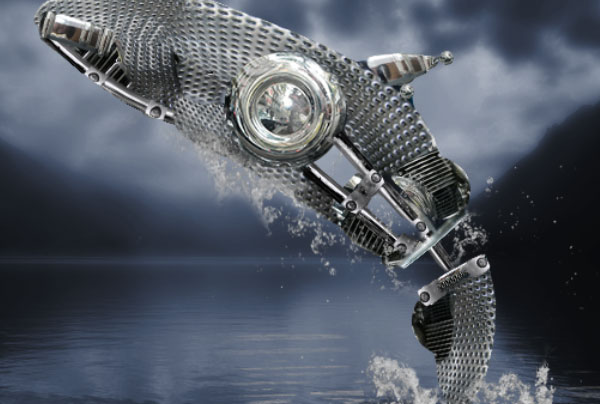
Open file “Whale”. Ctrl-click on the Whale layer to select it and press Ctrl + C to copy it.
Go back to our tutorial file and press Ctrl + V to paste it.
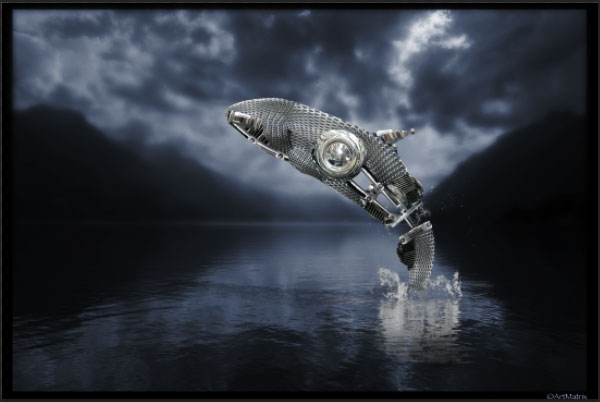
Choose the Move tool (V) and position the whale as shown below:
Step 6
Now let’s create the reflection on the water.
Create a new layer (Ctrl + Shift + N) and using a Chalk brush at 10% Opacity paint a reflection underneath the whale and on the surface of the water.
Here’s how my painted reflection looks:
Step 7
The whale emerges from the water so we should have some splashing water illustrating this.
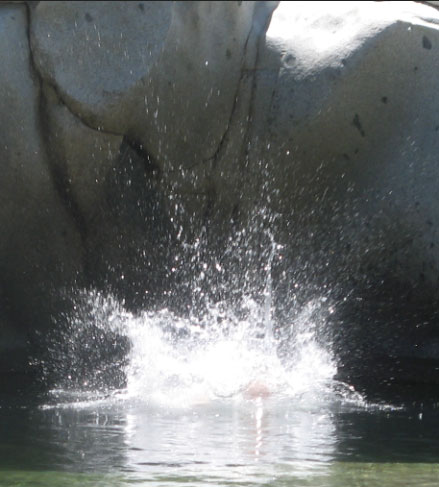
Open the file “Water1”. Before we start doing anything we have to change some settings.
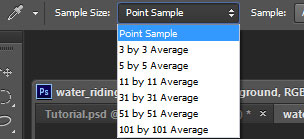
Choose the Eyedropper Tool (I) and in the Option bar (in the upper area) set the Sample Size to 5 by 5 Average.
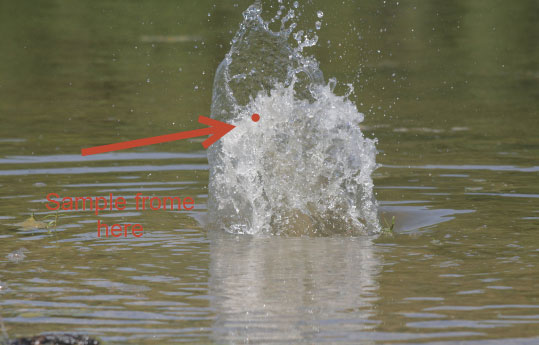
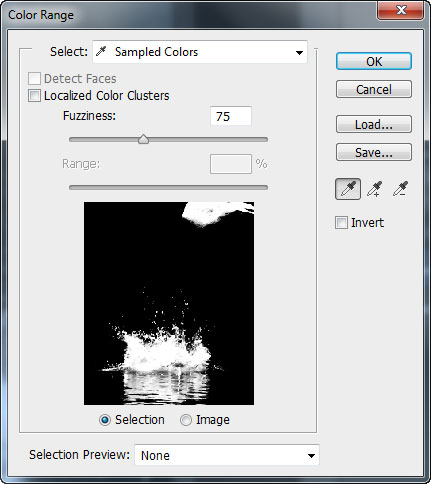
What we want to do now is to extract the water and the some of the rippling effect from this photo. The tool that will allow us to do that in an easy way is Color Range.
Choose Select > Color Range and with the eyedropper click in the region shown below:
The Color Range window should look like this:
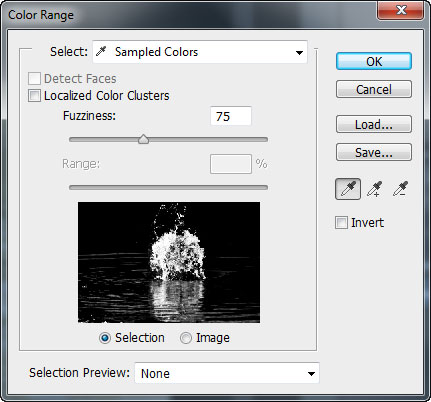
Click OK to finish the selection.
Step 8
Now that we have a selection press Ctrl + J to create a new layer from selection.
Ctrl-click on the newly created layer to select it and Ctrl + C to copy it.
Go to our tutorial window and press Ctrl + V to paste it.
Step 9
Use the Free Transform Tool (Ctrl + T) to resize and position the water as in the image below:
Step 10
Add a layer mask to the water layer by choosing Layer > Layer Mask > Reveal all. Choose a soft round brush and paint with black to remove the obvious edges and to integrate the water with the environment.
Here’s how my layer mask looks:
And here’s how the image looks:
The water looks a bit grayish so let’s make a bit brighter and whiter. In order to do this simply duplicate the water layer by pressing Ctrl + J.
Step 11
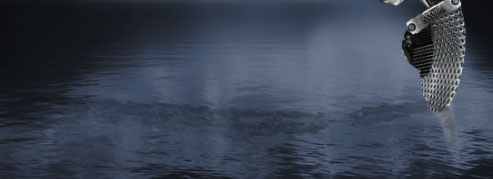
Let’s add some additional water drops around the whale to make it look more realistic.
Open the file “Water2”.
Use Select > Color Range selection window to select the water as we did on the previous water image and press OK.
Your Color Range window should look like this:
Step 12
Duplicate the selection by pressing Ctrl + J.
Ctrl-click the newly created layer to select it and press Ctrl + C to copy it.
Go to our tutorial window and press Ctrl + V to paste. Use the Free Transform tool (T) to resize and position the pasted layer as shown below:
Step 13
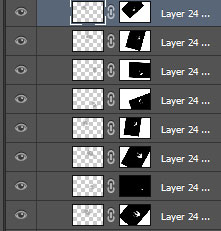
Add a layer mask to this layer by choosing Layer > Adjustment Layer > Reveal All. Use a soft round brush to paint with black and mask the obvious edges and unwanted areas. You basically want to leave some water drops below the whale’s belly so paint with black everything but the area you want to be visible.
Here’s how it should look:
Step 14
In order to add more drops of water around the whale simply duplicate the water layer you just masked and use the Free Transform Tool to position it where you want more water drops. Then in the layer mask paint with black or white to hide or reveal water. In my case it took 7 more duplicates of the water layer, each of them positioned at different locations around the whale and masked as I saw fit.
And here’s how my image looks like:
Step 15
Group all those water layers you created in the previous step by selecting them (Ctrl-click each or click the first one and Shift-click the last one) and press Ctrl + G.
Add a layer mask to the group by choosing Layer > Layer Mask > Reveal all and paint with black to hide unwanted water.
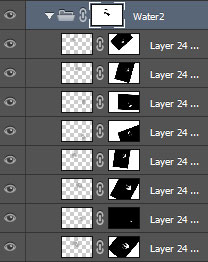
And here’s how my image looks:
This technique of using layer masks on groups is a very useful one when you want additional control and you work with lots of layers.
Step 16
Let’s add some additional glitter and some lightning.
Import the sparkles brush using the Preset Manager (Edit > Presets > Preset manager) or simply double click the .abr file (it might not work on older versions of Photoshop).
Select a sparkle and set the foreground color to white. Create a new layer (Ctrl + Shift + N) and place some sparkles on the whale.

Step 17
Import the lightning brush and create a new layer. Click once on the layer with a lightning brush of your choosing and use the Free Transform tool to position and resize the lightning layer as in the image below.

Step 18
Now let’s add some volume and highlights to the whale.
Create a new layer (Ctrl + Shift + N) and with a round soft brush at 20-30% Opacity paint with white and black. White areas will look closer to the eye than the black ones and that’s how we will create a certain volumetric effect and add some white highlights in the process.
You should have something like in the image below:
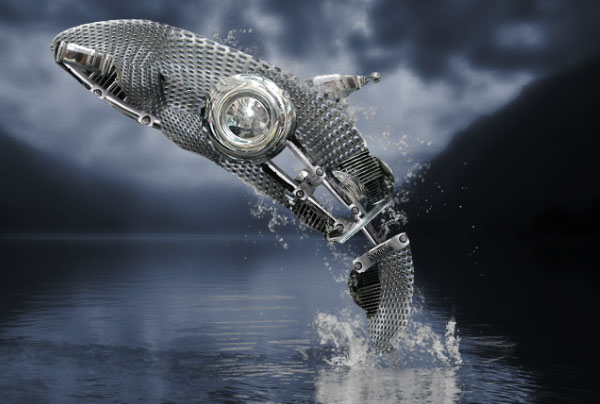
Step 19
We are almost done. Now it’s time to add some post-processing effects that will make the image look nicer.
Make a new layer from all visible layers by pressing Ctrl + Shift + Alt + E. Apply a 5px Gaussian Blur to the newly created layer.
Change the blending mode of this layer to Soft Light and lower the opacity to 30%.

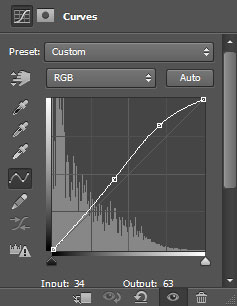
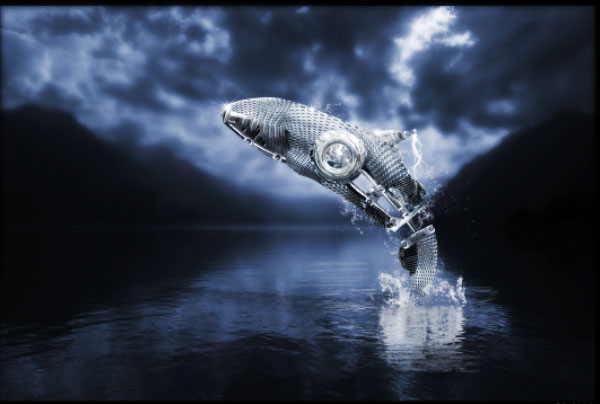
Step 20
In order to improve the contrast and lighten the image a bit add a Curves Adjustment Layer. Modify the curve like this:
Step 21
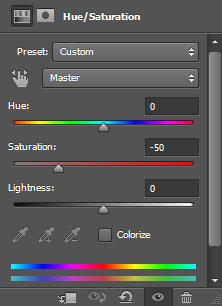
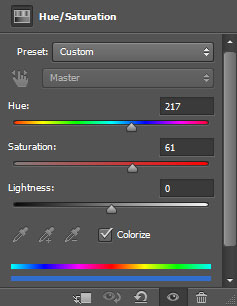
In order to unify all the elements in our scene let’s add a Hue/Saturation Adjustment layer and change the hue to a nice blue color. Lower the opacity of this layer to 22%.
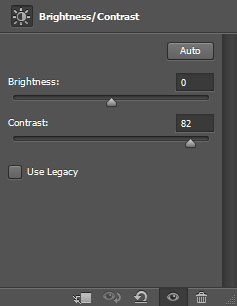
Step 22
Finally we are going to bump up the contrast, so add a Brightness/Contrast adjustment layer and increase the contrast setting to around 82.
Conclusion
And that’s the end of our tutorial. Hope you like final result.