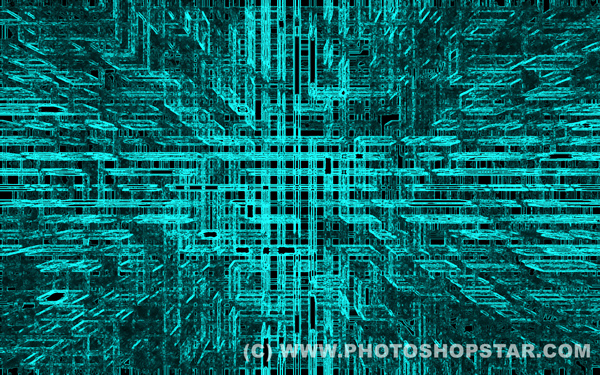
In this tutorial i am going to show how you can use filters to create wallpaper with abstraction in futuristic style.
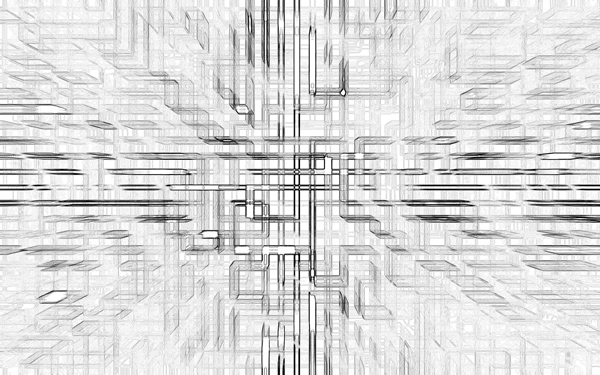
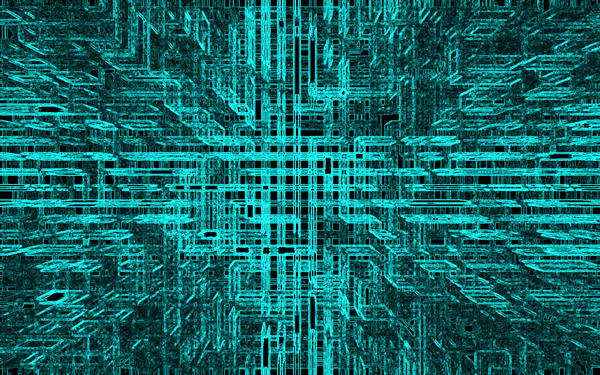
Final Image
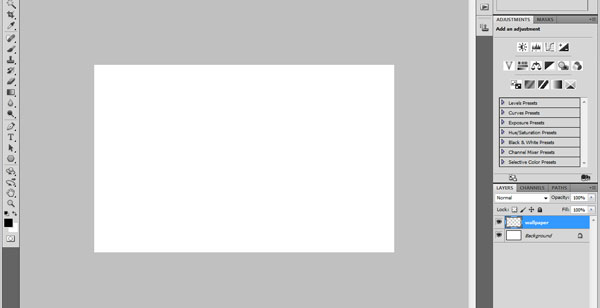
Step 1
Create a new document with size of 1920 x 1200 pixels and 72 dpi with white background.
Press D to set up foreground and background colors black and white. Go to Layer > New Layer and create a new layer called “wallpaper”.
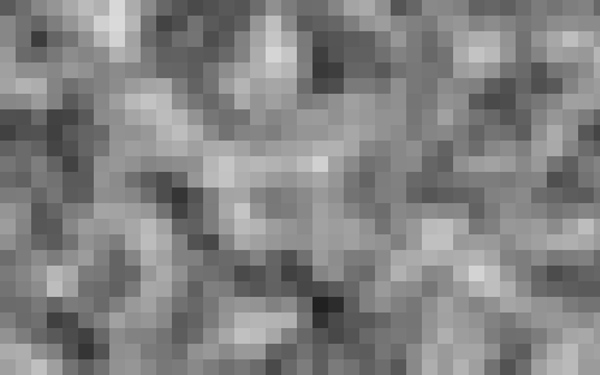
Step 2
Now we are going to work with filters on this new layer to create our wallpaper. To start, go to Filter > Render > Clouds.

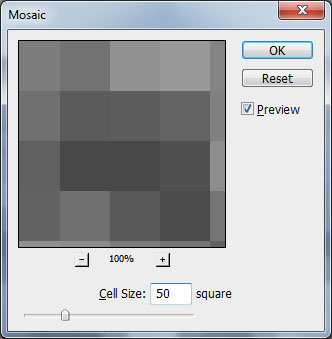
Step 3
After that apply Filter > Pixelate > Mosaic with following settings:
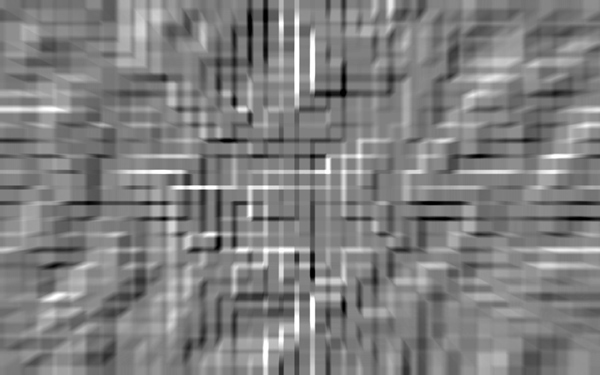
Step 4
Apply Filter > Blur > Radial Blur with next presets:
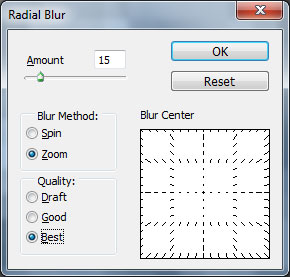

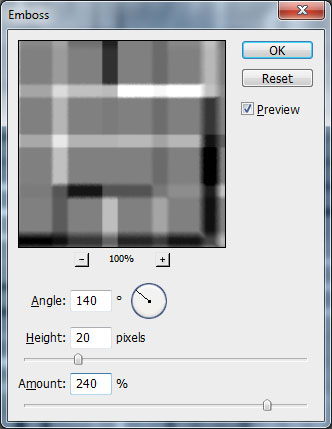
Step 5
Then apply Filter > Stylize > Emboss:
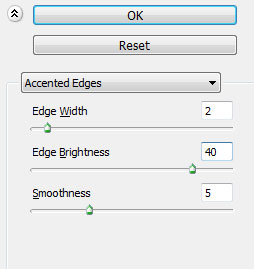
Step 6
After that use Filter > Brush strokes > Accented Edges:
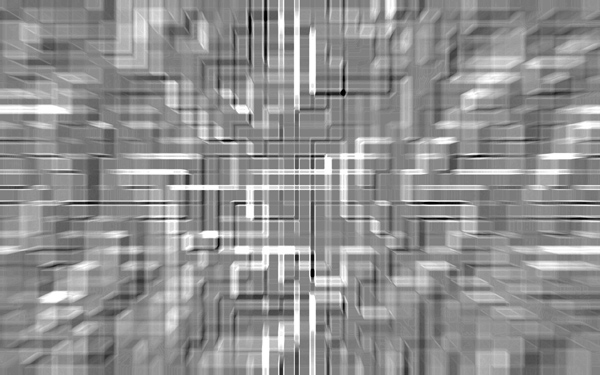
Step 7
Now apply Filter > Stylize > Find Edges:
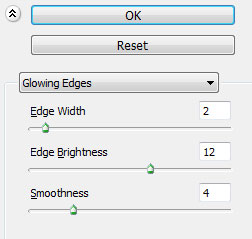
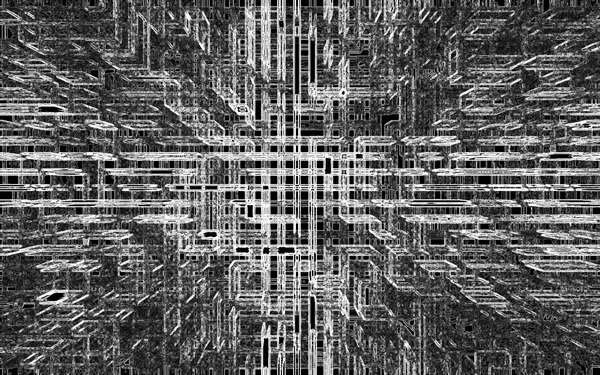
Step 8
And finally apply Filter > Stylize > Glowing Edges with these settings:
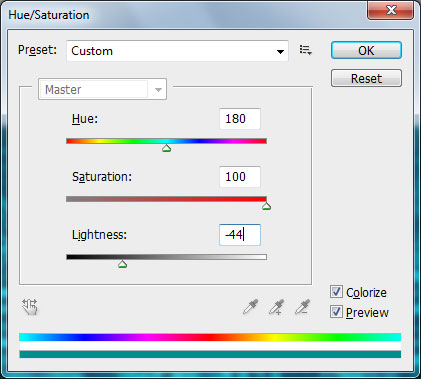
Step 9
The last thing that we have to do is to change color of our abstraction. For this effect use Image > Adjustments > Hue/Saturation:
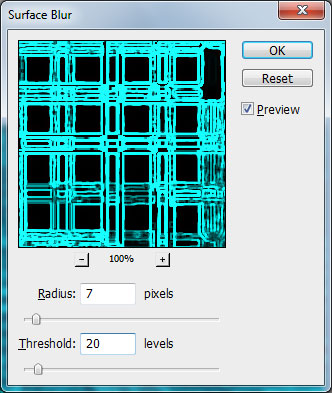
Step 10
Remove sharpness a little bit by using Filter > Blur > Surface Blur:
Final Image
And that’s it. We have a wallpaper with abstraction in futuristic style.