
Here is one more interesting tutorial how to create an interesting graffiti effect on the wall using Photoshop tools.
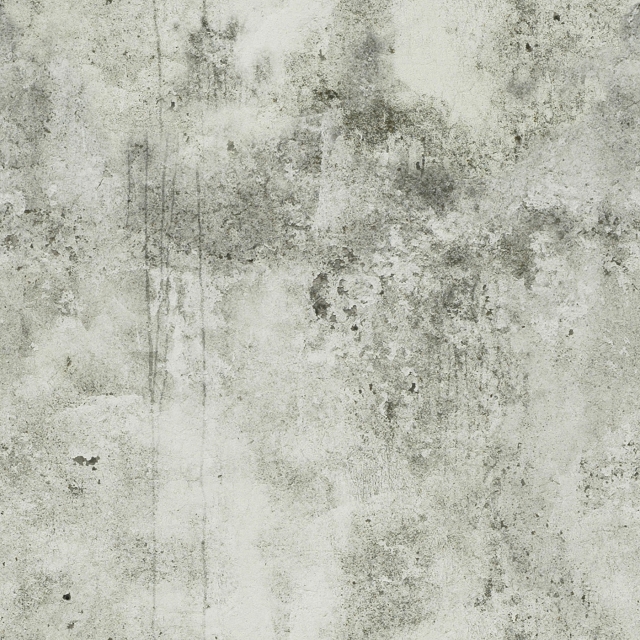
So, let’s start! First of all it will be good to find the wall texture. I tried this one. Open up this file and start to stylize the texture. In the beginning use Image > Adjustments > Hue/Saturation with next presets.

Correct hue, saturation and brightness for current texture. You result should be next:

Ok, move to the next step. This texture will be better with adding a little bit sharpness. Use the Sharpen Tool and a soft round brush about 400px.

Looks better, don’t you think? Now, start with graffiti. Go to Google Images and find some appropriate image (pay your attention that we will use just image, no photos). This one will be good. Open up it and copy to the main canvas with texture. Change layer mode for this picture to Multiply.

You might also want to try stylize it. I have one interesting idea for you. Get started by selecting the Smudge Tool and use one of the standard Photoshop brushes.

Create a couple of long smudges as on my picture below:

After that select the Sharpen Tool to make it sharpen.

This design wouldn’t be complete without some sort of text now, would it? Start by getting out the Horizontal Type Tool and write out some text, in this case I used two lines of text.

The graffiti font which I’ve used above is called Eraser, and you can download it completely for free from here. After you’re all done with the text settings, position it accordingly by using Edit > Transform > Rotate and move it up a little bit.

Looks good, isn’t it? Ok, move to the next step. To create an impression that the text dealt with the stencil. Use the Polygonal Lasso Tool to create selection as on my picture below:

Then reverse the selected area with Ctrl+Shift I and then get out the Brush Tool and one of the standard Photoshop brushes to create spray spots with black color.

The result should be the next:

Remove the selection with Ctrl+D. We are done for now! Enjoy your own cool graffiti and don’t be afraid to experiment!
