In this Photoshop tutorial I will show you how you can blend texture with skin. We’ll use some simple techniques so even total beginners can follow this tutorial.
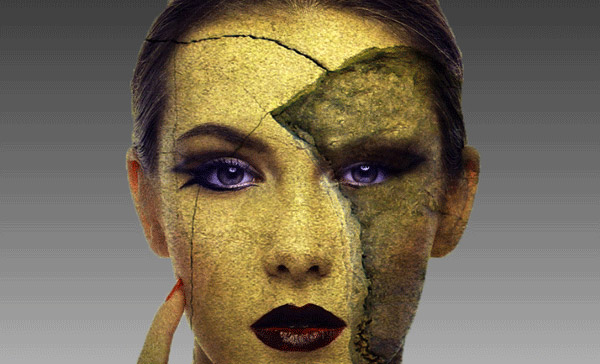
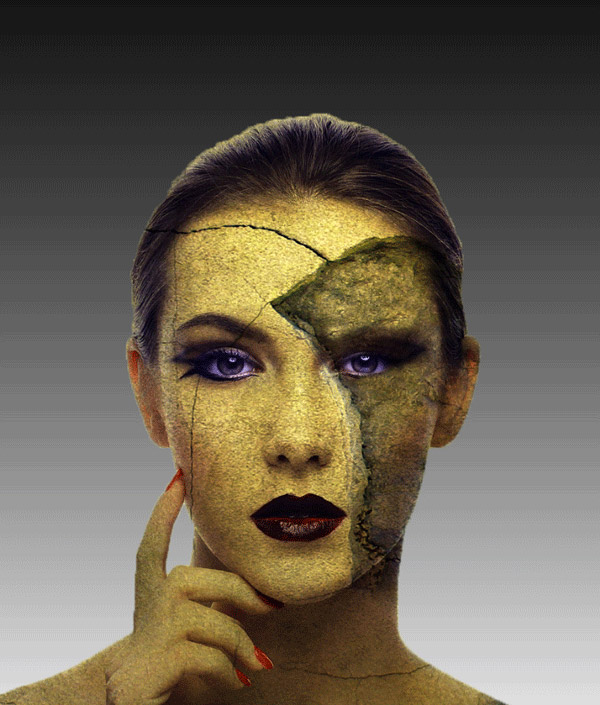
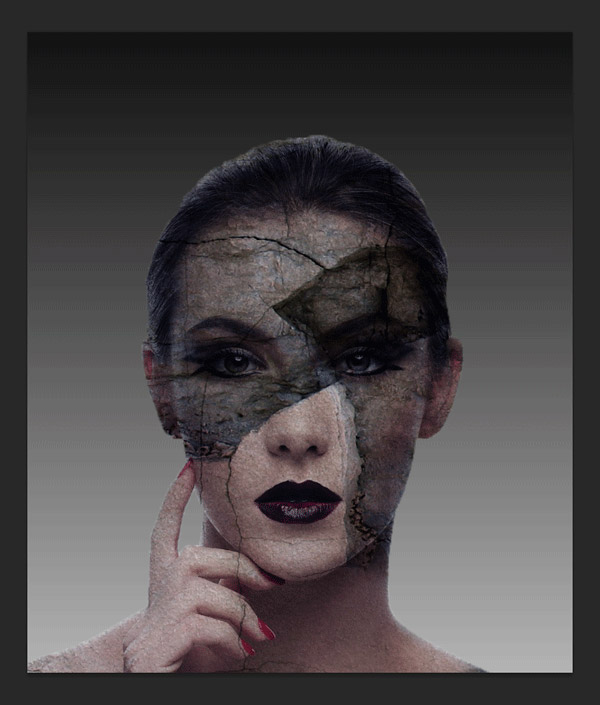
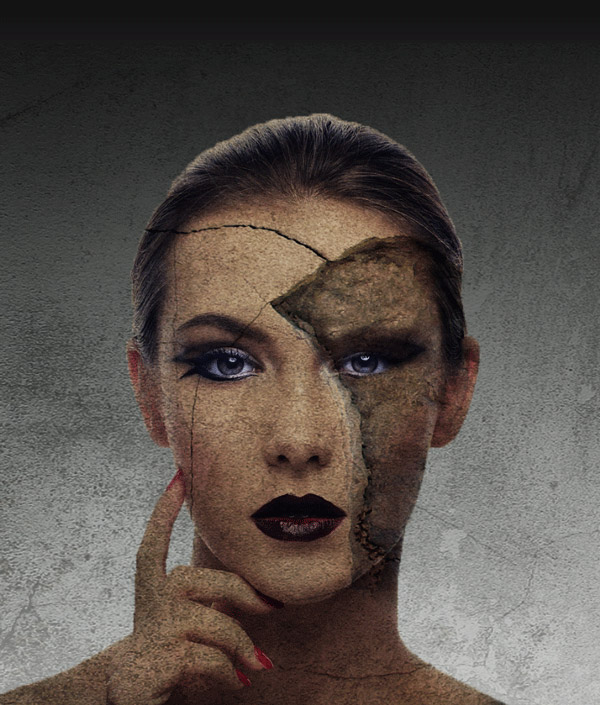
Final Image
Tutorial Details
- Program : Photoshop CS3 +
- Estimated Completion Time : 40 minutes
- Difficulty : Beginner
Resources
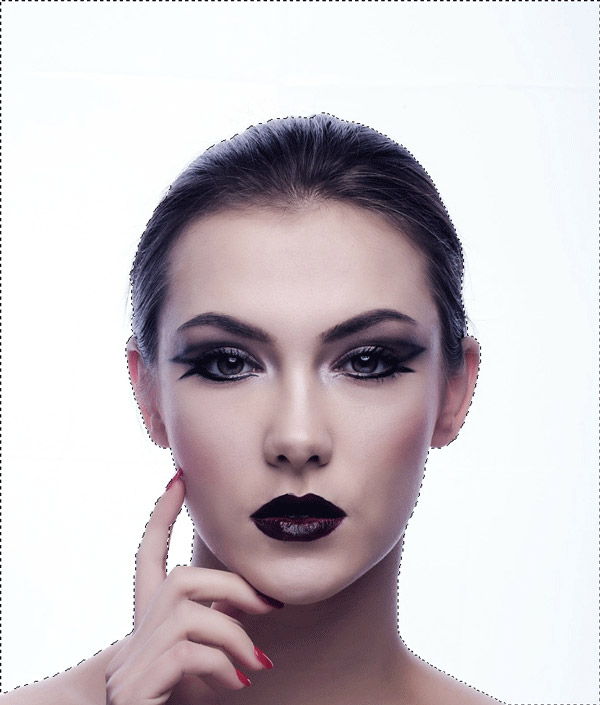
Step 1
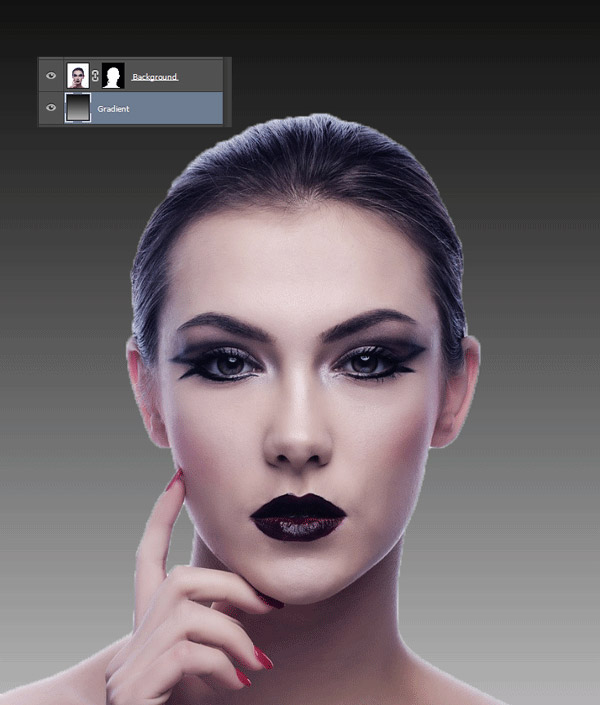
Open file “Woman”. Use the Quick Selection tool to select all the white around the woman’s face.
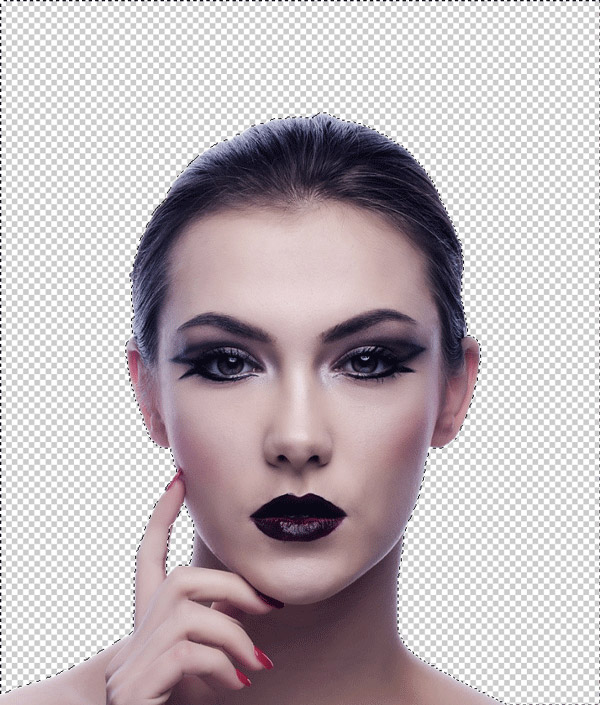
Step 2
Add a layer mask to the woman layer (Layer > Layer Mask > Reveal All). Press D to set the colors to default and click once on the layer mask to select it. Now press Alt + Backspace to fill the selection with black. Only the face should be visible now .
Step 3
Create a new layer (Ctrl + Shift + Alt + N) and drag it below the woman layer. Choose the gradient tool and with black and white as foreground and background colors (press D to set them the foreground and background colors to black and white) create a gradient as shown below. You can hold Shift while dragging with the gradient tool to keep it perfectly vertical.
Step 4
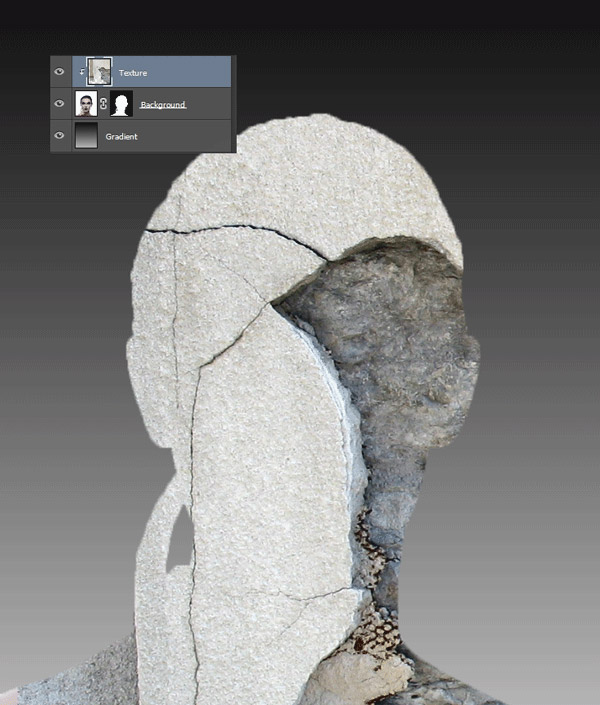
Open file “Texture1”. Select all (Ctrl + A) and copy (Ctrl + C).
Go back to your document and paste the texture (Ctrl + V). Alt-click between the texture layer and the woman layer to clip the texture to the woman layer.
Step 5
Change the blending mode of the texture layer to Multiply.
Step 6
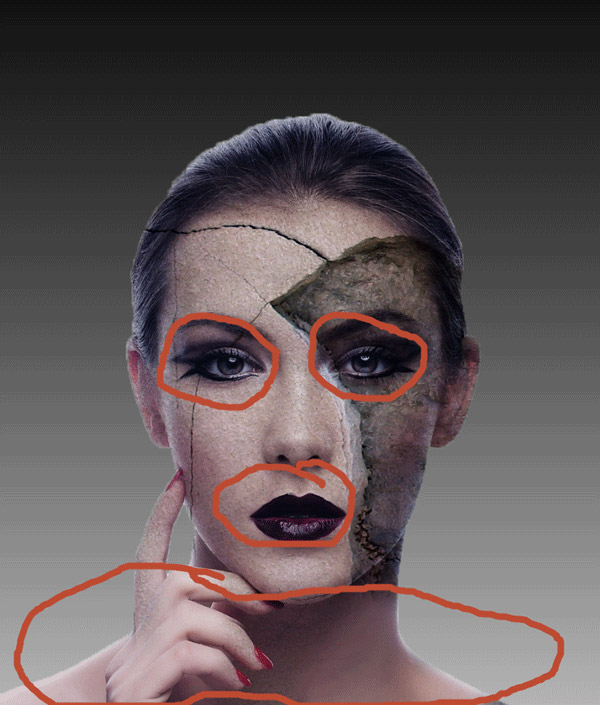
Add a layer mask to the texture layer (Layer > Layer Mask > Reveal All). Choose a soft brush and paint with black in the layer mask over the eyes, the mouth and the neck .
Step 7
Duplicate the texture layer (click on it to select it and press Ctrl + J) and drag it as shown below.
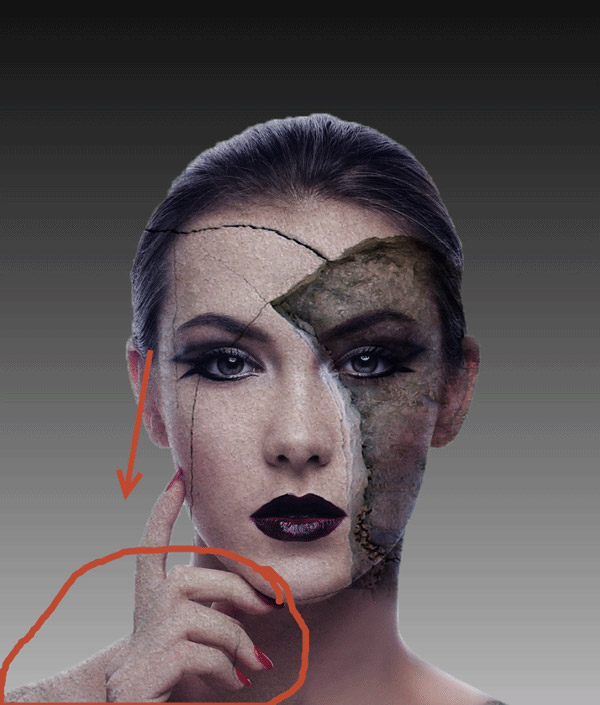
Step 8
Click on the layer mask and fill it with black. With a black brush reveal only the lower left side of the neck (as indicated below).
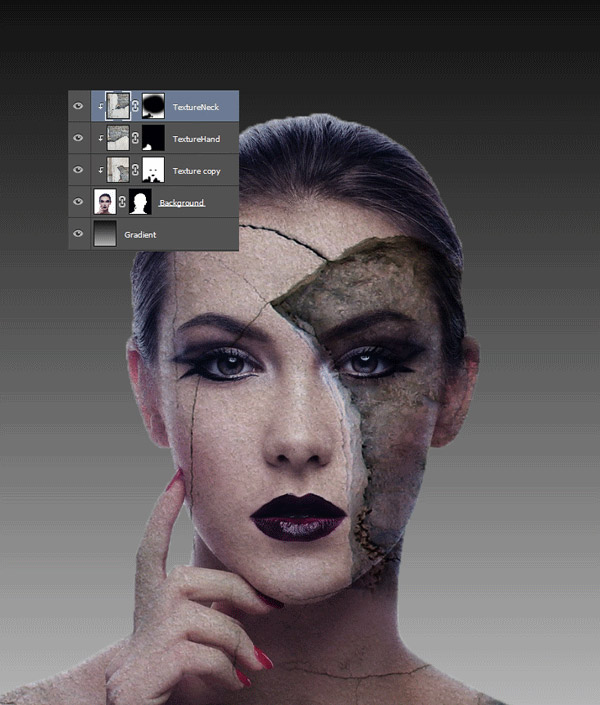
Step 9
Duplicate the texture layer again and this time move it up and right. In the layer mask reveal only the lower neck by first filling the mask with black and then painting with white over the areas you watn revealed.
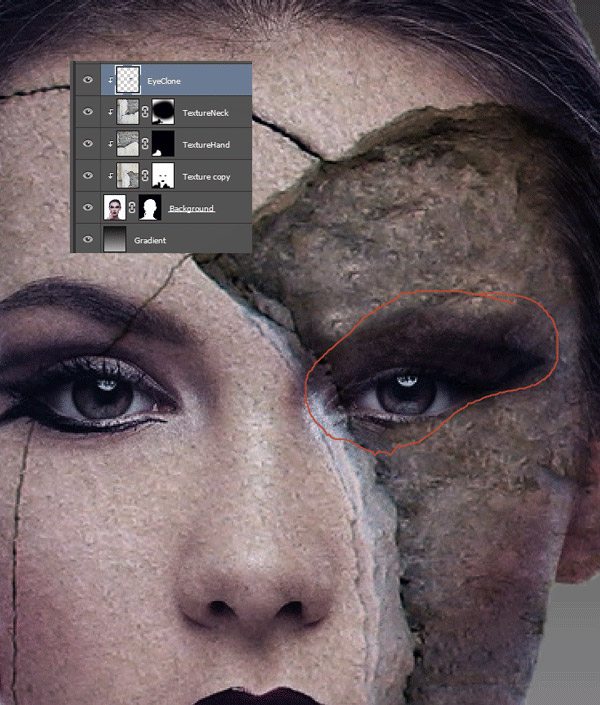
Step 10
Create a new layer and clip it to the texture layers below. Select the clone tool and sample somewhere on the area above the woman’s left eye (from her perspective). Clone away the eyebrows.
Step 11
Open the file “Texture2”. Select all and copy. Paste the texture into your document. Clip the texture layer to the eye clone layer below and lower the opacity to 79%.
Step 12
Change the blending mode of the freshly pasted texture to Multiply. Add a layer mask and paint with a black brush over the eyes to mask them away.

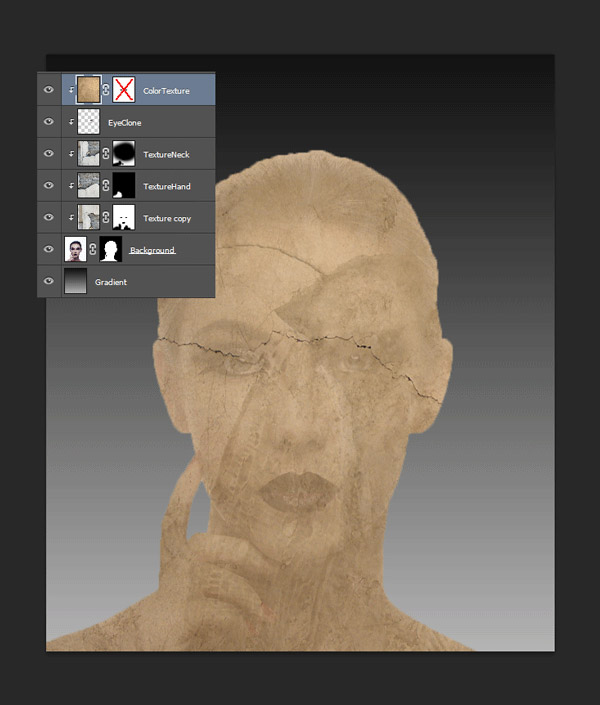
Step 13
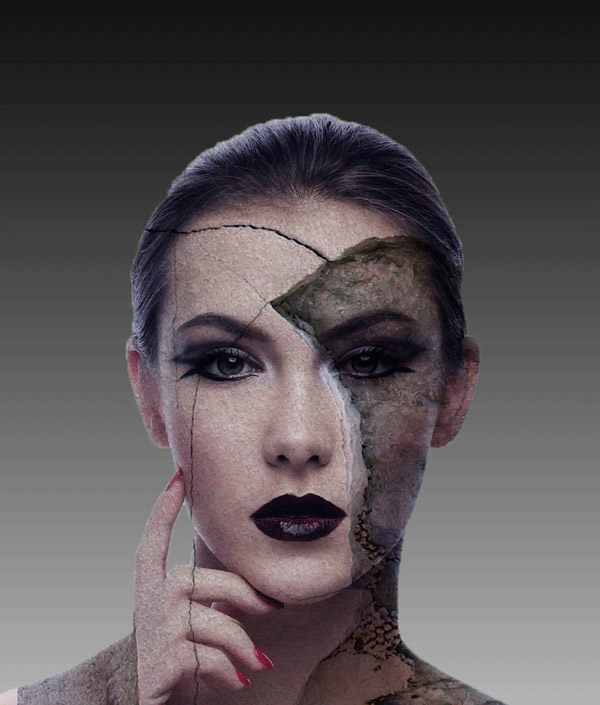
Open file “Texture3”. Copy all and paste into our document. Change the blending mode to Overlay and lower the Opacity to 48%.
Step 14
Add a layer mask to the newly pasted texture and fill it with black. With a white brush paint over the face of the woman in the layer mask to reveal it.
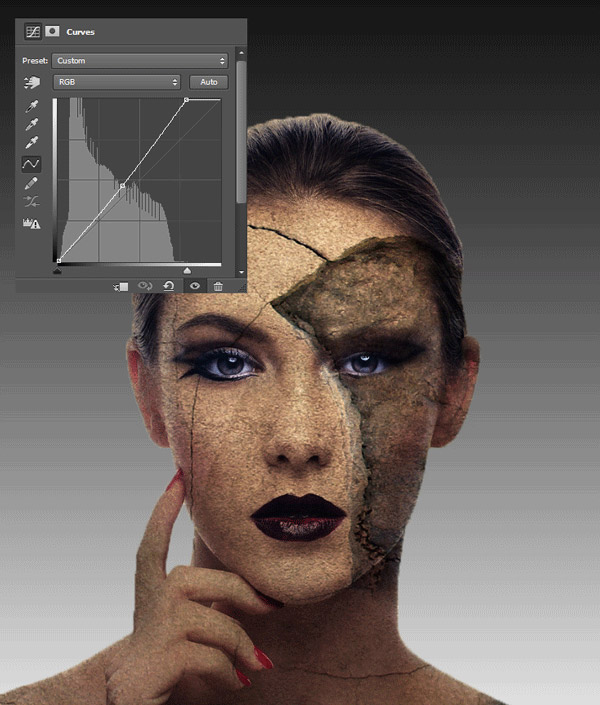
Step 15
Create a Curves Adjustment Layer ( Layer > New Adjustment layer > Curves ) and use the settings shown below to increase the contrast and the brightness.
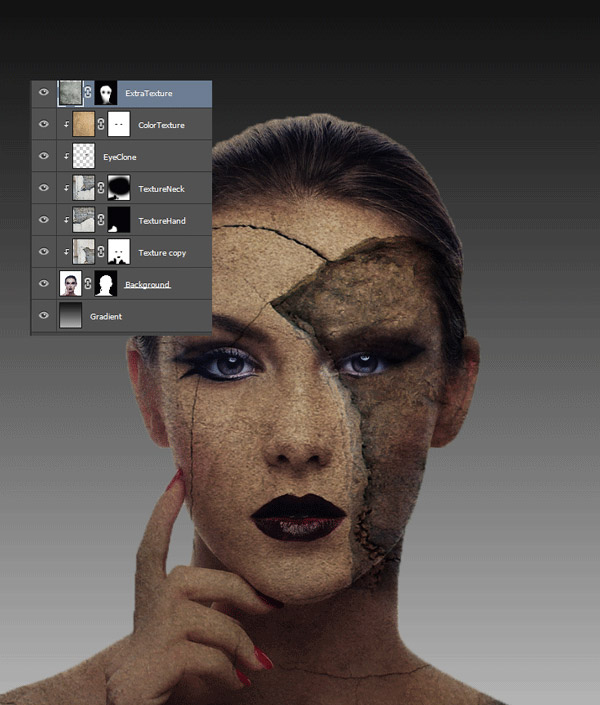
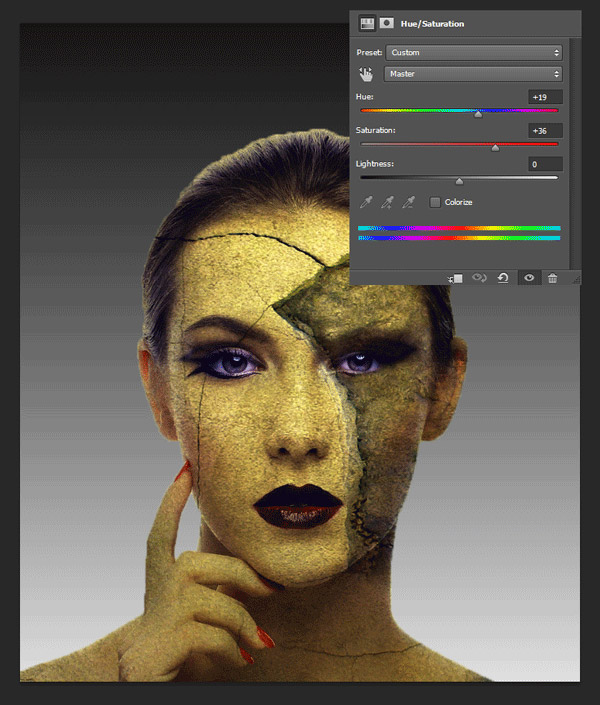
Step 16
Create a Hue/Saturation Adjustment layer (Layer > New Adjustment Layer > Hue/Saturation) and use the settings shown below to change the color and increase the saturation.
And We’re Done!
I hope you learned some useful techniques and enjoyed this tutorial.