This Photoshop tutorial will explain one interesting technique of making abstract picture from the photo.
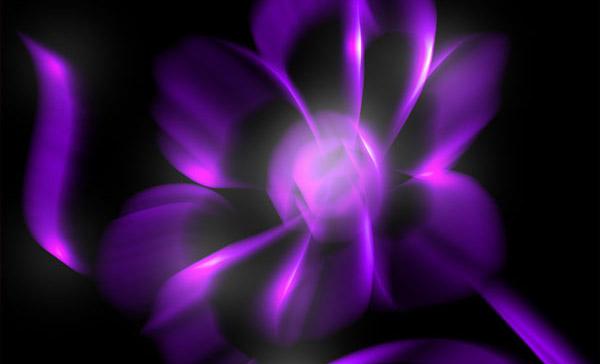
Final Image Preview

Resources
- fire texture 02 cosmos
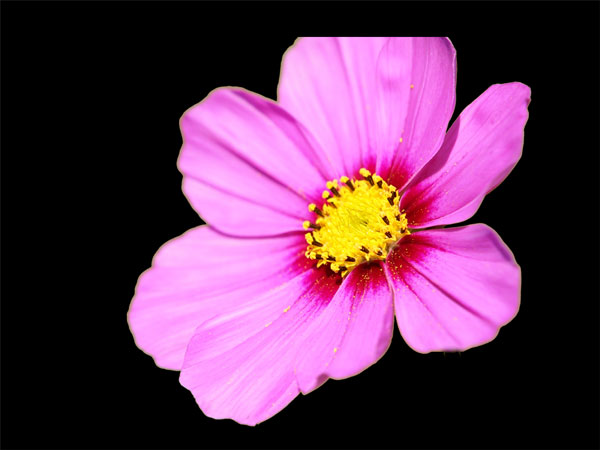
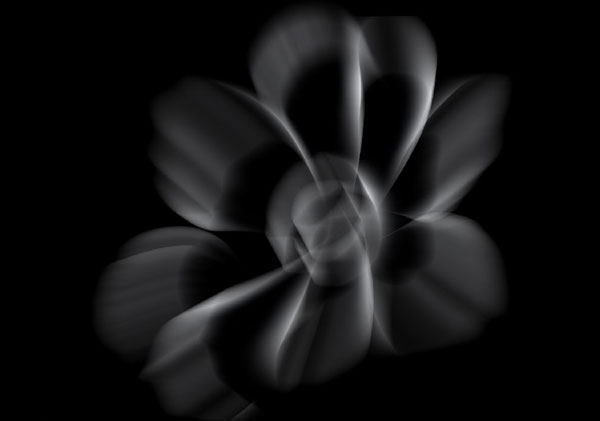
Step 1
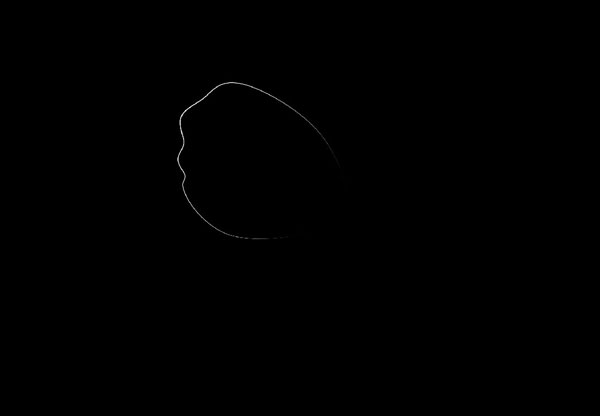
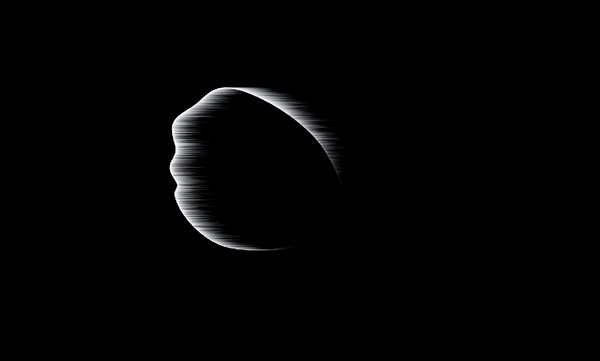
Open photo in Photoshop. Go to Image > Image Size and update size to 1000×750 pixels. Double click on layer thumbnail on layers palette to unlock background layer. Create a new layer under flower layer and fill it with black color (Name it “background”). Select flower layer and with Polygonal Lasso Tool select flower. Invert selection by going to Select > Inverse and press Delete to clear selected area.
Step 2
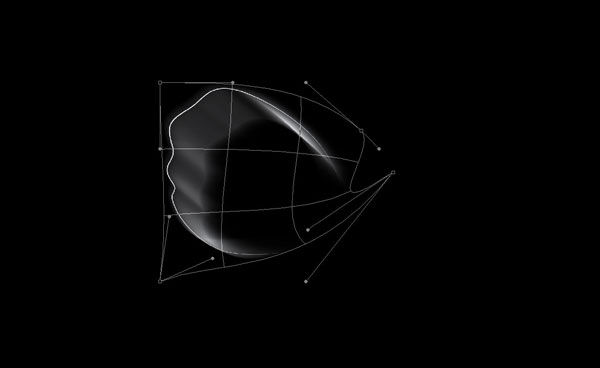
Create a new layer. Select Brush Tool (hard round brush with 2px) and set foreground color to white. Select Pen Tool (make sure Paths is selected instead of Shape Layers) and draw your line like I did to select one petal.

Right-click selection and select Stroke Path.

A dialog box will appear. Choose Brush and make sure there is a tick on Simulate Pressure.
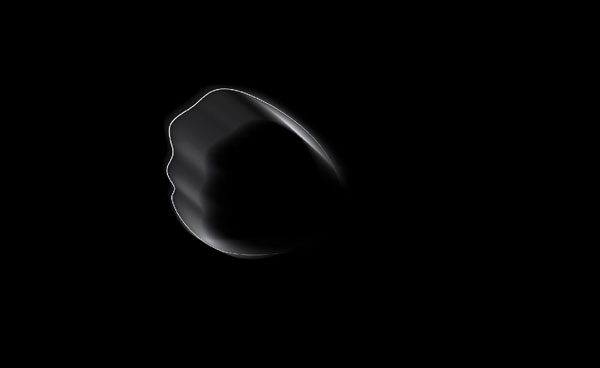
Right-click again and select Delete Path. If you hide temporarily flower layer (by clicking on layer thumbnail on layers palette) you will see this:
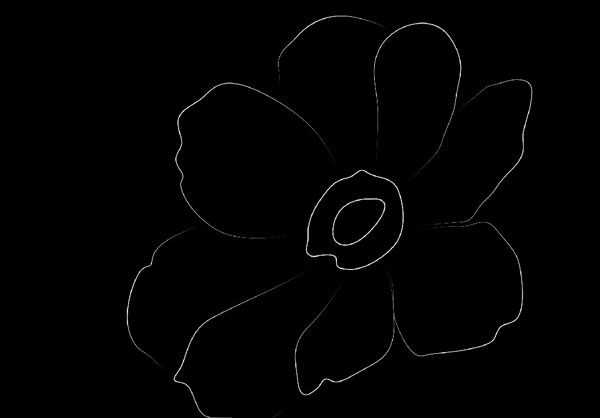
Repeat same process to recreate all other petals into shapes and also inner part of flower. Each petal should be on a separate layer. In the end you can delete flower layer.
Step 3
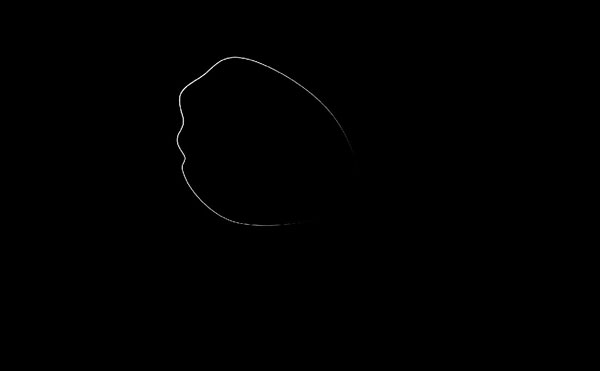
Hide all layers except “background” layer and first petal layer that you created on step 2.
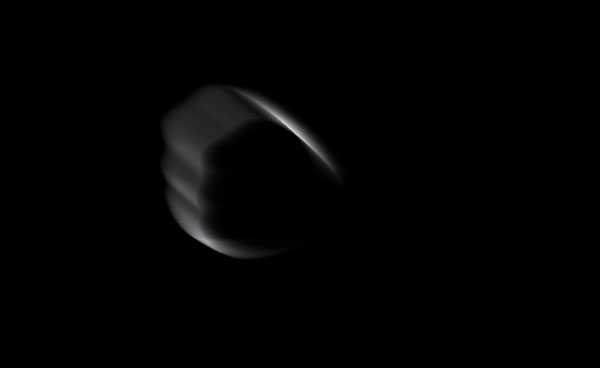
Duplicate layer with petal (Ctrl+J) and move it above all layers. Apply Filter > Stylize > Wind.
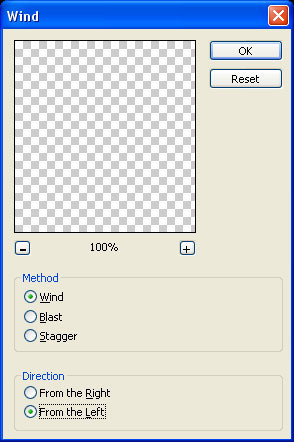

Press Ctrl+F a few more times to increase filter effect.
Apply Filter > Blur > Motion Blur.
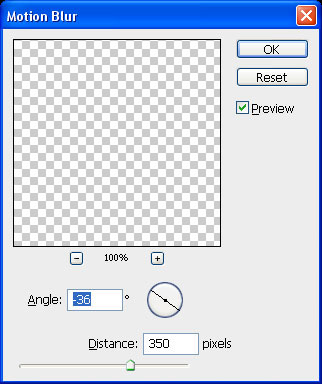
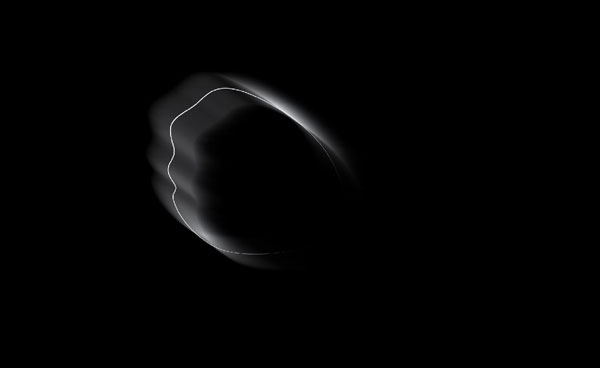
Move this layer with Move Tool (V) to have something similar to what I did.
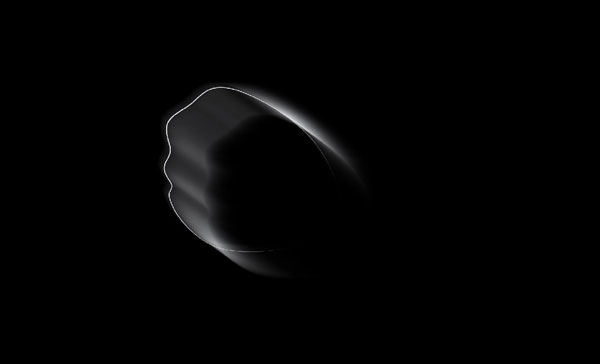
Next, apply Edit > Transfom > Warp to place layer content inside petal shape.
Delete original petal layer with shape.
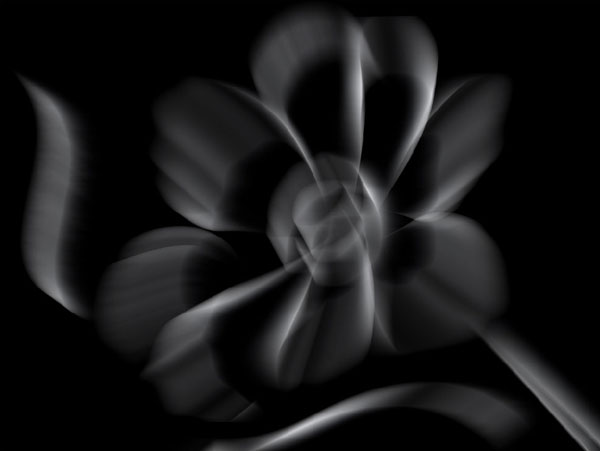
Repeat all these steps for each other petal layers and in the end you will have something similar to my image below.
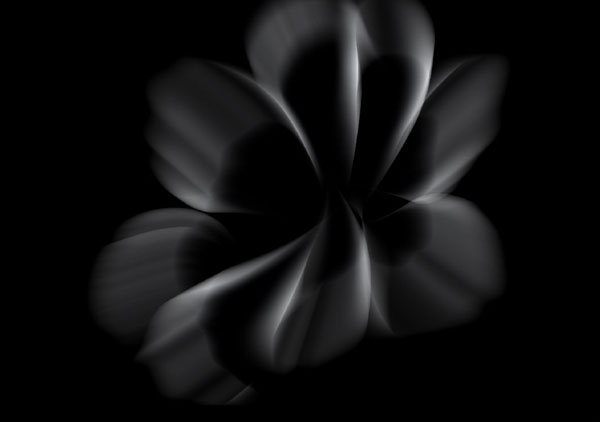
We just need to create inner part of the flower. Repeat same process as with petals but do not apply Motion Blur.
We can still add some more lines to improve picture like we did with flower petals.
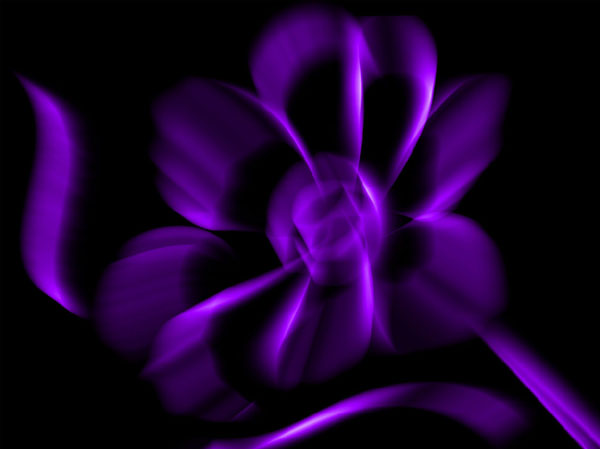
Step 4
We are now going to add color. Create a new layer above all other layers and fill it with color #a100ff.

Change layer mode to Overlay.
Step 5
Create a new layer on top of all other layers. Now we are going to add some glowing to this picture. Select Brush Tool with soft round brush (brush size varying from small to large) and add a few spots with white color.
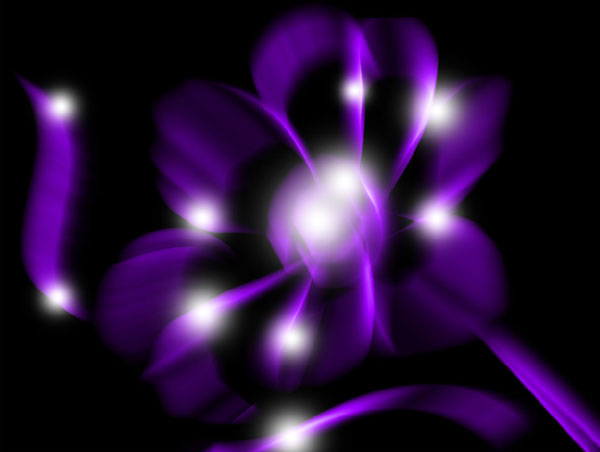
Change layer mode to Overlay.
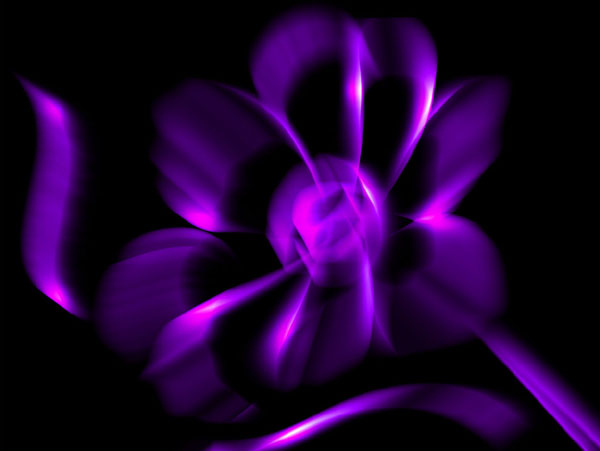
Create a new layer on top of all other layers. Add a little more glowing with the Brush Tool (Opacity: 20%) and we are done with this tutorial.
Final Image