In the following tutorial we will create a Christmas ornament ball using some brushes, a texture and standard Photoshop filters.
Final Image
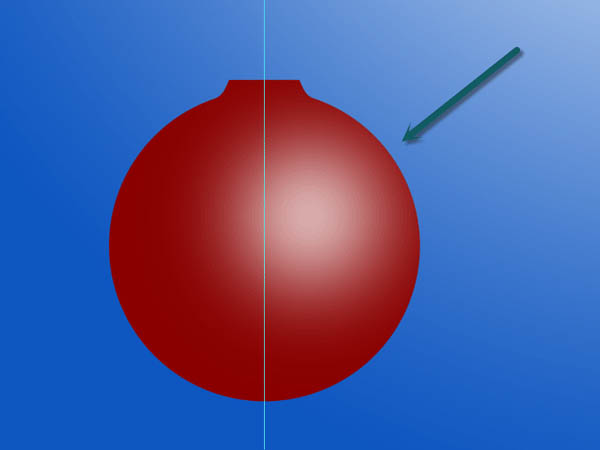
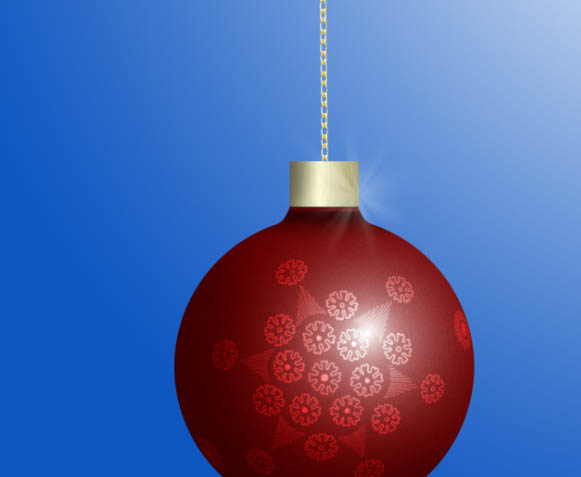
As always, this is the final image that we’ll be creating:

Tutorial Details
- Program: Adobe Photoshop CS3
- Estimated Completion Time: 30 minutes
- Difficulty: Beginner-Intermediate
Resources
Step 1
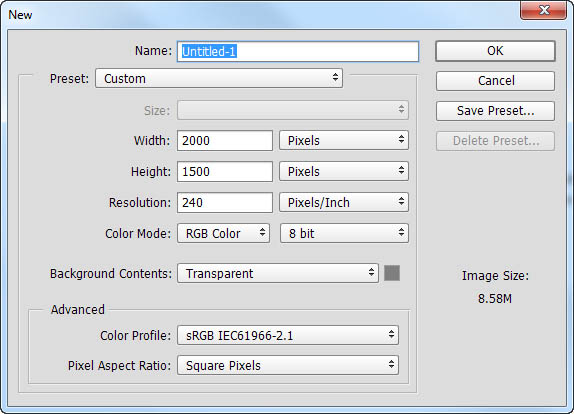
Create a new document 2000 x 1500px.
Step 2
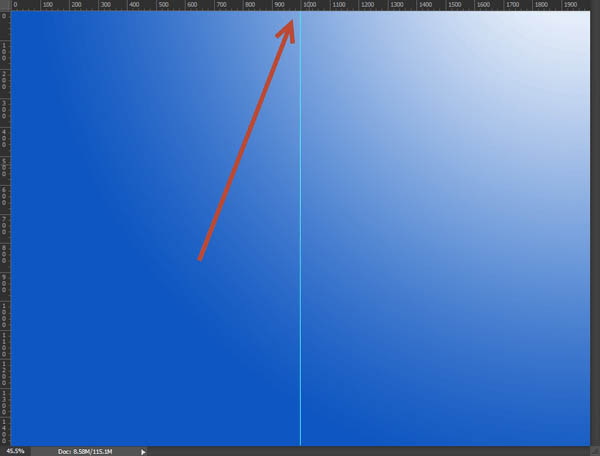
Choose the Gradient Tool (G). Set white as the foreground color and a light blue (#0e56c0) as the background color.
With the foreground to background gradient drag from the upper right corner of the image to the lower left corner. You should achieve something like that shown below.

Step 3
Press Ctrl + R to show the ruler on the margins of our document. Click on the right ruler and drag towards the middle of the image to set a Guideline at 1000px (it should snap on its own, but if not make sure that View > Snap is checked).
Step 4
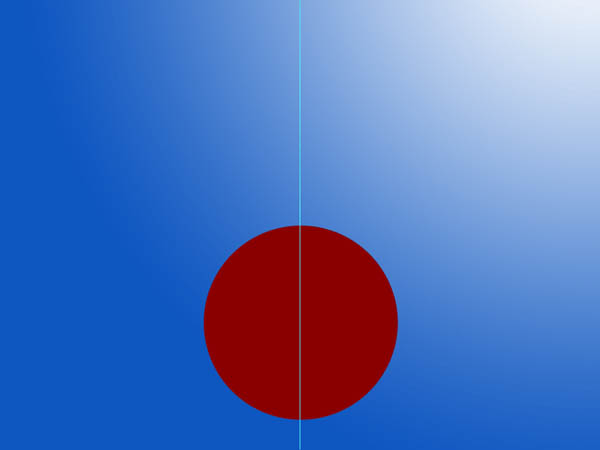
Create a new layer (Ctrl + Alt + N). Use the Elliptical Marquee Tool to create a perfectly round circle (hold Shift while creating the circle) and fill it with a bright red (#890000) by first setting the red color as the foreground color and then pressing Alt + Backspace.
Now place the circle on the horizontal middle of the document (you can hold Ctrl and click and hold the left mouse button to drag any layer) with the use of the guideline you created in step 3 (it should snap automatically).
Step 5
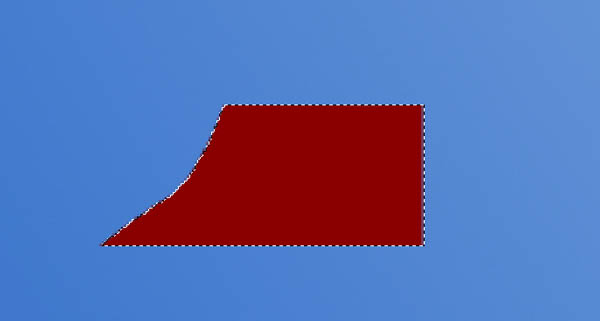
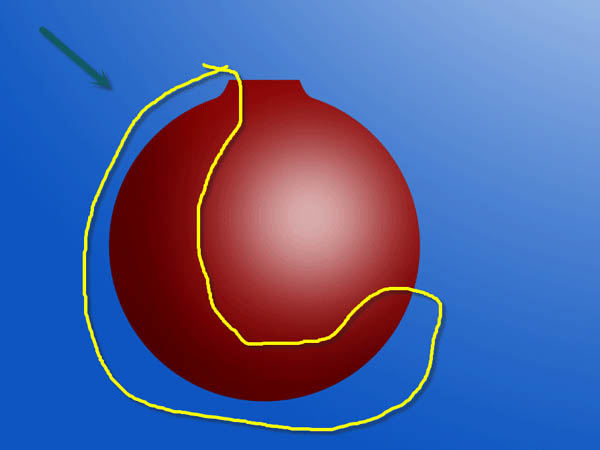
Use the Path Tool to create a path shape as I did in the image below.

Step 6
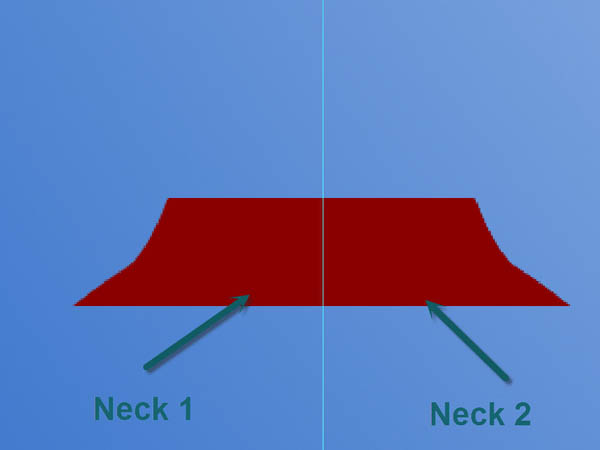
Make a new layer and press Ctrl + Enter to transform the path into a selection. Fill the selection with the same red color as the globe we created in step 4. Name this layer “Neck”.
Step 7
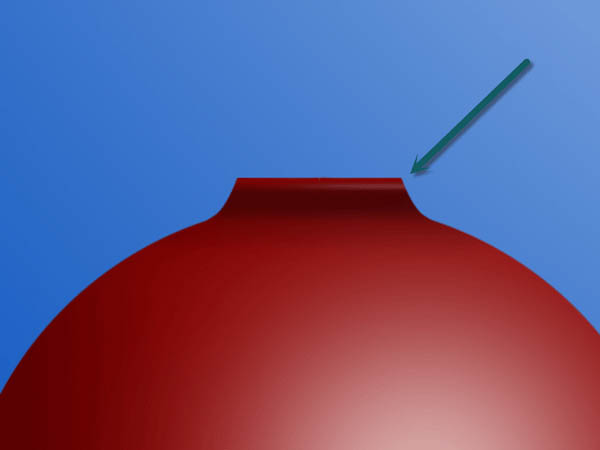
Duplicate the “Neck” Layer (Ctrl + J) and press Ctrl + T to enter Free Transform. Right click on the layer in the document and choose “Flip Horizontally”. Now move the flipped layer to the right to give a symmetrical form.
Step 8
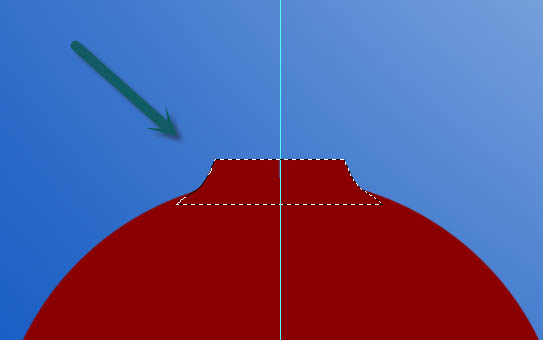
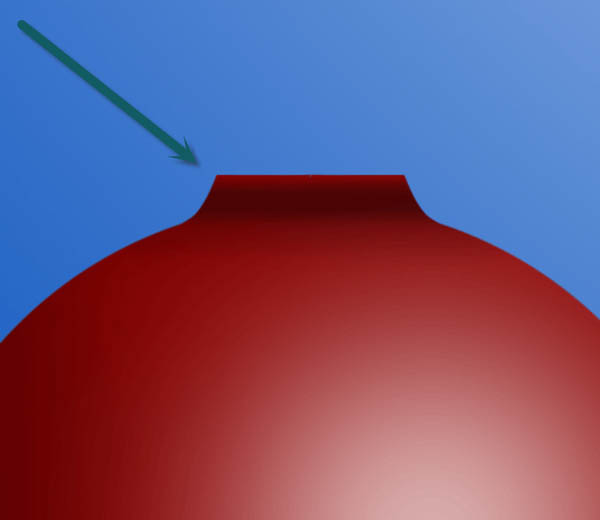
Group the 2 neck layers (select them in the layers palette and press Ctrl + G). Move the group over the ball as shown in the image below.
Step 9
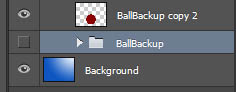
Group the two neck layers and the ball layer together. Name the group “Ball Backup”. Duplicate this group (Ctrl + J). Turn off the visibility of the original group and right click the duplicate group. From the drop down menu choose “Merge Group”.
Step 10
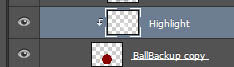
Create a new layer and clip it to the ball layer (Alt-click between the two layers). This means that all pixels on the upper layer will be visible only through the pixels of the lower layer (or anything that we draw on the upper layer won’t get out of the boundaries of the lower layer). Name this layer “Highlight”.
Step 11
Select the Brush tool and choose the standard round soft brush. Choose a white color and lower the opacity of the brush to 50-60%. Set the size of the brush to 400px. Click once in the upper right corner of the ornament ball to create a highlight as shown below.
Step 12
Create a new layer and name it “Darkness”. Clip it to the Highlight layer (this will have the effect of clipping it to the ball layer).

Step 13
With the same soft brush but a black color and a lower opacity (10%) paint loosely some dark shading on the indicated sections of the ornament below.
Step 14
Create a new layer and clip it to the layers below. With a dark brush at 30% Opacity draw some dark shading on the most upper part of the ornament ball (as indicated below).
Step 15
Create another new layer and clip it again to the layers below. Lower the size of the soft brush to 10px and with a white color draw a subtle highlight as indicated below.
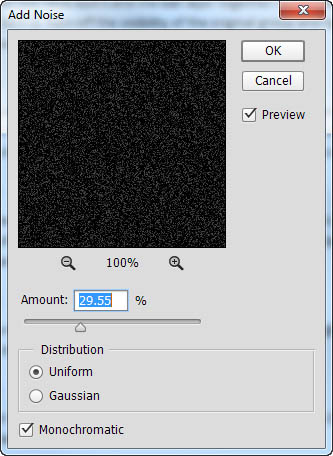
Step 16
Create a new layer and fill it with black (press D and after that press Ctrl + Backspace). Choose Filter > Noise > Add Noise and use the settings shown below.
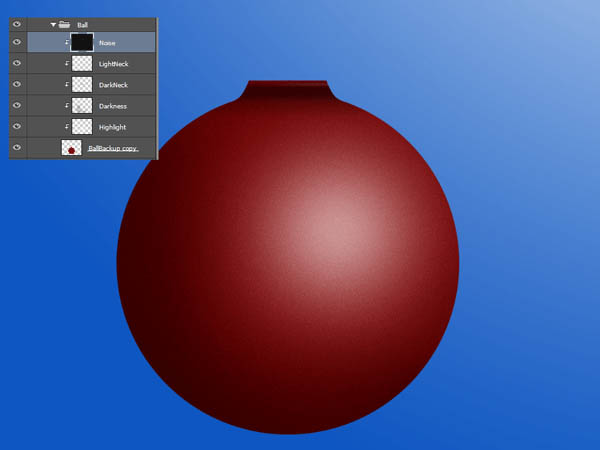
Step 17
Clip the noise layer to the layers below and change the blending mode to Soft Light.
Lower the Opacity to 54%. This will add some texture to our ornament ball. If the effect is too intense you can apply a Level Adjustment (Image > Adjustments > Levels ) to the noise layer and play with the settings.
Group the layers under a new group.
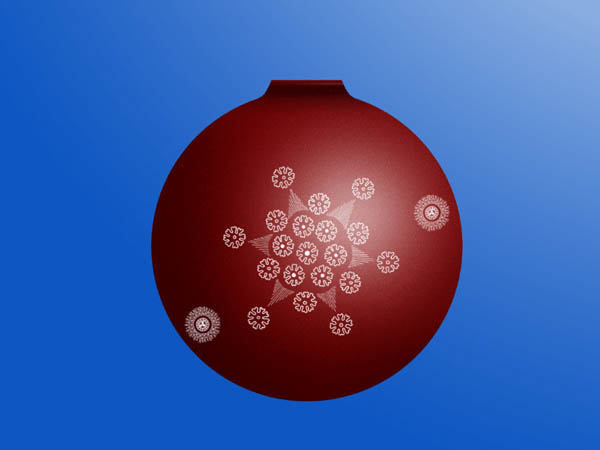
Step 18
Import the Ornament Brush (Presets > Presets Manager). Create a new layer and choose an ornament that you like. With white as the foreground color create some ornaments that fit inside the ornament ball.
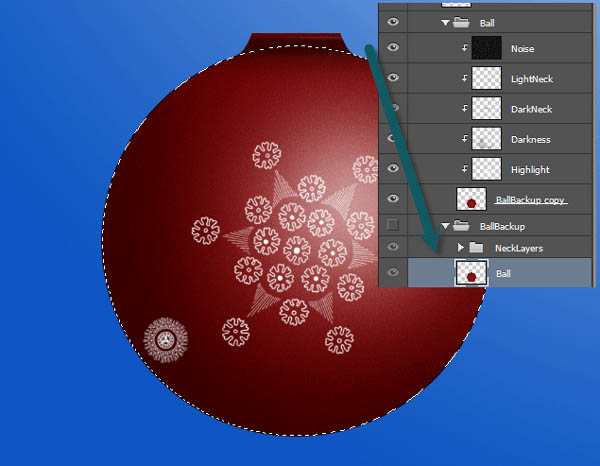
Step 19
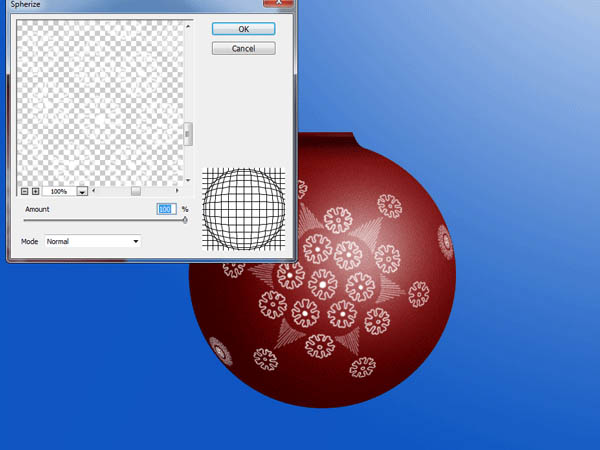
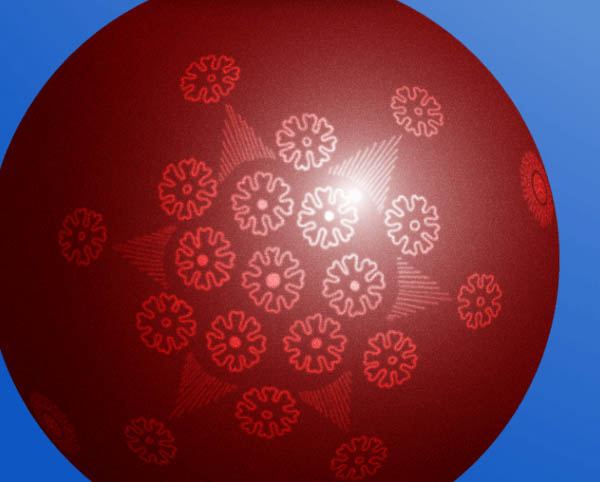
Now we have to make the ornament look like it’s in 3d and not a flat 2d. Open the “BallBackup” group and Ctrl-click on the ball layer (just the round ball). This should make a round selection. Click back again on the ornament layer.
Step 20
Make sure you are on the ornament layer. Choose Filter > Distort > Spherize. Deselect everything (Ctrl + D).
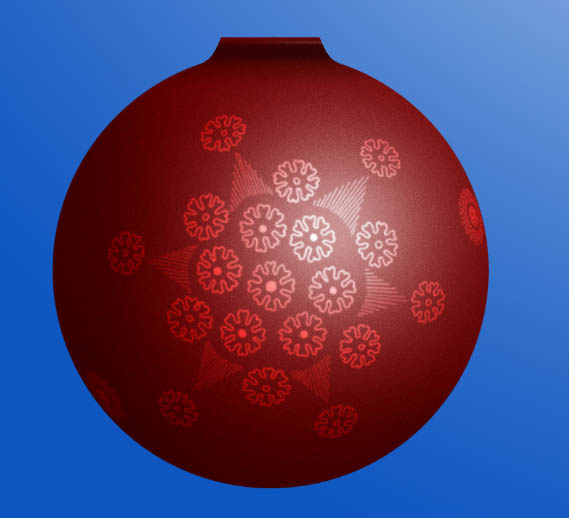
Step 21
Change the blending mode of the ornament layer to Overlay.
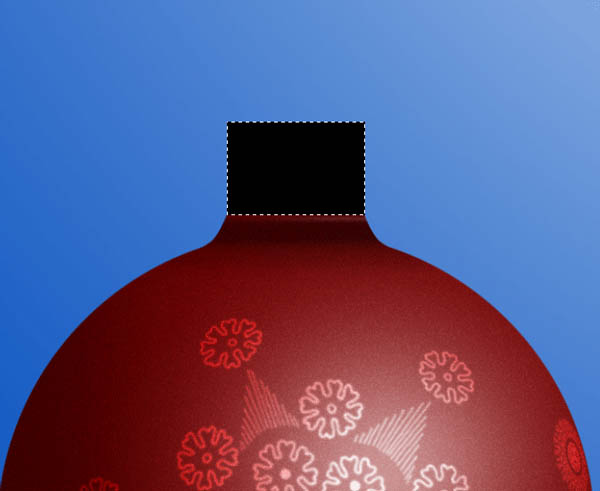
Step 22
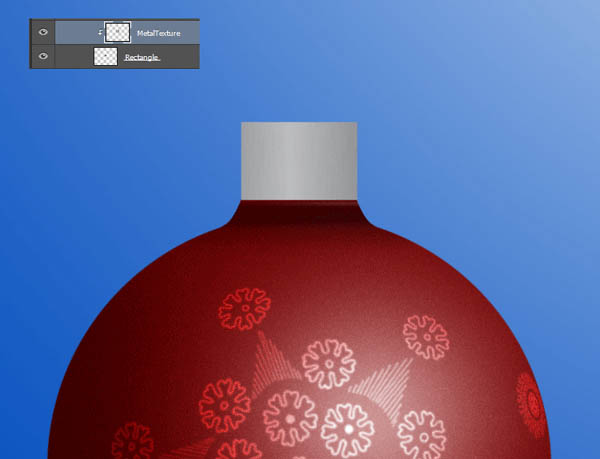
Now let’s create the upper metallic part. Create a new layer and select the Rectangular Marquee Tool. Create a rectangle as shown below and fill it with any color (Alt + Backspace).
Step 23
Open the “Metal Texture” file and desaturate the image (Image > Adjustments > Desaturate). Copy all (Ctrl + A) and paste into your document (Ctrl + V). Resize and place as shown below.
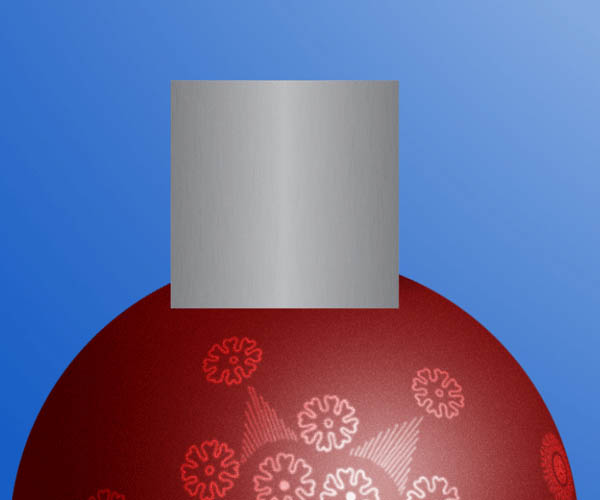
Step 24
Now clip the metal texture layer to the rectangle we created in step 22.
Step 25
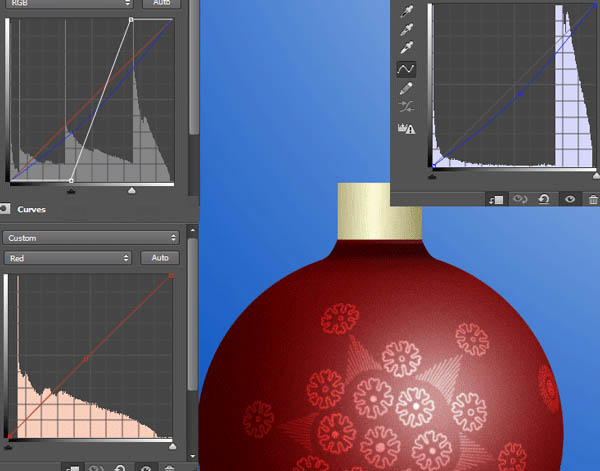
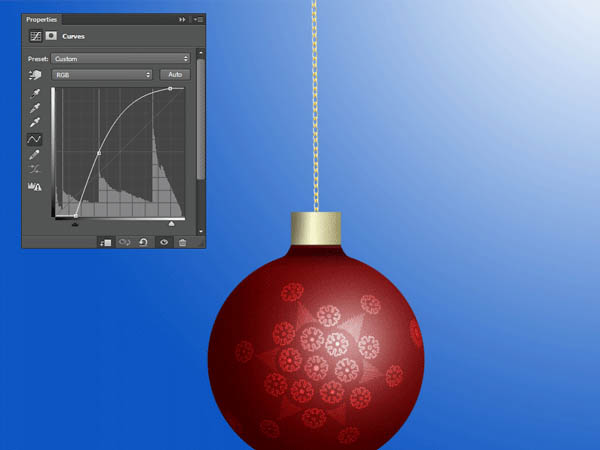
Create a Curves Adjustment Layer (Layer > New Adjustment Layer > Curves) and use the settings shown below. Clip the curves layer to the metal texture layer. By doing this we will give the metal a golden color.
Step 26
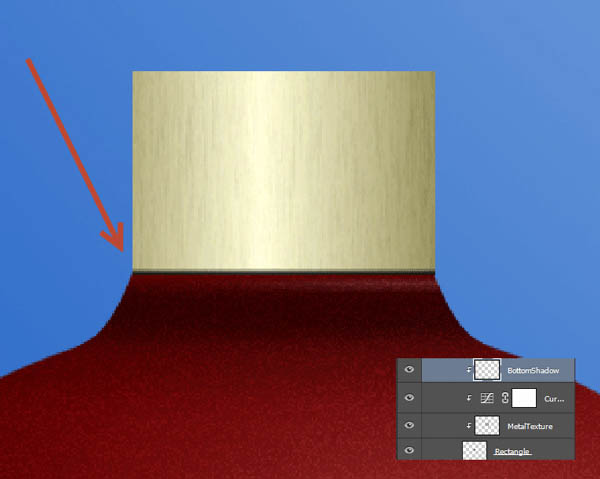
Create a new layer and clip it to the curves layer. With a black soft brush (2px size) create some bottom shadow.
Step 27
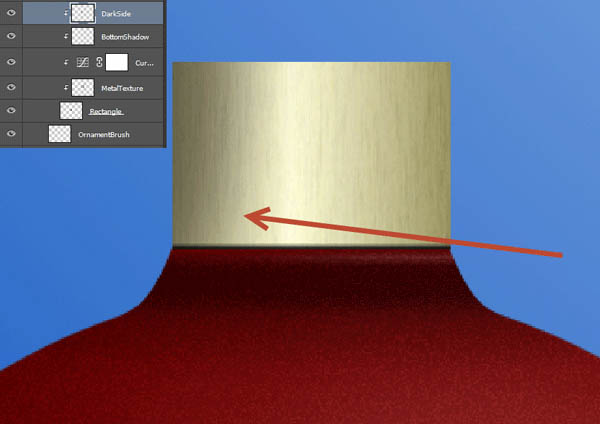
Create a new layer and clip it to the bottom shadow layer. Change the blending mode to Multiply. With a round soft brush at 10% Opacity paint some subtle shadow on the left side of the metallic part.
Step 28
Open the file “Chain”. Copy all and paste into our document. Resize and place the chain as shown below (it should fall just on top of the ornament ball).
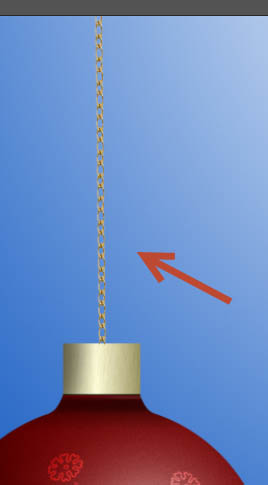
Step 29
Create a Curves Adjustment Layer and clip it to the chain layer. Drag the curve up as shown below to make the chain brighter.
Step 30
Create a new layer and select the default round soft brush. With white as the foreground color and a size of 15px create a little white circle in the area indicated below.
Lower the opacity of the brush to 20% and increase the size to 50px. Click a couple of times again over the small white circle. This should give the illusion of a specular highlight.
Step 31
Import the Fantasy Light Brush and choose the brush Burst5.
On a new layer click once to create a white sparkle and place it near the metallic part of our ornament ball. Lower the Opacity to 33%.
Step 32
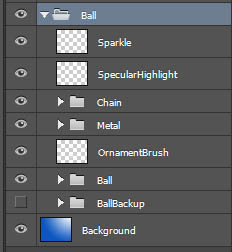
Select all the layers and groups (except the Background Layer) and press Ctrl + G to create a new group. Name this group Ball.
Step 33
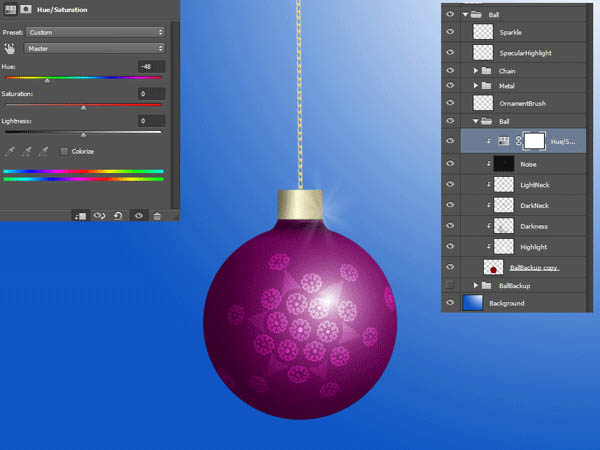
If you want to change the color of the ornament ball add a Hue/Saturation Adjustment Layer in the Ball group and clip it to the “Ball Backup” layer as shown below.
Step 34
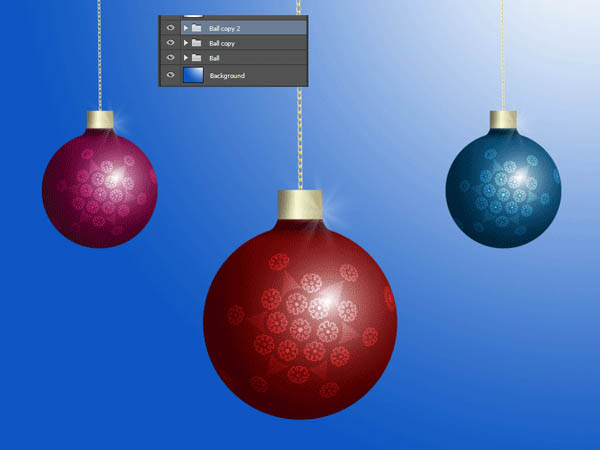
Duplicate the Ball group a couple of times (Ctrl + J with the group selected) and place the duplicates as shown below. You can also change the color of each ornament ball.
Step 35
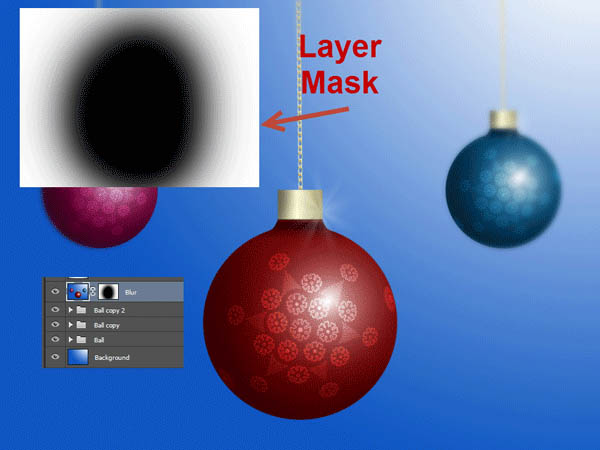
Press Ctrl + Shift + Alt + E to create a new layer from all visible layers. Apply an 8px Gaussian blur. Name the layer “Blur”.

Step 36
Add a layer mask to the “Blur” layer (Layer > Layer Mask > Reveal All). Choose a soft round brush and increase the opacity to 100%. Click on the layer mask to select it and paint with black over the middle ornament ball in order to hide the blur effect.
Step 37
Create a new layer and name it Glitter. Choose the Glam brush from the imported Fantasy Light brushes and with white create some glam/sparkles over the whole scene. You can also vary the opacity.
And We’re Done!