Welcome to Photoshop Toolbar Part 3 (Part 3 of 3). In this tutorial we will finish our introduction to the Photoshop Toolbar.
View Other Articles in This Series
- How to set up Photoshop
- Photoshop Interface Explained (Part 1)
- Photoshop Interface Explained (Part 2)
- Introduction to the Photoshop Toolbar (Part 1)
- Introduction to the Photoshop Toolbar (Part 2)
- Introduction to the Photoshop Toolbar (Part 3)
- Photoshop Channels and Color
- Photoshop Selections (Part 1)
- Photoshop Selections (Part 2)
- Photoshop Layers
Resources
Gradient Tool, Paint Bucket Tool
First, let us cover the Paint Bucket Tool. It is a useless tool as far as I am concerned because I never used it. And I mean never ever. What does it do? Well, if you click with it on a picture it will fill the area with the foreground color. It has a Tolerance setting in the options panel which works the same way as the Tolerance setting for the Magic Wand Tool.
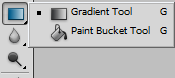
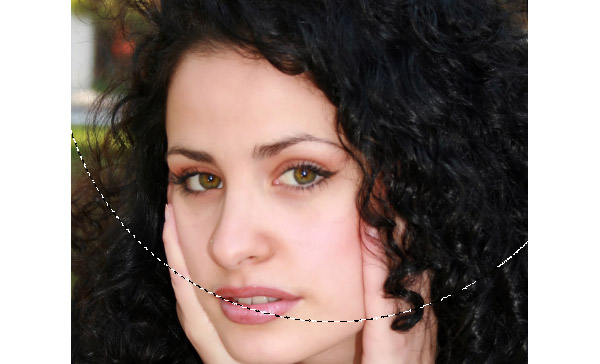
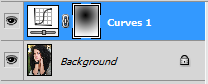
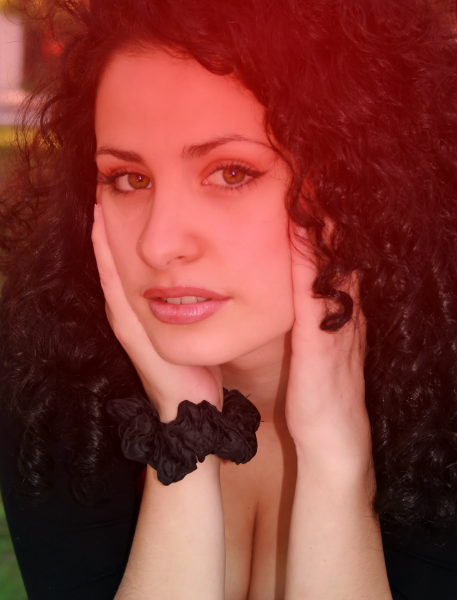
Now the Gradient Tool is a very useful tool and I find myself using it on a daily basis. It allows you to create a gradient from the background and foreground colors. The shortcut key is G. While you can achieve some artistic effects by dragging the gradient tool directly on a layer and then maybe use Fade (Ctrl + Shift + F) and an Opacity option it’s more likely that you will want to use it in layer masks. You want to create a Vignette effect? Add a Curves Adjustment Layer, drag the curve downwards to darken and in the layer mask drag with the Radial Gradient Tool (black as foreground, white as background).
Here’s before:
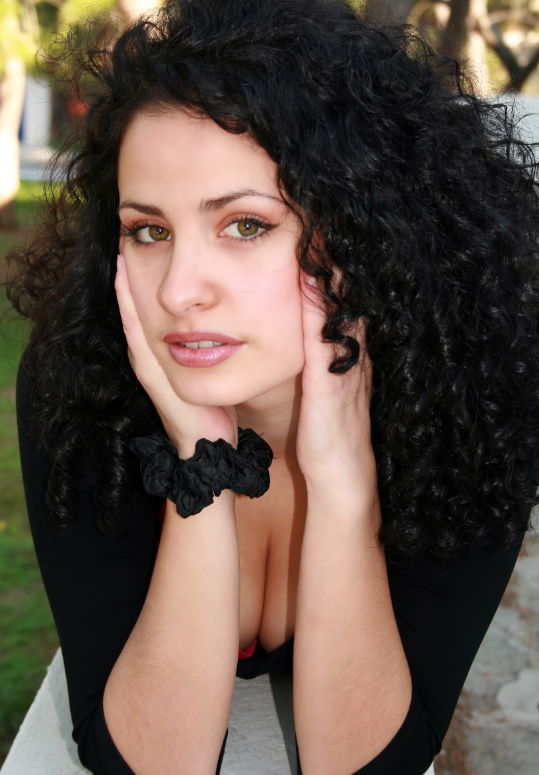
And here’s after:
This may not be the best looking Vignette effect (there’s more than one way to achieve this effect) but it serves its demonstrative purposes.
Blur Tool, Sharpen Tool, Smudge Tool
The Blur Tool and the Sharpen tool have some obvious purposes: they blur and respectively sharpen. They have 2 big disadvantages though. Firstly, they are pretty processor intensive, so if you like working fast or you have a slow machine you will have to wait. Secondly, using them means that you are not editing your document in a non-destructive way. If you want to go back to a previous look of your image then you will have to hit Ctrl + Z (Undo) like crazy. When it comes to sharpening and blurring I prefer to create composite layer from all the visible layers (Ctrl + Shift + Alt + E), apply a sharpen/blur filter on this layer, add a layer mask and paint it with black and white to show/hide my layer (in a layer mask black conceals and white reveals).
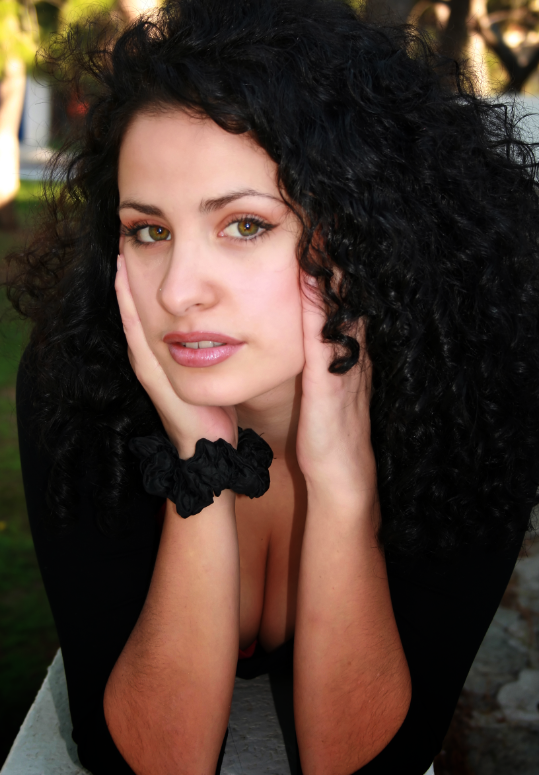
The Smudge Tool allows you to “smudge” pixels. It’s main use (at least for me) it’s to create hair. Let’s say I cut and copy in a document a wolf (or a human head) but I don’t select the hairs very well so it looks fake. Then I use the smudge tool at the edge of the fur to emulate hair.
Here’s before Smudge Tool:
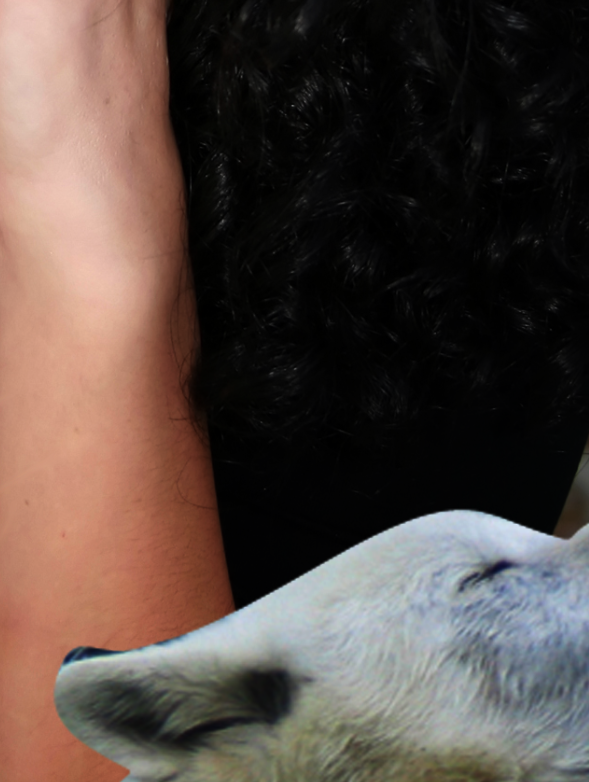
And here’s after:

Dodge Tool ,Burn Tool , Sponge Tool

Now these are pretty good tools. Dodge Tool lightens and Burn Tool darkens while in the same time increasing contrast. In the Options Panel there are 2 setting you should be aware of: Exposure setting and Protect Tones checkbox. You will want to have the Protect Tones checkbox checked all the time unless you are aiming for very strong effects. The Exposure setting affects the power of the tool .I recommend using lower settings and gradually paint until you achieve the desired effect. A quick tip: If you are using the Dodge Tool hold Alt to temporarily switch to Burn Tool and vice versa.
The nondestructive alternative to these 2 tools is to create a new layer, fill it with 50% Gray color (Shift + F5), set the blend mode to Overlay and use Dodge and Burn or a black and white brush on the layer to achieve similar effects.
The Sponge Tool desaturates the image (absorbs color). For a more contrasty effect be sure to check the Vibrance checkbox in the Options Panel.
Pen Tool, Freeform Pen Tool, Add Anchor Point Tool, Delete Anchor Point Tool, Convert Point Tool
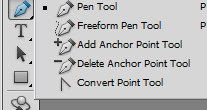
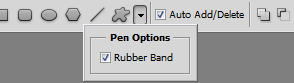
The Pen Tool may be familiar to you if you have worked with Adobe Illustrator. This tool allows you to create vector shapes and the additional tools in the category allow you to modify and tweak that shape. I don’t do much vector work but instead I use this tool heavily for my selections. Basically I trace with the pen tool the object I want selected and then I simply transform path to selection (Ctrl + Enter). This allows me to do very accurate selections, it works especially well when the object I want to select has a color similar to the background, and the usual selection techniques will not work. So go ahead, give it a spin and create some paths. Make sure to check Rubber Band in the Options Panel as it allows you to preview the paths you are going to create.
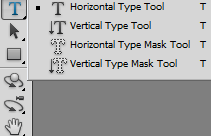
Horizontal Type Tool, Vertical Type Tool, Horizontal Type Mask Tool, Vertical Type Mask Tool
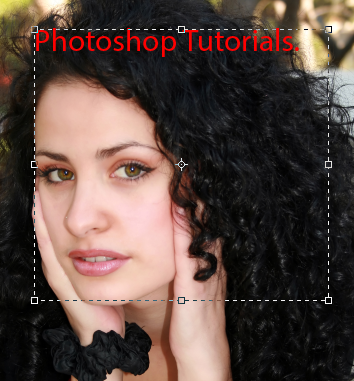
Horizontal and Vertical Type tools allow you to add text to your images. Simply click anywhere in your document with one of these two tools and start typing. You can change the font, size and other settings in the Options Panel. When you are done typing simply press Ctrl + Enter to close the paragraph and stop typing. If you click and drag with one of these two tools you will create a box which will allow you to type only inside that box.
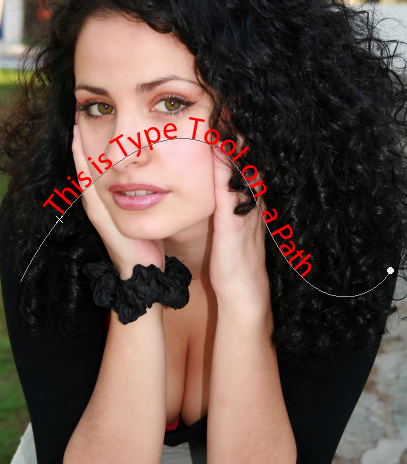
If you want to type on a path for a special effect simply create a path with the Pen Tool and with Vertical or Horizontal Type Tool click somewhere on the path (you will notice that the icon will change).
Horizontal and Vertical Type Mask tools allow you to create a selection from type. That is if you type something with one of these tools and press Ctrl + Enter you will have a selection of your typed text. I don’t use these tools at all because I can get a selection from a type layer much easier: I simply Ctrl-click on the layer and voila, a selection of the visible pixels of that layer.
Path Selection Tool, Direct Selection Tool
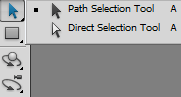
These tools are designed to manipulate and select paths. If you click with the Path Selection Tool on a path you will select the entire path and if you click with the Direct Selection Tool on a path you will select only a point or a handle bar.
Rectangle Tool, Rounded Rectangle Tool, Ellipse Tool, Polygon Tool, Line Tool, Custom Shape Tool
These tools allow us to create different shapes. There are three options in the Options Panel which are very important. If you select the first option you will create Shape Layers (that is basically a Solid Color Adjustment layer with a Vector Mask), the second option allows you to create simple Paths and the third option allows you to create pixel shapes.
You can see in the image below some different shapes I created:
I won’t cover the 3D tools but know that they allow you to manipulate 3D objects that you create in Photoshop or import from other 3D software.
Hand Tool, Rotate View Tool
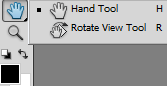
If you are zoomed into a document the Hand Tool allows you to drag the document. Simply click and drag and you will see what I am talking about. You can temporarily access the Hand Tool from almost any other tool by simply holding the Space button.
Zoom Tool

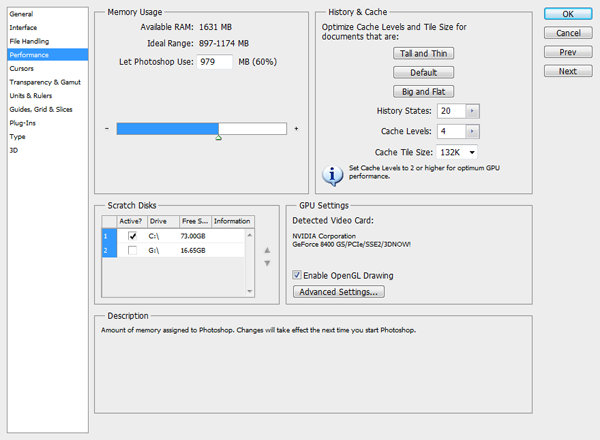
The Zoom Tool allows you to zoom into a document. Drag to the left to zoom out or drag to the right to zoom in. Click to zoom in, Alt-click to zoom out. You can temporarily access the Zoom Tool from almost any tool by holing Alt + Space. Note that certain features of the Zoom Tool and the Hand Tool won’t work if you don’t have Enable OpenGL Drawing checked in the Edit > Preferences – Performance tab.
There are some additional buttons on the Toolbar Panel which are not Tools.
Default Foreground And Background Color (Shortcut D) allows you to set black as foreground color and white as background.
Switch Foreground and Background Color (Shortcut X) allows you to switch between foreground and background colors.
Set Foreground and Set Background Color. If you click on one of these icons the Color Picker window will pop up allowing you to select a color. A nice feature of Photoshop CS5 is that when you have the Brush Tool selected you can temporarily access a simplified version of the Color Picker window (also called HUD Color Picker) by holding Shift + Alt and Right-clicking. You can change some options for the Color Picker appearance by going to Edit > Preferences > General.
Finally the Quick Mask (or Edit In Quick Mask Mode) (Shortcut Q) allows you to quickly select parts of your document.
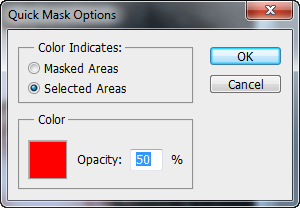
Simply click Q to enter Quick Mask mode and use the Gradient Tool or the Brush Tool to draw with red color. When you press Q again to exit the Quick Mask mode the red color becomes a selection. Note that the default behavior in Photoshop is that red is the non-selected area and the rest of the image is selected. If you want the red to be the selection (I find it much easier to work this way) simply double click the Quick Mask icon and select Selected Areas in the window that pops up. In that window you can also change the color and the opacity of your Quick Mask.
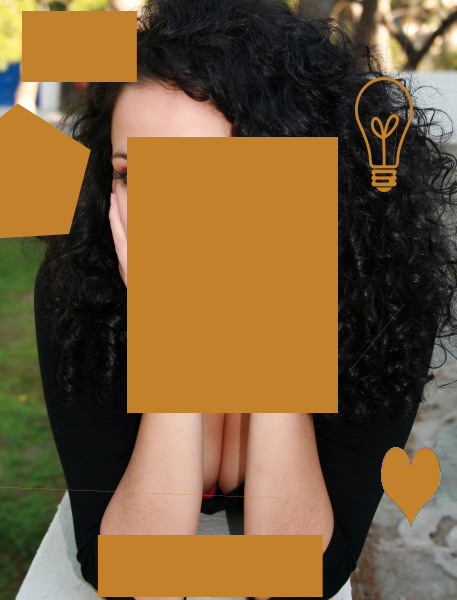
In the image below I used the Gradient Tool in the Quick Mask Mode to select the upper portion of the image.
After I press Q again the red color becomes a selection.
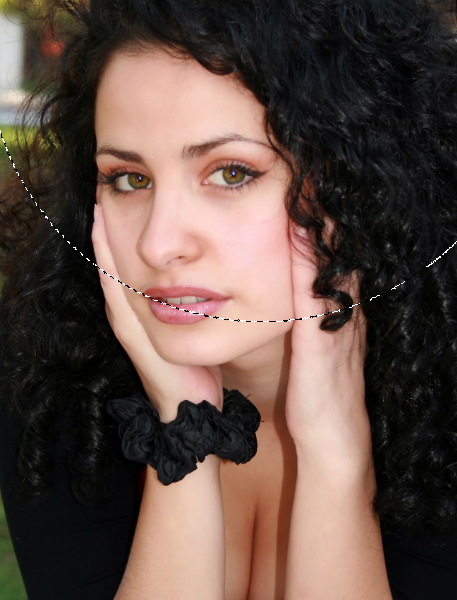
Now I can apply different adjustments to this selection (quickly).
Conclusion
This is where I finish my introduction to the Photoshop Toolbar. I hope you have become more familiar with the different Photoshop Tools and learned some useful stuff.