Welcome to Photoshop Toolbar Part 2 (Part 2 of 3). In this tutorial we will take a look at the rest of the Photoshop Toolbar and get familiar with the various tools the program has to offer.
View Other Articles in This Series
- How to set up Photoshop
- Photoshop Interface Explained (Part 1)
- Photoshop Interface Explained (Part 2)
- Introduction to the Photoshop Toolbar (Part 1)
- Introduction to the Photoshop Toolbar (Part 2)
- Introduction to the Photoshop Toolbar (Part 3)
- Photoshop Channels and Color
- Photoshop Selections (Part 1)
- Photoshop Selections (Part 2)
- Photoshop Layers
Resources
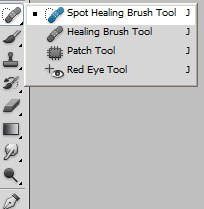
Spot Healing Brush Tool, Healing Brush Tool, Patch Tool, Red Eye Tool
These tools are very important if you are doing a lot of facial retouching. The Spot Healing Brush Tool is the easiest to use. You simply find the skin imperfection you want to remove and click on it. It’s not the most advanced technique for making clean skin but it is a basic and very fast tool.
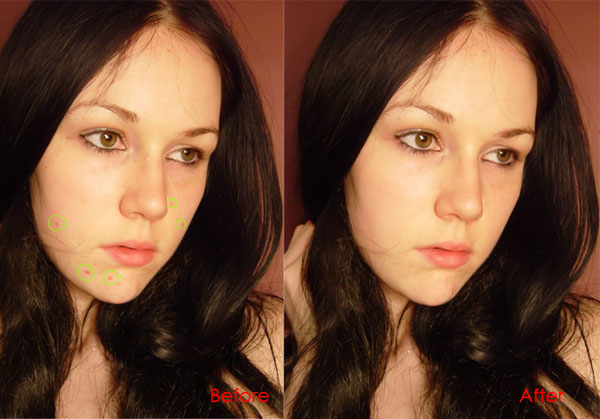
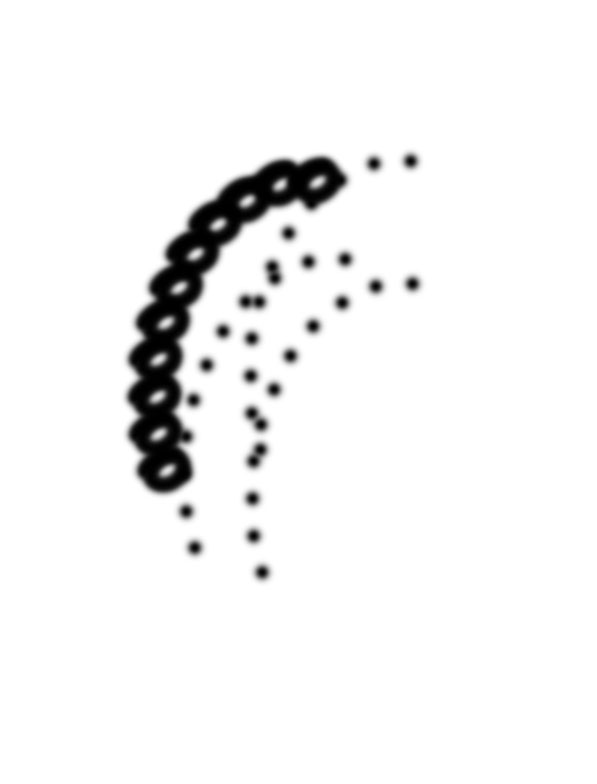
You can see in the image below a before and after. I simply clicked the marked spots with the Spot Healing Brush Tool and Photoshop created some good skin based on the clicked spot and the surrounding area.
The Healing Brush Tool is the same as the Spot Healing Brush Tool with the difference that it requires you to set a sample point so that Photoshop will base its healing algorithm on the area of the picture set as the sample point. To put it more simply: you will heal all your next spots based on the area you Alt-clicked on.
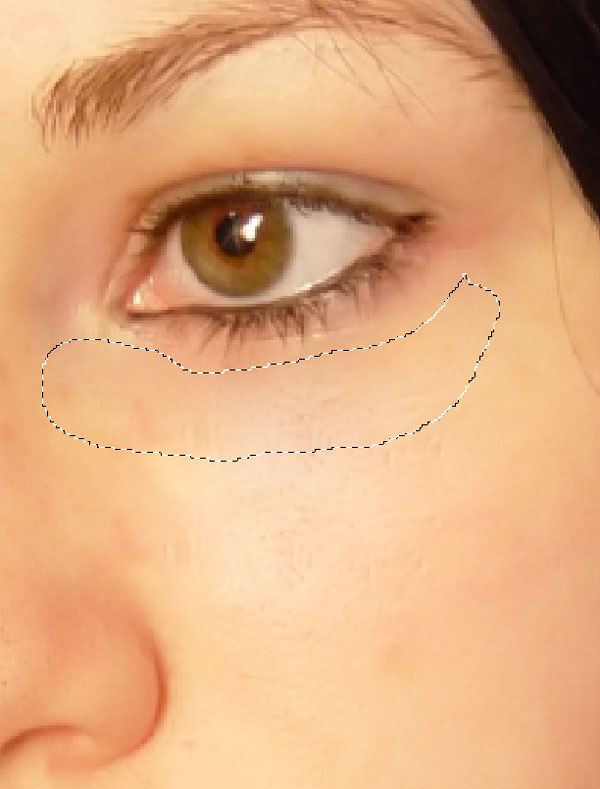
The Patch Tool is a different beast from the first two and it’s very useful for seamless blending of skin or other uniform surfaces. Let us say I want to remove the dark bags under the girl’s eyes. I could use the Spot healing Brush Tool but the Patch Tool offers an easier way. In the image below I selected the Patch Tool and created a selection as shown below. Now simply drag the selection a bit lower three times and release. This will create skin in the selected area based on the area from which we drag the selection. The whole process is easier done than said so it’s best that you try it and see for yourself.

You can see my results below. There is a subtle but noticeable difference but that’s what you will probably want when doing portrait retouching with Photoshop. On the other hand, let us say that you used the Spot Healing Brush Tool like crazy some parts look fake and don’t fit with the rest of the face. No problem. Select the troublesome area with the patch tool and drag and drop the selection a couple times in the surrounding good portions of the skin. There, problem solved. Again, these things are much more complicated to write than to do.
Finally, the Red Eye Tool requires you to select an iris with a red eye problem and it attempts to remove the redness in the pupil. Although there are more advanced ways to do that (with Curves or Channels) this tool does a pretty good job.
Brush Tool, Pencil Tool, Color Replacement Tool, Mixer Brush Tool

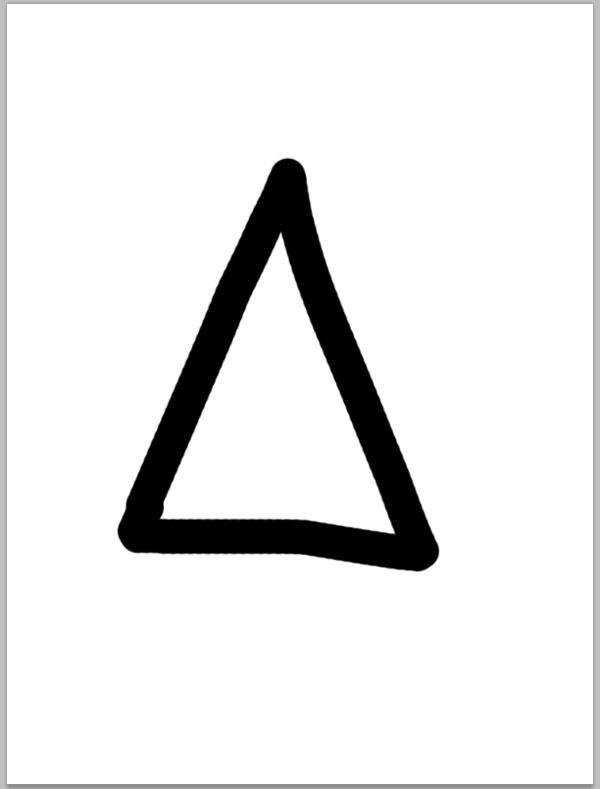
The Brush tool is probably the most used tool in the Toolbar panel. You can use it to paint with pixels over your image. The round brush tool is the one selected by default when you first open Photoshop so you probably have played with it a little. This brush has two important settings you will want to play with: size and hardness. Hardness represents how defined the edges of the brush are (or how blurry). Set the hardness setting to maximum (100%) and you will paint with ugly hard strokes.
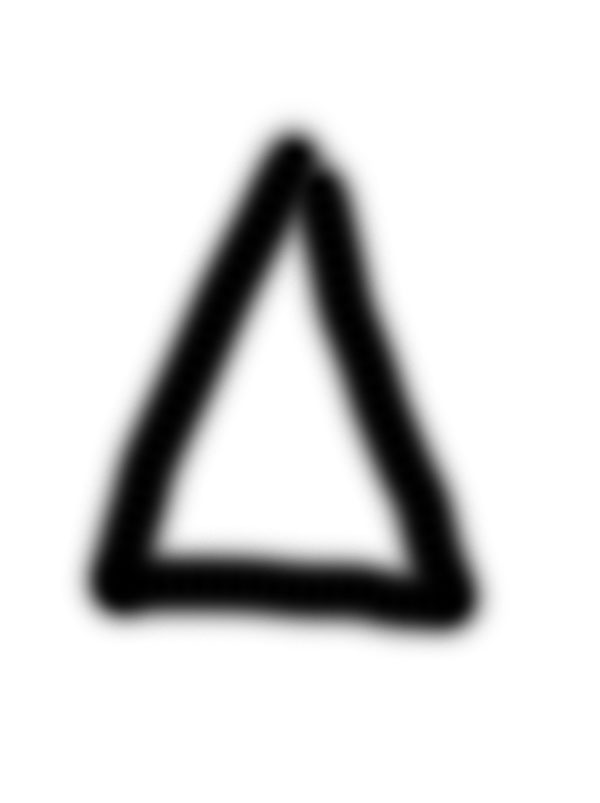
Set it to minimum and you will have some nice blurry strokes that blend well with the background.
In the brush option panel (usually you can find the option panel in the upper area, just below the menu bar) you can also change the blending mode of the brush. Combined with the layer’s blending mode this option offers you some wildly creative options. A useful keyboard shortcut for the brush tool are the bracket keys ([ / ]). Clicking the left bracket key decreases the size of the brush while the right bracket key increases the size. Holding Shift while pressing the bracket keys allows you to increase/decrease the hardness of the brush.
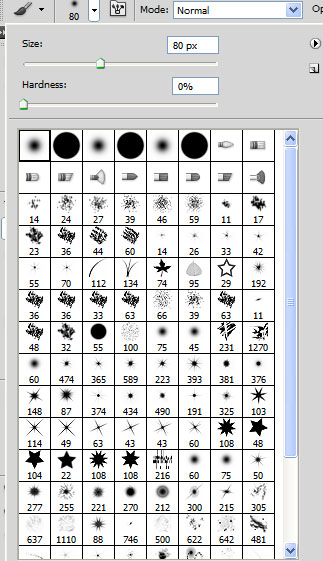
The round brush tool is not the only tool available: Photoshop offers you a wide range of different shaped brush for your needs.
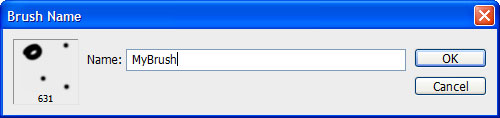
Still not enough brushes? No problem. You can create your own brushes. Create a new layer, draw something with a black brush then choose Edit > Define Brush Preset.

Give it a name and you have a new brush.
Let’s draw something with our newly created brush.
Hmm, it doesn’t look so good. If only we had some kind of advanced settings for the brush….Oh, wait! We do! Choose Window > Brush to open the brush panel and enjoy the multitude of settings for your newly created brush. We can add texture over our brush, make it rotate randomly, make it scatter, add another brush on top of it and many other things. Go ahead, open the brush panel and play with the settings. You can create some pretty cool brushes with it.

The Pencil Tool is basically a downgraded version of the Brush tool. You don’t have a hardness option (in fact you do have a hardness slider but dragging it doesn’t change a thing) but you have almost all of the features of the Brush Tool. You will probably be interested in the Pencil Tool if you do pixel art.
The Color Replacement Tool allows you to replace one color with another. It has a bunch of settings in the Options panel and it offers some interesting results but to be honest I almost never use it. There are better, more accurate ways to replace some colors with other colors (at least for me) so I won’t go into detail about how to use it.
The Mixer Brush Tool is Photoshop’s attempt to mimic traditional painting behavior. Again, I don’t use this tool at all but if you’re into traditional painting and you want some digital tools to play with I recommend Corel’s Painter which is built solely for this purpose.
Clone Stamp Tool, Pattern Stamp Tool
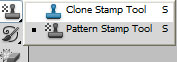
The Clone Stamp Tool is probably my favorite tool and surely the one I have most fun with (and Filter > Liquify too). It has a lot of uses and if you’re doing photo manipulations then this a tool to be on good terms with. It is not complicated at all. To use it first Alt-click somewhere to set the sample point. Then start painting. You will notice that you will paint with the pixels underneath the sampled area. That’s all this tool does. It clones areas from one part of the image in other parts. It is very useful for creating new content based on an existing one and removing skin imperfections or undesired objects.
The Pattern Stamp Tool allows you to paint with desired patterns over an image. Never had a use for it!
History Brush Tool, Art History Brush Tool
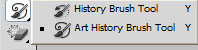
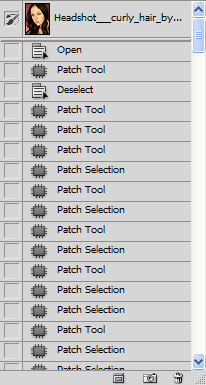
The History Brush Tool is an interesting little thing that holds a lot of power. It allows you to paint on a new layer from a previous state of your image. Let’s say that you heavily modified a photo but you still want some of the original look in certain areas. To do this first select a previous state. Open Window > History and click on one of the little squares next to the name of the desired state. In the image below notice that I clicked on the little box next to the most upper state of the image – the original. Now if I create a new layer and paint with the history Brush Tool I can restore certain areas of my picture to their original state.
Personally I find it a very powerful tool but my workflow is based on adjustment layers and nondestructive editing so I don’t find the need for the History Brush Tool. It was a very popular tool back in the day when the nondestructive editing capabilities of Photoshop were scarce.
The Art History Brush Tool is a strange tool that allows you to paint from previous states of the images but in crazy, dynamically changing shapes. A quite useless little tool, if you ask me.
Eraser Tool, Background Eraser Tool, Magic Eraser Tool
The Eraser Tool allows you to delete (erase) pixels from a pixel layer (or a layer mask). It is as simple as that. You don’t like the way your new painted layer looks, you select the Eraser Tool and send pixels into oblivion. Alternatively, if you’re smart you could use a layer mask and nondestructively remove the undesired pixels. Maybe you noticed that I generously used the term nondestructive but I do this for good reason. When working on a document in Photoshop it’s very important to be able to go back and redo or modify some of your old actions. This offers you the power to infinitely tinker with settings and adjustments without losing any permanent data. That is why I recommend staying away from the Eraser Tool as much as possible and go for layer masks instead. A bit trickier to understand at first but they are totally worth the effort.
The Background Eraser Tool is like the Color Replacement Tool , but instead of replacing the color you erase it. It is a decent tool for getting rid of certain parts of the image but not precise enough. There are much better selection tools and techniques (like Channels and Color Range) that I do not use this tool very often.
The Magic Eraser Tool looks and acts a lot like the Magic Wand Tool but instead of selecting pixels it deletes them. Useful tool only if you are in a great hurry and do not care much about the results.
Part 3
That’s it for the Part 2 of Photoshop Toolbar Introduction. Click here to read Part 3.