In this tutorial we will create a logo for our favorite website, Photoshopstar.com, using the dreaded Pen tool. You will have to learn some new concepts and while it might be a bit difficult the results will be worthwhile.
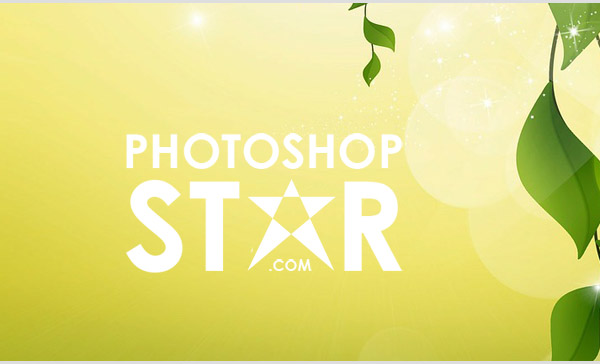
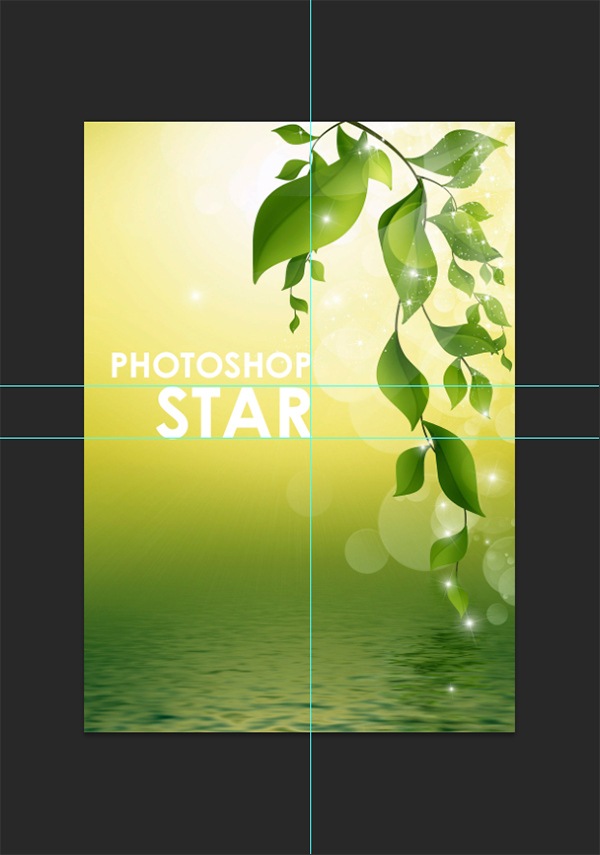
Final Image
Tutorial Details
- Program: Adobe Photoshop CS6 (CS3+ versions will work as well)
- Estimated Completion Time: 50 minutes
- Difficulty: Intermediate
Resources
Step 1
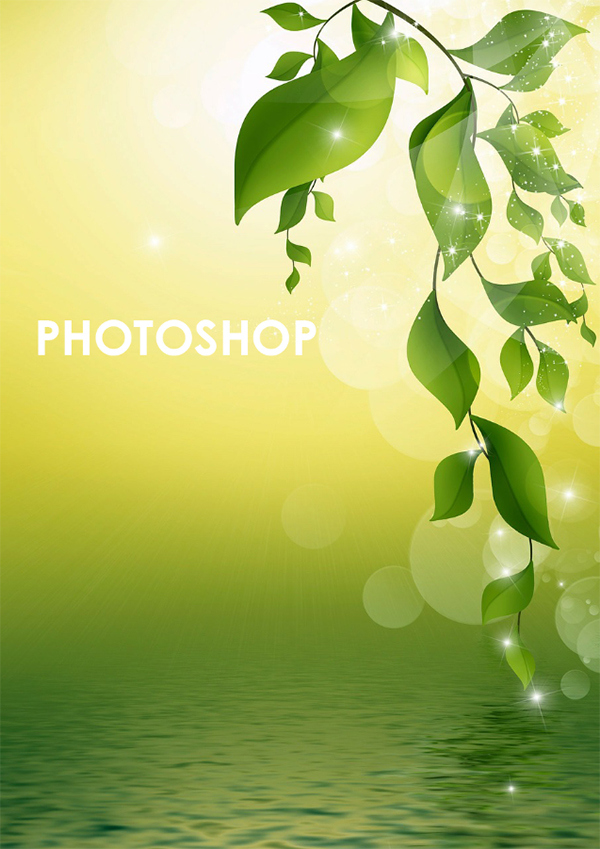
First let’s start by opening the file “background”. You see, it’s always better to have something on top of which you can start creating stuff than a blank white canvas. This can be a texture, a drawing or even a photo at a lower opacity – everything that can help you in the artistic process.

Step 2
Select the Type Tool (T) and a sans-serif font (Century Gothic is my choice) of your liking (sans serif fonts are best for modern, techy logos while serif fonts are best suited for more conservative designs) and type PHOTOSHOP. The type tool will automatically create a new type layer for us.
Step 3
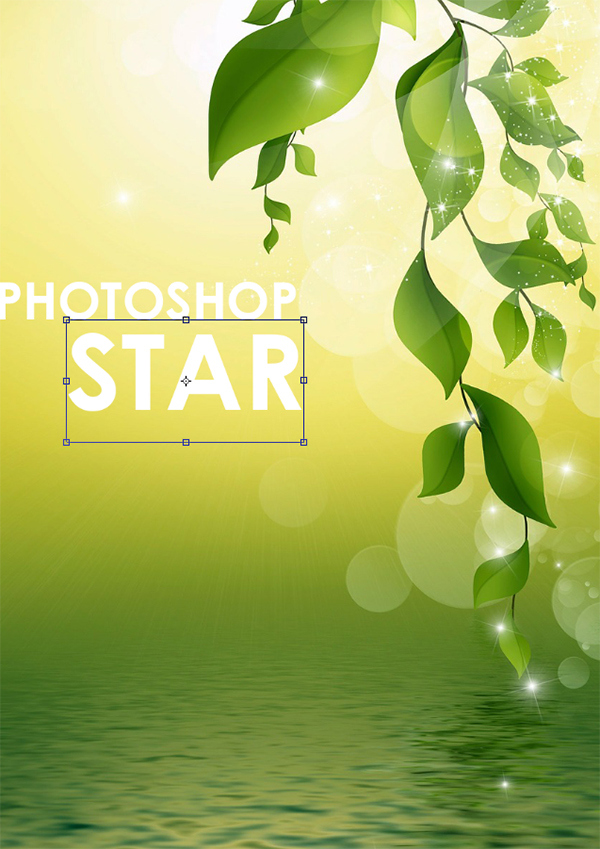
Now with the Type Tool still selected click somewhere below the text PHOTOSHOP and write STAR. Make sure you don’t type near the PHOTOSHOP text or the STAR text will be appended to it and we don’t want that. We want star on its own layer.

Step 4
Select the STAR layer in the layer palette and press Ctrl + T to Free Transform the text. Hold the Shift key and drag by the corners to resize the STAR text to a respectable size.
Step 5
Before we go any further there is an important aspect to logo creation (and vector drawing). You need to have things aligned precisely otherwise things will look out of place. Imagine that you have your logo on a huge billboard somewhere and your various elements are misaligned. While you may not notice that on a small computer screen you will see the flaws and misalignments of your design very clearly on a 10×10 ft poster. That’s why we need guides. Guides are 1px blue lines that don’t show up in your final image (when you save it) but they can help you tremendously when you create your design.
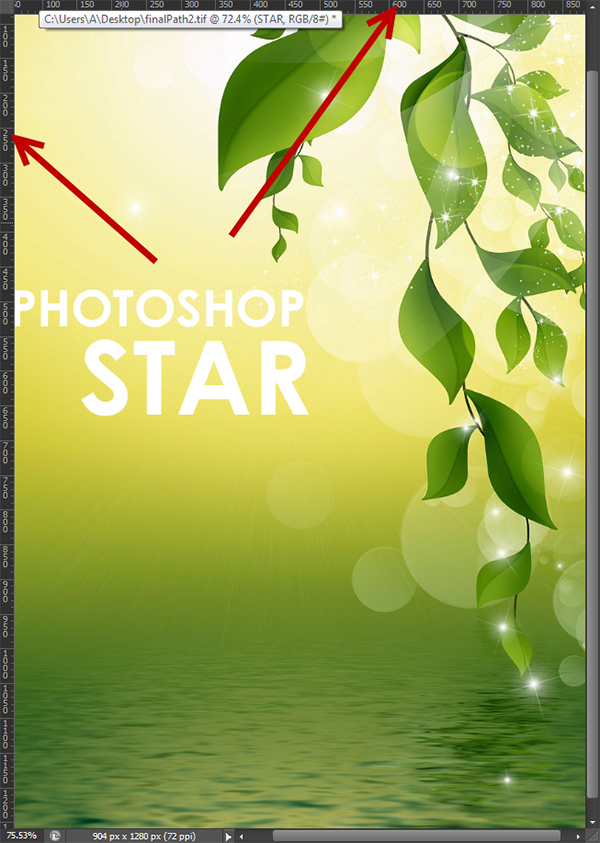
First let’s show the rulers on the screen by pressing Ctrl + R.
Now left-click on the rulers area (left or up), hold the mouse button and drag somewhere on your image and release. You should see a horizontal blue line if you dragged from the upper ruler or a vertical one if you dragged from the left ruler. To remove a specific ruler hold Ctrl and mouse over the guide until you see the mouse cursor transforming into an icon representing 2 vertical lines. Then you can safely click and drag the guide back into the ruler area (or outside the image area).
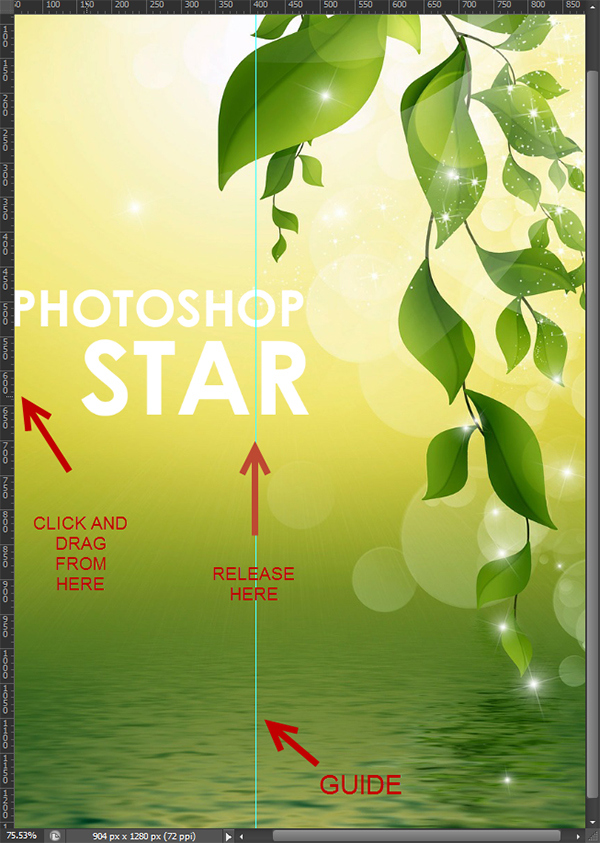
Now put some rulers around the text and make sure that your elements are aligned to them (you will see how my elements are aligned and you can follow through). I won’t tell you in future steps to add more rulers but if you see them in the images accompanying steps then add them in your document.
Step 6
Add a layer mask to the STAR text layer (Layer > Layer Mask > Reveal All). Select the Rectangular Marquee Tool (M) and in the layer mask draw a rectangular selection that covers the A letter. Fill the selection with black by pressing D and Alt + Backspace.

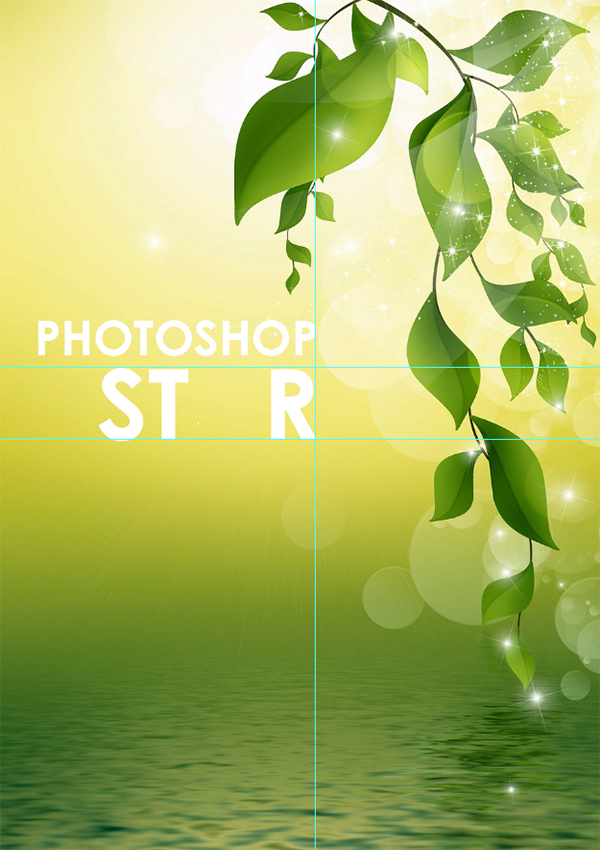
Step 7
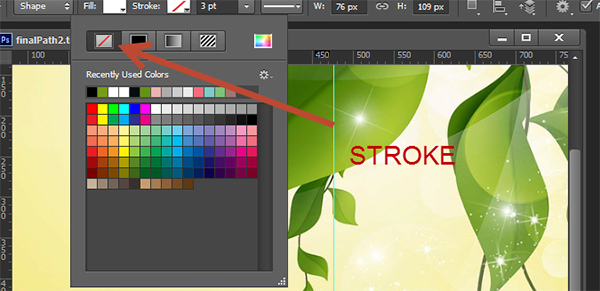
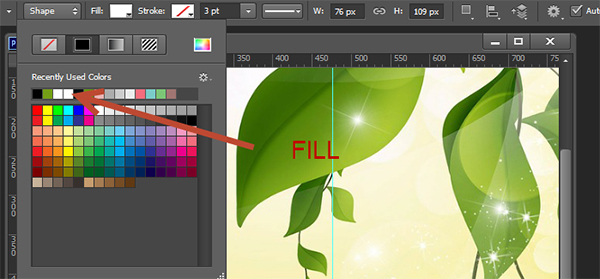
We removed the letter so we can draw our vector shape. Select the Pen Tool (P) and from the Options Bar choose Shape.

A shape is a path that is automatically filled with 2 colors. First color is the outline color (stroke) and second color is the color inside the path (fill). Note that we can have one of the 2 colors (either fill or stroke), both (fill and stroke) or none (no fill and no stroke). The stroke can also have a width (how thick it will be) option.
In our logo design we want to replace the letter A with a nice star shape that has a white color and no outline. This means we will have to set the fill to a white color and the stroke to none. Click on the fill in the Option Bar and choose a white color.
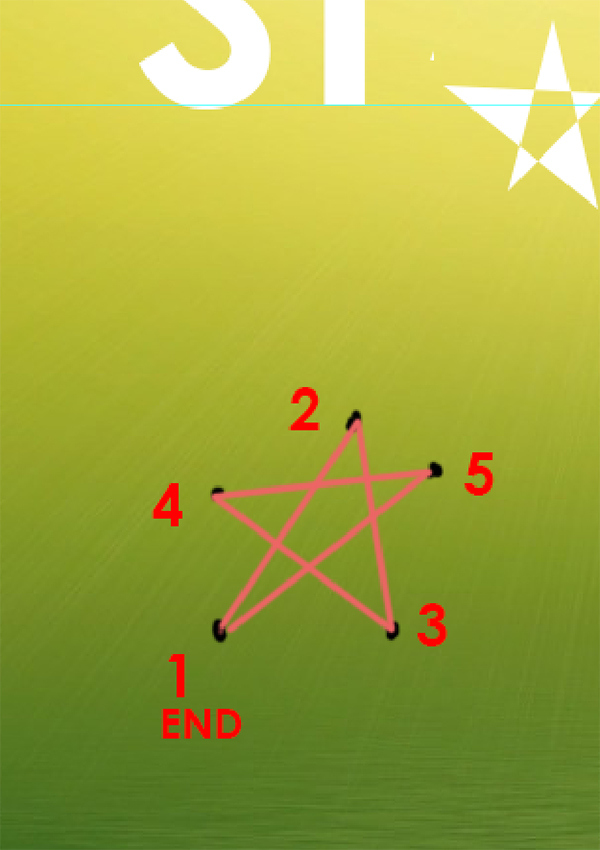
Now with the Pen Tool still selected click (but don’t drag) on the points shown in the image below to draw a star (it doesn’t have to be perfect for the first time, we can tweak it later). Click on point 1, then 2, then 3, then 4, then 5 then back on point 1 to close the circle. The end result should be something like in the image below.

Step 8
If you feel queasy about paths go check out this great tutorial by yours truly and you will be able to follow the next steps with much more ease.
Let’s tweak the star. We have 2 main tools when we want to modify an existing path (and its points): the Path Selection Tool (select the whole path with one click) and the Direct Selection Tool (select points on the path independently). In the following steps we will work only with the Direct Selection Tool. Because we don’t want to be cycling between the Path Selection tool and the Direct Selection Tool here’s a time saving shortcut: when you have the Path Selection Tool selected simply press Ctrl to temporarily gain access to the Direct Selection Tool. Try it now, select the Path Selection tool and press Ctrl. If you click on a point on the path you will select it, if you hold Shift while clicking you can select multiple points, if you click outside the path you deselect the points and (be ready for a hardcore shortcut) if you press Ctrl + Shift + Alt and click somewhere on the path you will select all the points on it thus replicating the functionality of the Path Selection Tool. Neat huh?
Once you have selected points you can simply drag them around to change the shape fill and stroke on the fly. Go ahead, give it a spin and familiarize yourself a bit with these concepts and when you’re ready go to the next step.
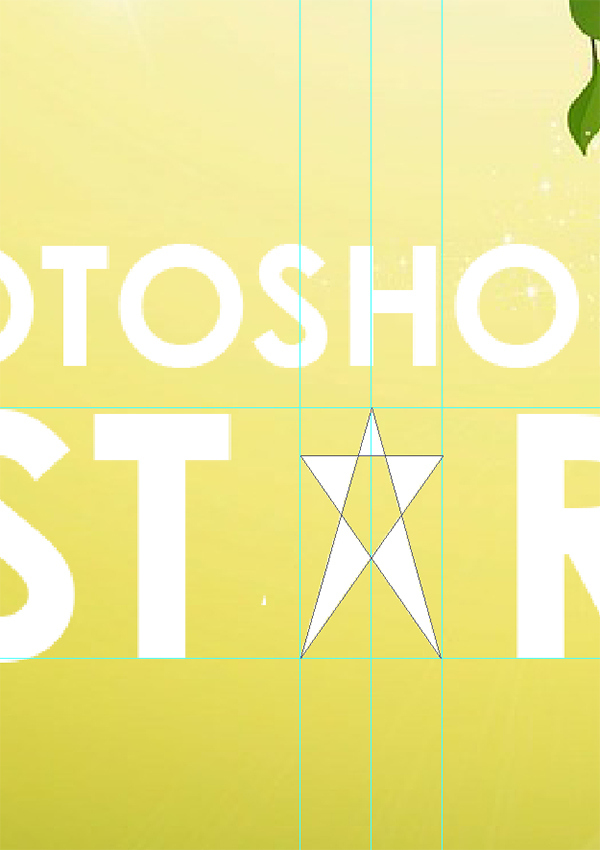
Select the whole shape by pressing Ctrl + Shift + Alt somewhere along its lines and drag in the empty space between the T and the R letter.

Now tweak the shape’s points by dragging them in order to form something resembling a stylish A letter. Make sure your points are aligned to guides.
Step 9
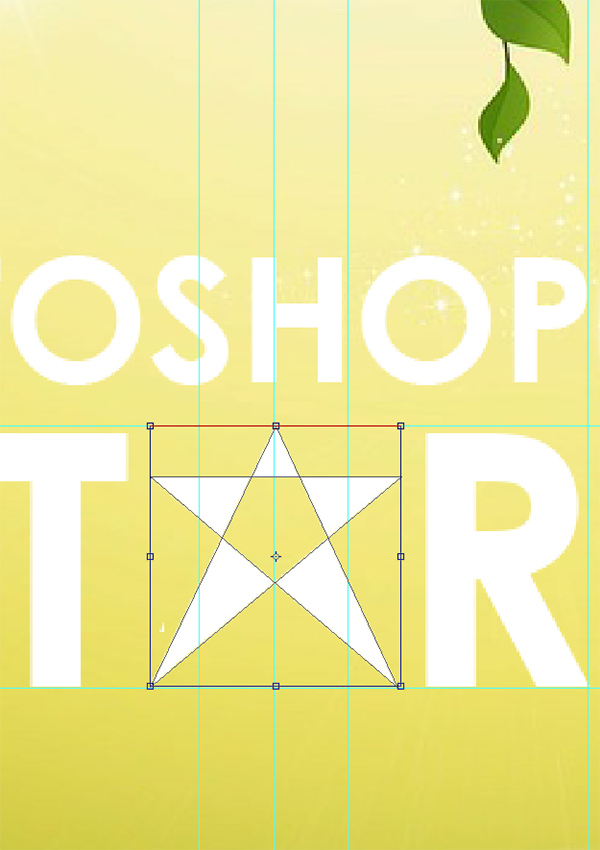
Hey, it starts to look pretty good! But the star looks a bit thin so let’s add some width to it. Select the star shape (Ctrl + Shift + Alt + click) and press Ctrl + T to resize it. Make sure the star stays within the guides.
Step 10
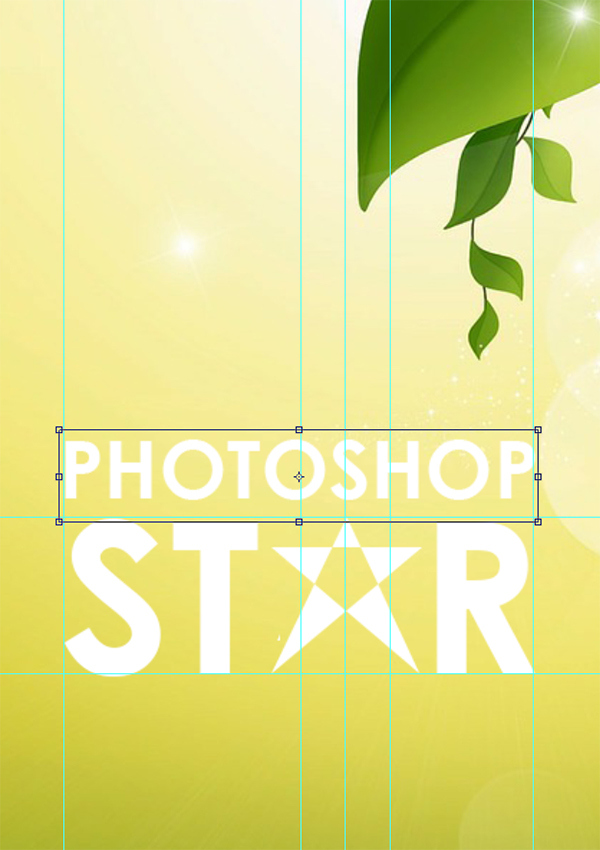
Let’s tweak our logo a bit more. Select the PHOTOSHOP text layer in the layers palette by clicking on it and press Ctrl + T to Free Transform it. Resize it so it fits exactly above the word STAR.
Step 11
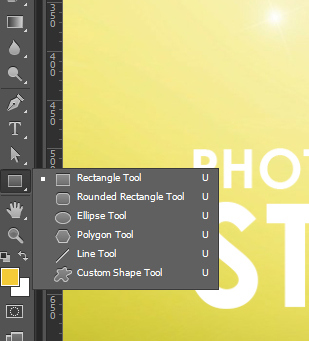
Let’s put a background behind our logo in order to make it stand out better. This background could be part of the logo or could be part of the presentation – it’s up to our future client. Now that you’re familiar with the shapes created with the pen tool let me introduce you to another set of tools that share striking similarities to our previously created shapes. Just below the Direct Selection Tool on the tools palette you will see a group of shape tools (Rectangle Tool, Rounded Rectangle Tool, Ellipse Tool, Polygon Tool, Line Tool and Custom Shape Tool).
Step 12
Select one of these tools (let’s say the Rectangle Tool) and click and drag with it. You will notice that it will create a rectangular shape, with fill and stroke, just like the shapes created with the Pen tool. You can modify this shape (and all the shapes created with tools in the same group) just like you modify the shapes created with the Pen Tool. Just select the Path Selection tool again and use the known shortcuts and commands (like holding Ctrl in order to access the Direct Selection Tool ) to modify the rectangle shape.
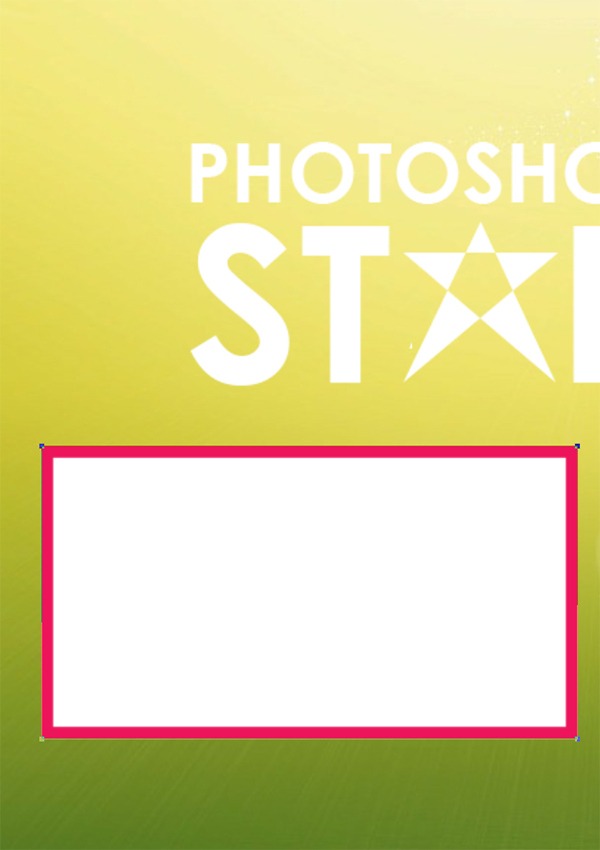
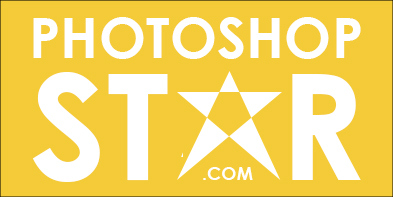
Now let’s modify the fill and stroke of our rectangular shape in order to fit the image’s color scheme. Choose a black color for the stroke and decrease its width to 0.50 points and choose a nice strong yellow for the fill. Resize the shape with Free Transform and place below our logo (in the layers palette drag the rectangle shape layer below other layers and just above the “Background” layer).
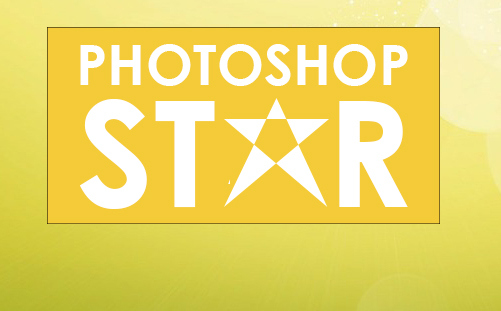
I added a little .COM text just below the star in order to emphasize that this is a website logo.
And We’re Done!
And for a final trick, just for you dear reader: you can transform the text into shapes and further modify it by right clicking on the text layer in the layers palette and choosing Convert to Shape. Feel free to experiment. Also, if you don’t like my color scheme you can change the fill color of the star or the text in order to better suit your sense of style.